


So, you’re grappling with hybrid or multi-cloud deployments using Azure Arc? Maintaining security and compliance across multiple environments while keeping track of costs can quickly become overwhelming. You might be thinking, if only there was a way to manage these mixed environments in a consistent, uniform system.
Well, you’re in luck! With Azure Arc, you gain centralized management for resources deployed on-premises or with other cloud providers. In this guide, we’ll delve deep into how to utilize it to efficiently manage your hybrid or multi-cloud environment.
Prerequisites for Using Azure Arc
For a productive, hands-on experience with this tutorial, make sure you’re set up with the following prerequisites:
- An Azure account with an active subscription. If you’re new to Azure, you can easily create a free account.
- An on-premises Linux machine or a Linux server hosted by another cloud provider. For the purposes of this guide, we’ll focus on an on-premises Ubuntu 18.04 setup.
- Ensure that any firewall in place on your server allows port 443. This is crucial for the Azure Arc agent to maintain secure communication with Azure over HTTPS.
Registering Azure Resource Providers
Before diving into its functionalities, you need to set up two integral Azure Resource Providers:
Microsoft.HybridCompute – This resource provider caters to hybrid machine resources within Azure Arc.
Microsoft.GuestConfiguration – This is vital for implementing Azure Policy on non-Azure (Guest) machines.
However, before harnessing these resource providers, it’s necessary to register them with your Azure subscription. While there are multiple avenues to register Azure Resource Providers (like the Azure Portal or Azure CLI), for the scope of this tutorial, we’ll use PowerShell within the Azure Cloud Shell.
Here’s a step-by-step rundown on how to register these essential resource providers:
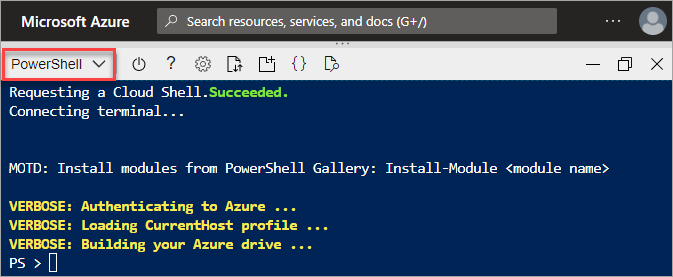
1. Launch a web browser and authenticate into the Azure Cloud Shell using your Azure credentials.
2. Opt for PowerShell as your shell environment of choice, rather than Bash.
3. Once inside, execute the following command in the Cloud Shell. This will enlist all the Azure subscriptions tied to your account, with the –output table parameter ensuring the output is presented in an easily digestible table format.
az account list --output tableExecuting this command will display a list of Azure subscriptions linked to your account, as illustrated below.
It’s crucial to note your subscription name or subscription ID. If managing multiple subscriptions, select the one best suited for this tutorial.

4. Execute the az account set --subscription command, ensuring to replace <subscription Name or ID> with the specific name or ID you jotted down in the previous step.
az account set --subscription <subscription Name or ID>5. With the desired subscription active, proceed to run the following commands to register the essential resource providers.
# Register the Azure Arc Resource Providers
az provider register --namespace 'Microsoft.HybridCompute'
az provider register --namespace 'Microsoft.GuestConfiguration'
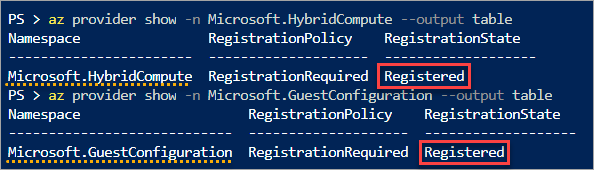
6. Finally, to ensure everything’s set up correctly, run the following commands to validate the registration status of each resource provider.
# Validate the registration state of each Azure Arc resource provider
az provider show -n Microsoft.HybridCompute --output table
az provider show -n Microsoft.GuestConfiguration --output table
Double-check that the RegistrationState displays ‘Registered’, as showcased below.
If it’s currently indicating ‘Registering’, it’s still in progress. Pause for a moment, then re-run the commands for an updated status.
Crafting an Azure Arc Deployment Script
With all the necessary resource providers registered, it’s time to create your script. This script, essentially a JSON file, holds the blueprint of an Azure resource. In this segment, we’ll guide you on crafting a deployment script through the Azure Portal.
To craft this deployment script, follow the steps below:
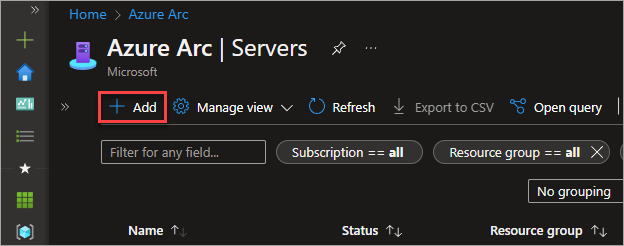
1. Head to the Azure Arc – Servers blade within the Azure Portal.
2. Hit the Add button to commence crafting your deployment script.
3. As this tutorial focuses on a single server, select the Generate script button found inside the ‘Add a single server’ card.
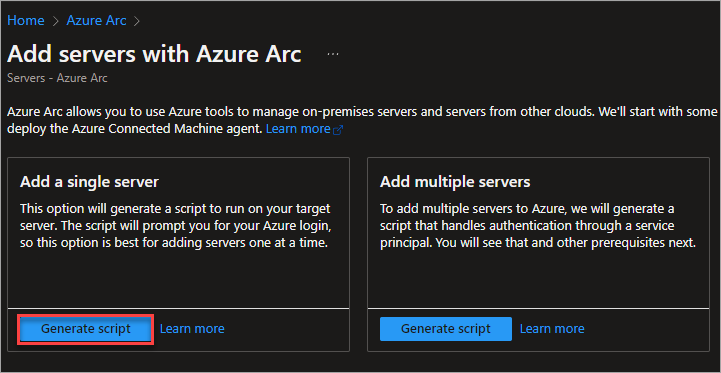
Other available options include:
- Add multiple servers – Deploy the agent on numerous machines.
- Add servers from Update Management (preview) – Deploy the Azure Arc agent on non-Azure servers managed by the Update Management service.
- Add servers with Azure Migrate – Utilize Azure Arc to deploy the agent on VMware vSphere servers via Azure Migrate.
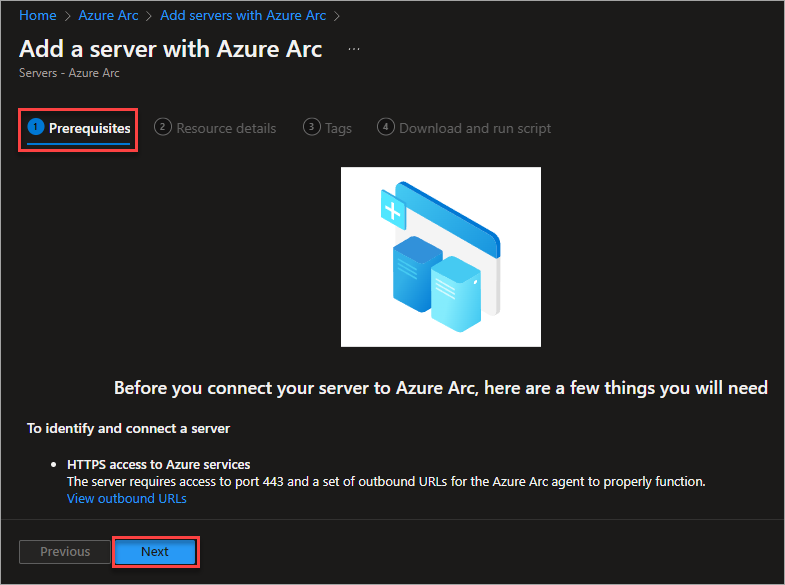
4. During the Prerequisites step, retain the default settings and click Next.
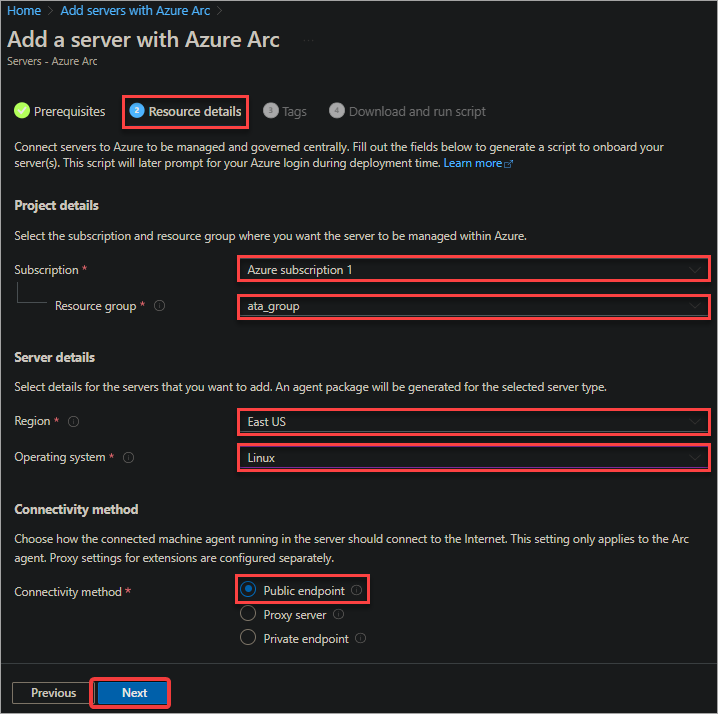
5. In the Resource details step, provide the following information.
Subscription – The Azure subscription you’d like to use for the Azure Arc deployment.
Resource group – The resource group where you aim to deploy the Azure Arc agent.
Region – Specify the Azure region for deploying the Azure Arc agent. This region will house your Arc metadata.
Operating system – Define the OS of your deployment target. Options include Windows and Linux. For this guide, we’ll select Linux.
Connectivity method – Choose your desired connectivity method for this Azure Arc deployment. Opt for the Public endpoint, as this doesn’t necessitate any additional network configurations.
Other methods, such as Proxy server and Private endpoint, demand specific network setups, which this Azure Arc tutorial won’t cover.
After filling in the required details, click Next.
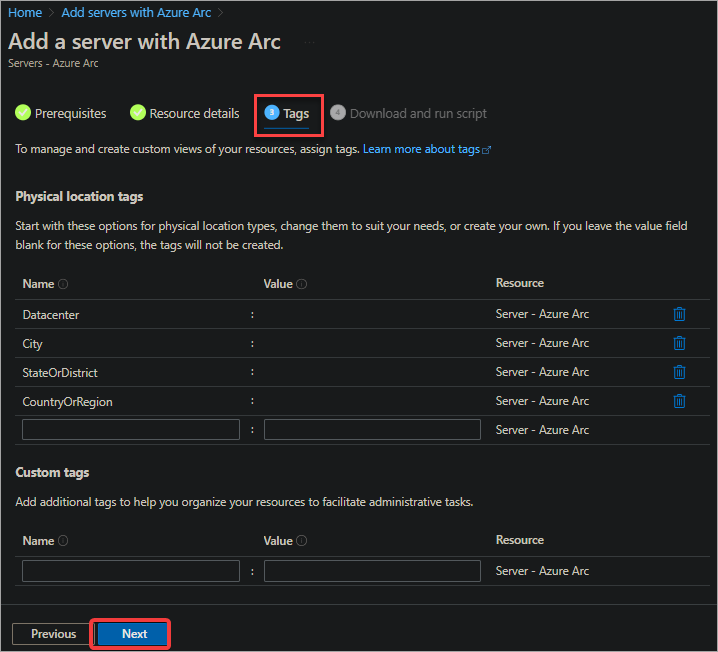
6. In the Tags step, for now, maintain the current tags and proceed by clicking Next.
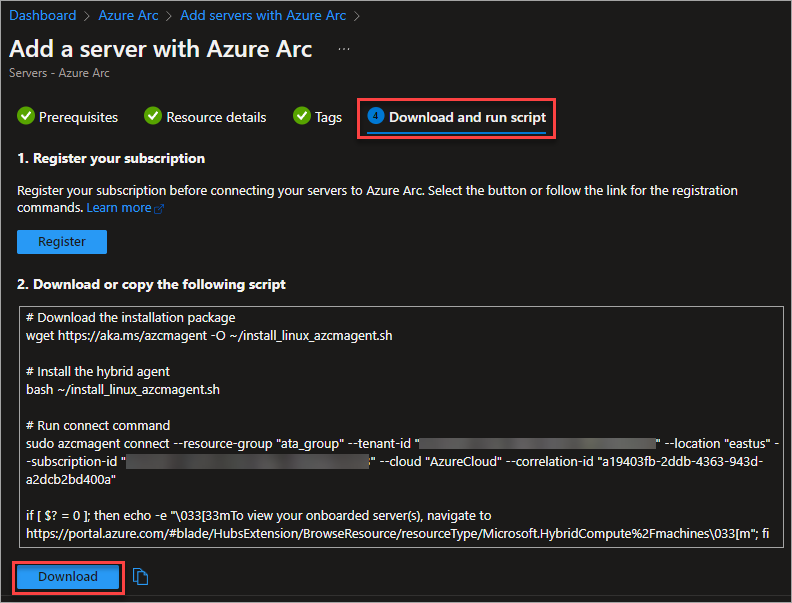
7. On the subsequent screen, you’ll view the script, auto-generated based on your inputs. Tap the Download button to obtain this Azure Arc script. By default, the script’s filename will be OnboardingScript.sh.
8. Lastly, transport the script to your on-premises Linux server. The means of transferring the script remains your decision. The subsequent command copies the script via SCP to the /root directory on your Linux server. You can adjust the target directory as per your requirements.
scp .\OnboardingScript.sh root@ubuntu:/root
How to Deploy the Azure Arc Agent on Linux
With the deployment script in hand and it successfully copied to your on-premises Linux server, you’re poised to deploy the Azure Arc agent. Here’s a step-by-step guide to walk you through.
1. First, login to your Linux server. Double-check that your user account can access the directory containing the script file.
2. Before proceeding, it’s a good idea to update your local package list. You’ll be installing new packages, and this ensures you’re pulling the latest versions. Use the command below:
apt update -y3. Once that’s done, navigate to the directory housing the deployment script (/root in our example). From there, execute the Azure Arc deployment script named OnboardingScript.sh.
cd /root
bash OnboardingScript.sh
Stay patient and watch for the script to produce a message. This message prompts you to open a website and input a specific code for authentication.

4. Open your web browser, head over to the Azure Device Login page, punch in the code provided by the script, and hit Next.
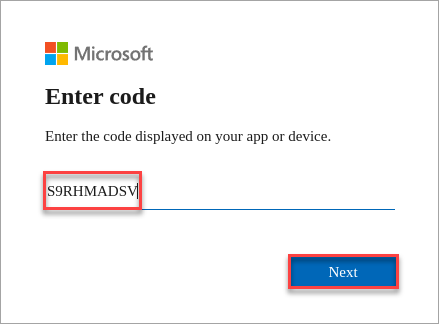
Upon successful authentication, a “Successfully Onboarded” message will grace your terminal screen.

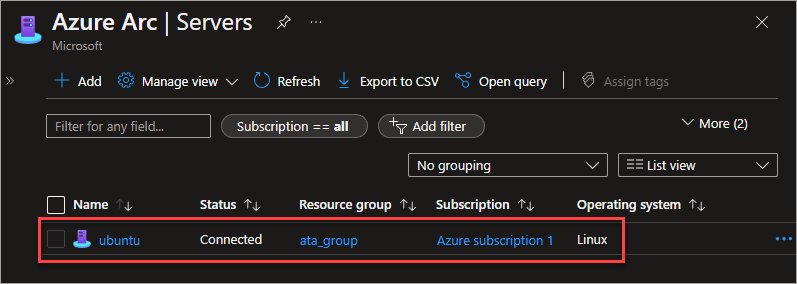
5. To round off, access the Azure Arc – Servers section in your web browser. Check to see if your Linux server appears on the servers list. Ideally, you should spot a Linux server named ‘ubuntu’ tagged as Connected, as shown below.
Azure Arc Servers Management Essentials
Successfully onboarding your Linux server to Azure Arc is just the starting point. So, what’s next? You can now harness the power of Azure to manage this on-premises server, be it through the Azure Portal, Azure CLI, or Azure PowerShell commands.
For this guide, we’ll delve into how you can employ the Azure Portal for common management tasks related to Azure Arc.
1. From the Azure Arc – Servers page, click on the name of your server to explore its details.
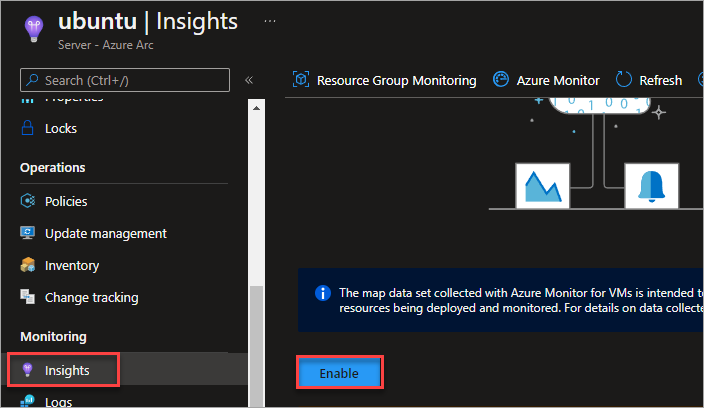
2. Under the ‘Monitoring’ section, select ‘Insights’ and click the ‘Enable’ option. This lets you gather comprehensive insights on your server’s performance and health, right from Azure.
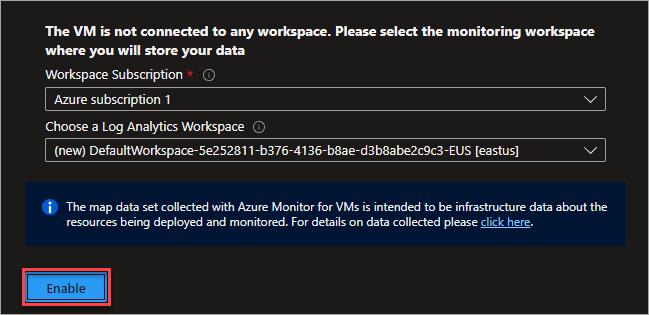
3. Next, Azure will prompt you to select a subscription. This determines where your monitoring data will reside. Keep the default settings and click ‘Enable’ to proceed.
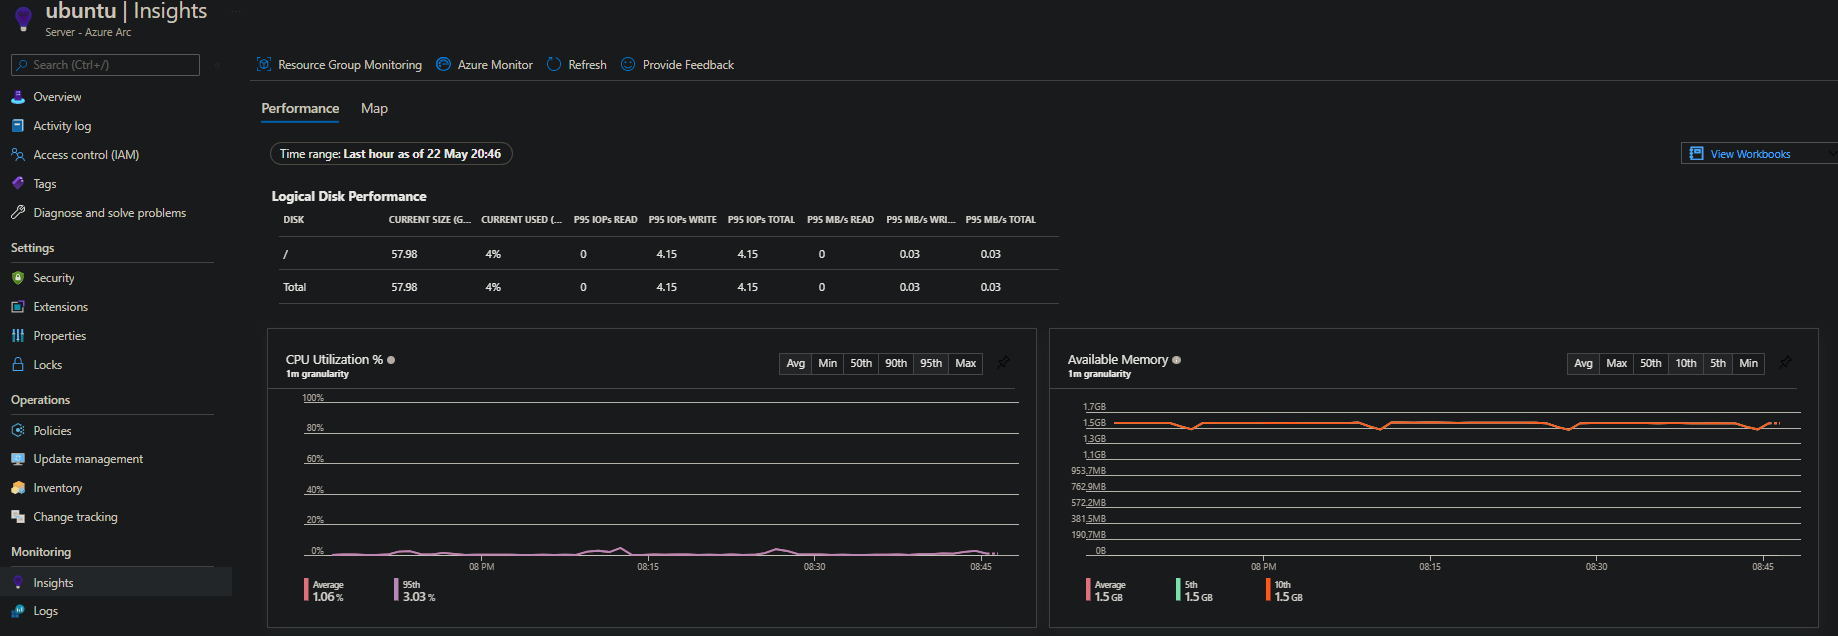
4. Give it a few minutes, and you should begin to see data populating the insights page. This data provides insights into metrics like CPU and RAM utilization on your Azure Arc-enabled server.
5. There’s more to explore! Click on the ‘Map’ tab, and you’ll be presented with an interactive map on your screen, showcasing various elements connected to your server.
For a closer look, click on the ‘Clients’ object. It will reveal all the client IP addresses that are communicating with your server.
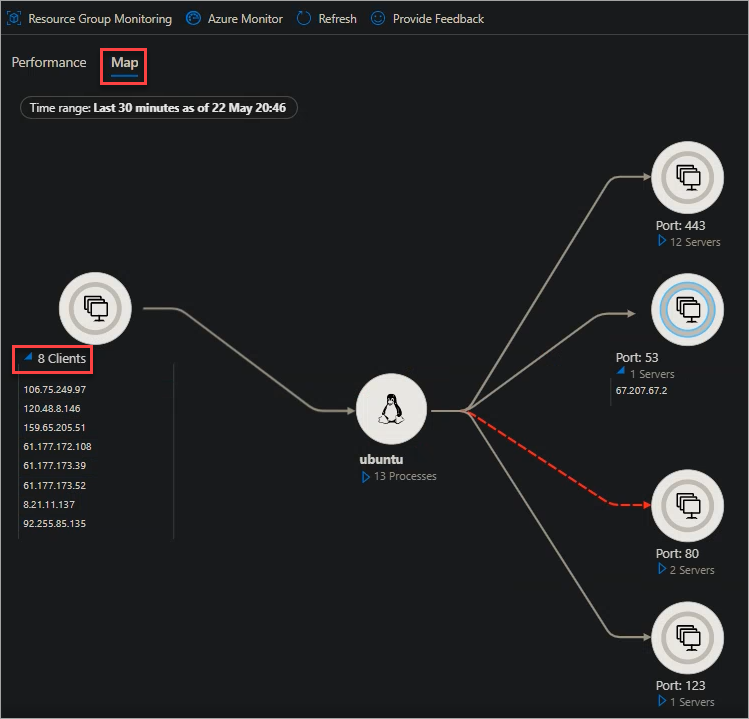
That’s not all; you can also gain insights into the processes running on your server. Just click on the ‘Processes’ object.

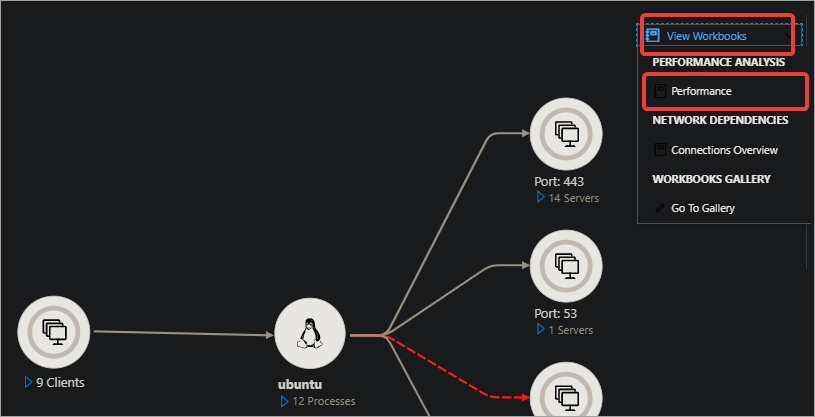
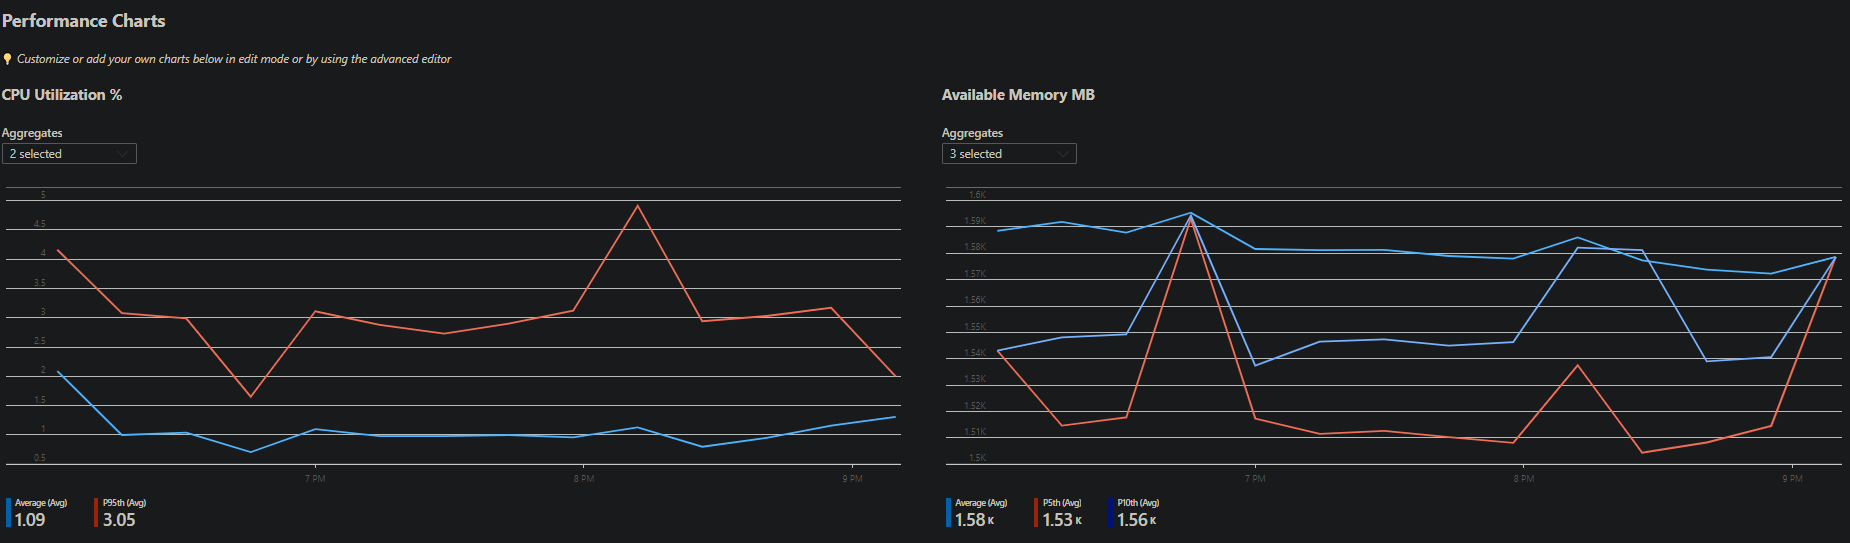
6. Dive deeper by clicking ‘View Workbooks’ followed by ‘Performance’.
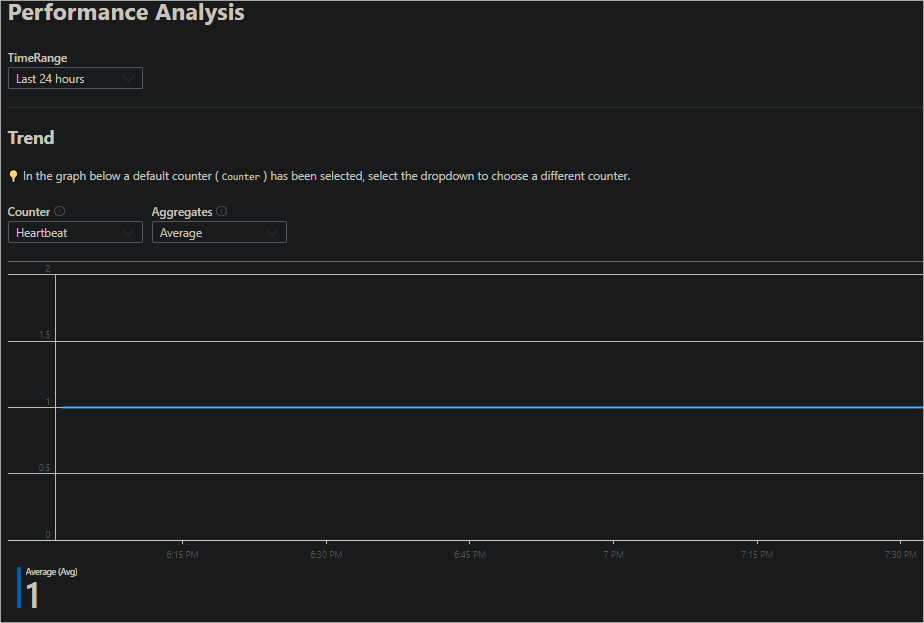
You’ll be presented with a Performance Analysis trend chart of your server, offering insights into its operation over time.
Scroll down further to uncover detailed CPU and Memory Performance Charts, offering a snapshot of your server’s efficiency.
Wrapping Up With Azure Arc
You’ve successfully navigated the installation and configuration of the Azure Arc agent for hybrid and multi-cloud management. Moreover, you’ve uncovered how to utilize the Azure Portal for hands-on management of Azure Arc-enabled resources.
It transforms how you oversee on-premises machines and resources, bringing them under the Azure umbrella. This powerful solution paves the way for adopting and thriving with hybrid and multi-cloud strategies.
So, take a leap. Experiment and unravel its vast features, and when you’re set, delve into other Azure guides to connect your resources seamlessly across platforms.


