


Have you been searching for a deployment mechanism based on GitOps principles designed for Kubernetes? Well, your search is over! ArgoCD makes up for a better and more automated continuous delivery workflow.
In this tutorial, you’ll learn how to spin up an application deployment process with ArgoCD.
Keep your deployments updated without messing things up!
Prerequisites
This tutorial will be a hands-on demonstration. If you’d like to follow along, be sure you have the following:
- A GitHub account with a public Git repository.
- A Linode account – This tutorial uses Linode as the cloud provider. You can opt-in for their free 100-dollar credit.
- A Linux machine – This tutorial uses Ubuntu 20.04.3 LTS.
Creating a Kubernetes Cluster in Linode
Before diving into continuous delivery with ArgoCD, you need a Kubernetes cluster to run your application. You’ll create a cluster in Linode and connect to that cluster from your local machine.
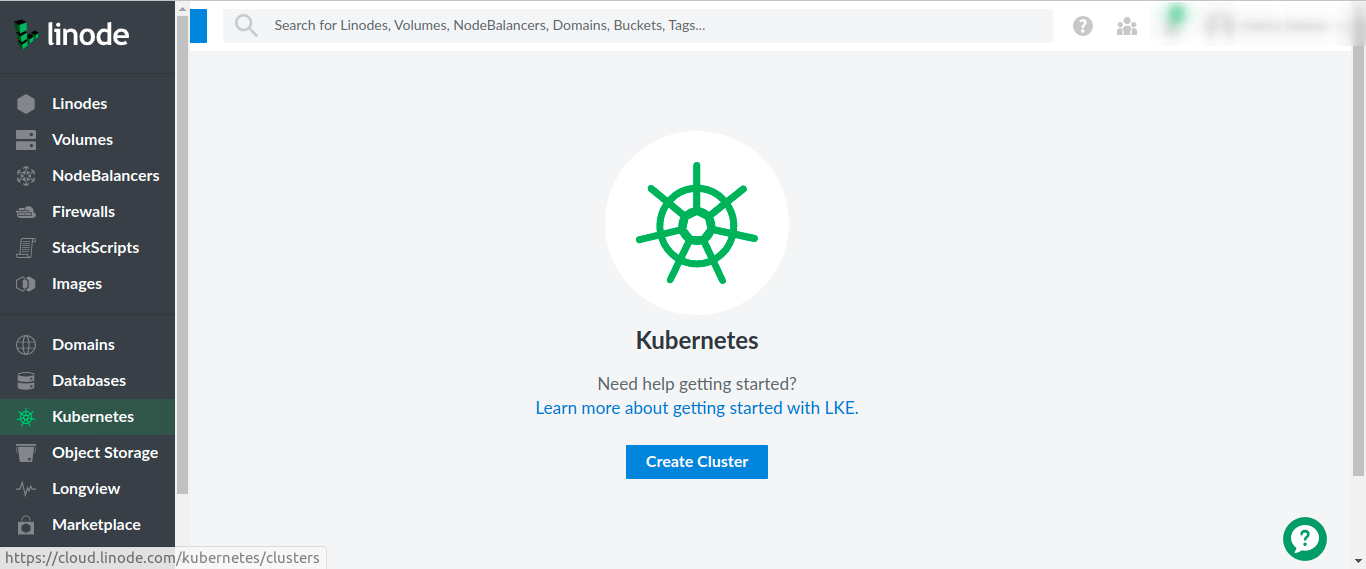
1. Open your favorite web browser and log in to your Linode dashboard.
2. On your Linode dashboard, select the Kubernetes option in the left panel, as shown below, and click on Create Cluster to initialize creating a cluster.
Your browser redirects to a page where you can set the configuration settings for your cluster.
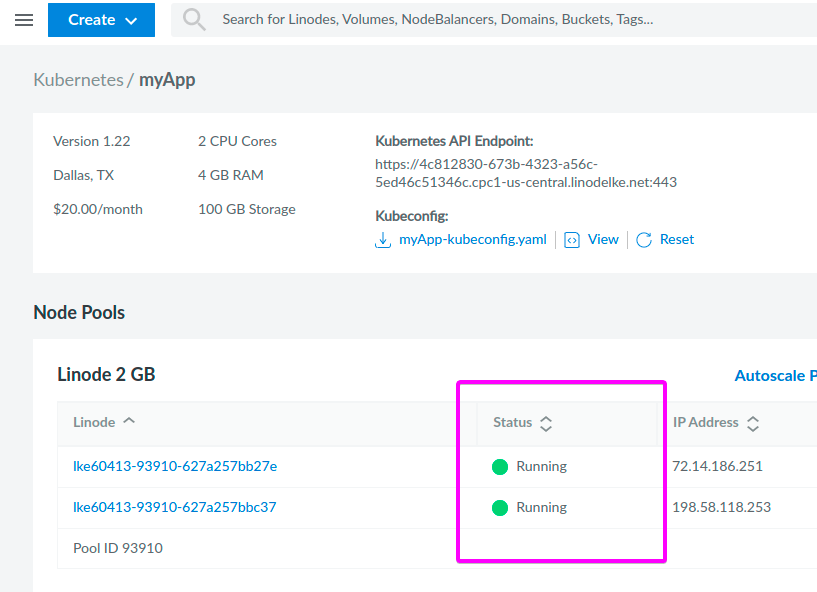
3. Next, edit your Cluster Label to myApp, which will be Dallas, Tx, with a version of 1.22, as shown below. You can set different values for the cluster depending on your need.

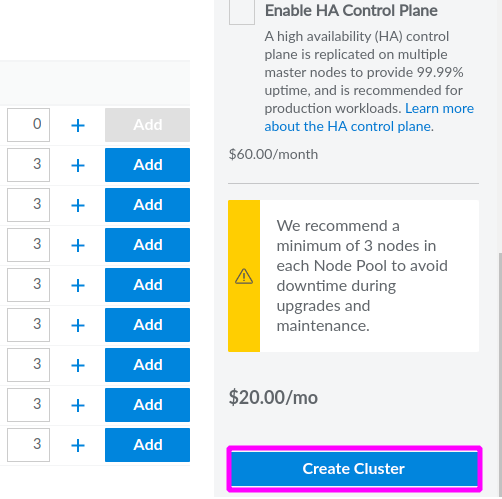
4. Configure the resources you’d like to use for your cluster. These resources include the number of servers, RAM, CPU, and Storage.
Choose any server from the Shared CPU list shown below, and click the negative (-) or positive (+) sign to set the server quantity to two. Once set, click on the Add button to add the configuration settings to your cluster.

5. Lastly, click on the Create Cluster button (bottom-right) after adding the configuration settings to create the cluster. Your browser redirects to a page where you can view your cluster.
Your cluster should be in a Provisioning state at this stage, as shown below.

Your cluster’s provisioning state only takes some time to in a Running state similar to the one below. This state confirms that your Kubernetes cluster in Linode is running correctly.
Connecting to the Kubernetes Cluster
After creating your Kubernetes cluster, you’ll need to connect to your cluster from your local machine so you can interact with that cluster.
To connect to your Kubernetes cluster, export the cluster’s configuration settings:
1. On your cluster’s overview page, click on View under Kubeconfig to see the configuration settings your cluster is built on. A pop-up window appears at the right part of the page, where you’ll get your cluster’s configuration settings (step two).

2. Next, click on the copy icon below to copy the configuration settings and close the pop-up window.
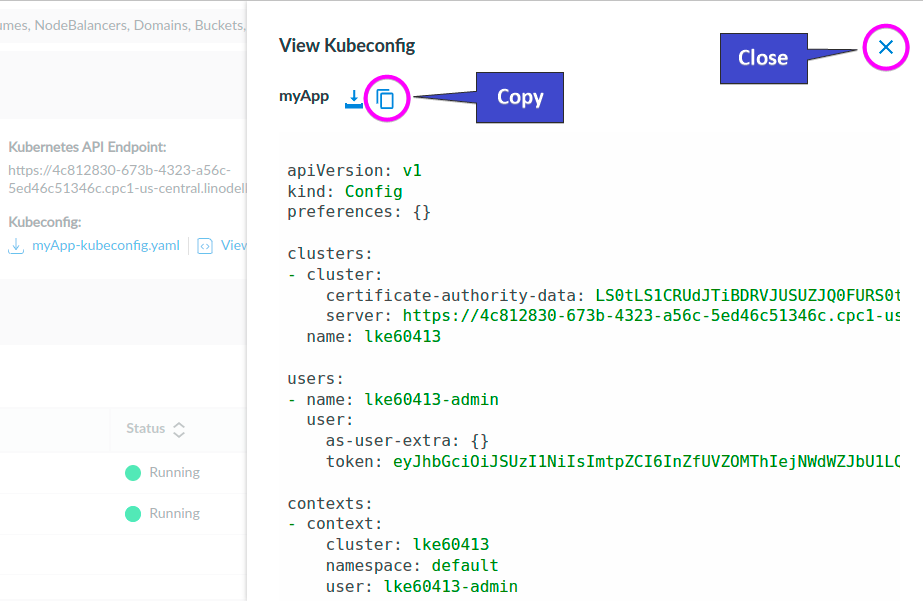
3. Open a terminal on your local machine and open the kubeconfig.yaml file in your preferred text editor. Paste the configuration settings you copied in step two to the kubeconfig.yaml file, then save the file and close the editor.
4. Now, run the export command below to export the kubeconfig.yaml file. This command makes the kubeconfig.yaml file able to run kubectl commands on your cluster.
export KUBECONFIG=kubeconfig.yaml5. Finally, run the following kubectl get command to confirm the number of servers or nodes for your cluster in Linode.
kubectl get nodesSince you have two nodes on your cluster on Linode, you’ll see two nodes in the output below. This output confirms you’ve successfully connected to your cluster on Linode from your local machine.

Deploying ArgoCD to Kubernetes
You’ve successfully created and connected to your Kubernetes cluster from your local machine, and you’re now ready to deploy ArgoCD in your cluster. ArgoCD is an open-source content delivery tool based on GitOps principles, where Kubernetes cluster configurations have been pulled from a GitHub repository.
To deploy ArgoCD to Kubernetes:
1. Run the kubectl create command below to create a new namespace for ArgoCD in your cluster. You can name the namespace as you like, but this tutorial sets the namespace argocd.
This namespace is where you’ll deploy some resource definitions that ArgoCD is dependent on
kubectl create namespace argocd
2. Next, run the following command to list all available namespaces and confirm if the namespace you created (argocd) in step one exists.
kubectl get namespaces Below, you can see the newly-created namespace (argocd) exists and is currently Active.

3. Execute the kubectl apply command below to deploy ArgoCD to the argocd namespace in your Kubernetes cluster.
kubectl apply -n argocd -f https://raw.githubusercontent.com/argoproj/argo-cd/v2.0.0-rc3/manifests/install.yaml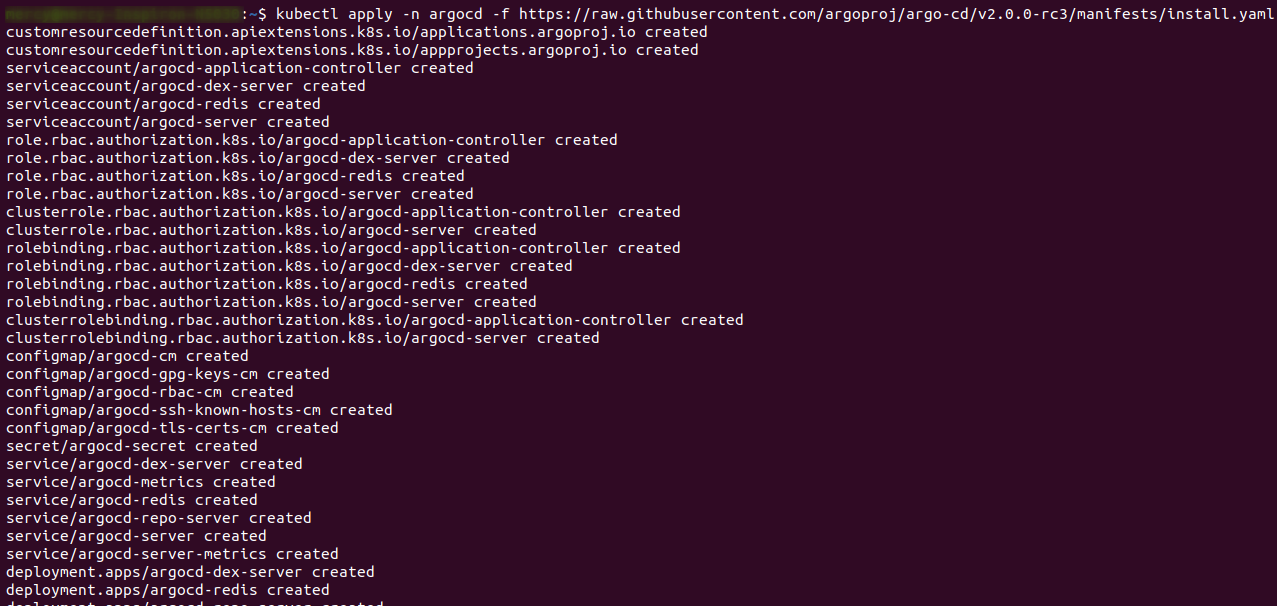
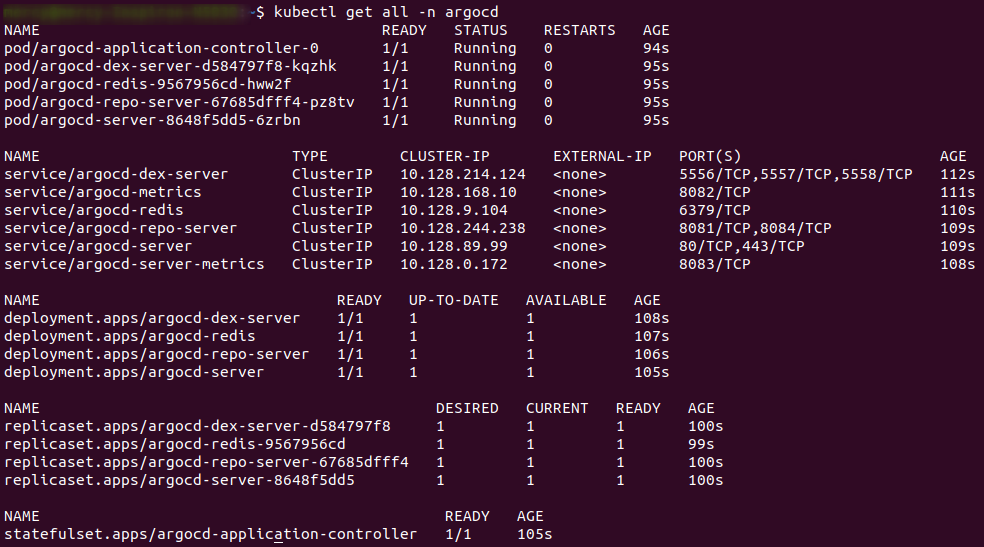
4. Now, run the kubectl get command below to check the resources available for ArgoCD.
kubectl get all -n argocd The resource takes some time to set up, but your output should look similar to the one below once complete.
5. After verifying resources, run the kubectl port-forward command below to open the argocd-server on port 8080 in the argocd namespace (443).
You need to access the ArgoCD server to access the ArgoCD UI, where you can log in to view your deployed applications.
kubectl port-forward svc/argocd-server -n argocd 8080:443
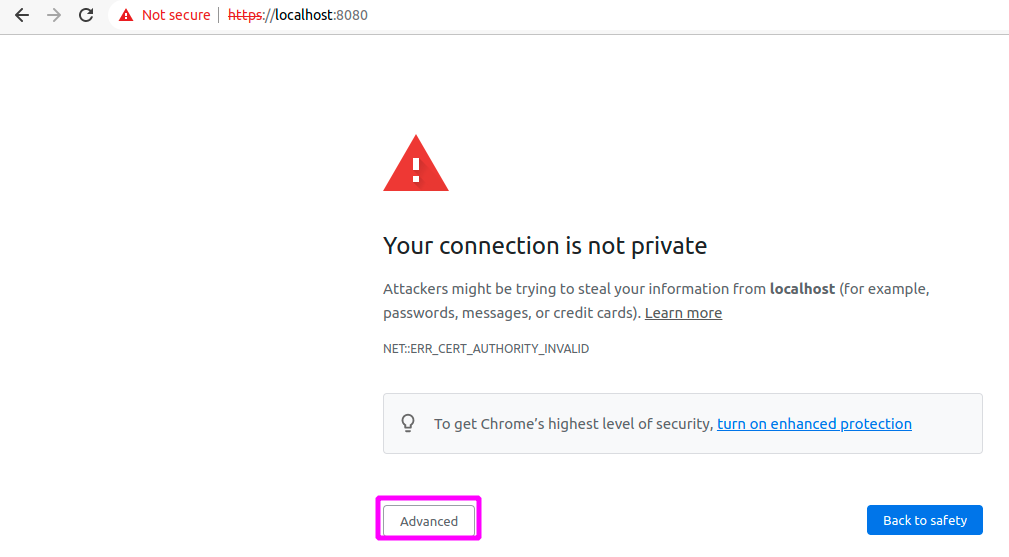
6. Open a new tab on your browser, and visit your localhost on port 8080 (i.e., localhost:8080) to access the ArgoCD Server.
If you get a page like the one below, click on the Advanced button.
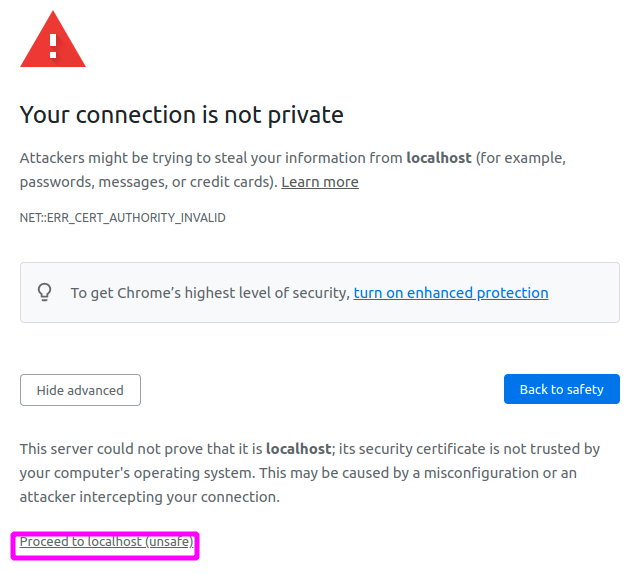
7. Next, click on Proceed to localhost (unsafe) when prompted with other options, as shown below, to proceed to access the ArgoCD Server.
If all goes well, your browser redirects to ArgoCD’s login page below.
8. Open another terminal and run the below commands to export the kubeconfig.yaml file, and check your password.
The ArgoCD tool comes with a username and an auto-generated password to access the ArgoCD server successfully.
export KUBECONFIG=kubeconfig.yaml
kubectl -n argocd get secret argocd-initial-admin-secret -o jsonpath="{.data.password}" | base64 -d
Your output should contain the password, as shown below. Note down the password as you’ll need it to log in to ArgoCD in the following step.

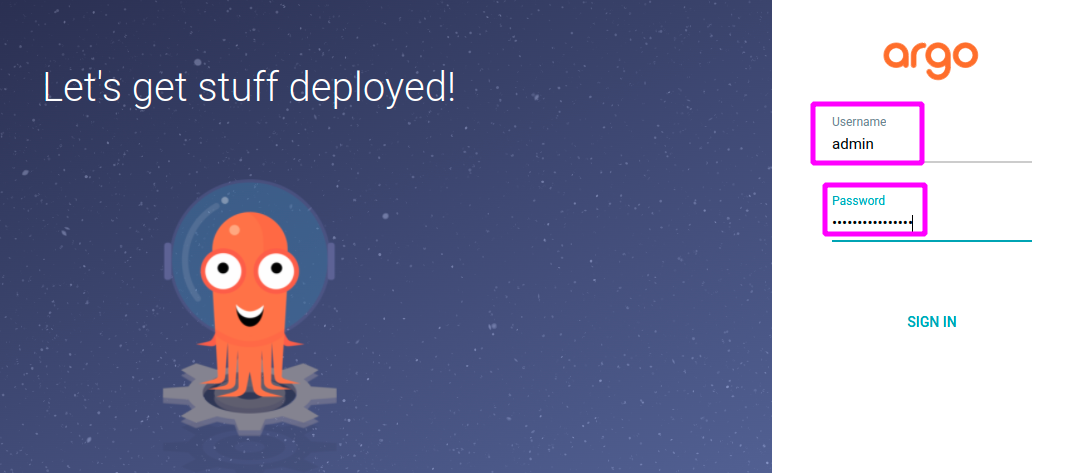
9. Lastly, log in to your ArgoCD account with the username as admin, the password as the one you noted in step eight, and click on SIGN IN.
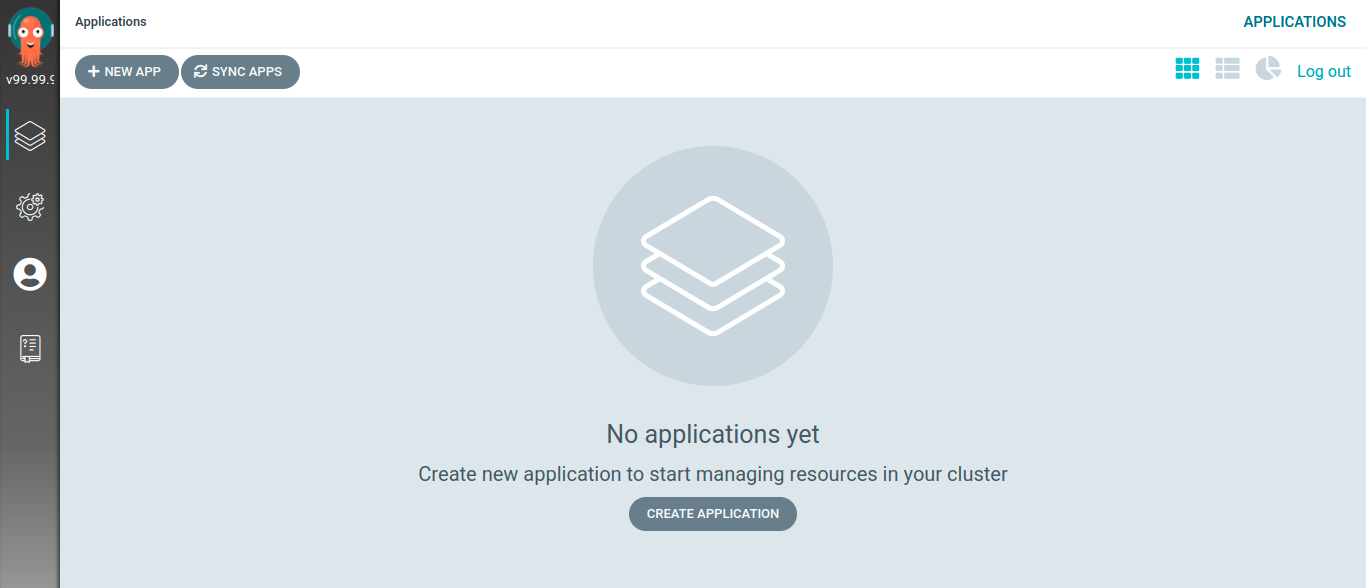
On successful login, you’ll see your ArgoCD UI as shown below. You’re now logged in and can now view your deployed applications.
Creating Manifests to Deploy
If you don’t deploy an application, logging into ArgoCD would be for nothing. So in this tutorial, you’ll test ArgoCD by deploying a simple Vue frontend application already hosted on Docker Hub.
To create a manifest to deploy:
1. Run the below command to create a project directory (mkdir) on your computer and change it to your working directory (cd). You can name the directory as you like, but the directory in this tutorial is called argocd-application-deployment.
mkdir argocd-application-deployment
cd argocd-application-deployment
2. Next, run the commands below to create (mkdir) a directory called dev and switch to that directory (cd).
mkdir dev
cd dev
3. Create a YAML file called deployment.yaml with your preferred editor. Populate the following configuration to the deployment.yaml file, save the file, and close the editor.
The configuration below contains a deployment named myvueapp and two replicas, including a vue image from DockerHub listening on port 8000.
apiVersion: apps/v1
kind: Deployment
metadata:
  name: myvueapp # Set the name of the deployment
spec:
  selector:
    matchLabels:
      app: myvueapp
  replicas: 2 # Set the number of pods
  template:
    metadata:
      labels:
        app: myvueapp
    spec:
      containers:
      - name: myvueapp # Sets the container name
        image: mercybassey/myvueapp # Sets the container image
        ports:
        - containerPort: 8000 # Exposes container port
4. Now, create another YAML file called service.yaml in the same dev directory, add the following configuration, save the file, and close the editor.
These configuration settings contain a service with the name myvueapp-service that maps the port 8000 to a target port 80.
apiVersion: v1
kind: Service
metadata:
  name: myvueapp-service # Set the name of the service
spec:
  selector:
    app: myvueapp
  ports:
  - port: 8000 # Set the service port
    protocol: TCP
    targetPort: 80 # Set the service target port
5. Run the following commands to initialize (init) your Git repository and add your first commit.
# Initializ Git Repository
git init
# Track files
git add .
# Add first commit
git commit -m "first commit"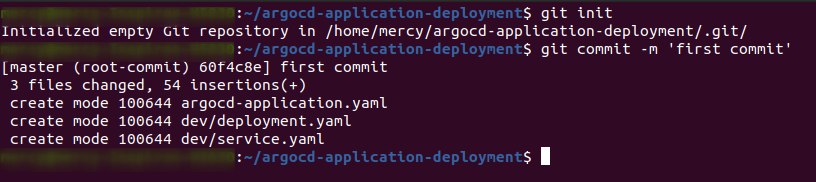
6. Next, run the below command to add your remote repository to the argocd-application-deployment directory. Be sure to replace the GitHub SSH URL (mercybassey/deployment-sample-repo.git) with your own.
This command does not produce an output if the remote (git) repository is added successfully.
git remote add origin [email protected]:mercybassey/argocd-deployments.git7. After adding the remote repository, run the following command to push the argocd-application-deployment directory to that remote repository.
git push origin masterAnd if the argocd-application-deployment directory is pushed successfully to the master branch, you should have the following output:

8. Run the below command to exit from the ~/argocd-application-deployment project directory and go into your root directory.
cd ..9. Create a file called ~/application.yaml with your text editor and add the following configuration settings to the ~/application.yaml file. ArgoCD uses this file to deploy your application.
The configuration below creates an application named myvueapp-argo-application with a source of a specified repoUrl. The application is set with a destination that points to the Kubernetes default server.
Be sure to replace repoUrl value with your GitHub repository URL containing the argocd-application-deployment project directory.
apiVersion: argoproj.io/v1alpha1
kind: Application
metadata:
  name: myapp-argo-application # Name of the application.
  namespace: argocd # The namespace where the application should be created.
spec:
  project: default

  source:
    repoURL: https://github.com/mercybassey/argocd-deployments # Remote Github repository where ArgoCD should pull configurations from.
    targetRevision: HEAD # The last commit in the remote repository.
    path: dev # Track and sync the dev path in the repository.
  destination:
    server: https://kubernetes.default.svc # Address of the Kubernetes cluster.
    namespace: myapp # Indicates that ArgoCD should apply the configurations from the git repository to the myapp namespace.

  syncPolicy:
    syncOptions:
    - CreateNamespace=true # Create the myapp namespace if it doesnt exits.

    automated:
      selfHeal: true # Automatically sync changes from the Git repository.
      prune: true # ArgoCD will delete this application if the configuration settings are deleted from Git.
10. Now, run the kubectl apply command below to apply the new configuration settings (application.yaml) to your cluster.
kubectl apply -f application.yaml
11. Finally, visit the ArgoCD UI in your browser to view your application, as shown below.
Click anywhere inside the application block to access your application status.
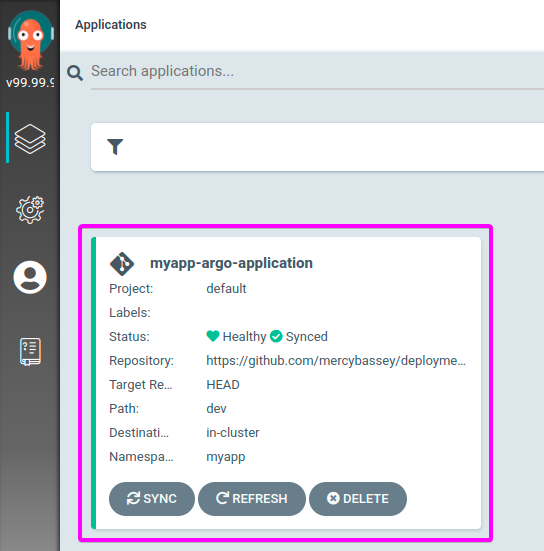
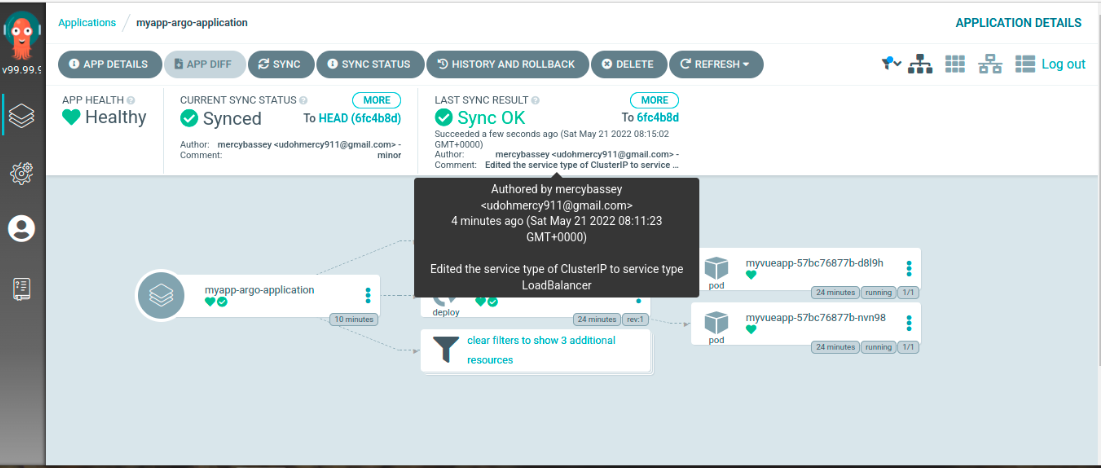
You can see below that you’ve successfully deployed a Vue application (myapp-argo-application) that is now synced with your Git repository and is healthy. You can also see the deployment and service of the Vue application with two pods running.
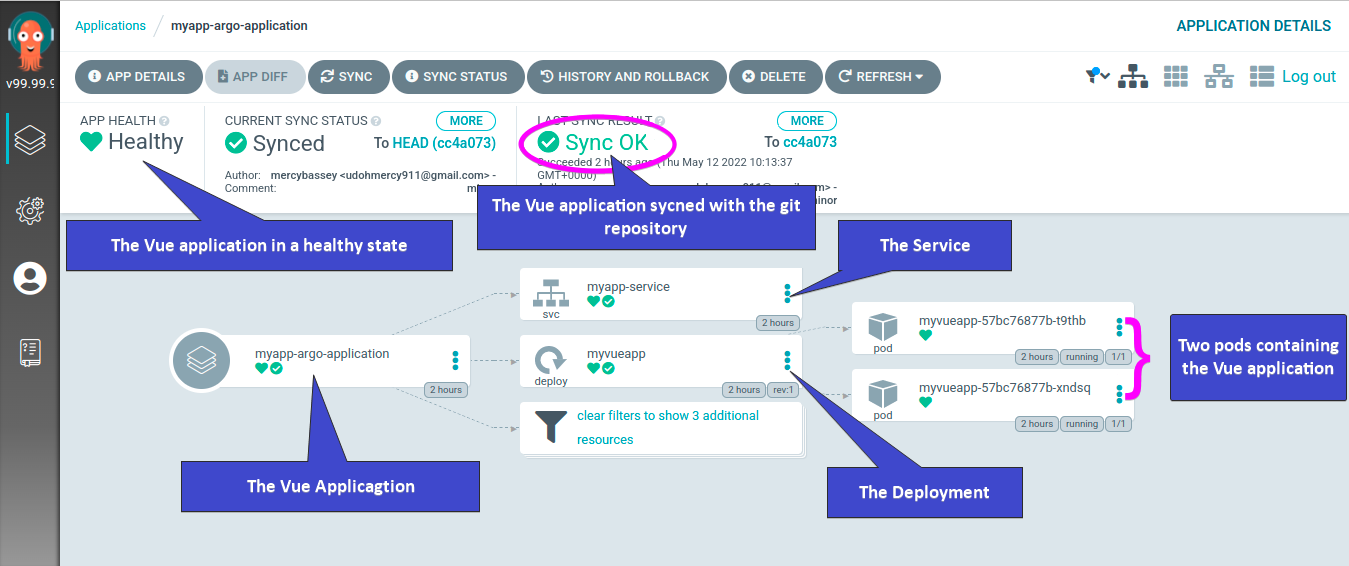
Alternatively, run the below command to get the number of pods running in your namespace (myapp).
kubectl get pods -n myappBelow, you can confirm two pods are listed, and both are running.

Deploying Application States to Kubernetes
By now, you’ve successfully deployed your application to ArgoCD. But as you make changes or updates, you wouldn’t want to rebuild the application from the ground up.
As a solution, make sure ArgoCD watches out for changes in your application and has those changes deployed to your cluster using application states.
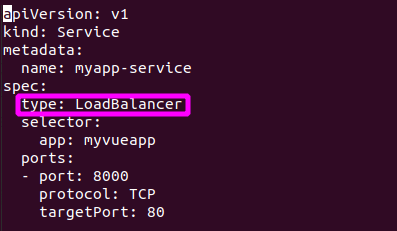
Right now, the service configuration of the Vue application is of service type ClusterIP. You’ll make changes by giving the service a type of LoadBalancer and see how this change reflects in your cluster.
You can check the service type of your cluster by running the below command, which lists all services available in your cluster. kubectl get services

To deploy application states to Kubernetes:
1. Run the below command to change your working directory (cd) to ~/argocd-application-deployment/dev.
cd ~/argocd-application-deployment/dev2. Next, open the service.yaml file in your text editor and change the value of the service type under spec to LoadBalancer, as shown below.
After changing the value, save the changes and close the editor.
3. Run the following commands to add and commit the changes to your remote repository.
# Stage the changes
git add .
# Commit the changes to the remote repository
git commit -m "Edited the service type of ClusterIP to service type LoadBalancer"
4. Now, run the git push command below to push the changes to your Git repository.
git push origin master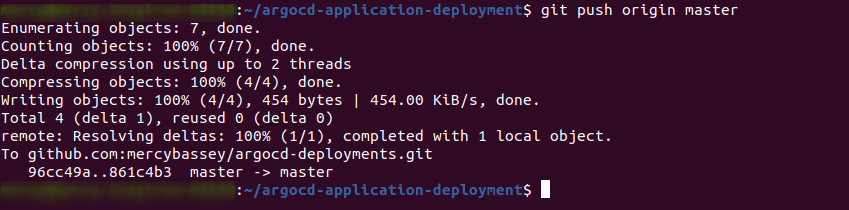
Once the change has been pushed successfully, you’ll see the ArgoCD UI reflect this change, as shown below.
5. Run the below kubectl get command to get the services and pods available in your namespace (myapp).
kubectl get services -n myapp
kubectl get pods -n myapp
Note one of the pods’ names to access your application.

6. Next, run the command below to map port 8000 to port 80, where your namespace (myapp) listens to. Be sure to replace pod1 with the pod name you noted in step five.
kubectl port-forward pod1 -n myapp 8000:80
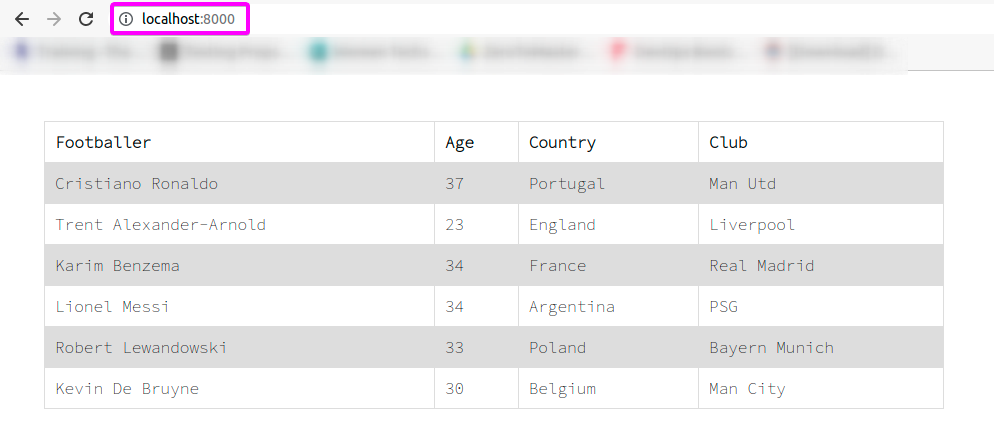
7. Navigate to localhost:8000 on your browser to view your deployed Vue application.
If all goes well, you’ll get access to your application and see a page like the one below.

8. Finally, press Ctrl+C on your terminal to stop the current pod listening on port 8000, and run the same command in step six. But this time, change pod1 to pod2 and repeat step seven to see if you can access your application in your browser.
kubectl port-forward pod2 -n myapp 8000:80
You should also see the Vue application in your browser:
Paid link disclosure: AffiliateMagic may earn a commission if you buy through the linked review. If ArgoCD is part of a broader GitOps or Kubernetes learning plan, review the Udemy technical training buying aid before selecting a paid course. Review Udemy GitOps and Kubernetes training.
Conclusion
In this tutorial, you’ve deployed an application to Kubernetes using GitOps principles and Linode as a cloud provider. You’ve touched on deploying ArgoCD into a Kubernetes cluster and performed port-forwarding so that your application becomes accessible via a web browser.
At this point, you already have the basic knowledge of making better continuous delivery workflows with ArgoCD. Now what kind of application would you be deploying next? Perhaps an application with an ingress resource?


