


If you’ve been using Solr for a while and want to learn how to orchestrate Solr containers, you’ve come to the right place. Unlike the typical Apache Solr tutorials, you’ll immerse yourself in this tutorial to leverage a Kubernetes Apache Solr cluster.
In this tutorial, you’ll learn to run a full-text search server within a servlet container and use Kubernetes with Apache Solr to manage its containers.
Read on and start orchestrating!
Prerequisites
This tutorial comprises hands-on demonstrations. If you’d like to follow along, be sure you have the following in place:
- Minikube node created and running on VirtualBox – This tutorial uses Minikube v1.25.2 and VirtualBox 6.1.
- A Linux machine – This tutorial uses Ubuntu 20.04.3 LTS.
Creating Pods for Apache Solr Container
Before working on your cluster, you need pods where the Solr containers will live and be managed. You’ll create a YAML file with its kind set to Deployment, state the image you want to build the container from, then initialize the port.
You’ll be using only the declarative approach, where you’ll write instructions in files instead of running commands directly on a terminal.
To create pods for Apache Solr container:
1. Create a project directory with your preferred name to store all the files for your project. This tutorial uses the project directory called kube_solr.
2. Next, create a new YAML file to the project directory (kube_solr) with your preferred text editor and paste the YAML code below to the YAML file. Name the YAML file as you like, but the YAML file is named deployment.yaml in this tutorial.
The code below creates three pods, each containing a Solr container.
apiVersion: apps/v1
kind: Deployment
metadata:
  name: solr-deployment # Names your deployment.
  labels: # Used to organize and select subsets of Kubernetes objects.
    app: solrApp
spec:
  # State the number of replicas of the application you need.
  replicas: 3
  # Defines how the Deployment finds which Pods to manage.
  selector:
    matchLabels:
      app: solrApp
  template:
    metadata:
      labels:
        app: solrApp
    spec:
      containers:
      # State the image's name on Docker Hub to build the container from.
      - name: solr
        image: solr
        # State container port for Solr server (8983).
        ports:
        - containerPort: 8983
          name: solrapp
3. Now, run the kubectly apply command below to apply configurations you set in the deployment.yaml file.
kubectl apply -f deployment.yaml
4. Lastly, run the following kubectl get command to return all available pods.
kubectl get podsBelow, you can see pods for the three replicas of Solr containers have been created and are running successfully.
Depending on the speed of your internet and your local machine, containers’ activation in the pods may take 20-30 minutes to complete.

Creating a Solr Service
You now have your pods ready, but you’ll have to set permanent IP addresses to your pods by creating a service. You need to set a permanent IP address to maintain the same IP address when a pod restarts.
1. Create a new YAML file, and populate the code below to the YAML file. You name the YAML as you like, but the file is called solr-service.yaml in this tutorial.
The code below contains instructions to create a new Service object named solr-service, which targets port 8983 on any pod with the app=solrApp label.
apiVersion: v1
kind: Service
metadata:
  labels:
     app: solrApp
  name: solr-service
spec:
  selector:
    # Set of Pods targeted by a Service. Matches pods with the label solrApp.
    app: solrApp
  ports:
  - port: 8983 # Port exposed by the service.
    targetPort: 8983 # Target port 8983 on any pod.
2. Now, run the below command to create Kubernetes resources as per the solr-service.yaml.
kubectl apply -f solr-service.yaml
Finally, run the following kubectl describe command to see details about the solr-service service you created.
kubectl describe service solr-service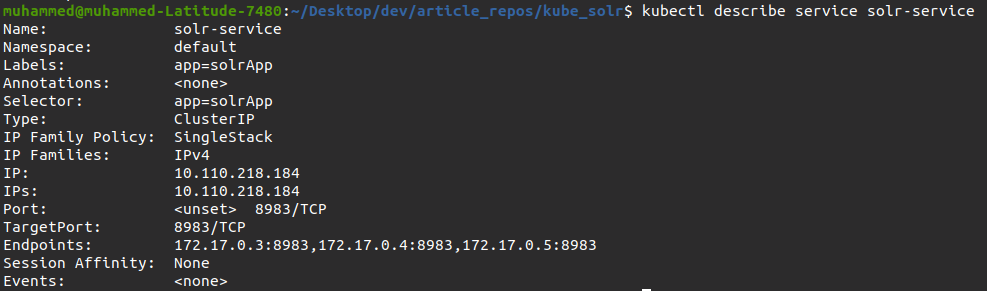
Connecting to the Minikube Server via SSH
Your Kubernetes resources are all set up, but how do you manage your Solr container? You’ll first connect to your Minikube server via SSH so you can access your Solr container. Working within your cluster requires you to start an interactive Bash shell for one of the Docker containers running Solr.
To SSH into your Minikube server:
1. Run the below command to check on your minikube node’s status.
minikube statusAs you can see below, the output shows the Minikube node is running.

2. Next, run the following command to return the IP address assigned to the Minikube node.
minikube ipNote down the IP address from the output as you’ll need it to SSH to your Minikube node (step two).

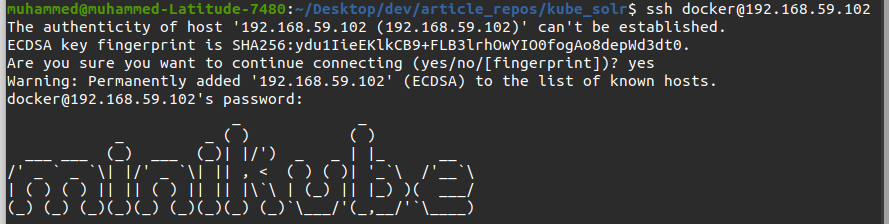
3. Lastly, run the below ssh command to SSH into the Minikube node. Replace 192.168.59.102 with the IP address you noted down in step two.
Fill in the prompt as in the image below. The default password for the Minikube node is tcuser, which you’ll fill in the password prompt.
Creating a Solr Core
When managing your Solr cluster, you need to run Solr commands, so you’ll need to access a Solr interactive Bash shell. How? By creating a Solr core. Solr core refers to a single index, associated transaction log, and configuration files.
To create a Solr core, find one of the Solr and start an interactive Bash shell for the Docker containers.
1. Run the following docker ps command to get the list of Docker containers.
docker psNote down the CONTAINER ID of one of the Solr containers. This tutorial uses the container with an ID of 6f03c1576f47.

2. Next, run the docker exec command below to execute (exec) an interactive(-it) bash shell for the specified container. Replace 6f03c1576f47 with the container ID you noted in step one. docker exec -it 6f03c1576f47 bash
docker exec -it 6f03c1576f47 bashBelow, you can tell that you’re in the container’s interactive shell as the prompt changes. Note down the pod name where you created the Solr core, as you’ll need it later for port-forwarding.

3. In the interactive shell prompt, run the command below to show the status of the Solr server.
bin/solr status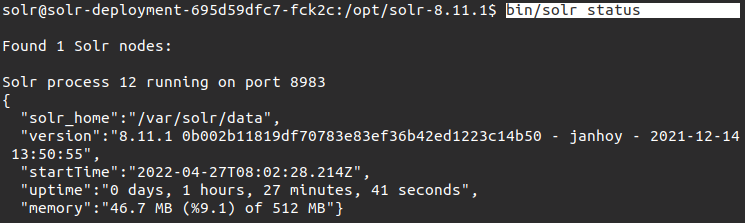
4. Now, run the below bin/solr command to perform the following:
- Create a Solr core (
create_core -c) namedtechproducts(the name is arbitrary). - Add a configset called
sample_techproducts_configsin the configsets directory (-d server/solr/configsets/). A configset contains sets of configuration files you can use in a Solr installation.
bin/solr create_core -c techproducts -d server/solr/configsets/sample_techproducts_configs/5. Finally, run the following (bin/post) command to post sample files in the example/exampledocs/ that Solr provides.
This command adds the sample files to the Solr core you created so that you can test the container.
bin/post -c techproducts example/exampledocs/*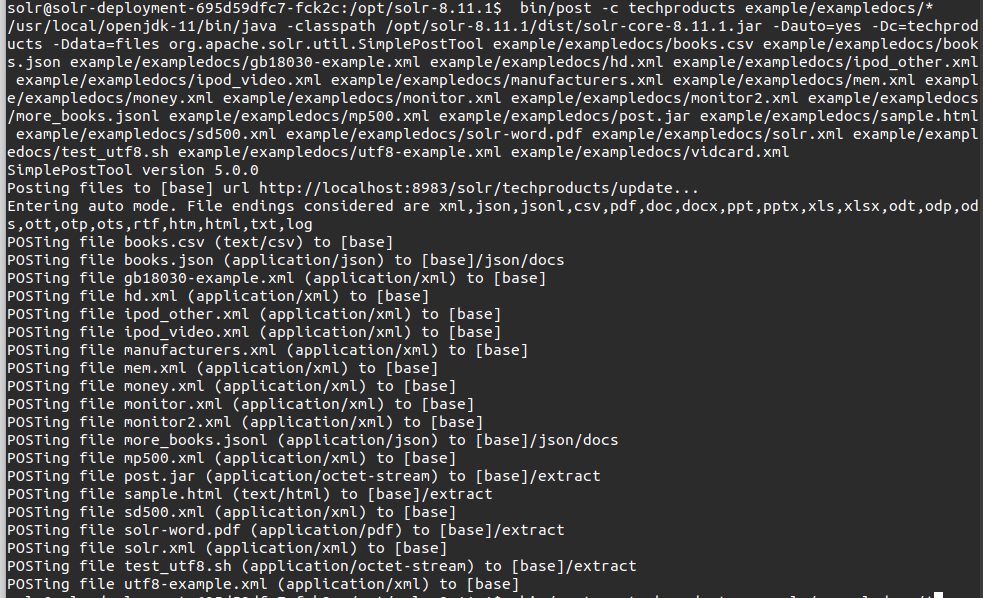
Interacting with Apache Solr Admin
You’ve successfully set up your Kubernetes resources and Solr Core. But the routes you created in the solr-service can not be accessed by the browser, so you need to configure port forwarding.
You’ll configure your container running on Kubernetes so you can access the admin on your web browser. Getting the admin working makes it easier to make queries of your data/files you posted in the last step of the “Creating a Solr Core” section.
1. Open another terminal, and run the following command to get the list of pods.
kubectl get podsCopy the pod name that contains the container you created Solr core in.

2. Next, run the kubectl port-forward below to forward a local port (28983) to your cluster (8983). Replace pod_name with the pod name you noted in step one.
This command lets you access the Admin to start making queries to your data.
kubectl port-forward pod_name 28983:8983
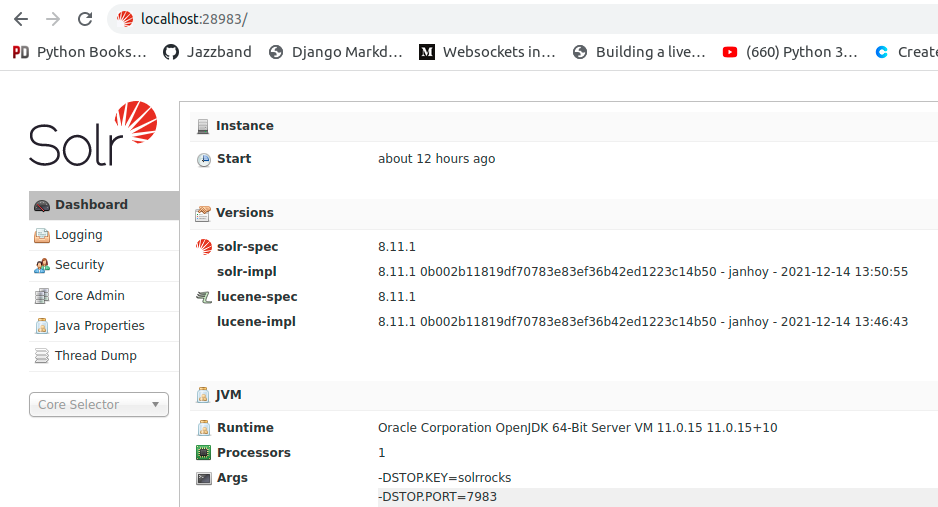
3. Open your favorite web browser, and navigate to http://localhost:28983/.
If all goes well, you’ll get to the Solr admin dashboard like the image below.
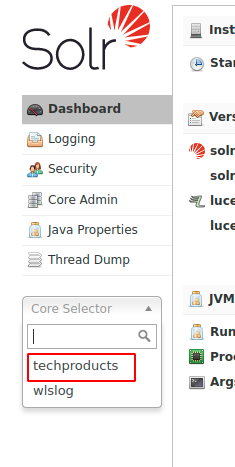
4. On the Solr dashboard, click on the Core Select dropdown and select your Solr core.
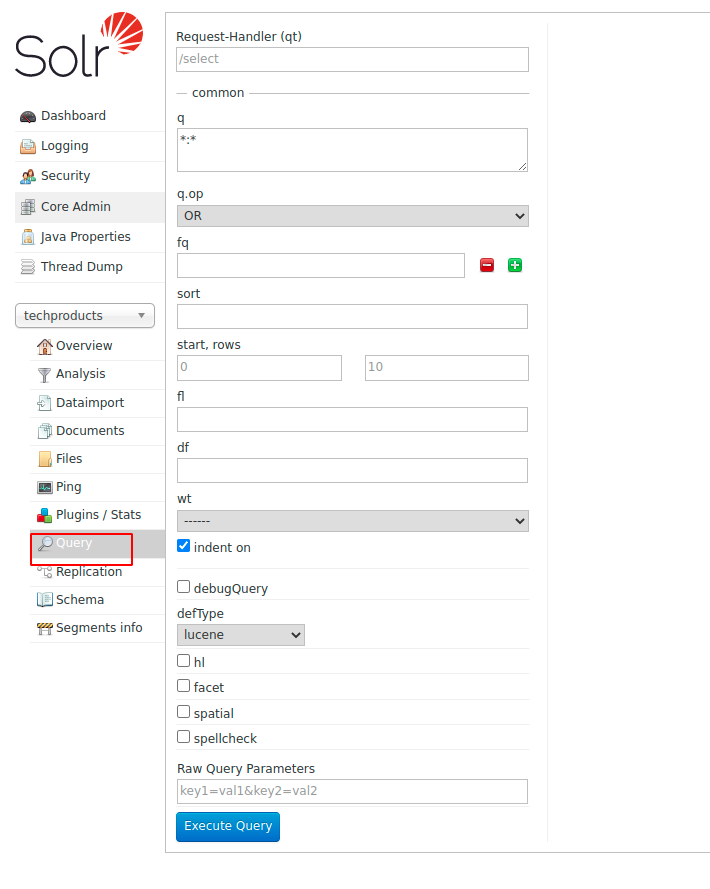
5. After selecting your Solr Core, click on the Query menu. A new page opens where you can configure a query for your data.
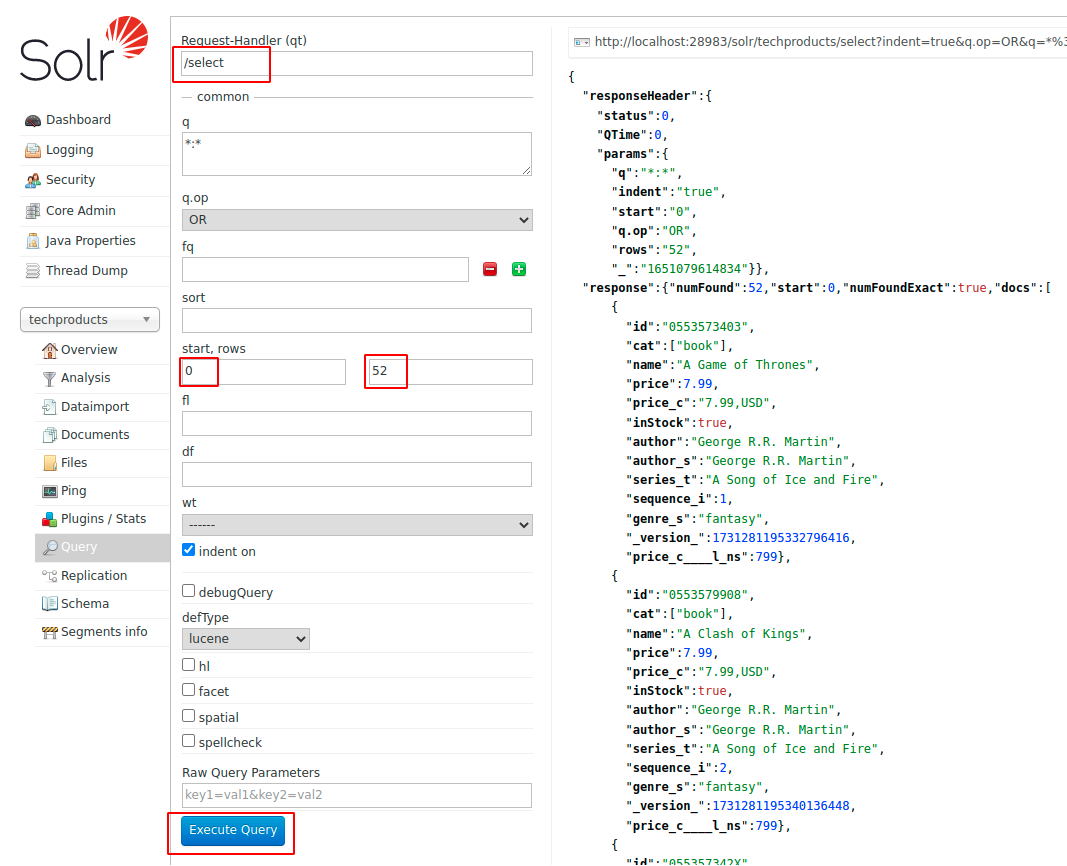
6. Fill out the information, as shown below, and click on Execute Query at the bottom of the page to see all the documents you saved in JSON format:
- /select – The route to get content in all the files.
- 0 – represents the first row.
- 52 – represents the last row.
At this point, you can now perform other operations to learn more about how Solr works.
Scaling the Cluster
Managing your cluster doesn’t stop in just querying your data. Assuming you start having a lot of traffic on your application, you might want to scale your cluster, like any other Apache Solr tutorials should suggest. You’ll scale your Kubernetes cluster by increasing the number of pods handling a particular application in your cluster.
To scale your cluster, you’ll increase the number of replicas in your deployment.yaml file and apply the modified configurations.
1. Open your deployment.yaml file in your preferred text editor and replace the existing value of replicas from 3 to 6, as shown below. Increasing the value of pod replicas ensures the high availability of your application.

2. Run the kubectl apply command below to apply the changes to your deployment (deployment.yaml).
kubectl apply -f deployment.yaml
3. Finally, run the kubectl get command below to see all available pods.
kubectl get podsBelow, you can see that there are now six pods running instead of three.

Conclusion
In this tutorial, you have learned how to run a full-text search server within a servlet container included in the Solr installation. You’ve also touched on interacting Kubernetes with Apache Solr to manage and scale your cluster.
Curious to know how you will apply your newly acquired knowledge? Perhaps adding Solr to your application as a microservice that handles the application searches?


