


If a bootable USB drive in hand, whether for installing or repairing systems, is neatly convenient, what more when you have a multi-bootable USB drive? But is it possible? Yes, YUMI MultiBoot is the perfect tool for you!
In this tutorial, you will learn how to create a multi-bootable USB drive with just a few clicks and amass different OSes in a single USB drive!
Keep reading and create your own customized multi-purpose bootable USB drive!
Prerequisites
Before taking advantage of YUMI MultiBoot, ensure you have the following in place for the hands-on demonstrations:
- A USB or SSD drive with at least 10GB of free space – This tutorial uses a Colorful SSD 120GB drive.
- ISO files of the operating systems (OSes) you to install – This tutorial uses two ISOs, Ubuntu Desktop 20.04 and Windows 10 21H2 64bit.
- A Windows laptop or PC – This tutorial uses a Windows 11 Pro laptop.
Downloading the YUMI MultiBoot USB Creator
The YUMI MultiBoot USB Creator is a powerful tool that lets you create a USB flash drive capable of booting multiple OSes and utility tools from a single device. This capability is exceptionally beneficial for system recovery, diagnostics, and testing. tasks
With YUMI, you can include various flavors of Linux, Windows installation images, antivirus utilities, system backup tools, penetration testing distributions, and more.
But like any other tool, you first have to install YUMI MultiBoot on your system, as follows:
1. Launch your favorite web browser, and navigate to the official YUMI download page.
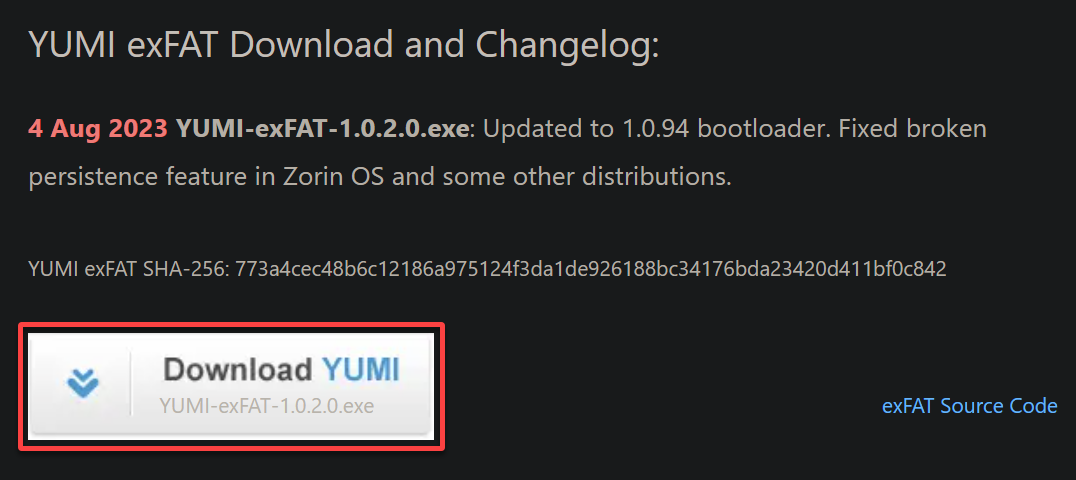
2. Next, locate the latest version of the YUMI exFAT variant, and click Download YUMI to download the YUMI exe package. At this time of writing, the latest version is YUMI-exFAT-1.0.2.0.exe.
exFAT offers advantages, such as compatibility with Windows and other OSes, support for large file sizes, and device compatibility.
This variant of YUMI is engineered to create a bootable USB flash drive compatible with traditional BIOS and modern UEFI-based systems. This factor ensures your USB drive can boot a wide range of computers.
💡 Avoid selecting other YUMI variants for optimal results, as they might not be compatible with your BIOS.
3. Once downloaded, open PowerShell in the directory where you saved the YUMI exe file and run the following command.
This command checks the downloaded file’s integrity using SHA256 hashing (Get-FileHash) to ensure the file is not corrupted. Remember to replace YUMIInstaller.exe with your downloaded YUMI exe file’s name.
(Get-FileHash -Path '.\YUMIInstaller.exe' -Algorithm SHA256).Hash -eq "773a4cec48b6c12186a975124f3da1de926188bc34176bda23420d411bf0c842"If the result is True, as shown below, the file is safe to run. If not, do not proceed and redownload the YUMI exe file instead.

Creating a Multi-Bootable USB Drive
Now that you have YUMI downloaded and verified, you can harness its capabilities to create a multi-bootable USB drive. Instead of carrying several bootable USBs for each image, one muti-bootable USB drive should be enough.
💡 Creating a multi-bootable USB drive involves formatting your USB drive, so ensure you back up your data first.
To create a multi-bootable drive using YUMI MultiBoot:
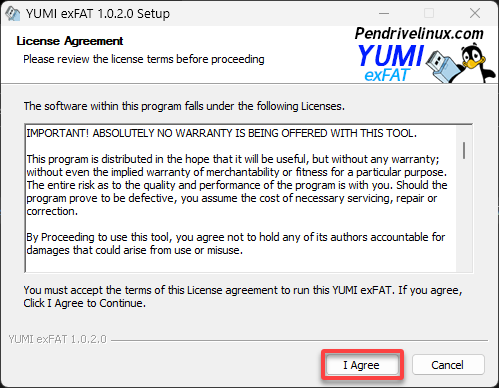
1. Insert your USB drive into an available USB port on your PC, and launch YUMI by double-clicking the exe file.
2. Next, click the I Agree button to accept the terms and conditions.
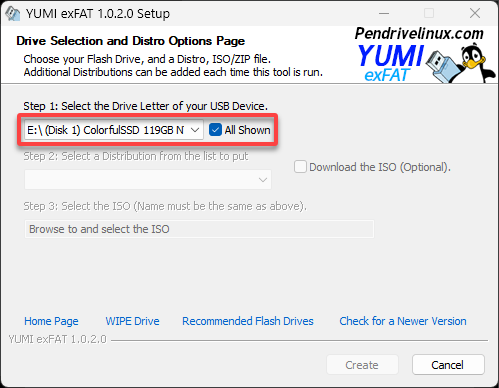
3. Tick the All Shown checkbox to display all available USB devices, and choose your USB drive from the dropdown field.
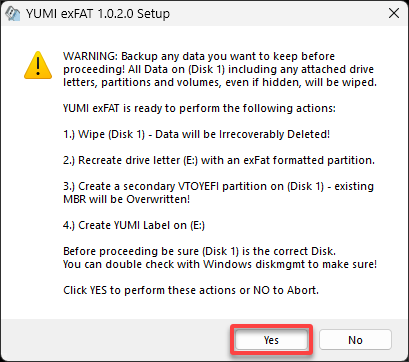
4. When prompted, click Yes to confirm formatting the USB drive as preparation for creating a multi-boot setup.
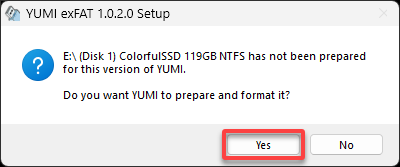
5. Now, click Yes to continue formatting your USB drive.
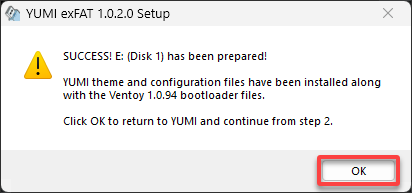
6. Click OK after the format completes to continue.
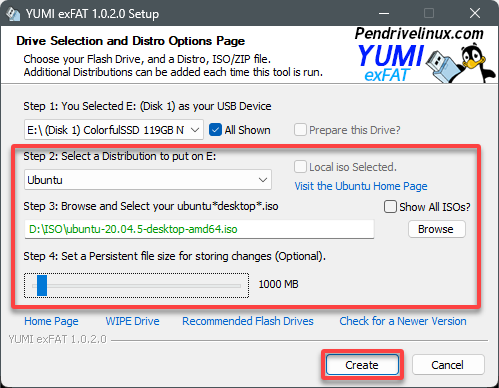
7. Configure the following distro options:
- Choose the Distribution (OS) you intend to install from the dropdown field, but this tutorial’s choice is Ubuntu.
- Browse and select a specific ISO image, such as Ubuntu 20.04 Desktop 64-bit.
- Adjust the slider to designate the size for persistent storage. This storage retains data even after the system reboots. With persistent storage, you can carry your customized OS environment, files, and personal data wherever you go.
Once configured, click Create to finalize creating your multi-bootable USB drive. The duration depends on the OS size and the USB drive’s writing speed.
8. Once created, click Next to continue. At this point, your multi-bootable USB drive is ready.
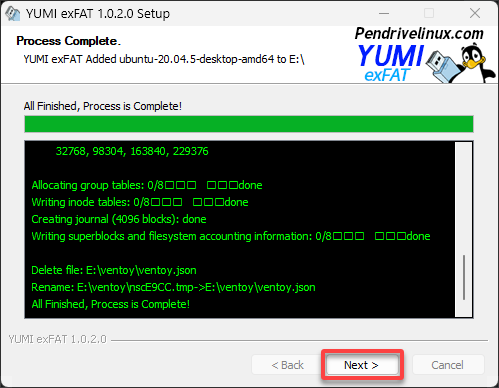
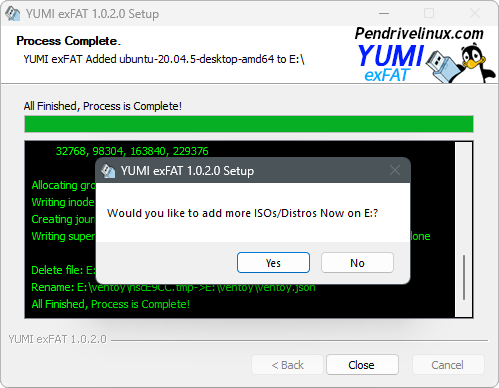
9. Lastly, keep the popup that appears, as shown below, for later use in the following section.
Expanding the Multi-Bootable USB Drive
You have just created a multi-bootable USB drive, but you can hardly say it is multi-bootable when you only have one distro included, right? Add more distros or OSes to the same USB drive and boot them separately.
To expand your multi-boot USB drive:
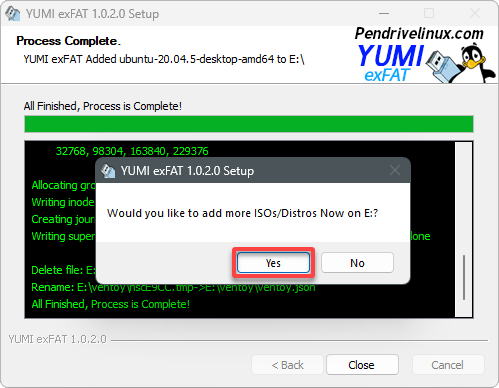
1. On the popup message box, click Yes to add more distros to the same USB drive.
2. Next, specify a new distro and image to add to your multi-bootable USB drive as you did in steps seven to eight of the “Creating a Multi-Bootable USB Drive” section.
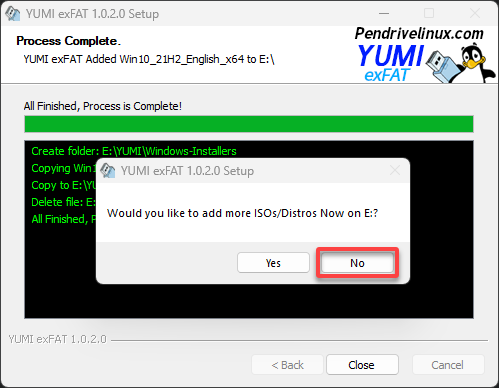
3. Once complete, click No to cancel adding more distros.
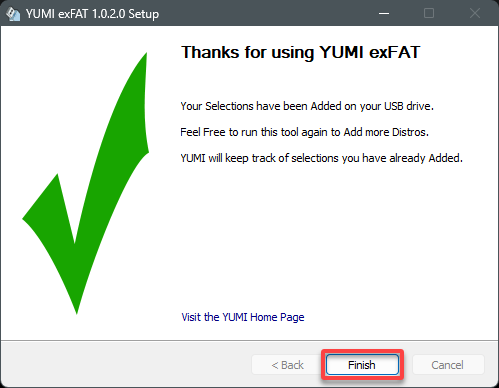
4. Now, click Finish to exit the setup.
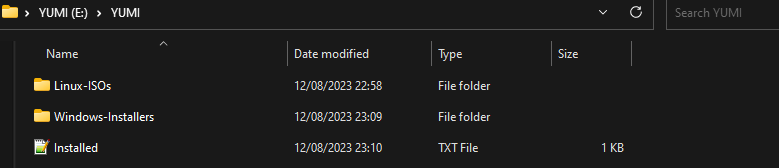
5. Lastly, open your USB drive in File Explorer and navigate to the YUMI folder, and you will see all the directories of the installed distros.
Your multi-boot USB drive is ready, and you can boot from your chosen distro on any computer.
Testing the Multi-Bootable USB Drive
With distros successfully added to your multi-boot USB drive, should you be complacent about leaving it as is? The only way to know your multi-boot USB drive setup works is to test it by booting into your computer with one of your distros.
1. Insert your multi-boot USB drive into an available USB port on your computer.
2. Next, restart your computer to initiate the boot process from the USB drive, and select your multi-boot USB drive as your boot device from the boot menu.
This process typically involves pressing a specific key (such as F12, F2, ESC, or DEL), depending on your computer’s manufacturer and BIOS/UEFI version.
3. Choose your desired OS or distro to boot into from the grub menu that appears. This tutorial’s choice is Ubuntu, as shown below.

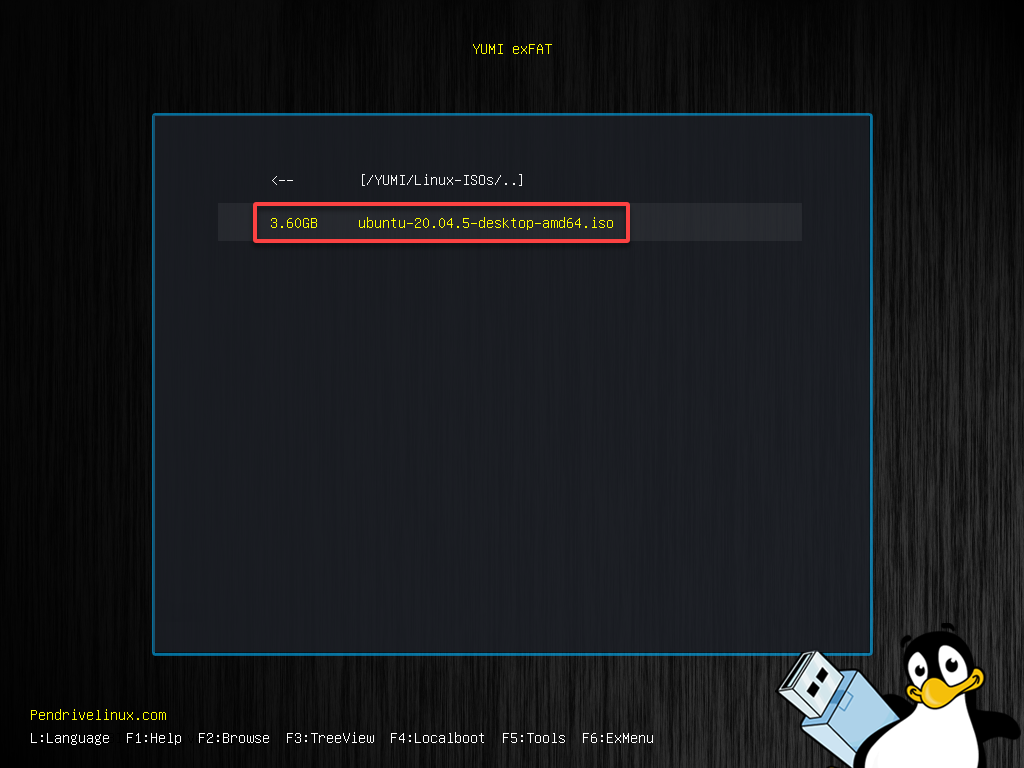
4. Now, select an ISO image to boot with.
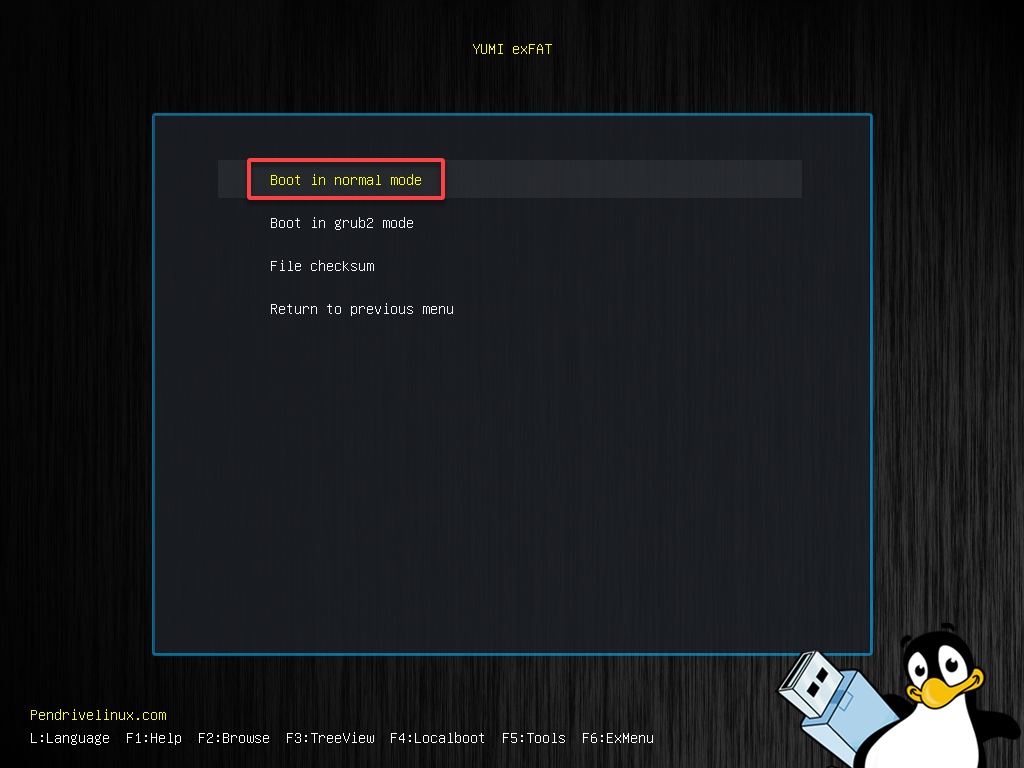
5. Select the first option to boot in normal mode.
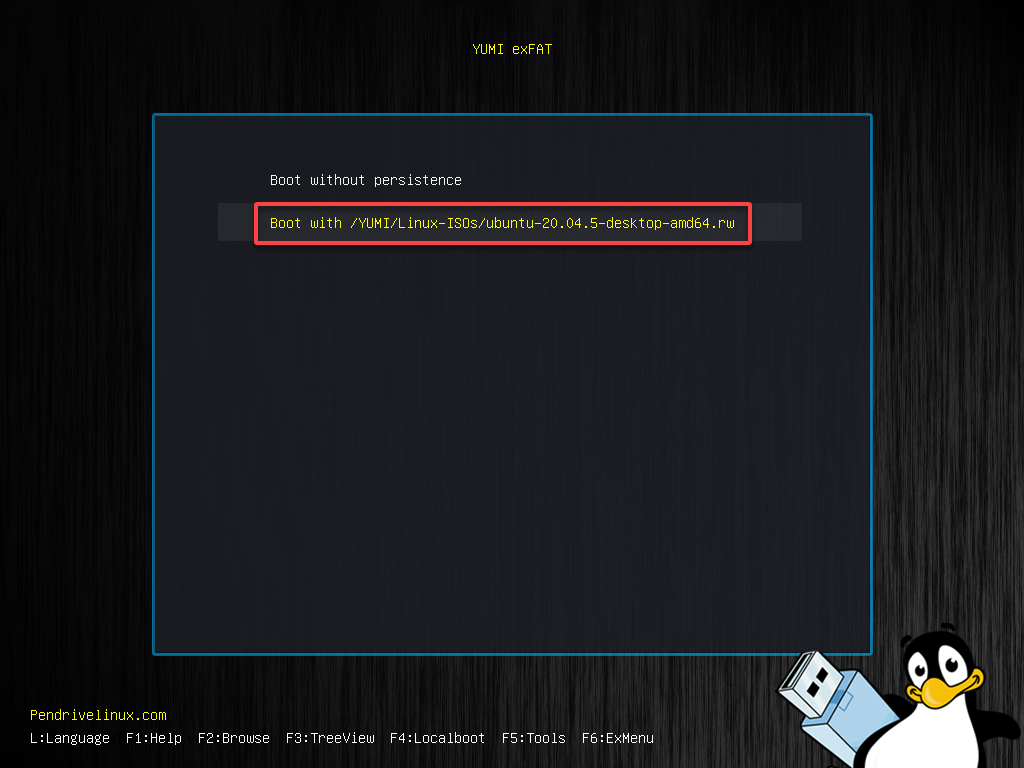
6. Choose to boot with persisting storage.
7. Once Ubuntu boots up, try Ubuntu or install it on your computer as you normally would.

Removing Existing Distros
Just because your distros work does not mean you must keep them all. As you add more distros to your USB drive, managing space becomes essential.
Like installing distros, removing unneeded ones is equally important. Doing so helps optimize available space for critical or frequently used distros.
To remove an installed distro, follow these steps:
1. Insert your bootable USB flash drive and open YUMI.
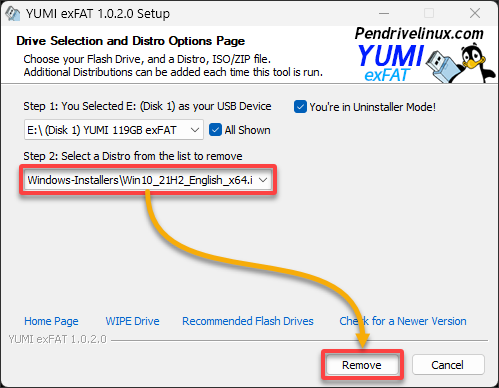
2. Next, select your USB drive from the dropdown menu and tick the View or Remove Installed Distros checkbox.

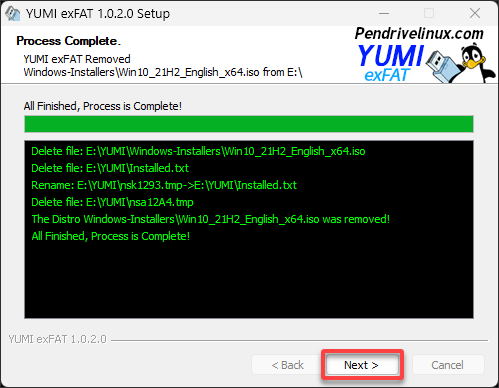
3. Select the distro you wish to remove from the dropdown field and click Remove to remove the distro completely.
4. Once removed, click Next to continue.
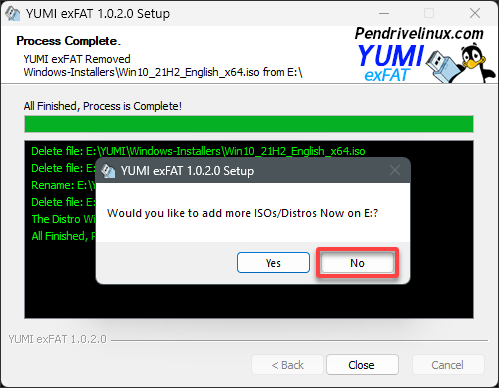
5. Click No to cancel adding more distros.
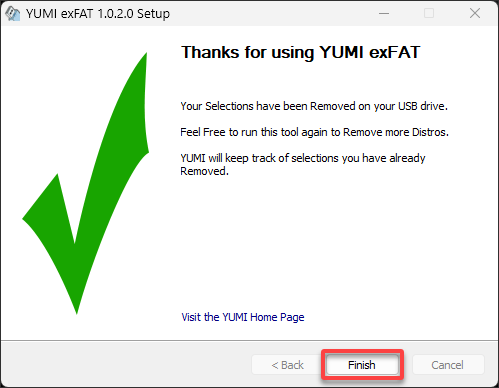
6. Finally, click Finish to exit YUMI
Conclusion
Creating a versatile and powerful multi-bootable USB drive with YUMI MultiBoot equips you with a dynamic tool for various tasks and scenarios. In this tutorial, you have learned how to download, verify, and enforce YUMI to craft a custom multi-bootable USB drive.
With your multi-boot USB drive, you can now effortlessly switch between different OSes for troubleshooting, testing, or specific tasks without needing multiple physical devices.
What’s next? Why not further enhance your USB drive by enabling Hyper-V USB Passthrough? Start running VMs straight from your USB drive!


