


Websites are the most common type of internet content today. But to ensure that your website is visible to the widest possible audience, you’ll need to host your website on a web server. How? Consider turning to Windows Internet Information Services (Windows IIS), a popular choice for web hosting.
Not a reader? Watch this related video tutorial!In this tutorial, you’ll learn the basics of getting started with Windows IIS for web application management via the GUI or command-line environment!
Read on and level up your manage your web applications with Windows IIS!
Prerequisites
This tutorial will be a hands-on demonstration. If you’d like to follow along, be sure you have:
- A Windows machine – This tutorial uses Windows Server 2012 since it’s stable and available at a low cost (or free). But you can also use Windows 10 for this tutorial.
- Visual C++ distribution installed on your Windows machine. IIS requires Visual C++ to render PHP pages correctly.
Installing Windows IIS on a Windows Server
IIS Web Server offers rich functionality and scalability for hosting websites and services on Windows operating systems. But before using IIS, you must first install this tool on your Windows machine.
To install Windows IIS on a Windows Server:
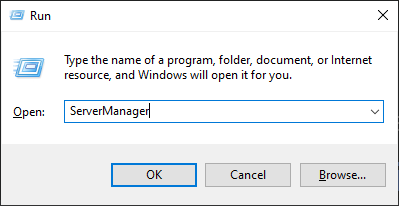
1. Press Ctrl+R to open the Run box In, type ServerManager, and press Enter.
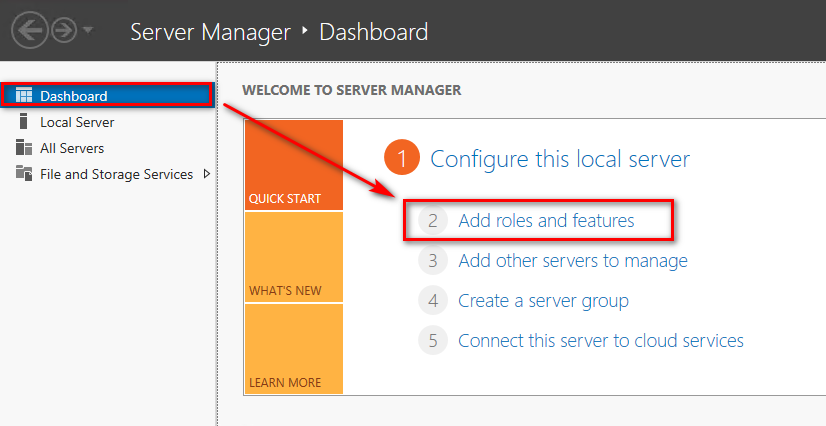
This action opens up the Server Manager Dashboard. IT admin uses this GUI dashboard for various day-to-day tasks related to server administration.
2. On Server Manager, click the Add Roles and Features link to open a wizard, where you can add role services and features to your local server.
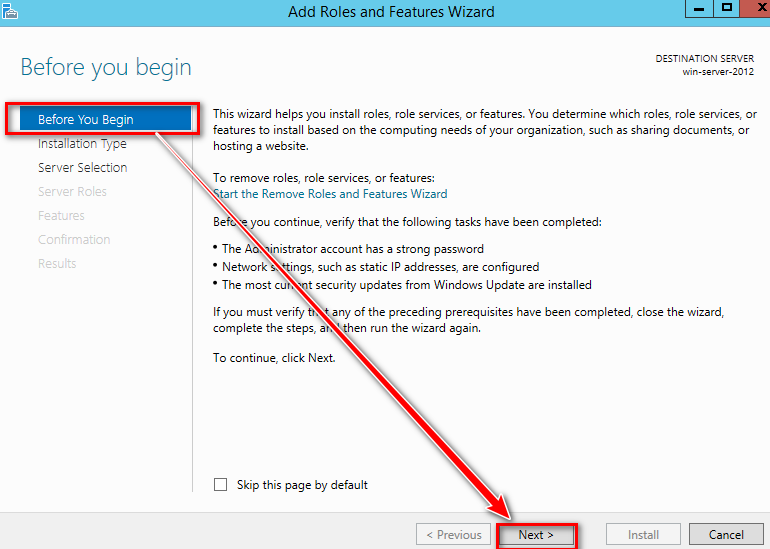
3. Next, read the information on the Before you begin page and click Next.
You can also tick on the Skip this page by default option so you won’t see this page again the next time you add roles and features.
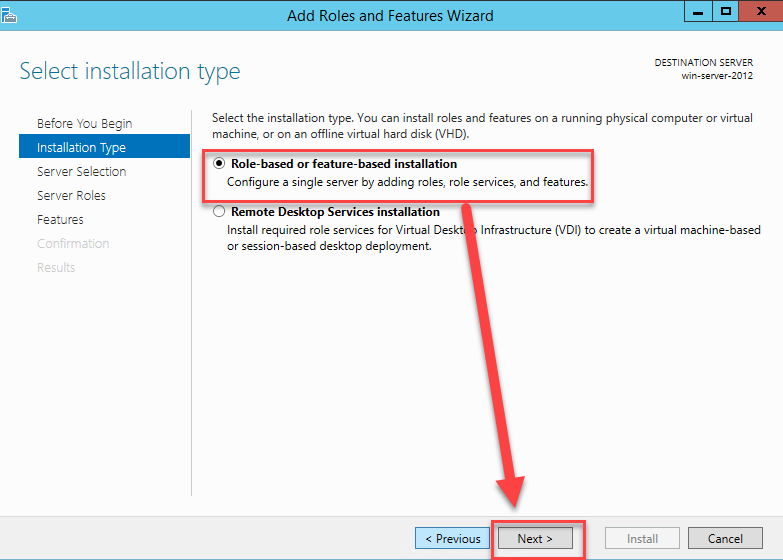
4. Now, on the Installation Type page, select the first option (Role-based or feature-based installation), and click Next.
This option is recommended in most cases, which walks you through adding specific roles, role services, and features in a standard way.
If you choose the second option (Remote Desktop Services installation), you have to manually select the required roles, services, and features for installation.
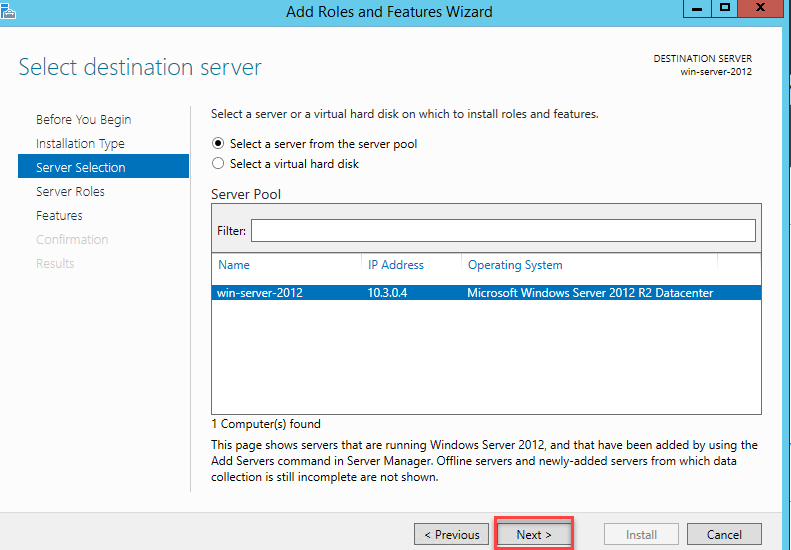
5. Select your server from the server pool, and click Next.
You can also select multiple servers for a distributed installation, but that’s outside the scope of this tutorial.
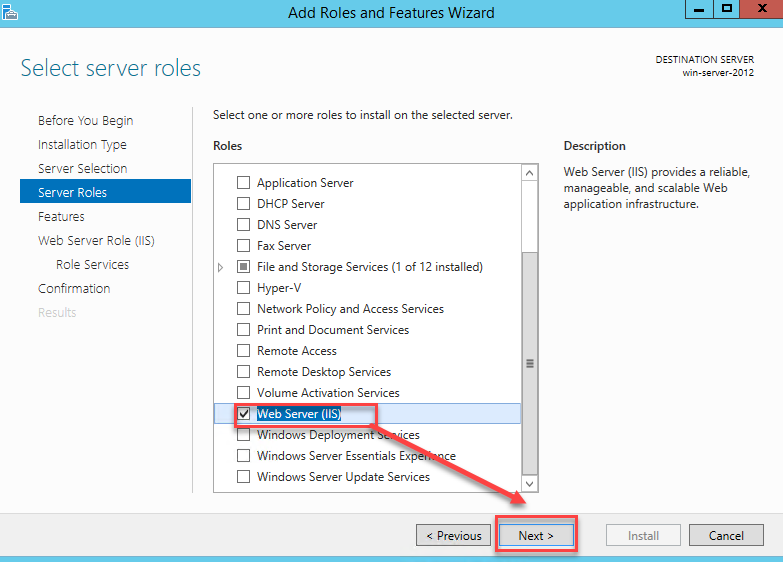
6. Next, tick the Web Server(IIS) check box on the Server Roles page for a scalable Web application infrastructure, and click Next.
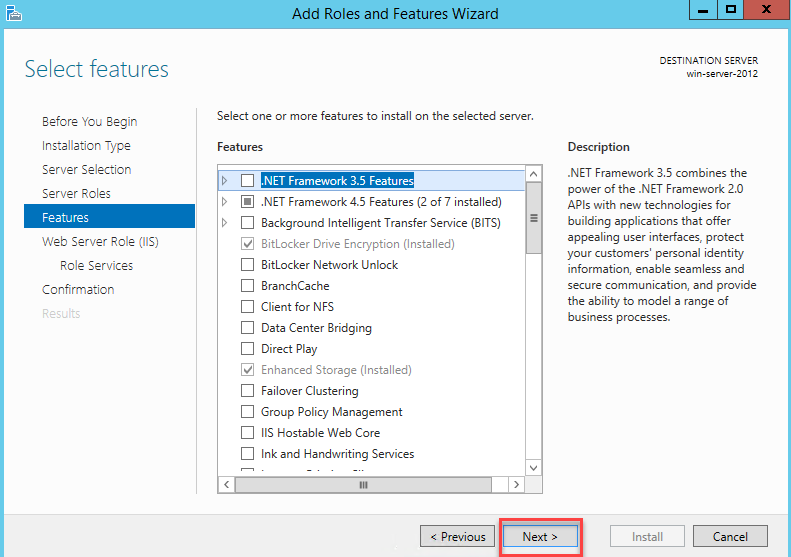
7. Leave the defaults selected, and click Next. This action tells Windows to install all required sub-features for the IIS server role, including ASP.NET, Static Content, and Default Document.
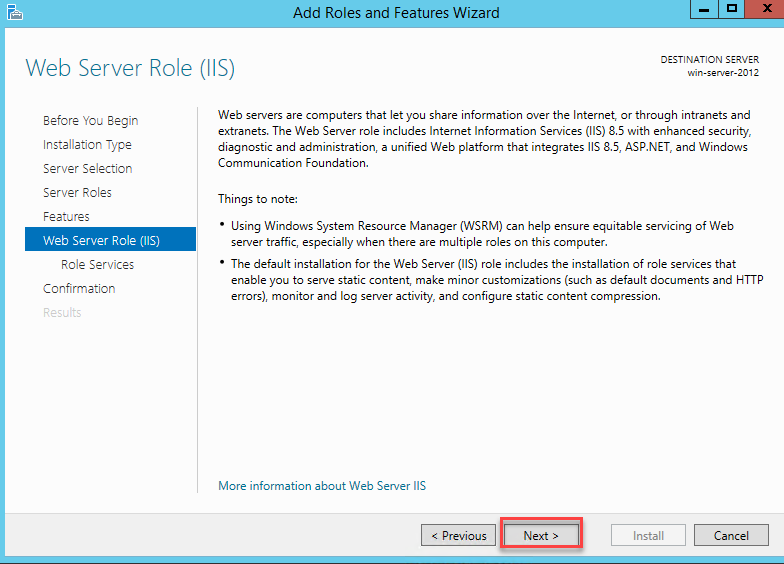
8. Review more information about the Web Server Role (IIS), and click Next.
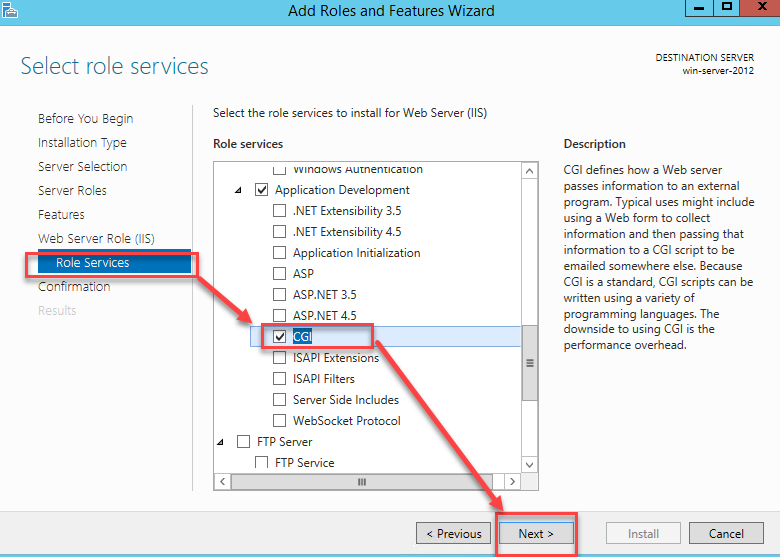
9. On the Role Services page, leave the default selections, but expand the Application Development node, select the CGI check box, and click Next.
This option installs support for the Common Gateway Interface (CGI), a standard way of interfacing external applications with web servers.
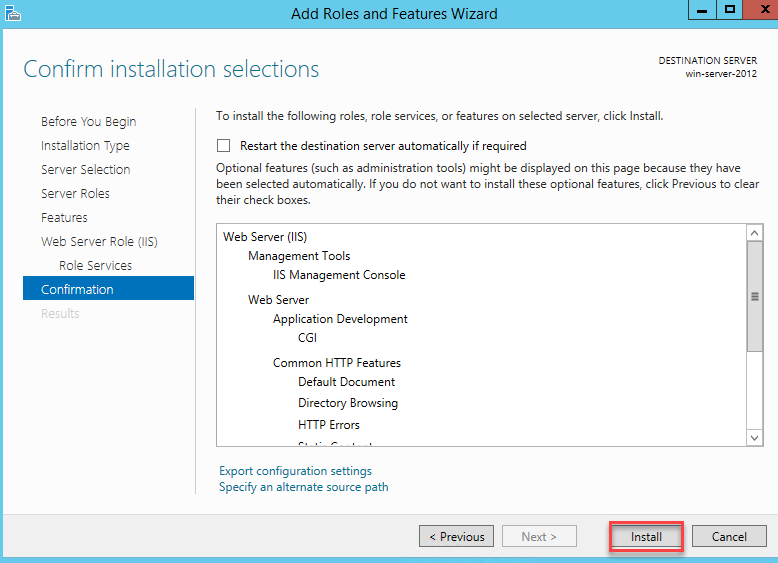
10. After configuring the installation settings, click the Install button to install the selected roles and features.
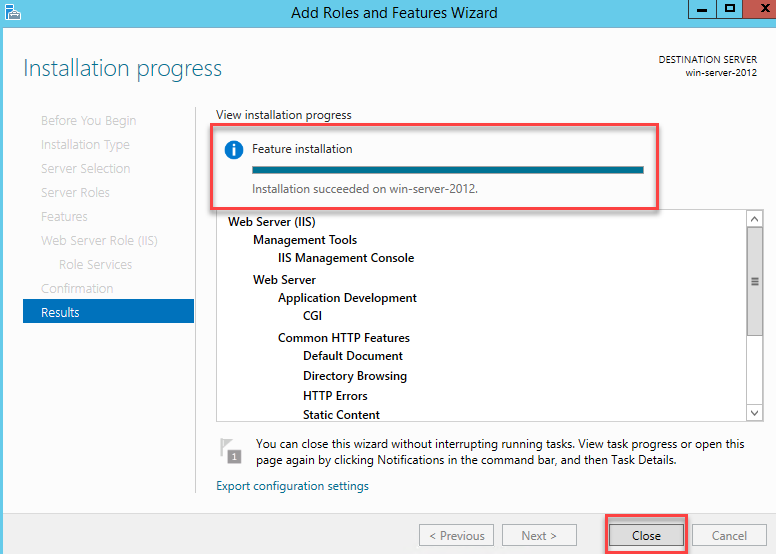
11. Once the installation completes, as shown below, click Close to finish and exit the wizard.
And there it is! You’ve successfully installed Windows IIS on your server.
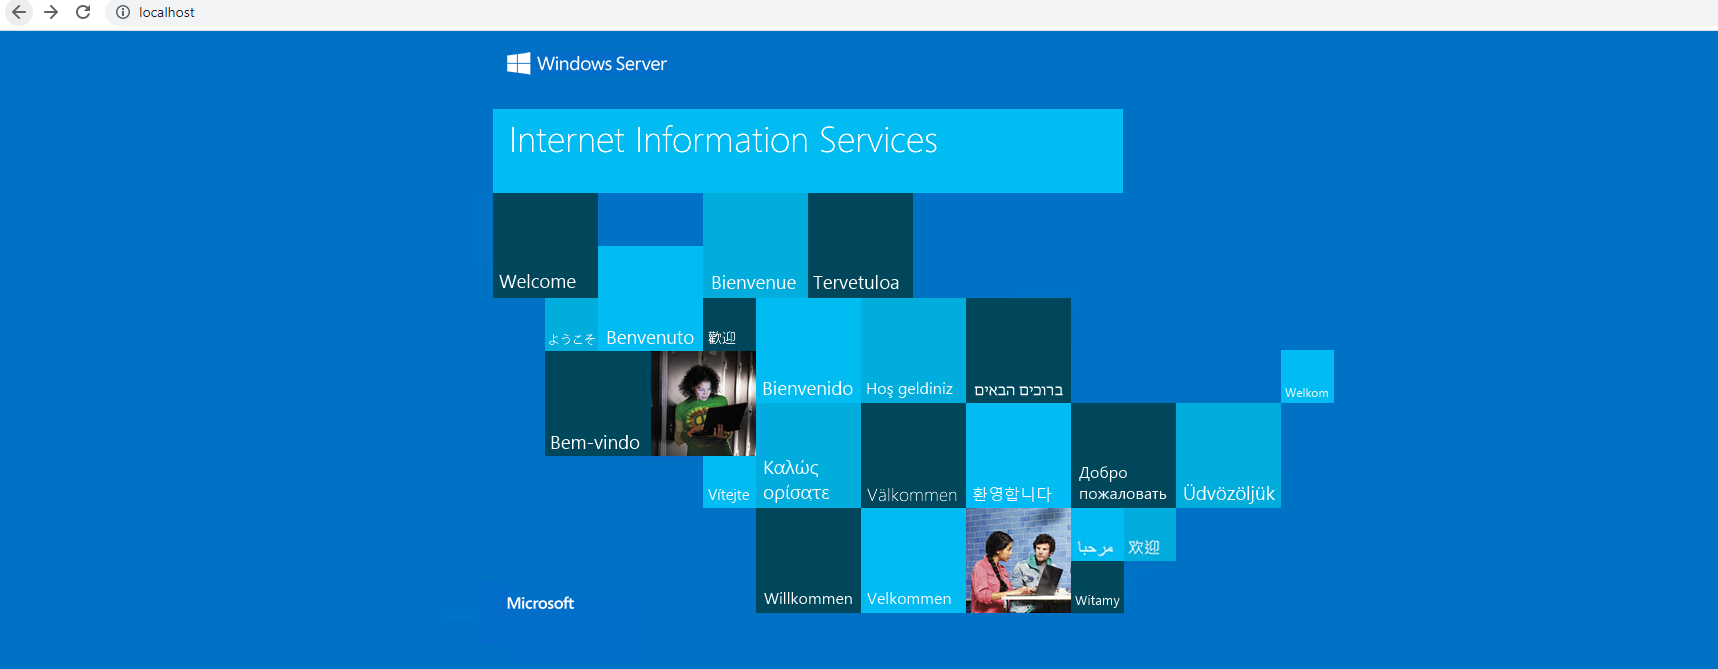
12. Finally, open your favorite web browser, and navigate to http://localhost/.
If all goes well, you’ll see the default IIS page like the one below, which confirms your web server is up and running.
Installing PHP and Configuring IIS to Handle PHP Requests
You’ve successfully installed Windows IIS on your server, but you still need a way to deploy pages on your server. And for this tutorial, you’ll install PHP and configure IIS to handle PHP requests.
To install PHP on your server:
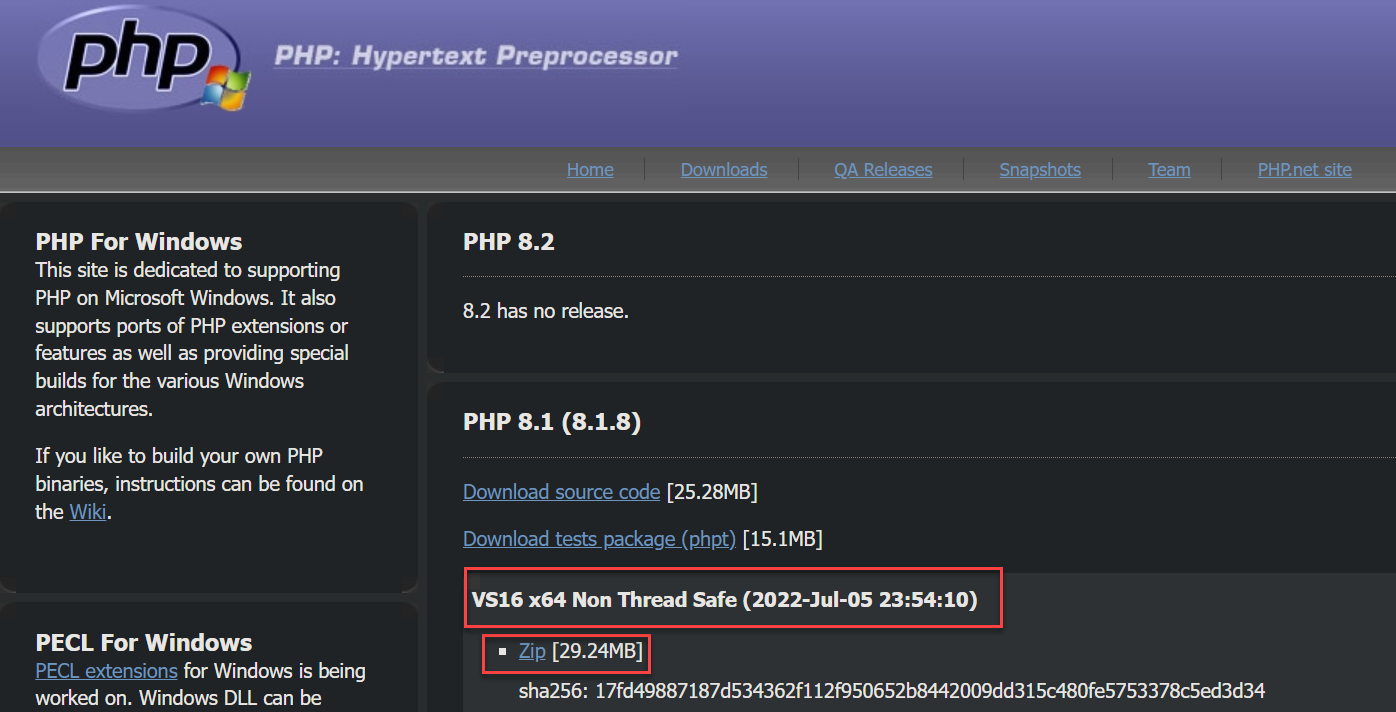
1. Navigate to the PHP release download page. At the time of this writing, the latest stable release is PHP 8.1.
Download the Non Thread Safe (NTS) ZIP package since IIS uses a single thread to handle each request. The Thread Safe(TS) package is for IIS FastCGI, which enables PHP to run in a multithreaded environment.
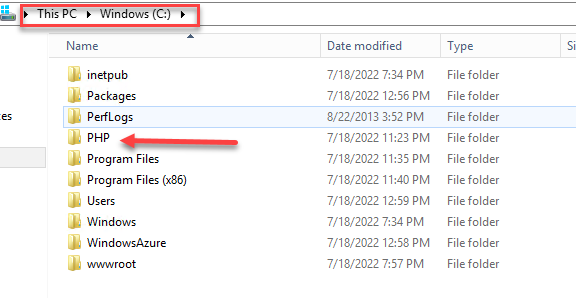
2. Unzip the downloaded PHP archive to the PHP directory (C:\PHP\) on your server.
After unzipping the archive, you’ll have to install and configure IIS so you can manage and deploy web applications.
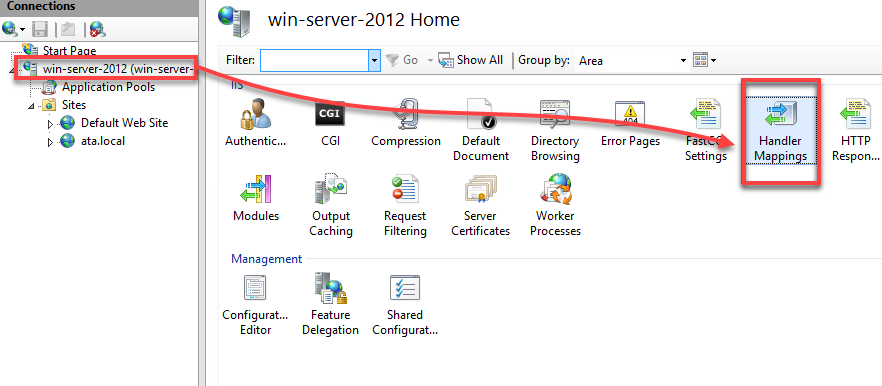
3. Open your Server Manager, select Dashboard → Tools → Internet Information Services (IIS) Manager. This action opens the IIS Manager console, where you can configure IIS settings, create and manage websites, and deploy web applications.

4. Now, select your localhost (Connections panel), and double-click on Handler Mappings to access the list of handler mappings available.
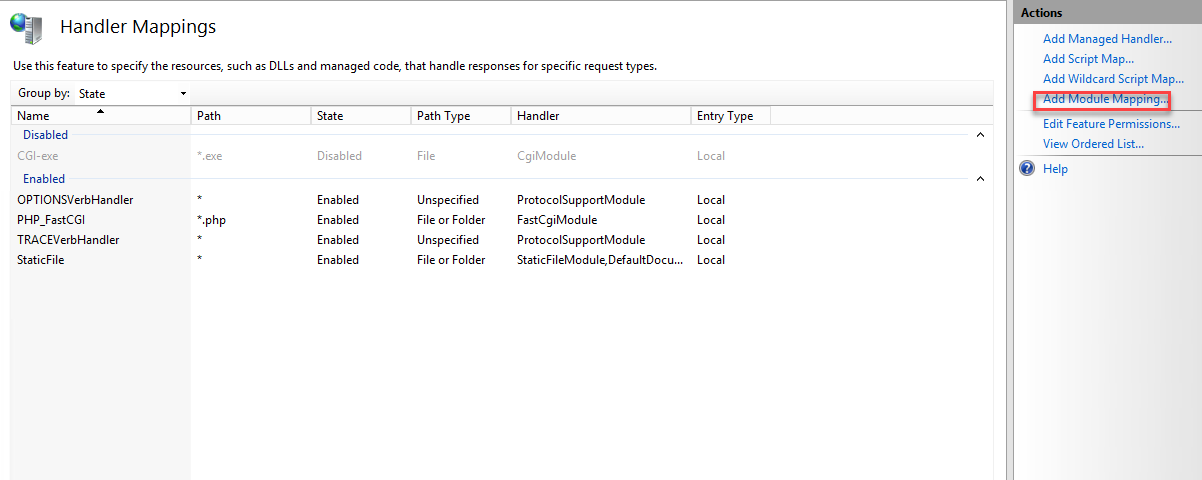
5. On the Handler Mappings page, click on Add Module Mapping (right panel), which opens the Add Module Mapping dialog box.
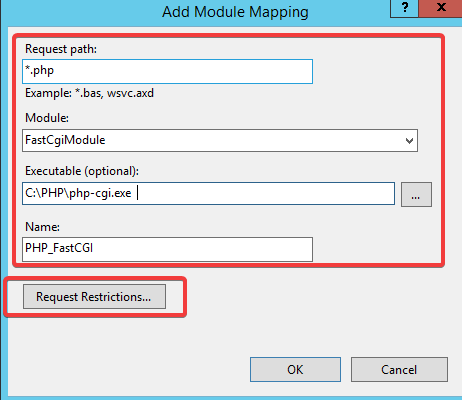
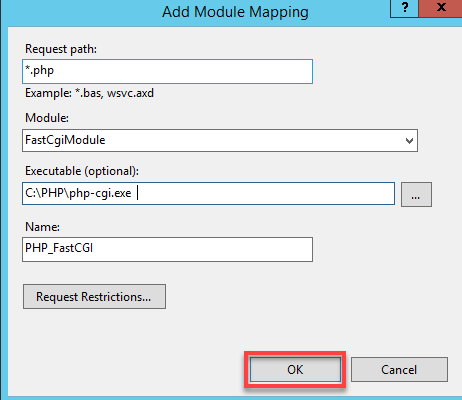
6. Next, configure the new mapping with the following:
- Request path – Type in *.php to tell IIS to forward all requests ending with .php to the PHP processor module. The wildcard symbol (*) lets you save time since you don’t have to add a handler mapping for each PHP file.
- Module – Choose FastCgiModule to specify that the FastCGI module should handle the requests.
- Executable – Enter the full path to the php-cgi.exe file. In this example, the path is C:\PHP\php-cgi.exe.
- Name – Provide a unique module mapping name, but this tutorial uses PHP_FastCGI.
- Click on Request Restrictions to configure request restrictions.
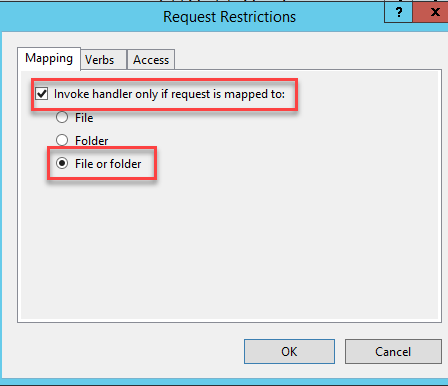
7. Tick the checkbox, and choose the File or Folder option. This option ensures the handler mapping only applies to files on the server.
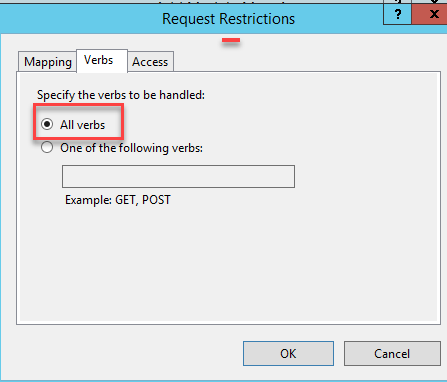
8. Navigate to the Verbs tab, and choose the All verbs option. This option tells IIS to forward all types of HTTP requests, such as GET, POST, and HEAD, to the PHP processor module.
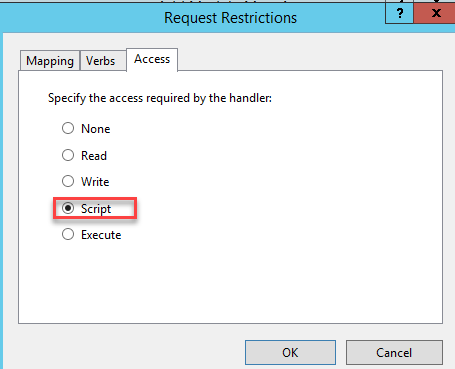
9. Now on the Access tab, choose the Script option, and click OK. This option tells IIS that the PHP pages are scripts to be executed rather than static files to be served directly.
10. Back to the Add Module Mapping, click OK to add the new module mapping.
11. Finally, open PowerShell as admin, and run the IISRESET command to restart Windows IIS. This action is necessary for the new handler mapping to take effect.
IISRESET 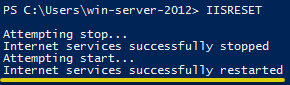
Deploying Your First Website
Now that you have PHP installed and IIS configured, the most exciting part comes — deploying your website. But first, you need a website to deploy. You’ll create and deploy a basic PHP page to your IIS server in this example.
1. Create a new index.php file in your favorite text editor in the website’s root directory. In this example, the website’s root directory is C:\inetpub\wwwroot\.
The .php extension tells IIS that the index.php file is a PHP page to be processed by the PHP processor module.
2. Next, add the following code to your new index.php file, save your changes and close the file.
The code below tells IIS to display a simple “Hello World” message on a PHP page in your browser.
<?php
header('Content-Type: text/html; charset=UTF-8');
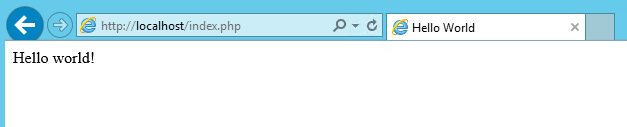
echo '<html><head><title>Hello World</title></head><body>Hello world!</body></html>';3. Lastly, open a new tab on your web browser, and navigate to http://localhost/index.php to request your index.php page from the local IIS server. Doing so lets you test if your website deployment works.
If all goes well, you’ll see the Hello world! message on the index.php page, as shown below.
Managing Windows IIS via Command Line Environment
Big fan of using CLI? No problem! Apart from the GUI, IIS can also be managed using the command prompt. With this tool, you can manage almost all aspects of IIS, including sites, applications, virtual directories, application pools, etc.
In this tutorial, you’ll touch on some of the basic commands to manage IIS. But for a complete list of all the available AppCmd.exe commands, check out the official Microsoft documentation.
1. Open command prompt as administrator, and run the below commands to list all the websites (site) available in your IIS server.
%systemroot%\system32\inetsrv\APPCMD list sitesYou will see a list of all the sites currently running on your server and some basic information about each site, such as the ID, state, etc.
Too generic? No problem! You can also use AppCmd.exe to query about a specific website in the following step to drill down on the information you’re interested in.

2. Run the below command to get all information about the Default Web Site.
%systemroot%\system32\inetsrv\APPCMD list site "Default Web Site"
3. Next, run the following commands to stop a specific website and list all stopped websites (/state:Stopped).
You can replace the stopped state with other site states, such as starting, running, or unknown.
%systemroot%\system32\inetsrv\APPCMD stop sites "Default Web Site"
%systemroot%\system32\inetsrv\APPCMD list sites /state:Stopped
4. Now, run the below command, combining multiple criteria separated by a space, to filter down the results further.
The command below lists all sites that are in a stopped state (/state:Stopped) and have server-level autostart enabled (/serverAutoStart:true).
%systemroot%\system32\inetsrv\APPCMD list sites /serverAutoStart:true /state:Stopped5. Lastly, run the command below to start the website you stopped in step three (“Default Web Site”).

Conclusion
You’ve seen how Windows IIS lets you manage your websites. And in this tutorial, you’ve learned to install and configure IIS on a Windows Server to deploy and test a basic PHP website. Windows IIS is a versatile tool that lets you manage your websites via GUI and a command-line environment.
With this newfound knowledge, you’re ready to start building your websites and applications on IIS! Why not learn how to create a WordPress site on IIS next?


