


As your job duties as a Linux administrator may entail managing virtual machines (VMs), you’ll likely need to learn how to use Virsh. No worries, this tutorial has got you covered.
In this tutorial, you’ll learn about what Virsh is, how to install it, and how you can use this tool to manage your VMs.
Ready? Read on and take your first steps towards becoming a Virsh pro!
Prerequisites
This tutorial will be a hands-on demonstration. If you’d like to follow along, be sure you have the following.
- A Linux system – This tutorial uses Ubuntu 20.04, but any modern Linux distribution will work.
- A Kernel-based Virtual Machine (KVM) installed on your Linux system.
- A non-root account with sudo privileges – This tutorial uses a root account for simplicity. But using a non-root user with sudo access is always recommended.
- SSH access to your Linux system.
- Your CPU should support hardware virtualization extensions, such as Intel VT-x or AMD-V – These hardware extensions are required to run KVM and its associated tools.
- A VNC client installed on your Linux system – This tutorial uses Virtual Machine Manager and TigerVNC, but other VNC client works (TightVNC, RealVNC, or UltraVNC).
Installing Virsh CLI to Manage KVM
Virsh CLI is available in most Linux distributions’ default repositories but is not installed by default in Ubuntu 20.04 release and Centos 8 / RHEL 8.
To install Virsh CLI on your machine:
1. Run the below apt update command to update the apt cache.
This command updates your local package index to reflect the latest upstream changes.
If you’re on a non-root user, always prepend sudo when you run commands that require elevated privileges throughout this tutorial.
apt update -y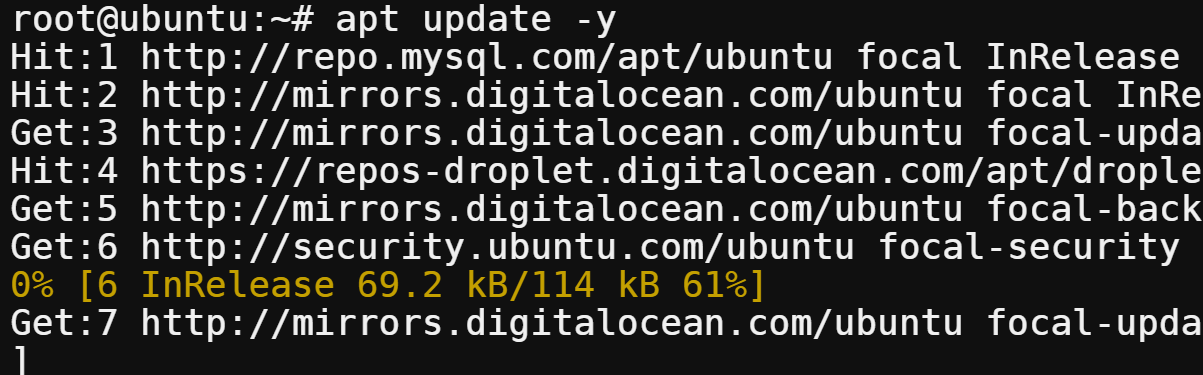
Updating the system package index
2. Now, run the below command to install Virsh CLI and all related dependencies:
libvirt-daemon-system– Provides thelibvirtdaemon and a collection of tools for managing VMs.
libvirt-clients– Provides the Virsh program, a command-line interface tool for managing guests and hosts through the libvirt API.
bridge-utils– Provides programs to create and maintain Ethernet device bridges between Ethernet devices and the KVM guests on your host system.
virtinst– Provides a command-line utility for creating new KVM guests using thevirt-installtool.
virt-manager - Provides a graphical application (Virtual Machine Manager) for managing your KVM guests and hosts through the libvirt API.
apt install libvirt-daemon-system libvirt-clients bridge-utils virtinst virt-manager -y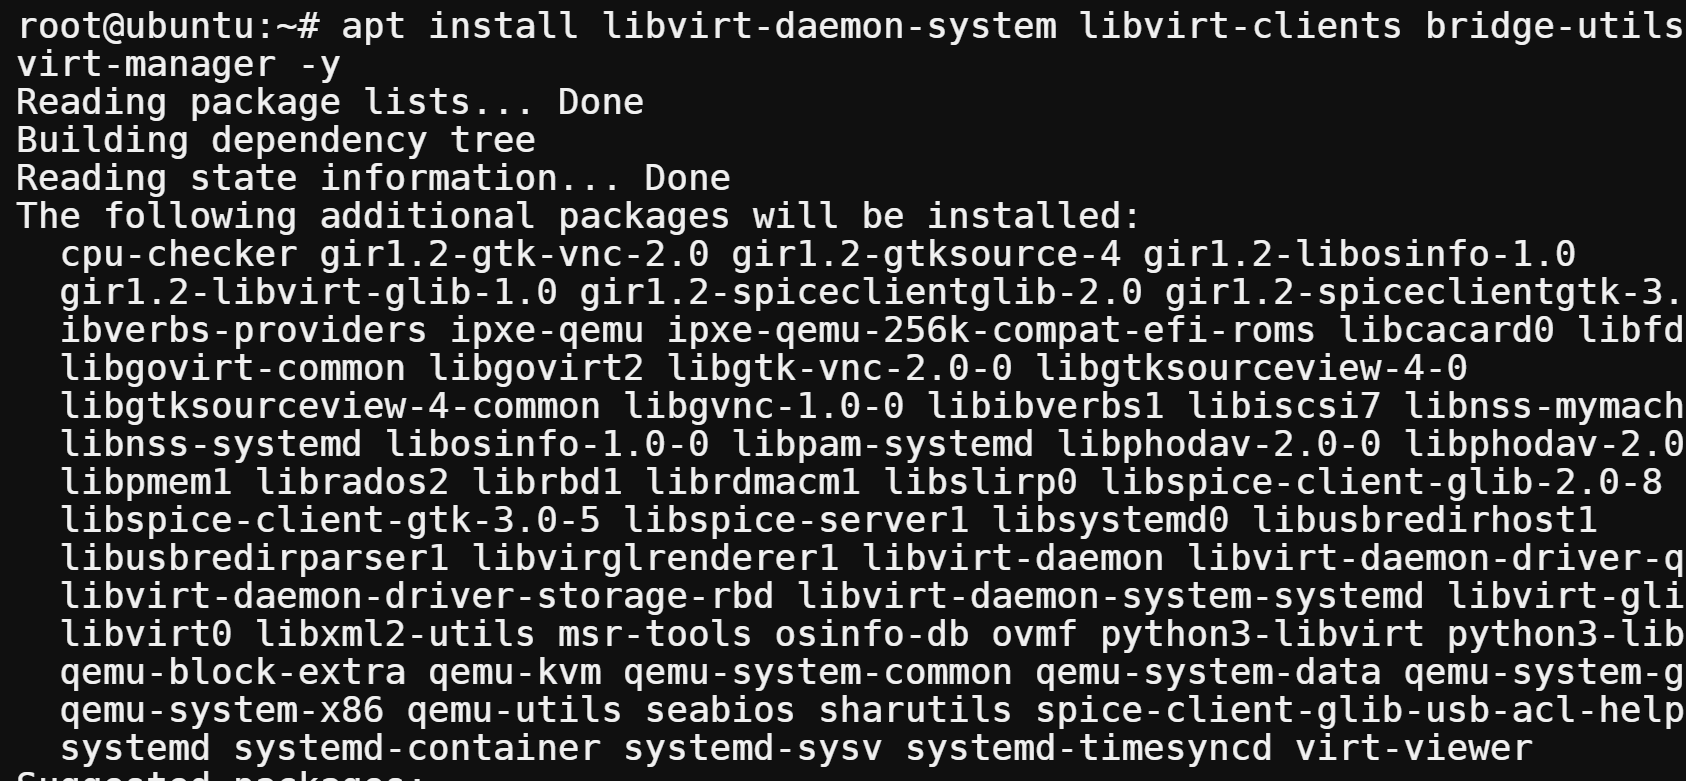
3. Once installed, run the below virsh command to check the installed version of Virsh.
virsh --versionThe installed version of Virsh installed is 6.0.0, as shown below. But yours may be different depending on the latest release.

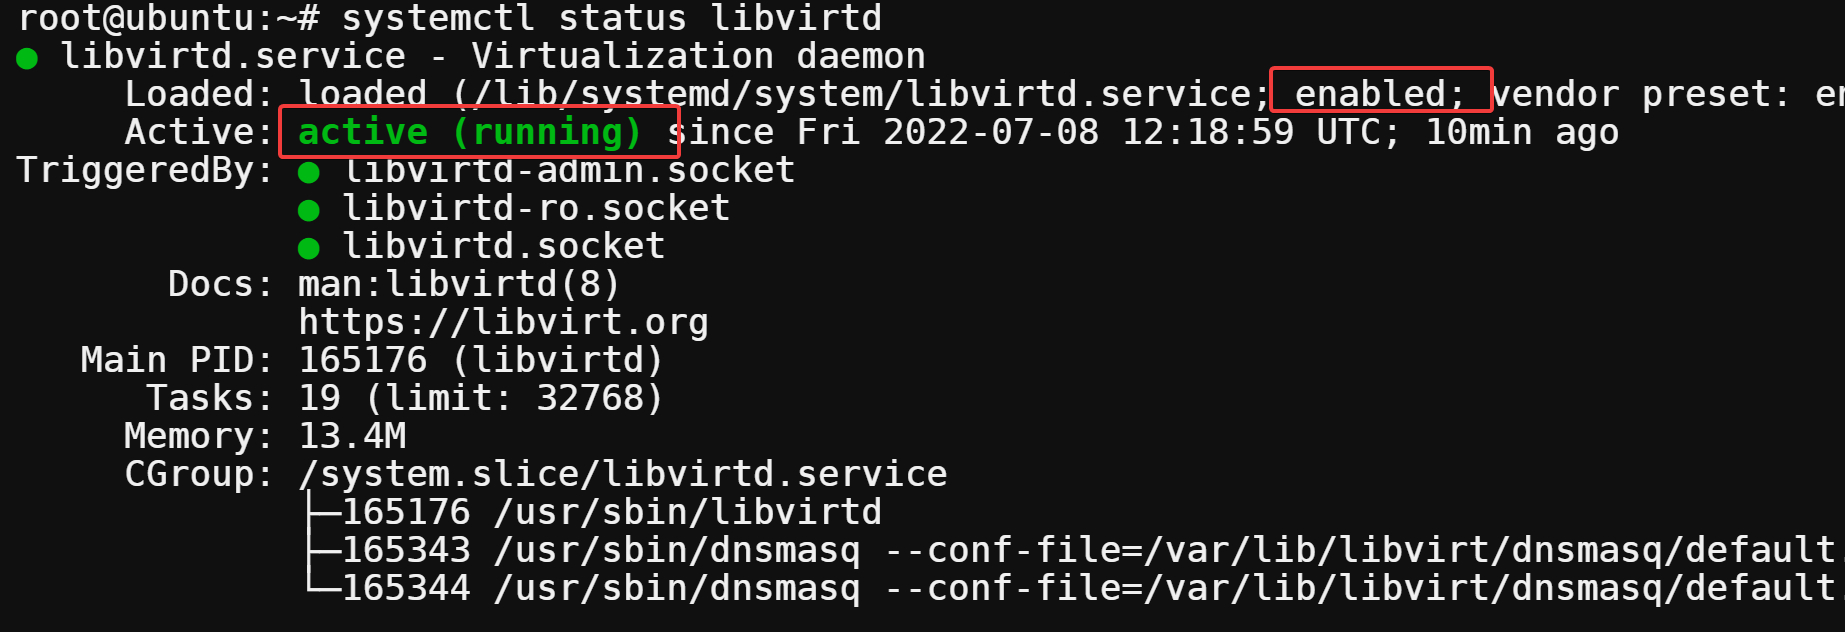
4. Finally, run the below systemctl command to check the status of the libvirtd service.
systemctl status libvirtdAs you can see below, the libvirtd service is active (running). This output indicates your system is ready to create and manage virtual machines using Virsh CLI.
Adding a User to Libvirt and KVM Group
Now that the Virsh CLI is installed, you’ll need a way to connect VMs and hosts. But first, you need to add your user account to the Libvirt and KVM groups.
Virsh uses the libvirt group for communicating with dæmons running on a host as a privileged user (generally root). On the other hand, the KVM group gives users access to the /dev/kvm directory for full virtualization.
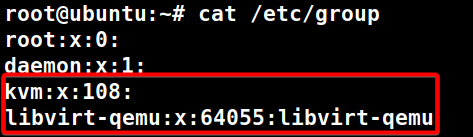
1. Run the below cat command to list all available groups on your system.
cat /etc/groupBelow, you can see the kvm and libvirt groups listed.
2. Next, run each adduser command below to add your user account to the libvirt and kvm groups. Replace the your_username with your actual user account.
adduser your_username libvirt
adduser your_username kvm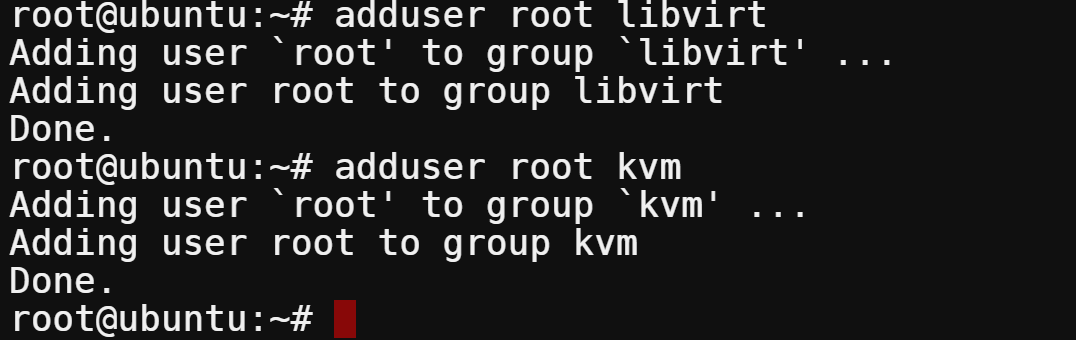
3. Log out from your current session and log back in to apply the changes.
4. Lastly, run the following id command to verify you’ve been added to the libvirt and kvm groups. This command displays information about your user account, including any groups your user account belongs to.
id $USERThe output below confirms your user account is now in the kvm and libvirt groups.

Creating a VM via the Virsh CLI
Just like other CLIs, the Virsh CLI allows you to create VMs. And in this case, you’ll create a VM with the virt-install command-line tool. virt-install is a command-line tool for creating new KVM, Xen, or Linux container guests using the libvirt hypervisor management library.
To create a new VM via the Virsh CLI:
1. Run the commands below to perform the following:
- Create (
mkdir) two directories, one for ISO images (iso) and another for VMdiskimages. The-poption tells themkdircommand to create any parent directories that don’t exist yet.
- Change the working directory to the /kvm/iso directory.
mkdir -pv /kvm/{disk,iso}
cd /kvm/iso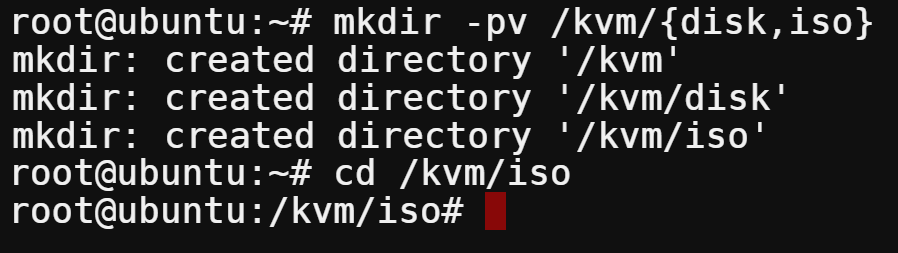
2. Next, run the below wget command to download a bootable ISO image of Ubuntu 20.04. But if you prefer a different version, visit Ubuntu’s release page and change the URL accordingly.
With a bootable ISO, you can install almost any operating system on a virtual machine without needing physical media.
wget https://releases.ubuntu.com/20.04/ubuntu-20.04.4-live-server-amd64.iso3. Once downloaded, run the following ls command to verify you’ve downloaded your ISO file successfully. Change ubuntu-20.04.4-live-server-amd64.iso with the ISO file’s name you downloaded.
ls -la ubuntu-20.04.4-live-server-amd64.isoWith a bootable ISO at your disposal, now comes the best part — creating a VM (step four).

Make sure what you get is an ISO file that is around 2.8 GB in size. If not, check if you have UFW firewall rules blocking HTTP/HTTPS traffic.
4. Now, change the values in the virt-install command below, and run it to create a new VM called server-01 against the bootable ISO you downloaded in step three.
# < -- What does this command do? -- >
# Create a VM named server-01
# Sets an OS of Ubuntu 20.04 Linux distro against a bootable ISO
# Sets 1GB of RAM and 10GB of storage for the OS
virt-install --name server-01 \
--os-type linux \
--os-variant ubuntu20.04 \
--ram 1024 \
--disk /kvm/disk/server-01.img,device=disk,bus=virtio,size=10,format=qcow2 \
--graphics vnc,listen=0.0.0.0 \
--noautoconsole \
--hvm \
--cdrom /kvm/iso/ubuntu-20.04.4-live-server-amd64.iso \
--boot cdrom,hd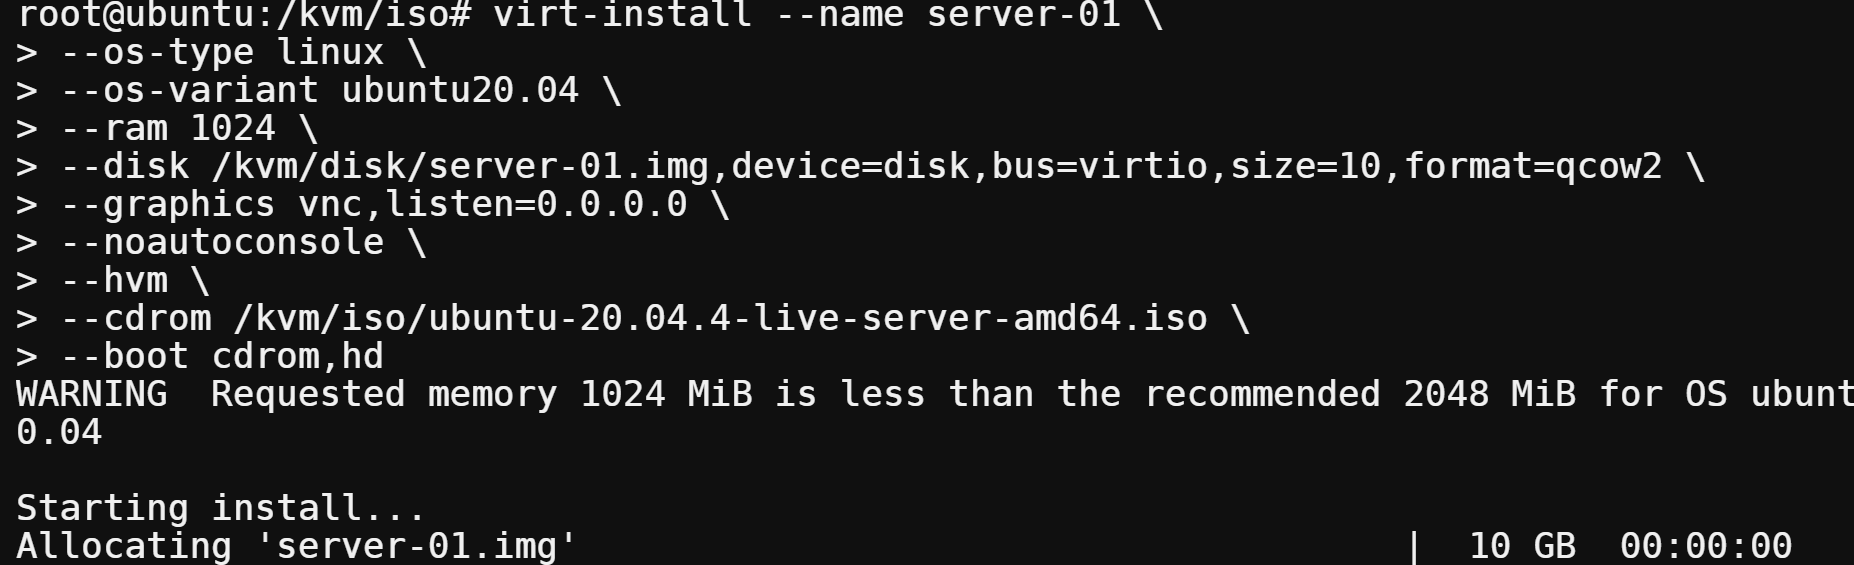
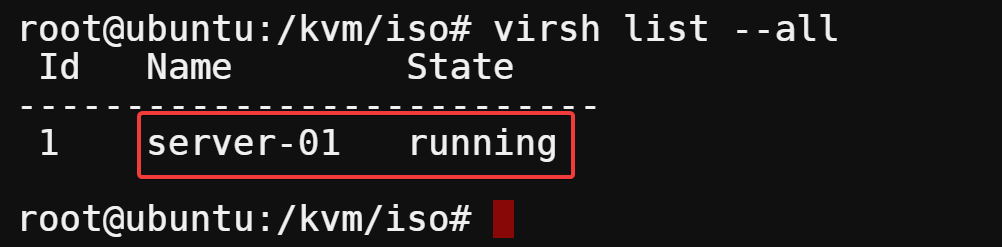
5. After creating your VM, run the virsh list command below to list all active (running VMs) and inactive domains (stopped VMs).
virsh list --allBelow, you can see each domain’s ID, Name, and State. In this case, there’s only one active (running) domain (server-01).
Connecting to the Guest VM
You’ve verified your VM is running, but how do you test if your VM works? You’ll first have to connect to your VM and set up its OS since your VM is technically empty.
To connect to your VM, you need your VNC client, like Virtual Machine Manager:
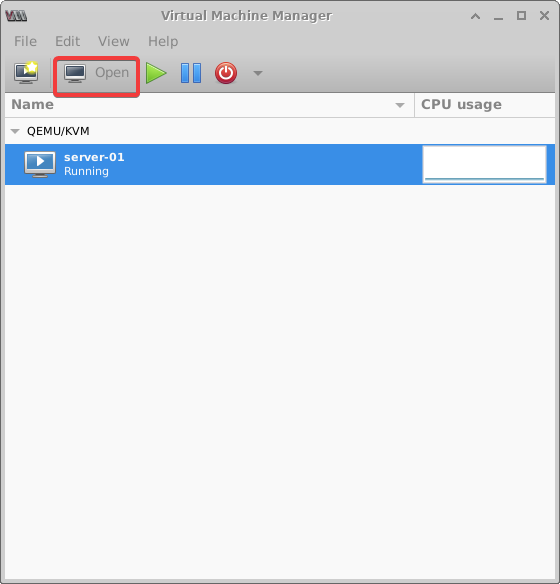
1. Open the Virtual Machine Manager from the Application Finder, select your VM (server-01), and click Open to launch the console.
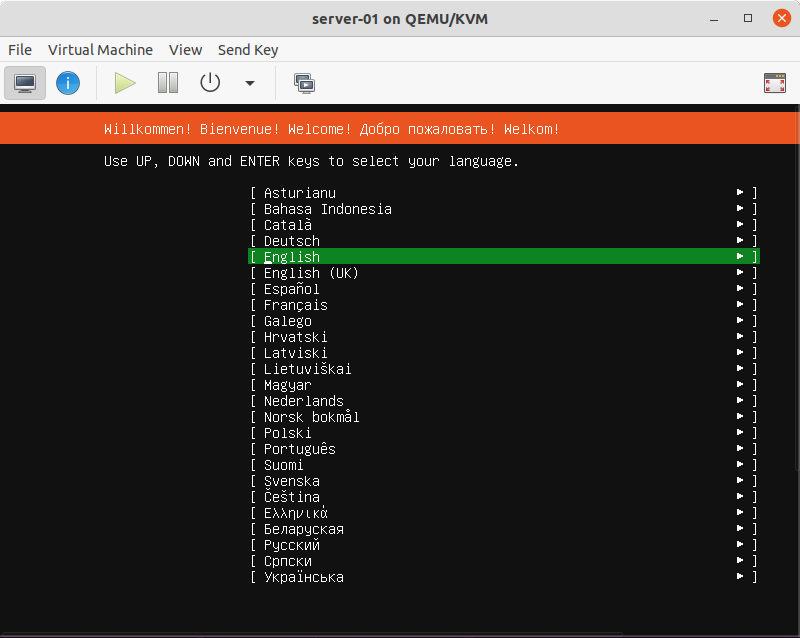
Once connected, you can install your Linux distro inside the guest VM as you normally would on a physical server.
If you’re not a fan of the Virtual Machine Manager, TigerVNC is another tool you can use to connect to the guest VM in the following steps.
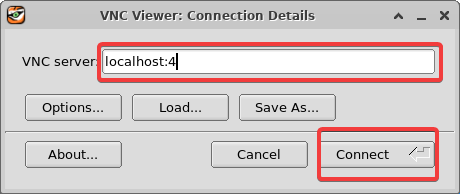
2. Now, run the virsh vncdisplay command below to view your VM’s (server-01) port number.
virsh vncdisplay server-01As you can see below, the VM’s port number is 4, but yours may be different. Note down the port as you’ll need it to connect to your VM via a VNC client in the following step.

3. Finally, open your VNC client, and connect to 127.0.0.1:4 or localhost:4 since you’re connecting to a local VM, as shown below.
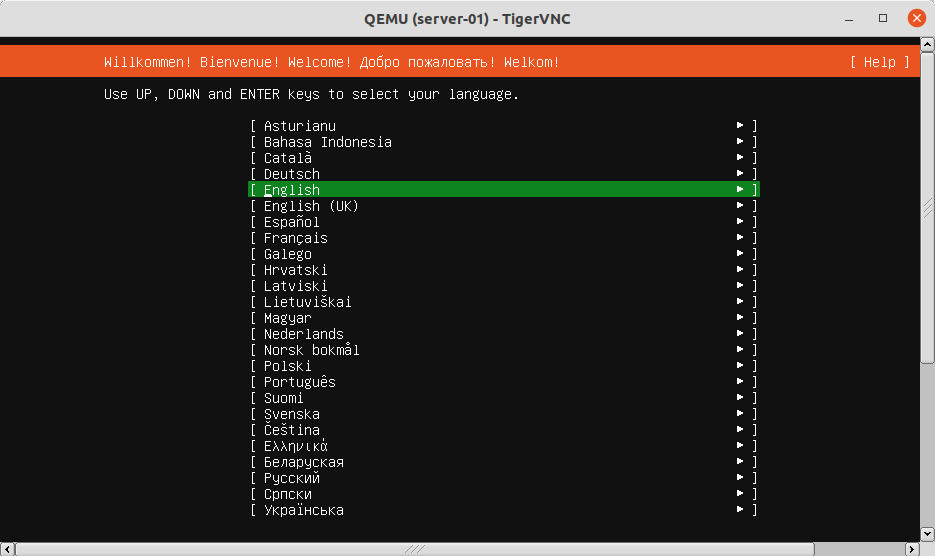
Similar to the Virtual Machine Manager, you can install your Linux distro inside the guest VM.
Managing VMs with Virsh CLI
You’ve just installed one VM, but typically, you’d have more than one. How do you manage them? Virsh CLI is more than capable of handling your VMS. Whether you’re starting, shutting down, or deleting VMs, Virsh CLI can do all that.
1. Run the below command to start your VM (server-01). This command is useful when you find out that, for some reason, your VM isn’t running.
virsh start server-01
2. Next, run the command below to reboot an active VM (server-01). Rebooting your VM helps updates take effect.
virsh reboot server-01
3. Run the following command if you plan to shut down your VM instead.
This command comes in handy when you need to perform some maintenance tasks on the host machine. Or if you just want to save some resources by stopping the VM.
virsh shutdown server-01
4. Now, execute the destroy command below to stop an active domain forcefully.
Why forcefully stop a domain? The guest OS may not respond to the shutdown command at some point. When that happens, run this command to completely stop your VM — like pulling the power cord from a physical machine.
virsh destroy server-01
5. Finally, run the following command to delete a VM, especially if it no longer serves a purpose.
Deleting a VM also lets you reclaim storage space as all files associated with the VM goes, including the disk image.
Take caution when deleting a VM. Deleted files associated with your VM cannot be recovered.
virsh undefine server-01 --remove-all-storage
Conclusion
Even though managing VMs can be challenging, Virsh makes you feel like a pro in handling them without the hassle. And in this tutorial, you’ve learned how to install Virsh CLI on a Linux system and set up a guest VM using the virt-install command-line tool. At this point, you can confidently manage your Linux KVMs with Virsh.
But don’t stop here! Why not create more VMs and configure their network to let them communicate with each other and the host machine? You can also use virsh alongside brctl to create multiple bridges and connect guest VMs to different bridges.


