


As a Linux admin, there are many occasions when you must save a command’s output to a file, apart from just printing the output on the terminal. Not sure how? Let the Unix tee command do the trick.
In this tutorial, you’ll learn many ways to use the tee command to save and append output to a file.
Ready? Read on to take your shell scripting to the next level!
Prerequisites
This tutorial will be a hands-on demonstration. If you’d like to follow along, be sure you have a Linux system. This tutorial uses Ubuntu 20.04, but you can use any flavor of Linux.
Redirecting Commands Outputs (STDOUT/STDERR)
Before running the tee command, it’s crucial to understand how redirects work. In Linux, everything is considered a file, including devices, directories, and even the output of commands. As a result, you can take the output of one command and use that output as input for another command (file redirects).
There are different types of redirects, and each one serves a purpose. But when running the tee command, you primarily use two different types of redirects:
- Standard Output Redirect (STDOUT) (>) – The default output of a command.
- Standard Error Redirect (STDERR)(2>) – An error message generated by a command and displayed on your screen.
Both redirects take and save outputs of commands to a file, but you’ll see how redirects work below.
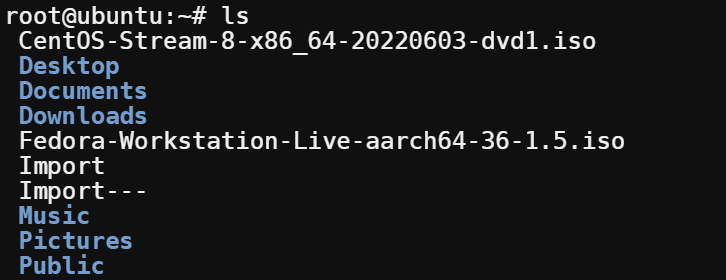
Run the ls command without arguments to list all contents (files and folders) of your working directory.
ls
Below is the STDOUT of the ls command.
Next, run the below command to purposely list the contents of a directory (fake_directory) that doesn’t exist.
ls fake_directory
You’ll get an error message saying that the directory doesn’t exist. This output is the STDERR of the ls command.

Saving Commands Outputs to a File
Suppose you like to save the STDOUT of the ls command to a file instead of just printing the output to the terminal. In this case, the redirect operator (>) comes in handy.
1. Run the following command to save/redirect (>) the STDOUT of the ls command to a file named ls_stdout.txt. Since this command saves the output to a file, you won’t get an output on your terminal.
ls > ls_stdout.txt2. Now, run the cat command below to view the contents of your ls_stdout.txt file.
cat ls_stdout.txt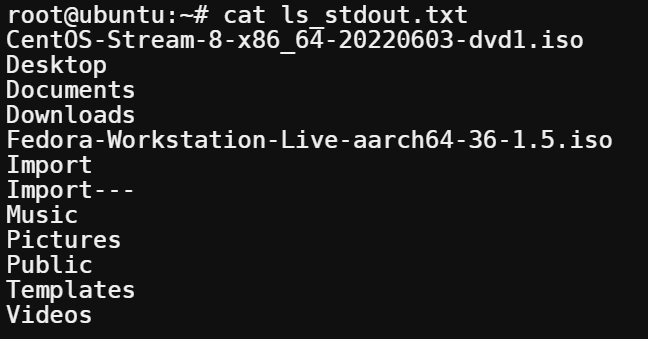
3. Similarly, run the following command to save the STDERR (2>) of the ls command to a file named ls_stderr.txt. Again, you won’t get an output on your terminal since the output is saved to a file.
ls fake_directory 2> ls_stderr.txt4. Now, run the cat command below to see the contents of the ls_stderr.txt file.
cat ls_stderr.txtBelow, you can confirm that the STDERR of the ls command was save to the ls_stderr.txt file.

5. Run the below command to save both (&>) STDOUT and STDERR of the ls command to a file named ls_alloutput.txt.
Why settle for one when you can have both, right? Typically, you might want to store both the outputs in the same file for troubleshooting or logging purposes.
ls &> ls_alloutput.txt6. Lastly, run the following cat command to view the ls_alloutput.txt file’s content
cat ls_alloutput.txt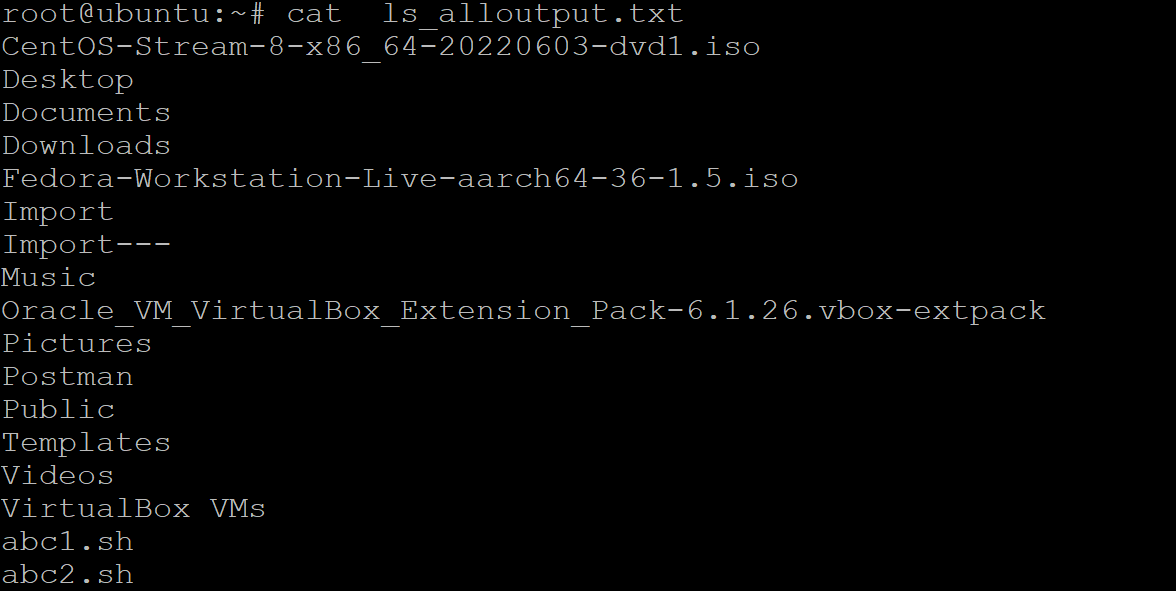
Connecting Programs with Pipes
Apart from just saving outputs to a file, you can accomplish much more using pipes, like connecting programs. In real-world scenarios, you’ll most likely use pipes in conjunction with file redirects and the tee command.
A pipe (|) is a mechanism for inter-process communication that lets you connect one command’s output to another command’s input. In other words, the pipe takes the STDOUT of one process and connects that STDOUT to the STDIN of another process.
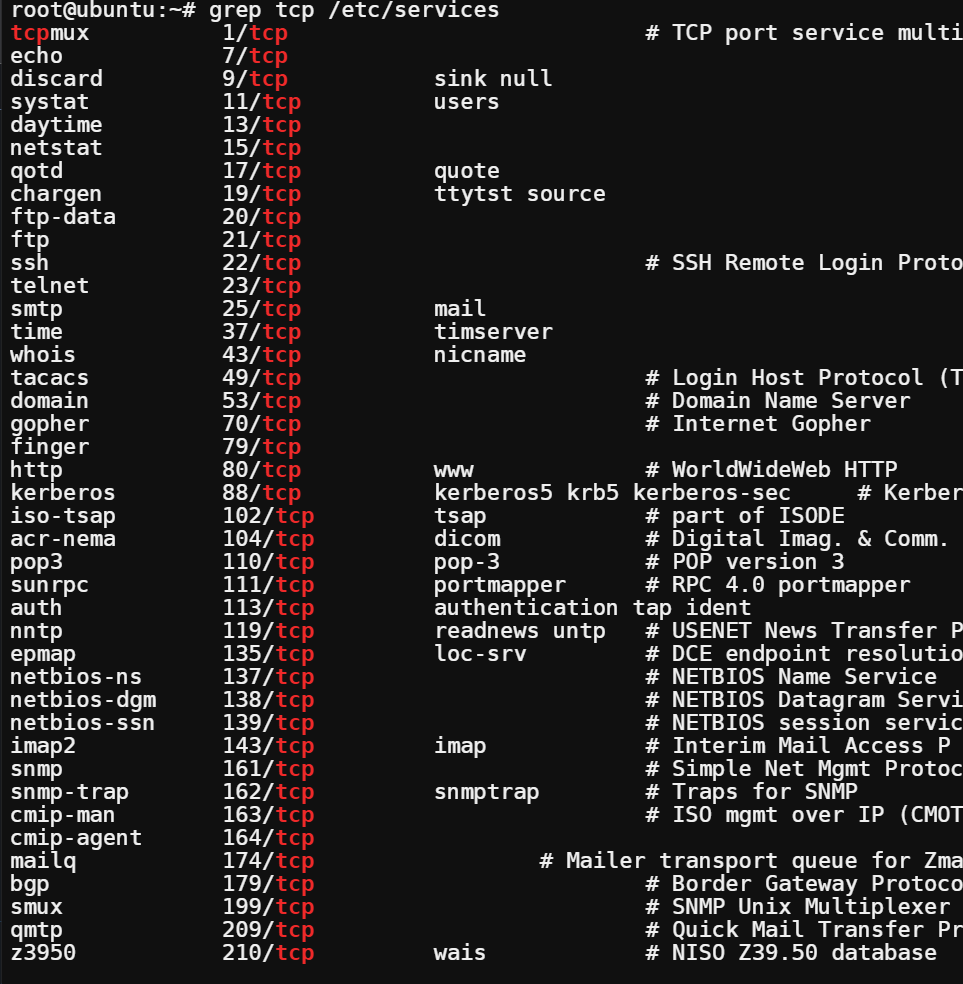
Run the following grep command to find all the lines containing the word tcp in the /etc/services file.
grep tcp /etc/services
Now, run the same grep command below. But this time, pipe the output of the above grep command to the less command to display the search results one screen at a time.
grep tcp /etc/services | less
How does the piping work? As you can see below, when you use the pipe character (|), the output of the grep command is stored in a temporary location. The output is then passed as an input to the less command.

Combining the Unix Tee (tee) Command, Pipes, and Redirects
So far, you’ve learned how the tee command, pipes, and redirects work. But why not use all three together for better control of command outputs?
You previously used the piping with redirects, and that’s a huge step. This time, you’ll use piping and the tee command to send one command’s output to another for further processing.
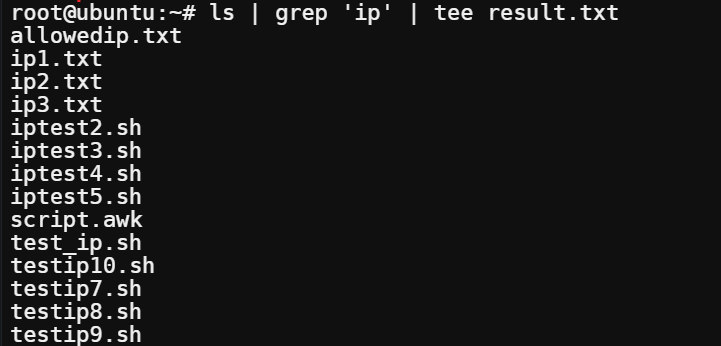
Run the below command to send the output of the ls command to the screen and the result.txt file. The output of ls is further piped to the grep command to filter only the lines that contain the word ip.
ls | grep 'ip' | tee result.txt
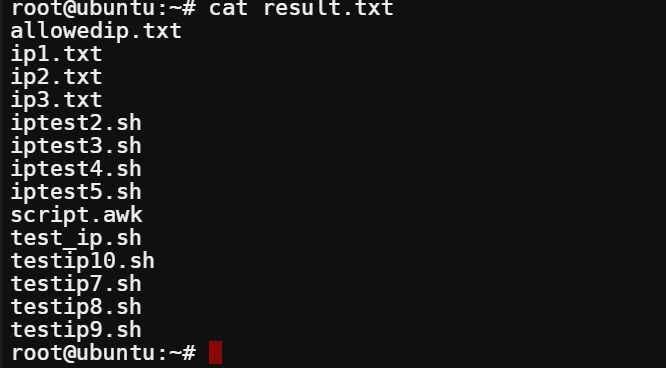
Now, run the cat command to verify the contents of the result.txt file.
cat result.txt
Appending Output to Existing Files
You previously saved the output of commands to a file, but can you update an existing file instead of creating a new one? Yes! Let the tee command do the magic.
By default, the tee command overwrites the contents of an existing file. But in many cases, you might want to append the output of a command to an existing file. Such as logging all server events in real-time to a log file.
With this feature, the log file gets appended with new entries whenever an event occurs on the server.
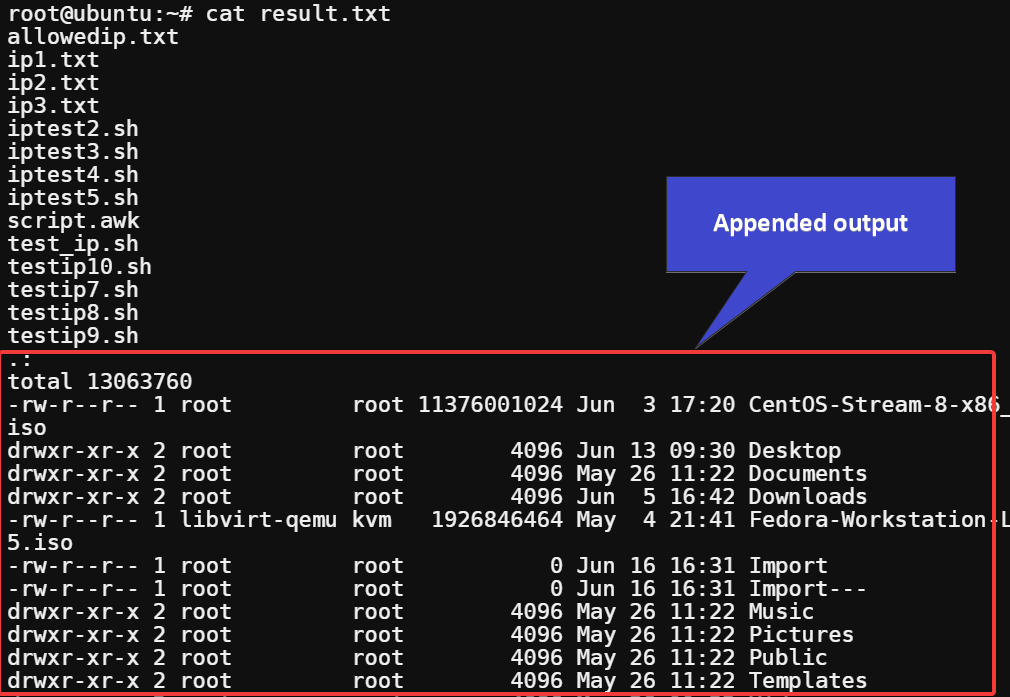
Run the below command to take the output of the ls -lR command and append the output (tee -a) to the result.txt file’s content. This command doesn’t provide output since you’re sending the command output to a file.
ls -lR | tee -a result.txt
Now, run the cat command to verify the contents of the result.txt file.
cat result.txt
As you can see below, the output of the ls -lR command is appended to the end of the result.txt file.
Using the tee Command in Conjunction with sudo
Many commands require elevated privileges or sudo access, like performing modifications inside the /etc directory. The question is, does the tee command work hand in hand with sudo? Yes!
Prepending sudo to the tee command allows a non-root user to write data to a file that only a root user can modify. For instance, you want to enable the user ata to write data to the /etc/ata.conf file. But, at the same time, you don’t want to give the user ata root privileges.
1. Login to your machine with a non-root user.
2. Next, run the following command without sudo to write the text data to the /etc/ata.conf file.
echo "data" > tee /etc/ata.confAs you can see below, you’ll get a Permission denied error since ata user doesn’t have write access to the /etc/ata.conf file.

3. Run the same command below as you did in step two to write the text data to the /etc/ata.conf file. But this time, prepend the sudo command to the tee command. Doing so allows the user ata to complete the command (elevated) as a non-root user.
echo "data" | sudo tee /etc/ata.conf
Lastly, run the cat command below to verify that the ata user could write the text “data” to the /etc/ata.conf.
cat /etc/ata.conf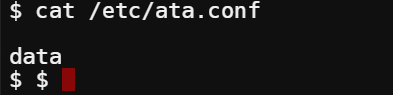
Conclusion
Throughout this tutorial, you’ve learned how to use the Unix tee command to write data to files and how it works in conjunction with other commands. At this point, you should have a powerful combination of commands you can use to manage input and output on the Linux command line environment.
You’re like a sushi chef, completely controlling the ingredients and proportions that go into each dish. You can customize each order on the fly to suit your customer’s tastes. The only limit is your imagination (and maybe the size of your terminal window).
Now, go forth and create some amazing command line concoctions!


