


Have you ever thought of implementing Continuous Integration and Continuous Deployment (CID/CD) with Travis CI in your project? Learning a new tool can be daunting. But don’t worry! You’ve come to the right place.
Travis CI is a Software as a Service (SaaS), where you can add your project from GitHub to be tested in a specific environment and deployed to a particular environment. And in this tutorial, you’ll learn how to implement CI for a Node application and automate CD to Heroku.
Ready? Get started with Travis CI and take it for a spin!
Prerequisites
This tutorial will be a hands-on demonstration. If you’d like to follow along, be sure you have the following:
- A GitHub account with a public repository – This tutorial uses a public GitHub repository named travis-ci-project.
- A Heroku account.
- Heroku CLI installed on your machine.
- A code editor – This tutorial uses Visual Studio Code (VS Code).
- A computer with any OS will work – This tutorial uses Ubuntu 20.04.
Creating a Node-based Project
You’ll first need a project before creating a CI/CD pipeline with Travis CI. So you’ll create a Node-based project for this tutorial. You’ll crisply go through how the application is built, write test cases, and then push it to GitHub.
1. Open your terminal, and run the following commands to create a working directory (mkdir) and switch (cd) to that directory. You can name the directory as you like, but this tutorial’s choice is node-TravisCI
mkdir node-TravisCI
cd node-TravisCI
2. Next, open your working directory using your favorite code editor. The command below doesn’t have output but opens your working directory on VS Code.
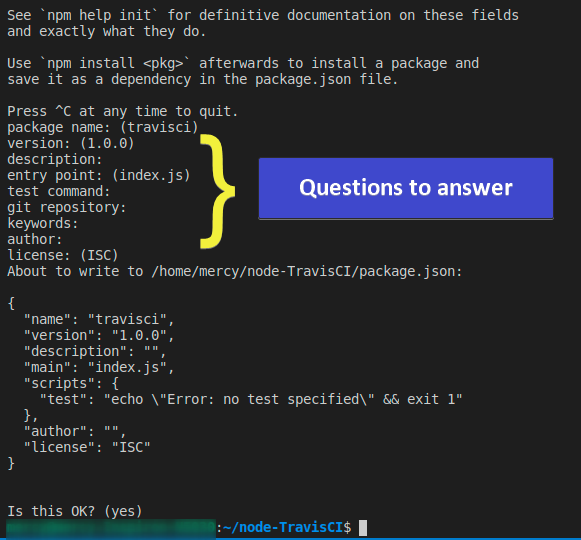
code .3. Run the below npm init command to initialize a package.json file to track necessary metadata about your Node project.
npm initEither provide answers to the following prompts or press Enter to bypass them.
You’ll see an output similar to the one below on successful creation.
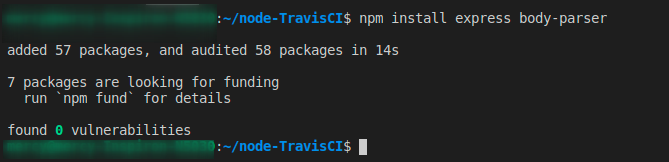
4. Now, run the npm install command below to install the following:
express - Express is a Node.js framework that builds single-page, multi-page, and hybrid web applications.
body-parser - Body-parser parses incoming request bodies in a middleware so that relevant information can be extracted easily.
npm install express body-parserThe output below indicates that both packages are installed successfully on your Node project.
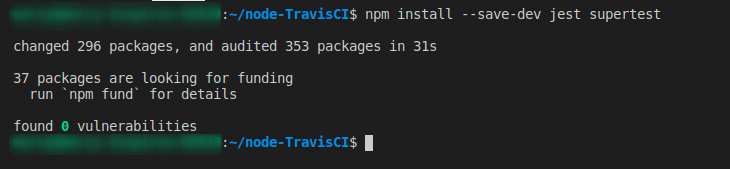
5. Lastly, run the below command to install the following testing libraries:
jest– Jest is a library used for testing Node applications.
supertest - Super-test is a library used for testing Node.js HTTP servers.
npm install --save-dev jest supertestOnce installed, you’ll get the following output.
Implementing Code and Testing the Application
Now that you have all the libraries needed for the Node application, it’s time to implement some JavaScript code. You’ll create JavaScript files that make up your application and later test if the application is working.
1. On your working directory (~/node-TravisCI), create a file called index.js with your code editor, and add the following code.
The code below creates a web application that listens on port 4000 and prints the Hello world from Travis message.
// Importing the express library
const express = require('express')

//Intializing an express app
const app = express()

const port  = process.env.PORT || 4000;

app.get('/', (req, res) => {
  res.status(200).json('Hello world from Travis')
})

// Exporting the home route so it can be tested
module.exports = app.listen(port, () => console.log(`Your application is running on ${port}`))
2. Next, create a file called route.spec.js, and populate the following code (test case).
The code below has a description of page should return hello world travis that expects the body to say Hello world from Travis.
const request = require('supertest') //importing the supertest library
const app = require('./index.js') //importing the 'index.js' file

describe('Get route', () => {
  it('page should return hello world travis', async () => {
    const res = await request(app).get('/')
    expect(res.statusCode).toEqual(200)
    expect(res.body).toEqual('Hello world from Travis')
  })
})

afterAll(async () => { await app.close() })
3. Edit your package.json file, and replace the scripts code block with the following:
This code lets npm test and npm start commands to run your tests and start your Node application.
  "scripts": {
    "test": "jest",
    "start": "node index.js"
  },
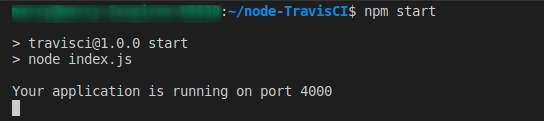
4. Now, run the npm start command below to run your application.
npm startYou’ll see the following output, which says your application is running on port 4000.
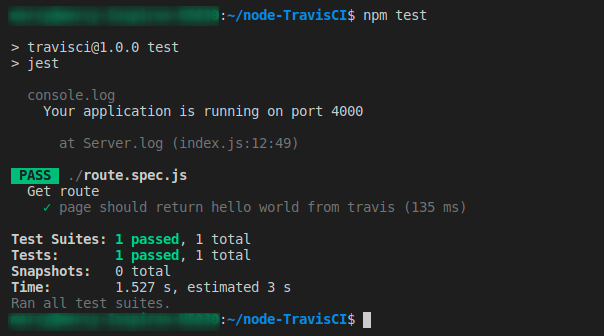
5. Press Ctrl+C to stop the application from running, and run the npm test command below to confirm if your tests are passing.
npm testIf you have your tests passing correctly, you’ll see the following output.
6. Next, create a .gitignore file in your working directory (~/node-TravisCI), and add node_module in the file, as shown below. Doing to tells Git to ignore the node_module folder, as it’s not good practice to include this folder when pushing your repository to GitHub.

7. Lastly, create a file called Procfile, and add the following command.
This command is required for a Heroku app to execute on start-up since you aim to deploy the Node application to Heroku.
web: node index.js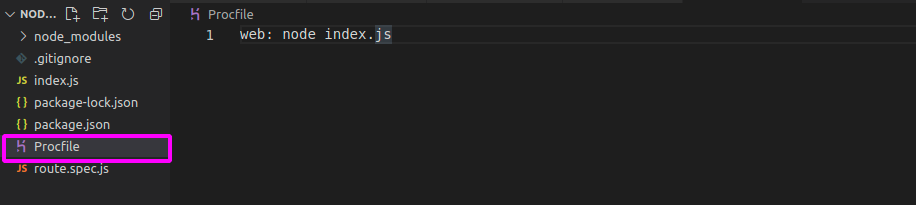
Pushing Repository to GitHub
Your Node application is all set at this point, so it’s time to push your repository (node-TravisCI) to GitHub. Pushing your repository to GitHub (as the source of truth) is crucial. Doing so lets you deploy your Node application to Heroku and GitHub pages later on with Travis CI.
1. On your terminal, run the git init command below to initialize the working directory as your Git repository.

2. Next, run the following commands (git add and git commit) to enable Git to track files and add your first commit.
git add .
git commit -m 'first commit'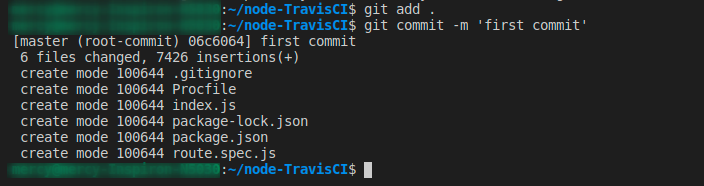
3. Finally, run the below commands (git remote and git push) to perform the following:
- Add your remote Git repository. Be sure to replace mercybassey/travis-ci-project.git with your own remote Git origin URL.
- Push the changes to your master branch on your Git repository.
# Add your remote Git repository
git remote add origin [email protected]:mercybassey/travis-ci-project.git
# Push changes to the master branch
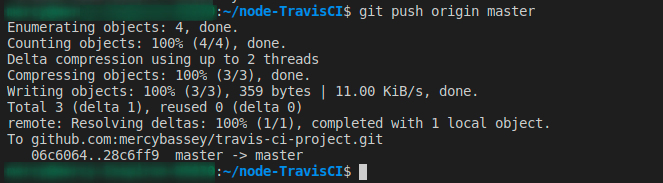
git push origin masterIf pushed successfully, you’ll see the following output:

Signing Up to Travis CI
Now that your Node application is ready and pushed to your Git repository, you’re ready to get started with Travis CI. But before creating a CI/CD pipeline, you’ll have to sign up for a Travis CI account.
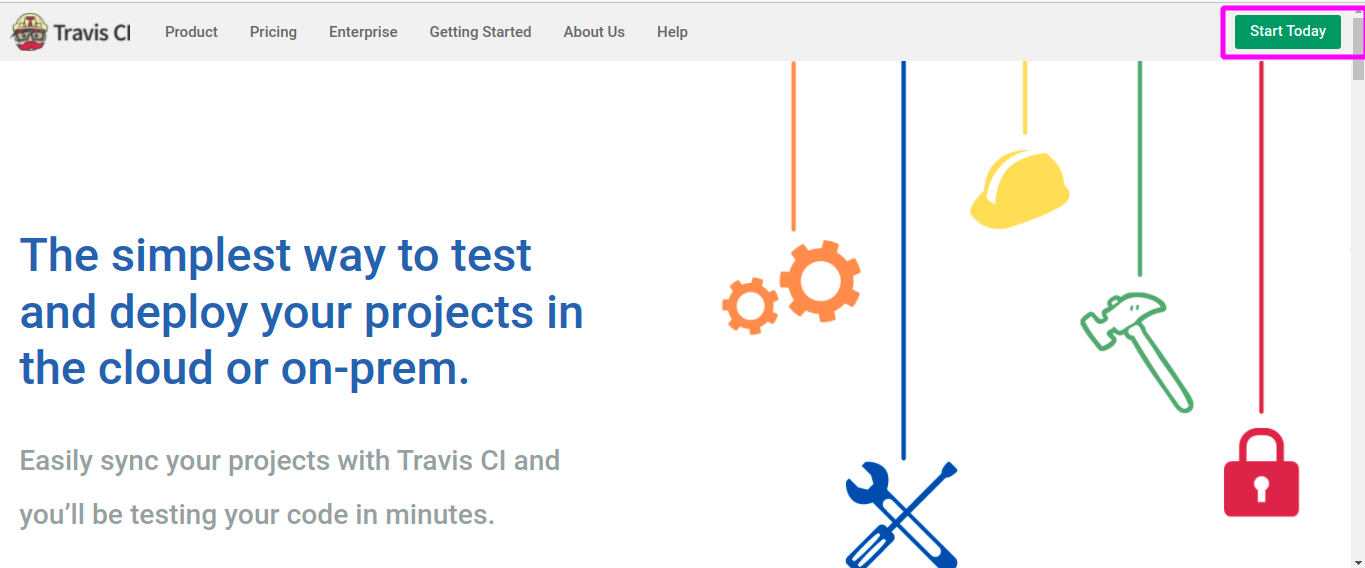
1. Open your favorite web browser, and navigate to Travis CI official website.
2.Click the Start Today button on the homepage to initialize creating an account.
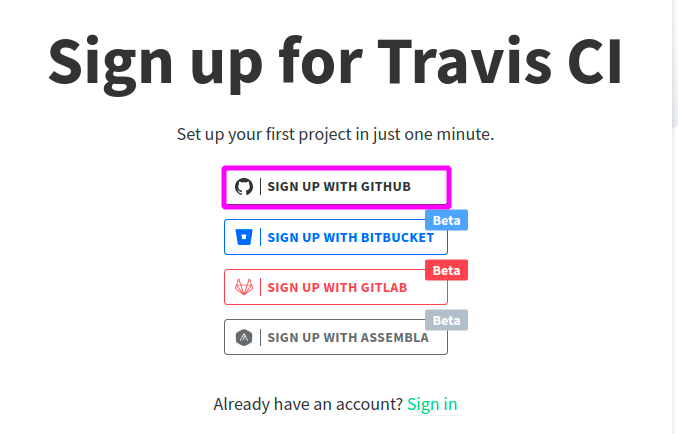
3. On the Sign up page, click SIGN UP WITH GITHUB as your signup method since you already have your source code on GitHub.
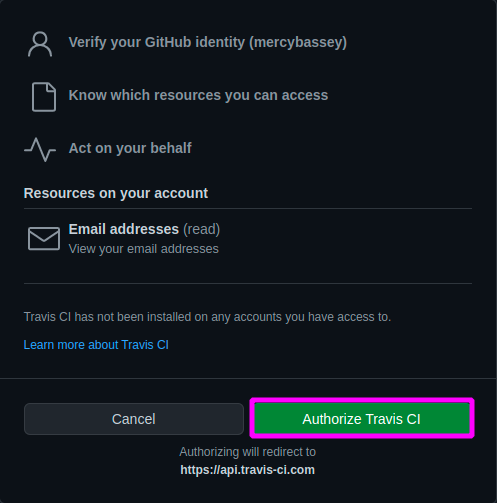
4. Now, click on Authorize Travis CI to give Travis CI permission to access your GitHub account.
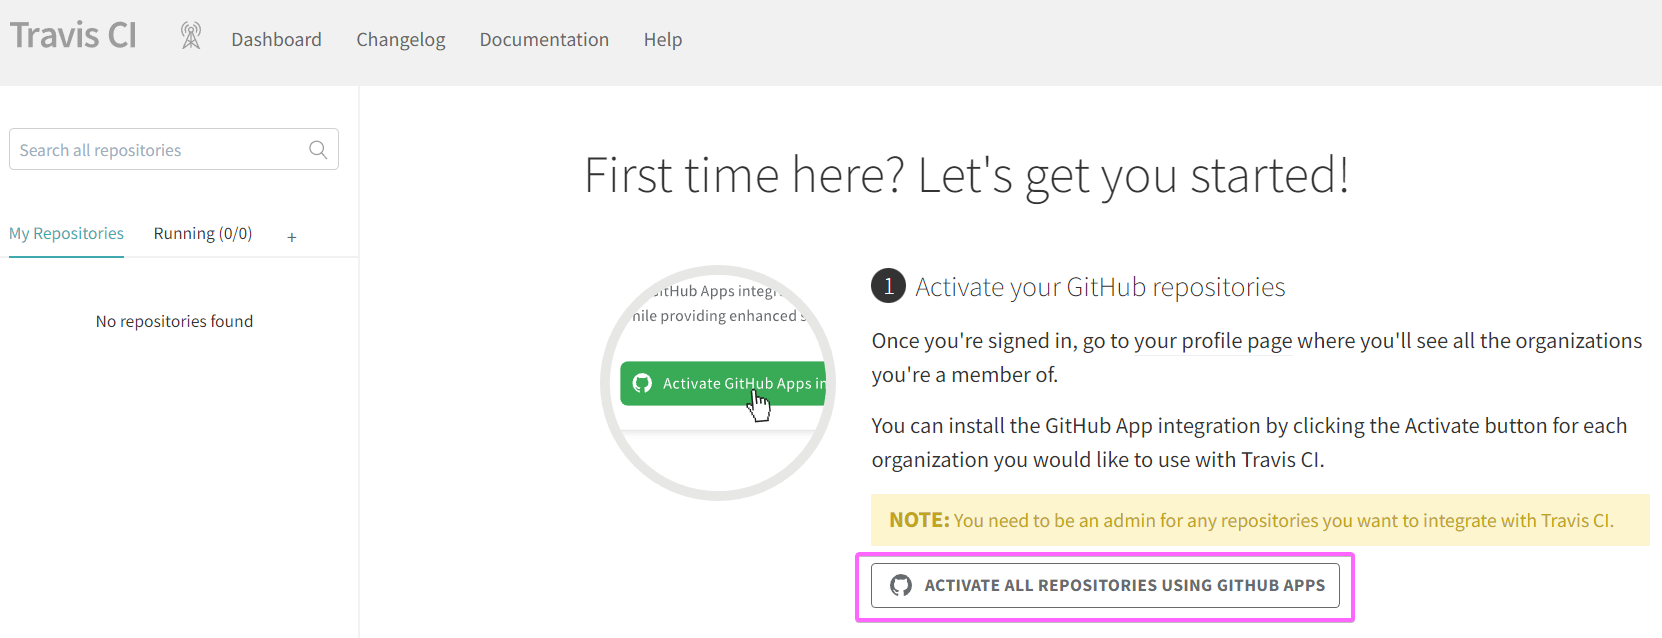
5. Click the ACTIVATE ALL REPOSITORIES USING GITHUB APPS button to activate your GitHub repositories. Doing so gives Travis CI access to your GitHub repositories.
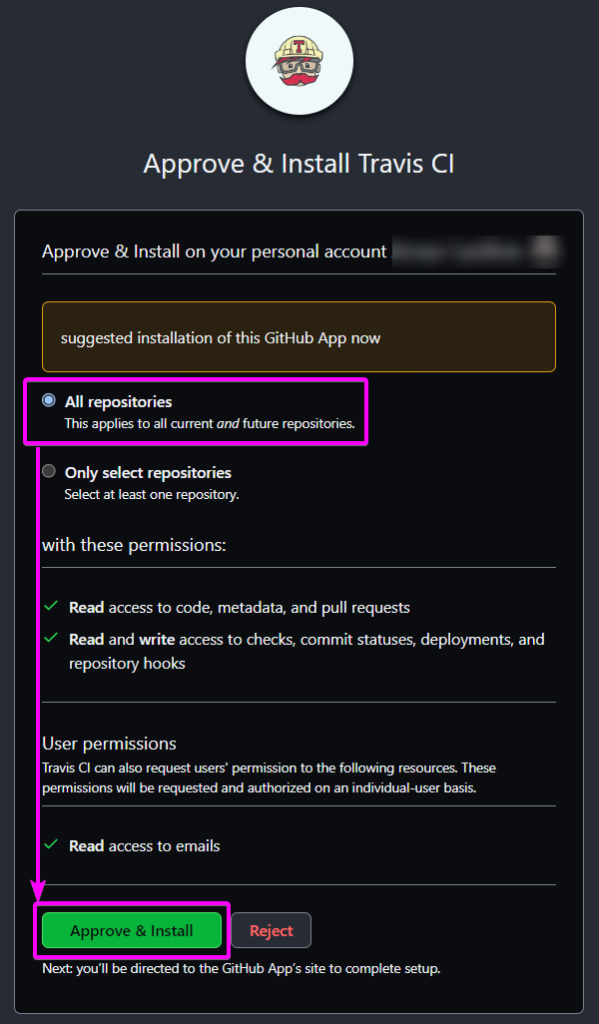
6. Next, click Approve & Install to install Travis CI on your GitHub account. Once installed, your browser redirects to a page where you’ll need to insert your GitHub password.
Automatically, you’ll be logged in to Travis CI.
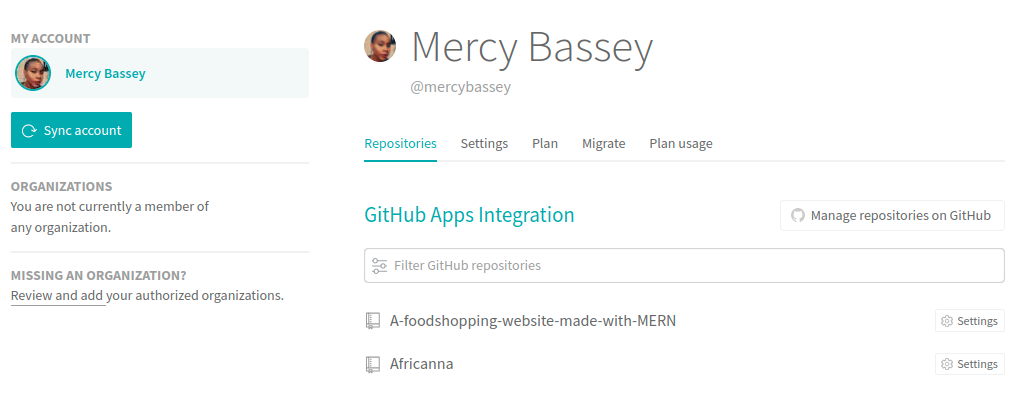
On successful login, you’ll get to your Travis CI dashboard to see your GitHub repositories, as shown below.
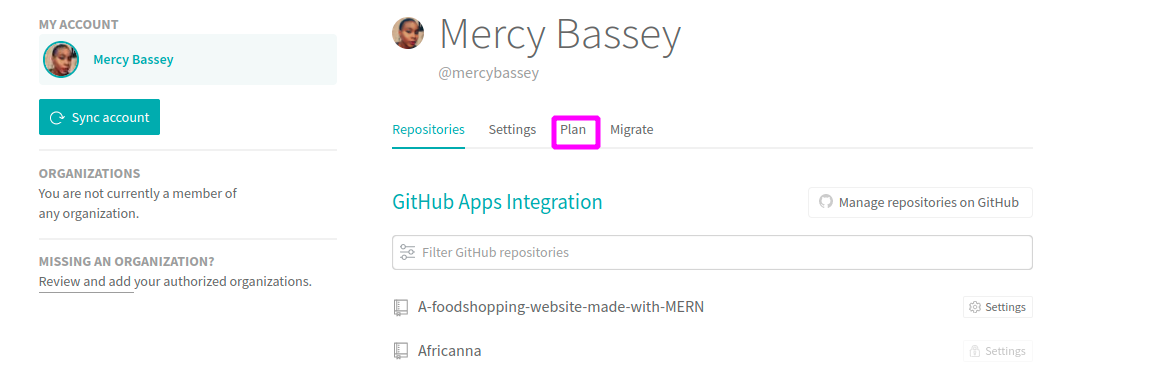
7. Click on the Plan tab to see all the plans available for Travis CI. You’ll need to select a plan before you can use Travis CI.
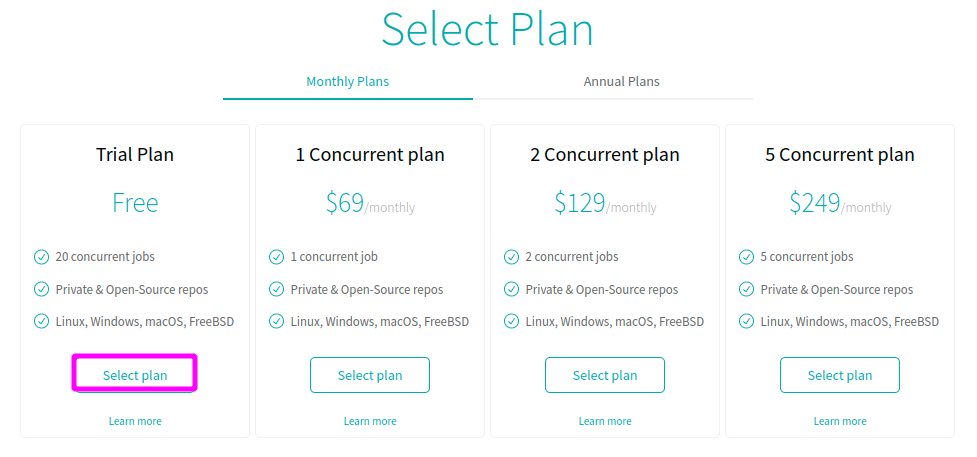
8. Select the free plan to continue.
9. Populate the fields with the required information, and click on the Proceed to payment button to validate the information.

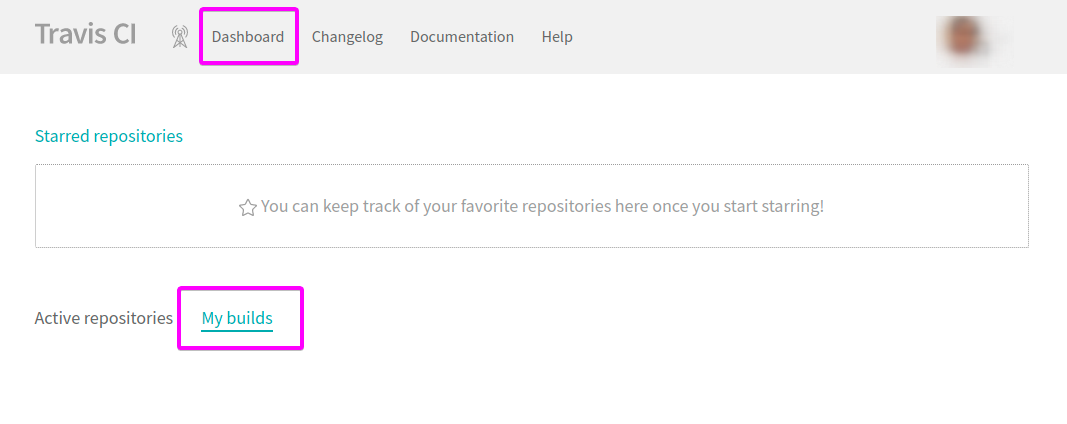
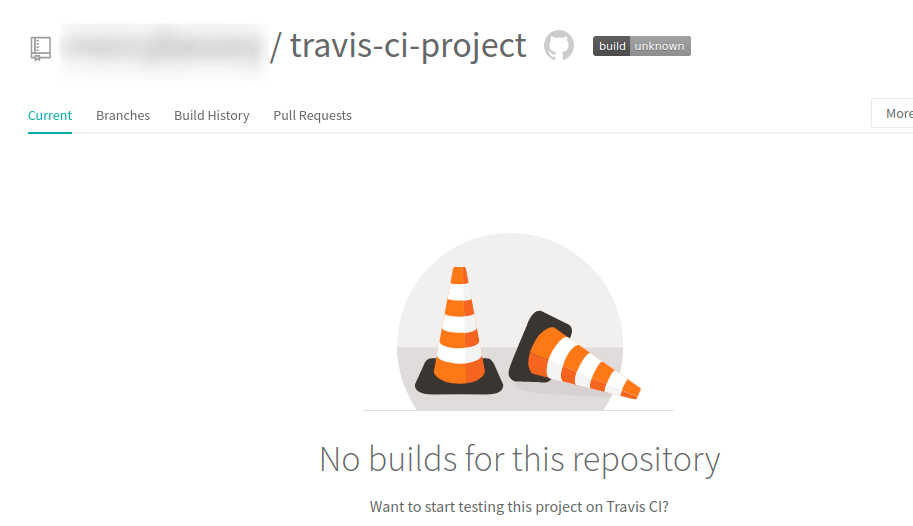
10. On successful validation, click on Dashboard to access your Travis CI dashboard and view your builds. As a new user, you’ll see no builds at this stage, just like the image below.
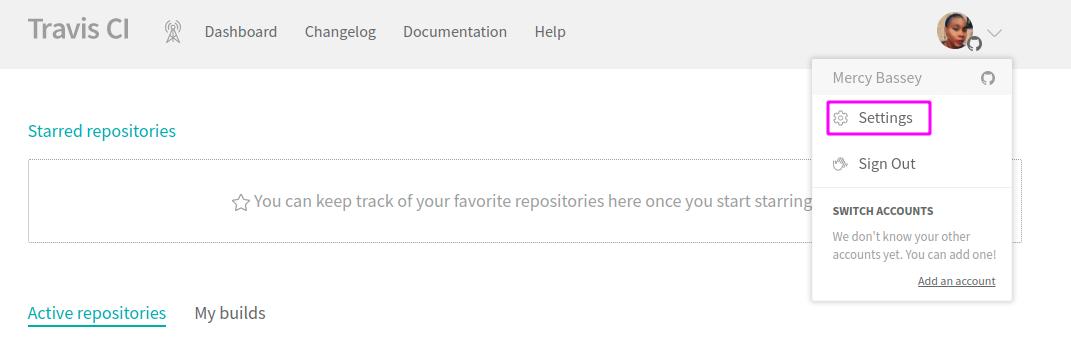
11. Now, click on your profile icon shown below, and select the Settings option to switch back to your Travis CI account page.
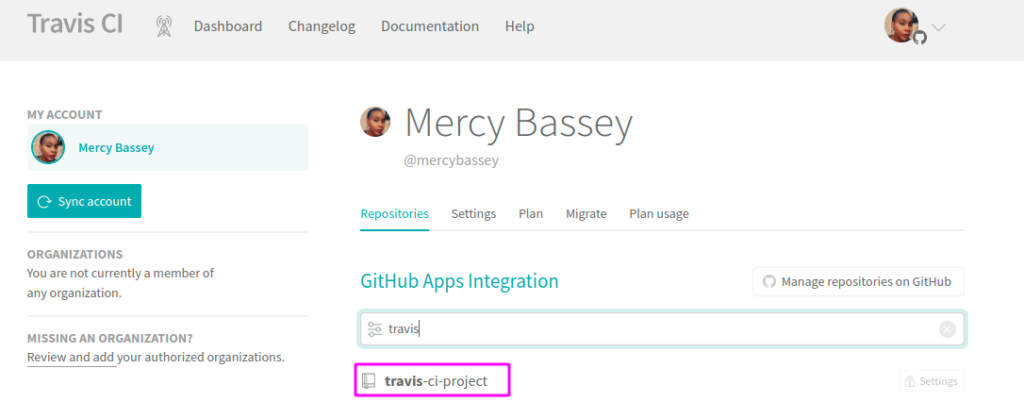
12. Search for your GitHub repository (travis-ci-project) that houses your Node application.
You should have the following output, which indicates you have no builds yet.
Creating and Running a Build
Now that you have an active Travis CI account, the following line of action is to create a build for your Node application.
Travis CI uses a .travis.yml file to create your builds. The .travis.yml file will contain all configurations and tasks that Travis CI will perform. So this file is what Travis CI will watch out for to perform builds.
1. On your project directory, create a file called .travis.yml and add the following code to the file.
# Set the language Travis CI should expect.
language: node_js

# Set the Node.js version you’d like Travis to use. Add more versions as you like.
node_js:
- 18.3.0

# Cache all npm dependencies so Travis CI only installs dependencies once.
# For multiple builds, caching all npm dependencies enables your builds to run faster.
cache: npm

# Configure the build cycles to tell Travis CI to install all dependencies.
# You can also add other dependencies you like Travis to install globally.
install: # Hook provided by Travis CI
- npm install

# Tell Travis CI to run the test for your Node application
script:
- npm test
2. Next, run the commands below to run your build, track the changed files, and commit to your GitHub repository.
Running your build will be less hassle since you already have Travis CI synced to your GitHub repositories.
# Track changed files
git add .
# Add a commit message
git commit -m 'added a .travis.yml file to run a build'
3. Now, run the below command to push the changes to the master branch of your remote Git repository.
git push origin masterOnce pushed, you’ll see an output similar to the one below.
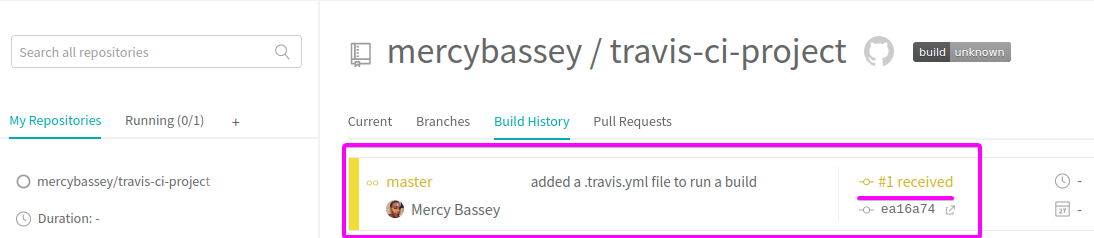
4. Lastly, switch back to your Travis CI dashboard, and the following output indicates your build is received.
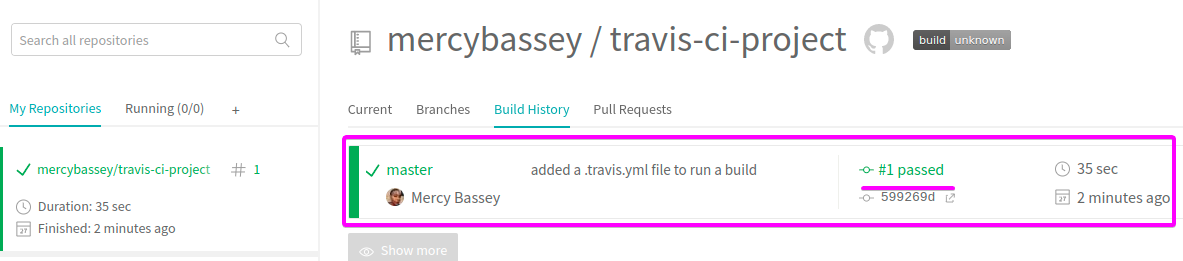
And once Travis CI has successfully performed all tasks listed in the .travis.yml file, you’ll get an output saying that your build is ready.
You have now successfully run a build to completion!
Configuring Travis CI for Build Deployment
Your build on Travis CI is running, and you’re almost ready to deploy your build. But first, you’ll need to add some configuration settings to tell Travis CI to deploy your application to Heroku.
You’ll add these configuration settings to your .travis.yml file under the deploy hook.
1. Open your .travis.yml file, and add the following configuration to the bottom of the file’s content.
This configuration below tells Travis CI to deploy your application to Heroku.
# Install the Faraday library, which is required before deploying the build to Heroku
before_deploy:
  - rvm $(travis_internal_ruby) --fuzzy do ruby -S gem install faraday -v 1.8.0
deploy:
  provider: heroku # Tell Travis CI to deploy your application to Heroku.
  skip-cleanup: true
  api_key: $HEROKU_TOKEN # The environment variable you'll create later for a token.
	app: node-travis-app # Tells deployment should be made for the app node-travis-app.
2. Next, run the below command to login into your Heroku account since you’ll need to create an application on Heroku and generate a Heroku authentication token.
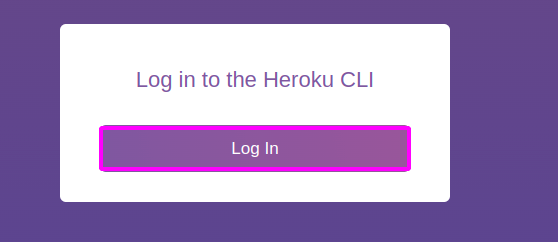
heroku loginInput your Heroku username and password when prompted. Once connected, a login page opens on your web browser (step two).

3. Click on Log In to continue logging in to Heroku CLI.
You’ll see the following page once you’ve successfully logged in.
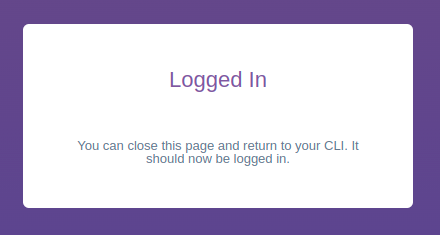
Also, on your terminal, you’ll see the following message saying you’re logged in on the Heroku CLI.

4. Once logged in, run the heroku create command below to create a Heroku application called node-travis-app. But you can change node-travis-app with your preferred application name.
heroku create node-travis-app
5. After creating an app, run the below command to generate an authentication token (auth:token).
Travis CI will use this token to gain access to your Heroku account for deploying your application.
heroku auth:tokenNote down the token as you’ll need to create an environment variable for this token later.

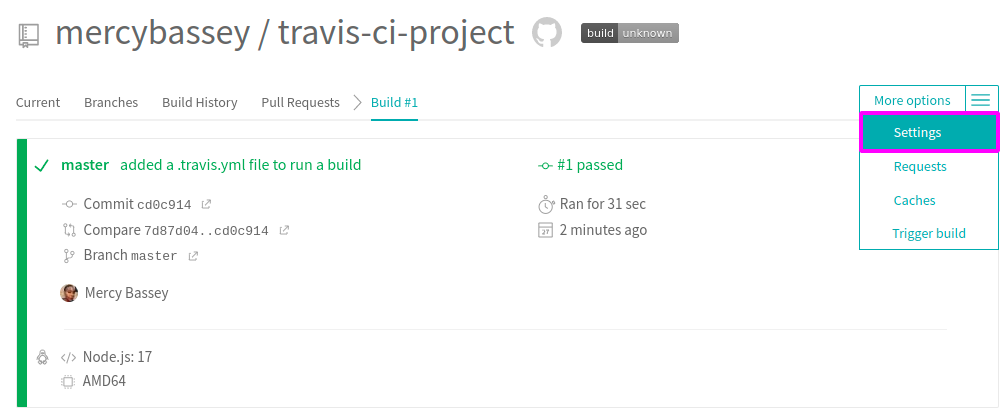
6. Navigate to your build on Travis CI, click on the hamburger button (top-right), and choose the Settings option. Doing so redirects your browser to your build’s Settings page (step eight).
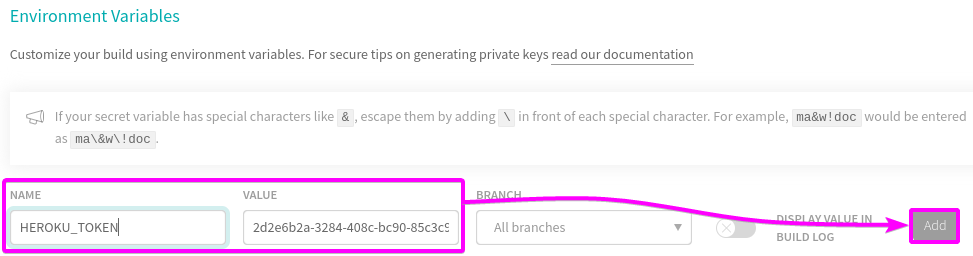
7. On the settings page, fill in the following under the Environment Variables section:
- NAME – Name the environment variable as you like. But in this tutorial, the name is set to HEROKU_TOKEN.
- VALUE – Input the token you noted in step six as the value for this environment variable.
- Click on Add (right-most) to add the environment token.
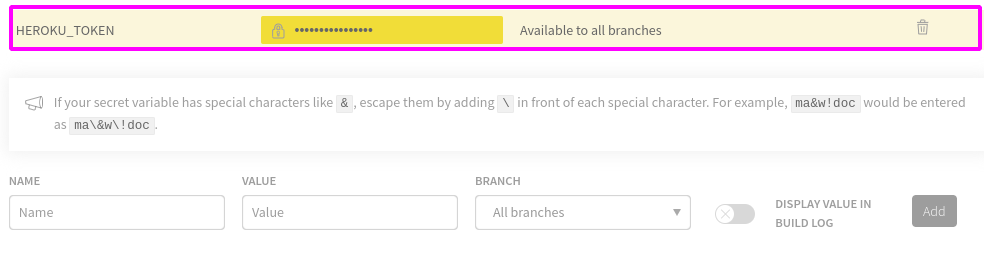
Once the variable is added successfully, you’ll see a pop-up, like the one below:
Deploying Build to Heroku
All resources are ready, and you’ve come to the most exciting part, deploying your build to Heroku. Travis CI will rebuild your application and then deploy your application to Heroku.
1. Run the following commands to enable Git to track file changes, and add a commit message.
git add .
git commit -m 'Deploying to heroku' 
2. Next, run the git push command below to push the changes to the master branch of your remote Git repository.
git push origin master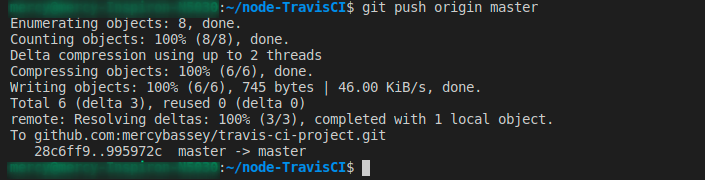
Travis CI picks up the changes from Git to deploy your application to Heroku on a successful push.
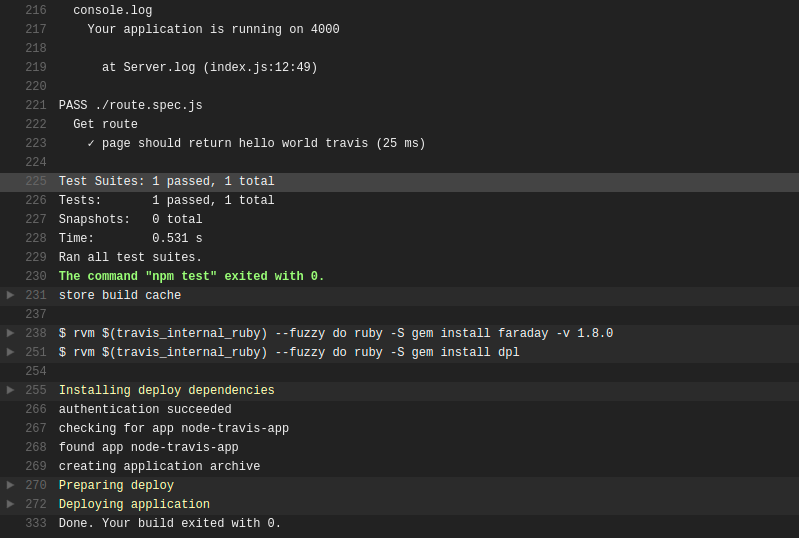
Once deployed on your build in Travis CI, you’ll have a job log similar to the one below. The output below indicates Travis CI has successfully deployed your application to Heroku.
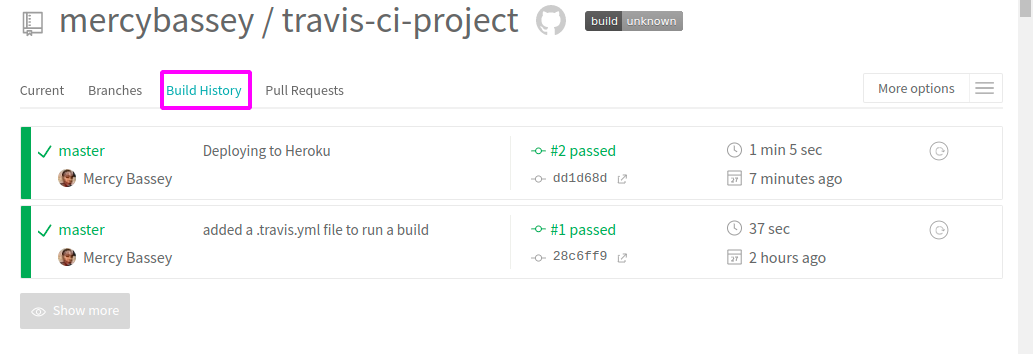
Check your Build History, and you’ll see an output similar below.
3. Finally, visit your app’s URL (https://YOUR_APP/.herokuapp.com) to test if your Node application is working. Replace YOUR_APP with your application’s name.
If all goes well, you’ll see a page where a message says Hello world from Travis. Seeing this page indicates Travis CI has successfully built, and deployed your application on Heroku.

Conclusion
In this tutorial, you’ve learned how to implement CI/CD with Travis CI. You created a Node application, tested the application with Jest and Super-test. Deployment should be complex, and Travis CI lets you deploy your application and every changes without messing things up.
How else will you be using Travis CI? Maybe configure Travis CI to build, run, and deploy a front-end React application to GitHub pages?


