

Password hygiene can make or break an organization’s security efforts. Finding the balance between weak and complicated passwords can be a challenge. Luckily, Specops Password Policy (SPP) takes the guesswork from implementing strong passwords with features that are baked into the product.
With Specops Password Policy, you can create password rules that comply with industry-standard templates. You’ll have more granular control on password policies than what the default Windows password policy can offer.
Continue reading and learn how to install, configure, and create Specops Password Policy to start protecting your Active Directory user passwords.
This post is kindly sponsored by Specops Software.
Prerequisites
Should you plan to follow along with this hand-on tutorial, make sure to have the requirements in place as follows.
- A Windows Server 2012 R2 (or later) domain controller (DC). This tutorial will be using a Windows Server 2019 DC.
- A Windows 7 (or later) domain-joined computer. You’ll use this computer to test how the Specops Password Policy works on the user side.
- The Specops Password Policy installer, which you can download from this link.
- You’ll also need the trial license, which you can request by filling out the Specops Password Policy product page information form. Someone from Specops will then send you an email with the trial license and trial API key for Arbiter, which is required for the Breached Password Protection add-on.
Installing Specops Password Policy
Specops Password Policy has multiple components that you’ll need to install individually. These component works together to complete the Specops Password Policy experience. But you don’t need to download these installers separately; you can install these components from one place.
Installing Administration Tools
The administration tools allow you to manage the Specops Password Policy configurations, such as installing the license or creating new policies. This installation also adds a group policy management console (GPMC) snap-in that lets you edit password policies in a group policy object (GPO).
To install the Administration tools, follow these steps.
1. Locate the specopspasswordpolicy_setup.exe you downloaded and double-click the file.
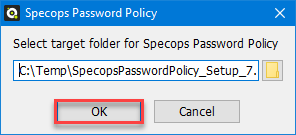
2. A pop-up window shows up asking where to extract the installation files. The default target location is C:\\Temp\\SpecopsPasswordPolicy_Setup_<version>. Leave the default or change the location if you prefer to extract to another folder and click OK.
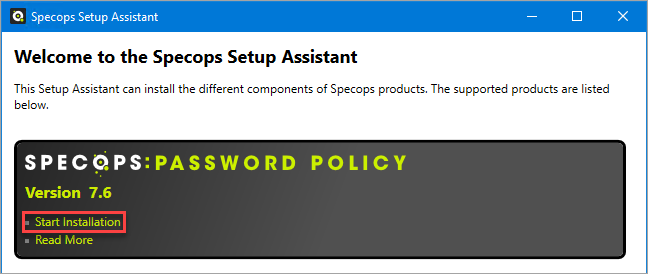
3. After the extraction, the Specops Setup Assistant window launches. Click Start installation.
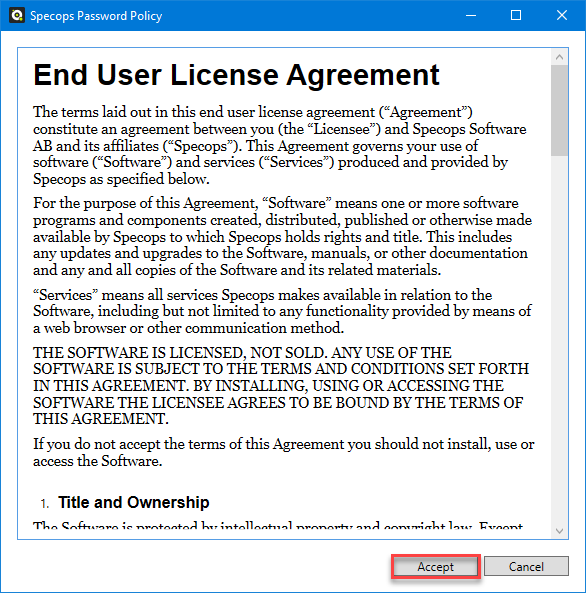
4. Accept the End User License Agreement (EULA).
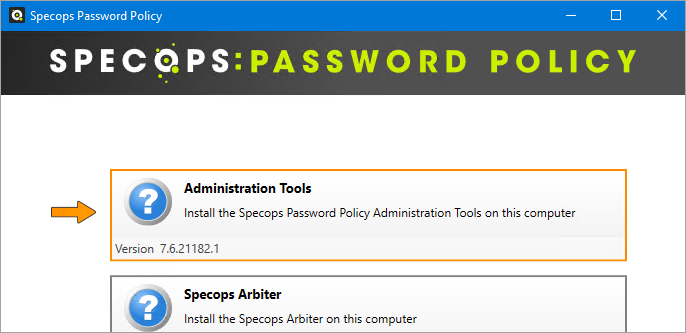
5. On the installer menu, you’ll see the list of components available to install. Click on the Administration Tools button.
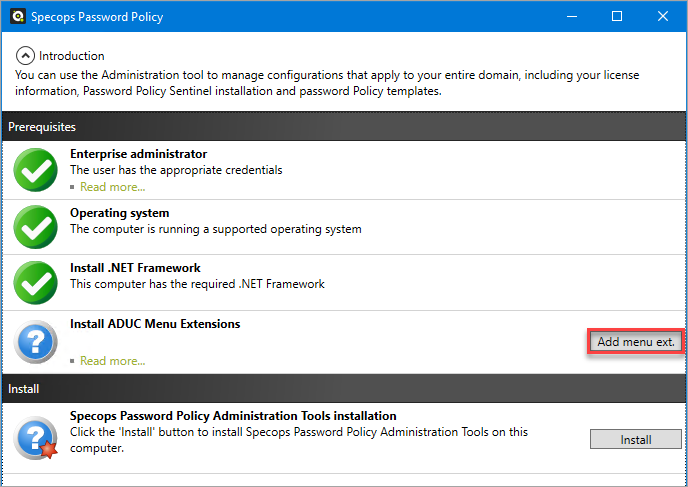
6. Next, click Add menu ext to enable Specops-specific context menu items to the Active Directory User and Computers (ADUC) console. This action does not touch the schema.
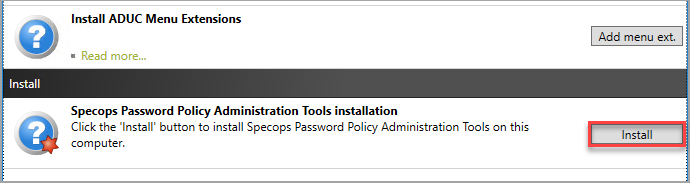
7. Now, click Install to install the Specops Password Policy Administration Tools.
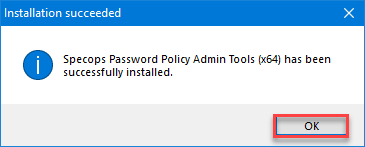
8. After the installation, click OK.
Installing Specops Arbiter
Specops Arbiter is the component that enables using the Specops Breached Password Protection (BPP) add-on. This add-on gives Specops Password Policy access to the online list of leaked and compromised passwords that Specops provides.
You only need to install this component if you wil use the Breached Password Protection.
To install the Sepcops Arbiter on your DC, proceed as follows.
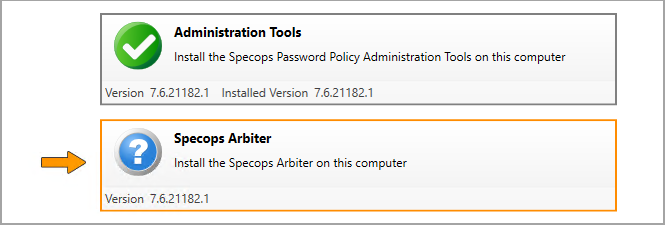
1. On the Speocops Password Policy installation menu, click Specops Arbiter.
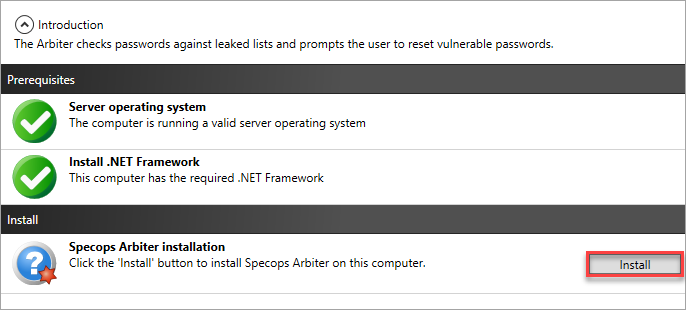
2. Click Install next to the Sepcops Arbiter installation.
3. Finally, click OK after the installation.

Installing Specops Password Policy Sentinel
The Specops Password Policy Sentinel is the component that filters and verifies new passwords against the Specops Password Policy settings you implement. This component also checks if the password is on the breached password list, but only if you configure the Specops Arbiter, too.
You must install Specops Password Policy Sentinel on all writable domain controllers in production.
Follow the steps below to install Specops Password Policy Sentinel on all writable DCs.
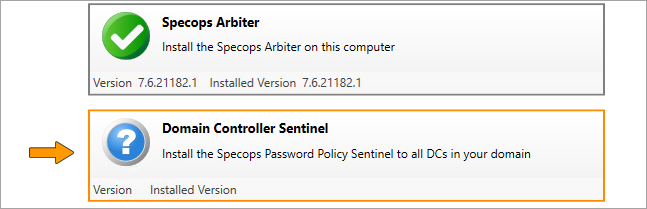
1. On the main installation menu, click Domain Controller Sentinel.
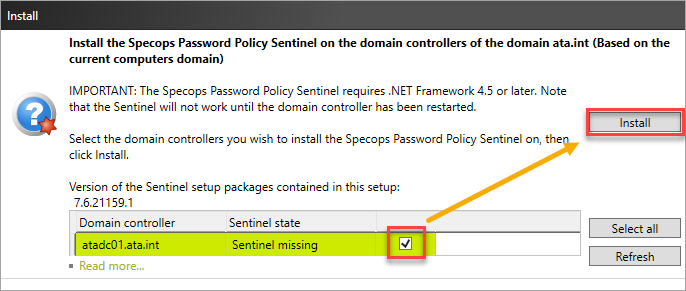
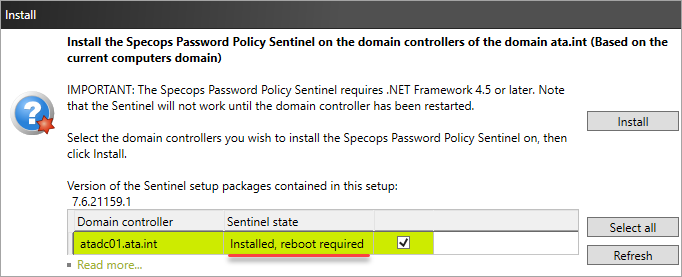
2. Next, on the list of DCs, click the checkbox next to each DC to install the Specops Password Sentinel. This example only has one DC. After marking your target DCs, click Install and wait for the installation to complete.
3. Finally, reboot the affected domain controllers on the list. As you can see below, the DC requires a reboot.
Installing Specops Authentication Client
While the Specops Authentication Client is an optional component, installing it on client computers elevates the user experience when changing passwords.
The client has three main functions; display the password policy rules, evaluate the new password in real-time, and notify users of expiring passwords.
Evaluating new passwords in real-time is only available on Windows 10 64-bit (not 32-bit) or Windows 11.
Admins can choose to install Specops Authentication Client via the software installation strategy that their organization has in place. But in this example, for testing purposes, you’ll install the Specops Authentication Client manually on the client PC.
1. First, log in to the client computer with administrator access. The client installation requires admin rights.
2. Open a new PowerShell window as administrator and change the current directory to your Downloads folder by running the command below.
cd ~/Downloads3. Run the command below to download the Specops Authentication Client installer.
$url = 'https://download.specopssoft.com/Release/Client/Specops.Authentication.Client-x64.msi'
Invoke-WebRequest -Uri $url -Outfile ($url).split('/')[-1] -UseBasicParsing
Get-ChildItem *.msi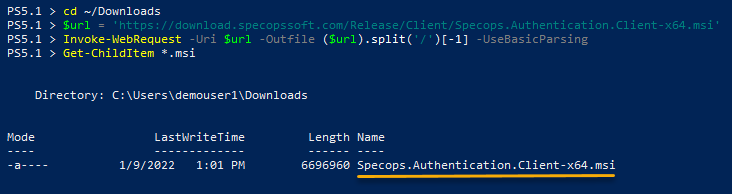
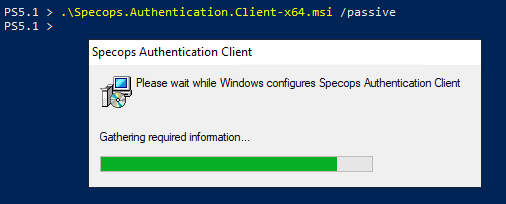
4. Type in the installer file name, append the switch /passive, and press Enter.
The default installation folders are
%ProgramFiles%\\Specopssoftfor 64-bit and%ProgramFiles(x86)%\\Specopssoftfor 32-bit clients.
.\Specops.Authentication.Client-x64.msi /passiveWait for the installation to complete, which only takes a few seconds.
Importing the Specops Password Policy Product License
So far, you have already installed all the components responsible for making Specops Password Policy work. But before you can start tinkering with the password rules and other general settings, you first need to import the license.
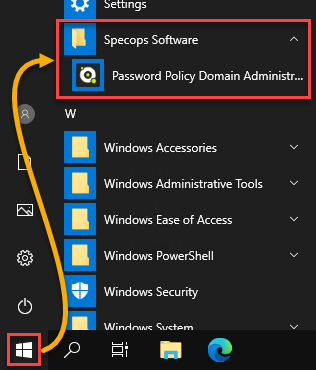
1. First, launch the administration tool. To do so, click Start —> Specops Software —> Password Policy Administration.
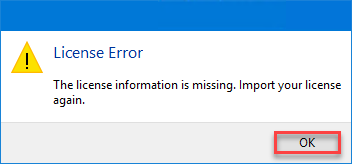
2. The first time you open the administration tool on the computer, you will get the License Error message, as shown below. This error is normal since you haven’t imported the license yet.
Click OK to close this pop-up window.
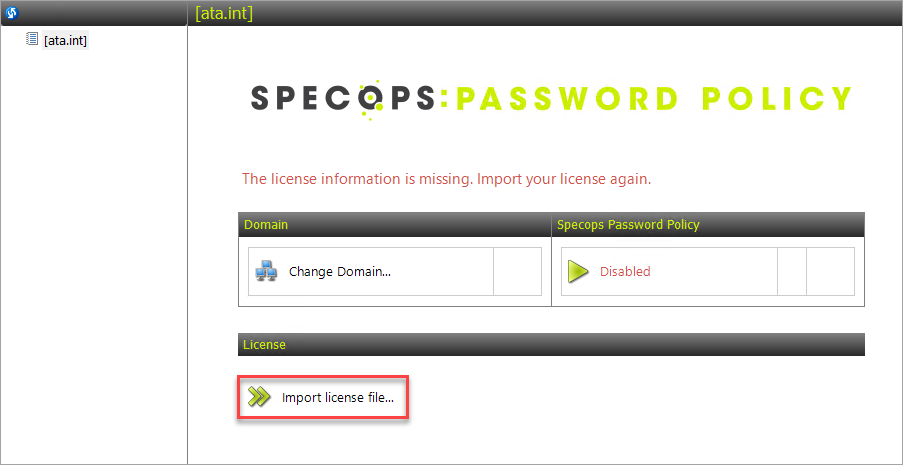
3. Click the Import license file button on the administration tool window to start importing the license.
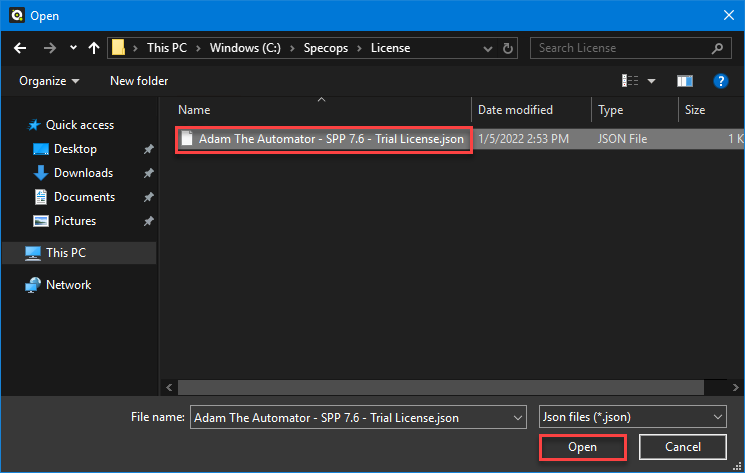
4. Browse for and locate the license file (with JSON extension) and click Open.
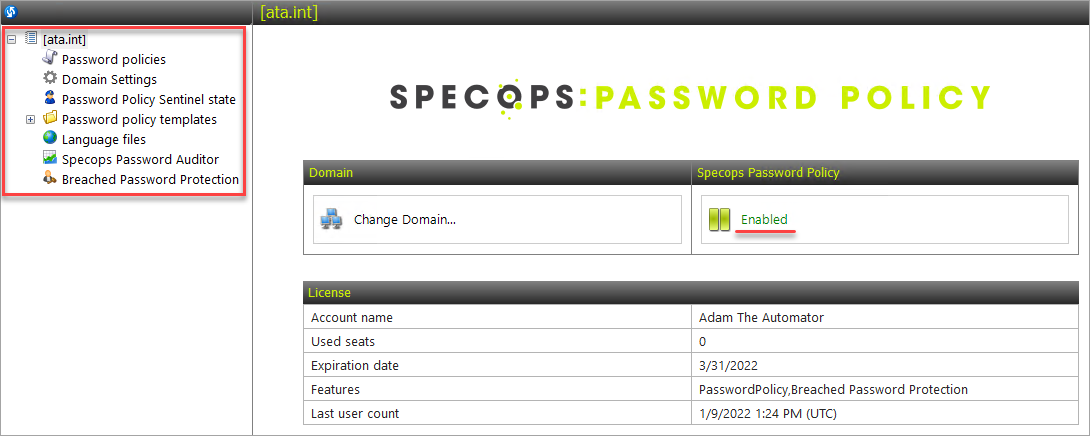
After importing the license, you’ll see that the Specops Password Policy status is now enabled. And on the left pane, you’ll see the different menu items for configuration that were missing before installing the license.
Enabling the Breached Password Protection Add-on
Apart from password rules, SPP can also check user passwords against a breached passwords list, whether online or with an offline database. But first, you need to enable this feature.
Importing the Breached Password Protection API Key
After installing the product license, you can now access the Breached Password Protection configuration page. This configuration page allows you to apply the API key, giving the Arbiter access to the online breached password list.
To import the API key, follow these steps.
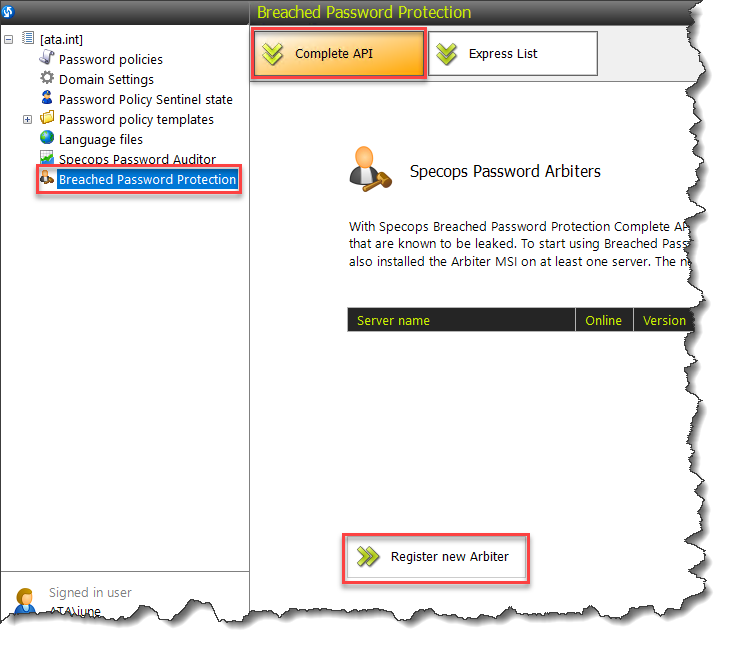
1. Click Breached Password Protection on the left pane.
2. Under the Complete API tab, click the Register new Arbiter button.
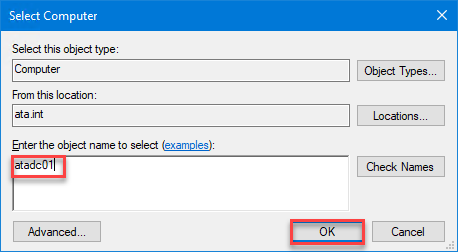
3. Next, search for or specify the domain controller name to register and click OK. This example selects the atadc01 DC.
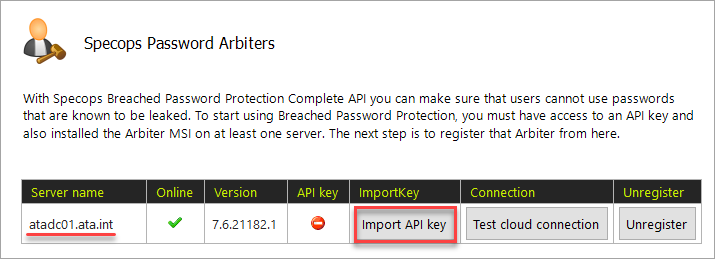
4. The DC should now be on the list, as you can see below. Click the Import API key button.
5. Now, open the API key file in a text editor such as Notepad. Copy the API key from the text editor, paste it into the Add API Key box, and click OK.
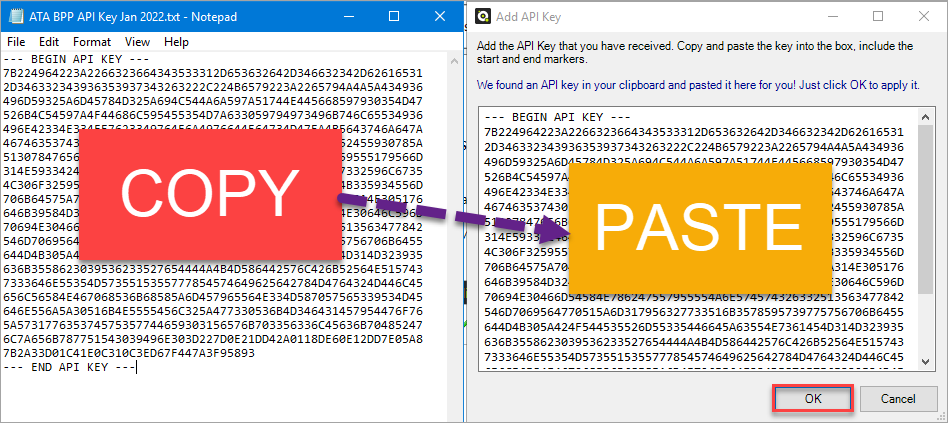
The API key column will now have a checkmark, as shown below.

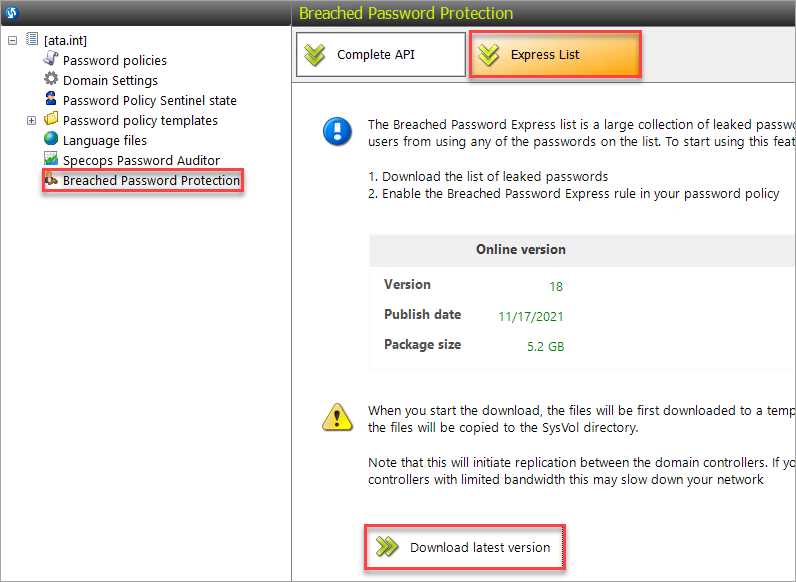
Downloading the Breached Password Express List
Instead of checking passwords against an online list, the Breached Password Express List enables SPP to check the passwords using a local dictionary. Plus, the Express List enables the checking of passwords in real-time.
The Breached Password Express List size is approximately 5.2GB as of 11/17/2021. This list contains only a subset of the complete list, which the API provides. After downloading, the list will be in the SysVol directory and trigger replication between the domain controllers. It is recommended to have at least double this space available for replication.
1. Click the Express List tab inside the Breached Password Protection page.
2. Next, click Download latest version.
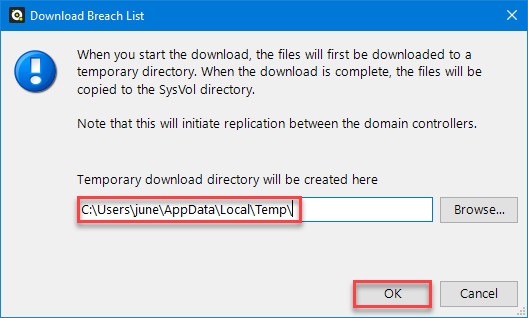
3. Specify the temporary directory where to save the express list and click OK. Make sure the temporary location has enough free space.
4. On the confirmation prompt, click Continue.

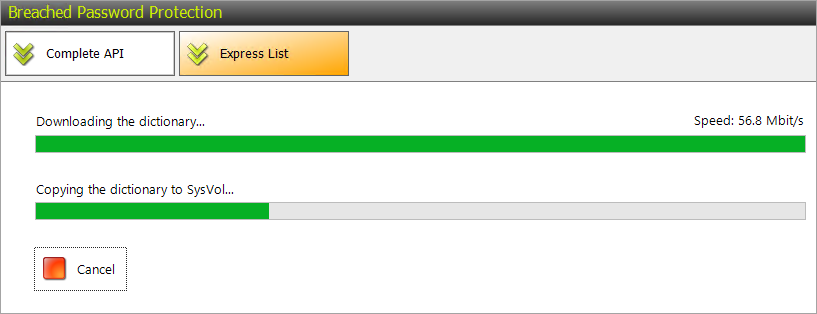
And wait for the download and copy process to complete.
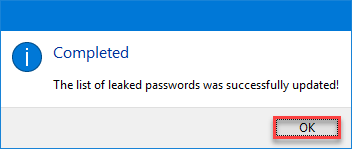
5. Click OK after completing the download.
Configuring SMTP Settings for Email Notifications
A part of the Specops Password Policy experience is users’ email notifications regarding password-related actions. If you don’t plan or want to use email notifications, you can skip this step.
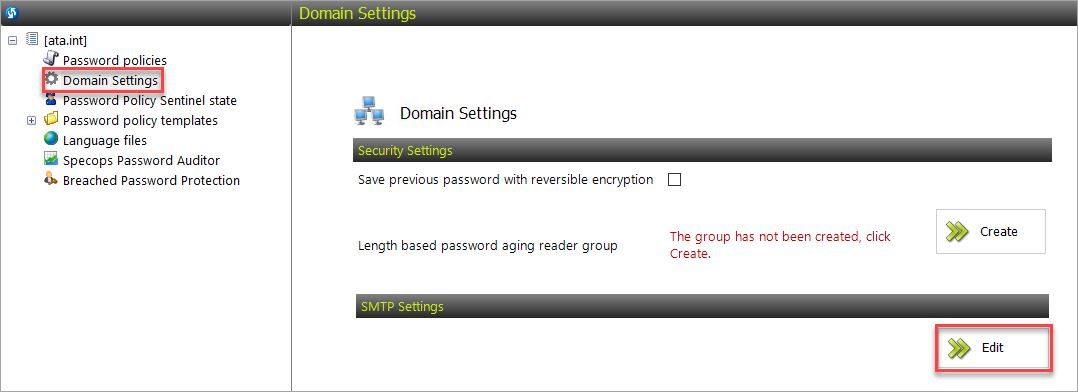
1. Click Domain Settings on the left pane and click Edit under the SMTP Settings section.
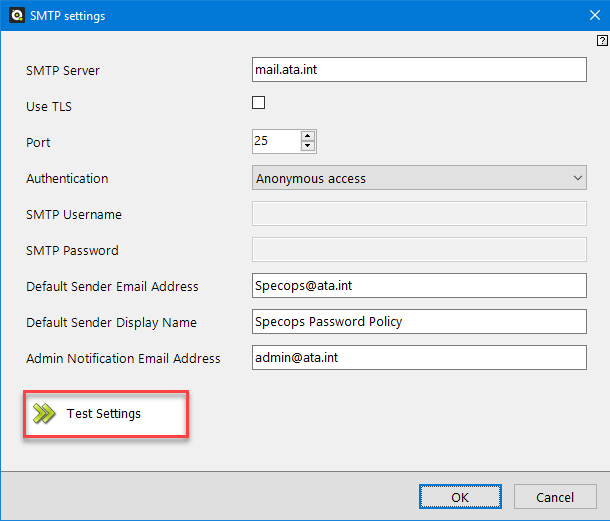
2. Now, enter the information about your SMTP server and email addresses, and click Test Settings.
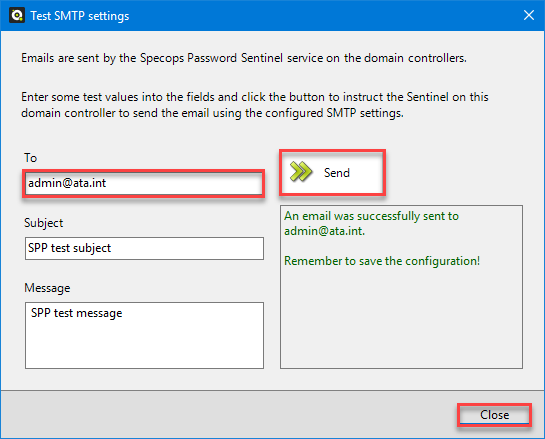
3. On the Test SMTP Settings window, enter the recipient email address for the testing and click Send. The screenshot below shows the result of successful email testing. Click Close.
4. Back to the SMTP settings window, click OK to save the changes.
Creating a New Password Policy
Finally! After importing the licenses and other preparations, you’re now ready to start securing your users’ passwords. Now it’s time to create a new password policy and apply it to your domain.
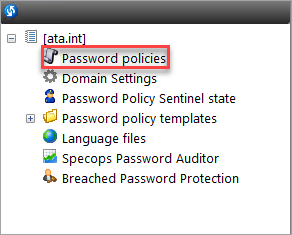
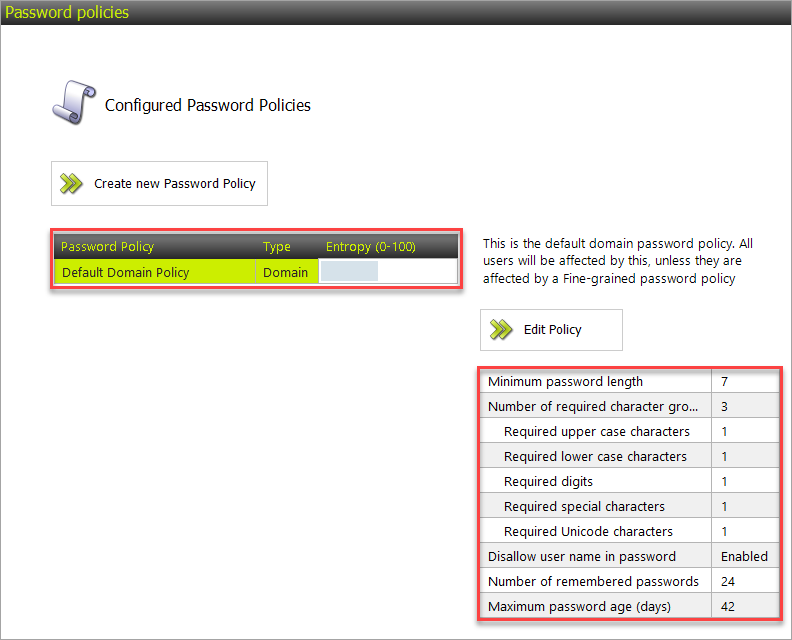
1. On the Administration tool, click Password Policies.
As you can see below, only one password policy exists inside the Default Domain Policy GPO. This default policy primarily affects the users unless the Specops Password Policy you’ll be creating is fine-grained and has a higher entropy score.
The entropy score is SPP’s rating of a password policy’s strength based on its password rules. If the Specops password policy you are creating has a lower entropy score, make sure to set the Default Domain Policy to the lowest level first.
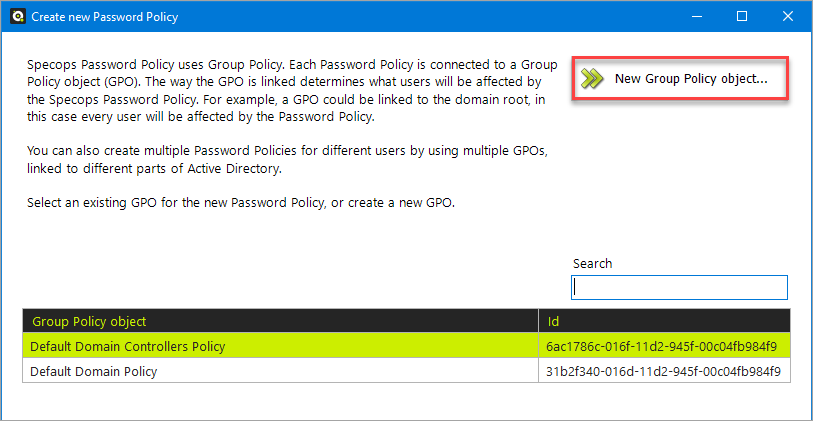
2. Now, click on the Create new Password Policy button.
3. On the Create a new Password Policy window, you have two options to create a password policy; create a new GPO or use an existing GPO for the new password policy. In this example, you’ll create a new GPO called SPP. Now, click on New Group Policy object.
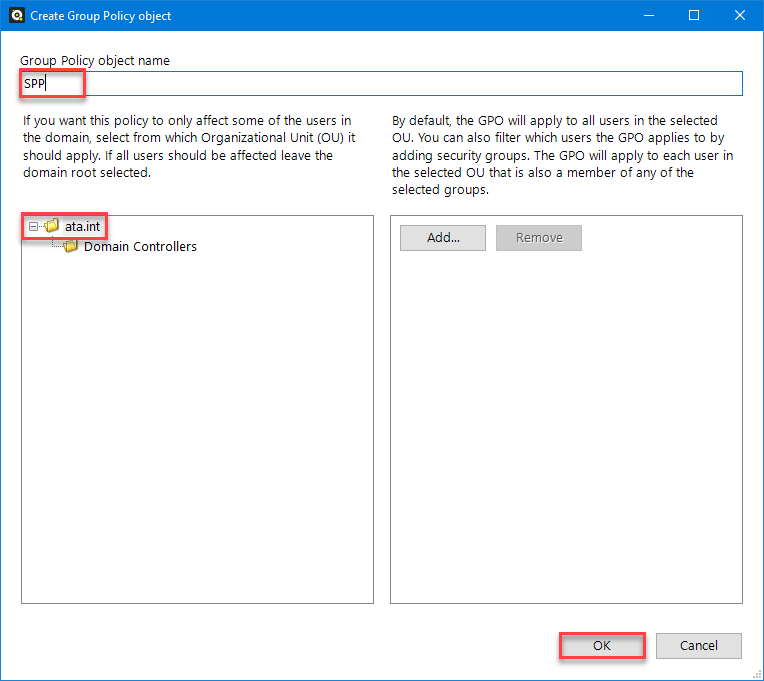
4. Enter the name of the new GPO and select the organizational unit (OU) where the GPO should apply. The GPO name in this example is SPP and will apply to the domain root [ata.int]. Click OK to create the GPO.
You may also customize to which OUs the policy should apply at this point by manually adding each target OU.
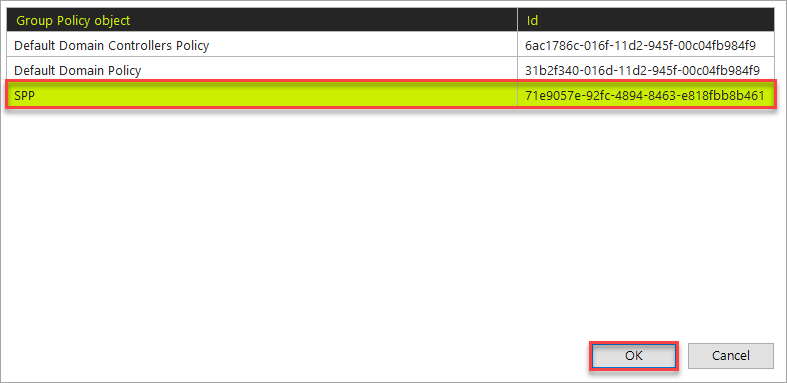
5. Select the GPO you created previously from the list, such as SPP in this example, and click OK.
6. Next, select the starting template for your new password policy. There are four pre-defined templates that follow industry-standard recommendations, such as Microsoft, NCSC, NIST, and NSA. The Custom template will match the default domain password policy.
Select the Microsoft Recommendation – high security template in this example and click Next.

Configuring General Settings
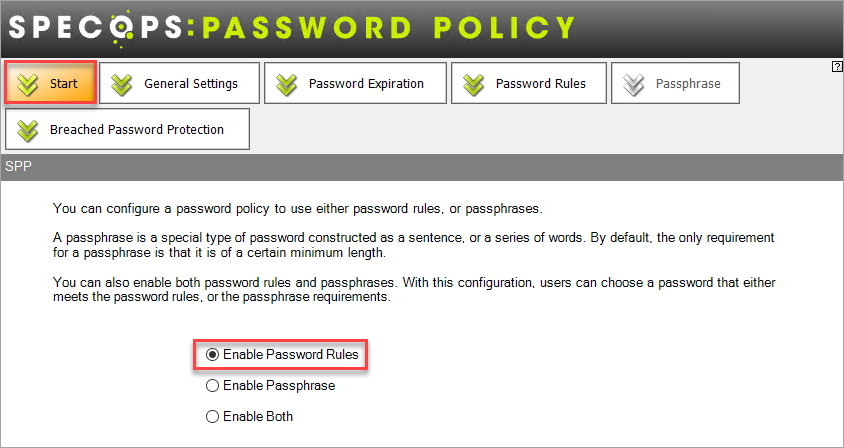
1. Now the password policy configuration page opens. Under the Start tab, the choices are whether to Enable Password Rules, Enable Passphrase, or Enable Both (password and passphrase).
In this example, leave the default choice — Enable Password Rules.
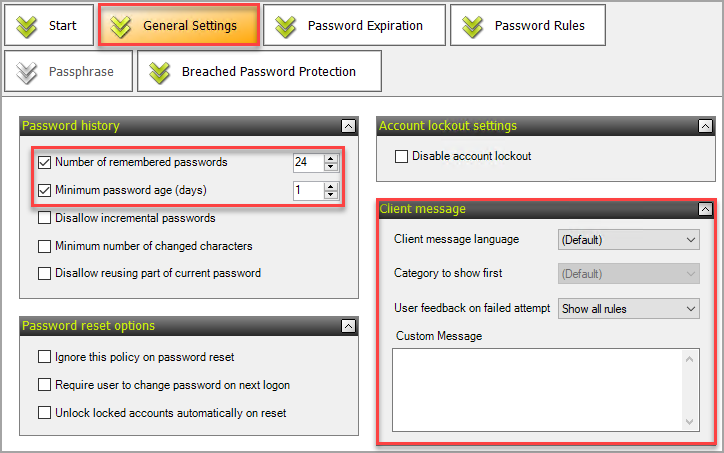
2. Next, click the General Settings tab. Under the Password history section, leave the default settings where users cannot reuse the previous 24 passwords and change a less than a 1-day old password.
The Password reset options are specific to administrator actions only. For example, when an administrator resets a user password in ADUC.
3. Also, leave the default settings under the Client message section. This setting determines what message the users will see after submitting a failed password attempt.
Configuring Password Expiration
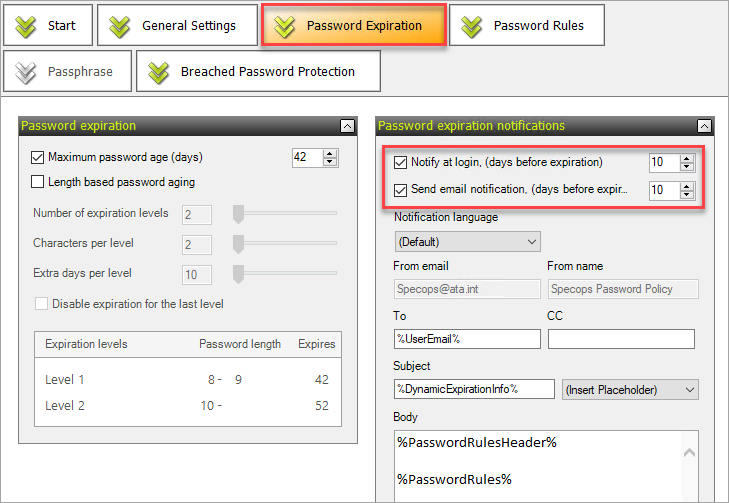
1. Click the Password Expiration tab. Under the Password expiration section, leave the Maximum password age (days) value to its default.
The Length based password aging settings, when enabled, rewards the users who use longer passwords with a later password expiration date.
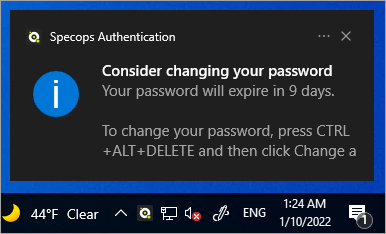
2. Under the Password expiration notifications, check the Notify at login box and change its value to 10. This setting means that the users will receive a desktop notification about their password expiring. This setting only works with the Specops Authentication Client.
The screenshot below shows an example of the client notification about the user password expiring.
3. If you configured an SMTP server for email notifications, check the Send email notification box and change its value to 10. With this setting, the users will receive a daily email telling them that their password will expire.
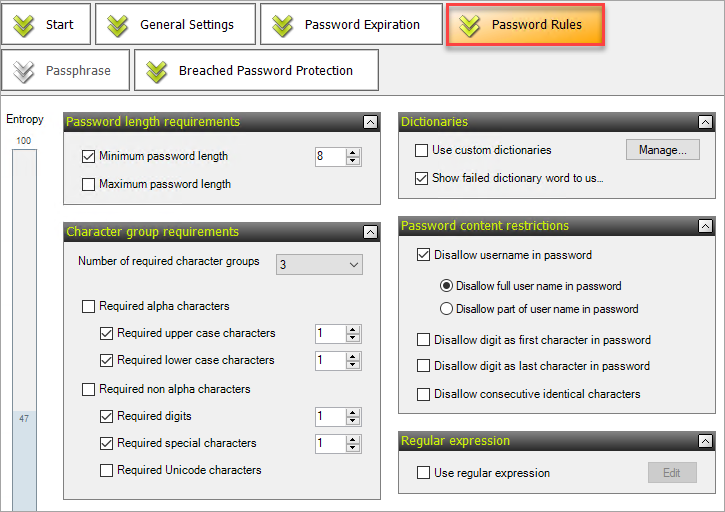
Configuring Password Rules
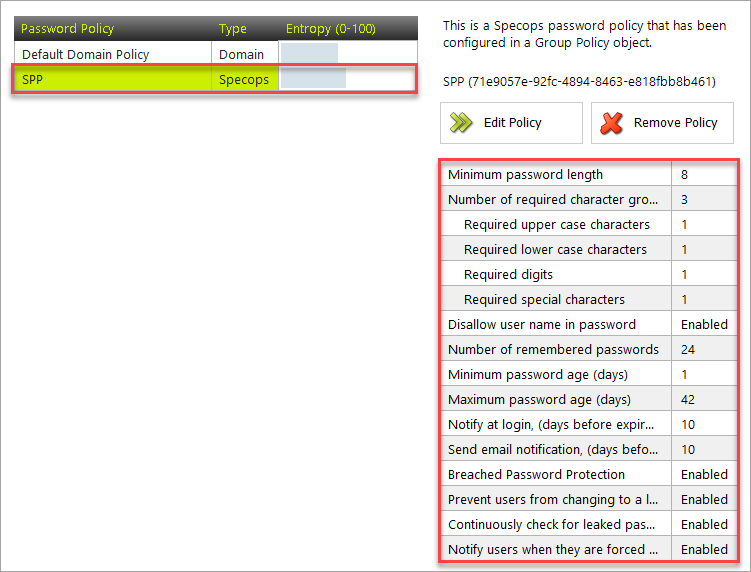
Next, click the Password Rules tab. Review each setting but leave the default values for now. The default settings, as you can see below, will:
- Require a minimum password length of 8.
- Block using the full username in the password.
- Require the password to have at least three of the following: 1 upper case, 1 lower case, 1 digit, and 1 special character.
Configuring Breached Password Protection
There are two versions of the Breached Password Protection that perform the same function but differently. These are the Express List and Complete API.
The Express List only works if you downloaded the Breached Password Express List.
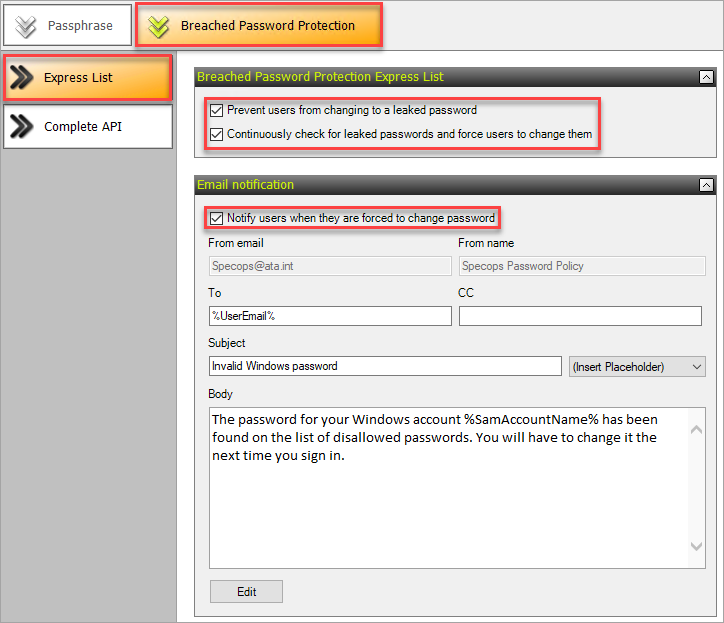
To enable the BPP Express List:
1. Check the Prevent users from changing to a leaked password. Enabling this option will cause a password change to fail if the password matches a leaked password in the Express List.
2. Check the Continuously check for leaked passwords and force users to change them. This option schedules a nightly check of every user’s password. SPP will automatically expire the password of accounts whose passwords are on the express list, forcing users to change passwords.
3. Change the Notify user when they are forced to change password. This setting enables sending email notifications to users who need to change passwords. The notification will use the sender information you configured in the SMTP server settings.
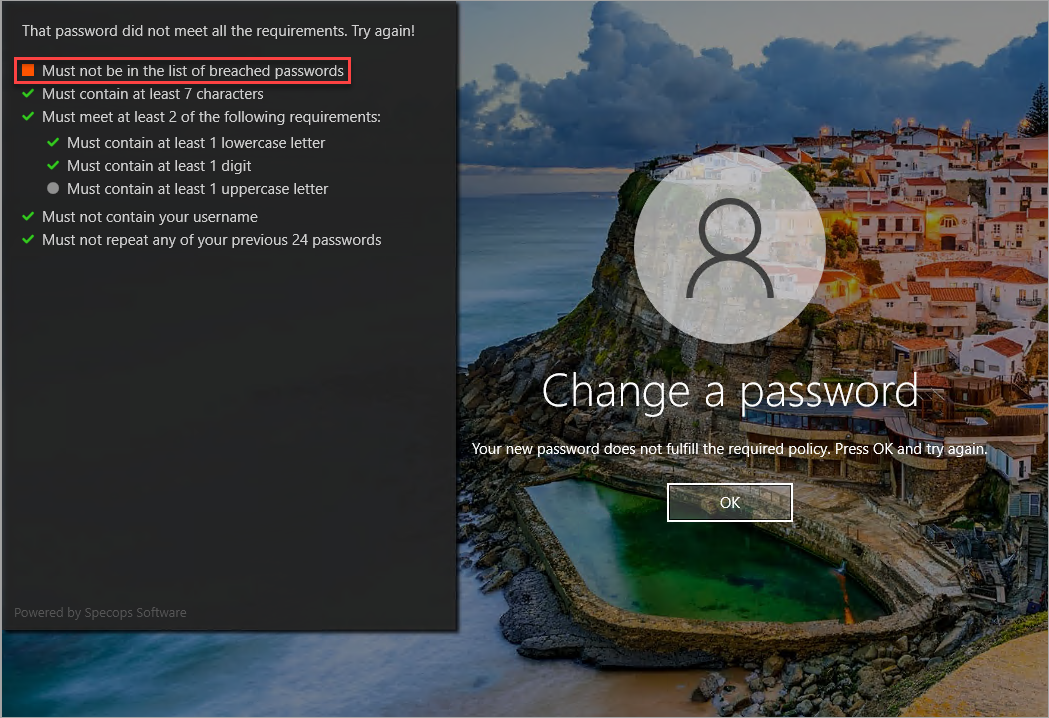
The screenshot below shows the result of a failed password change if the new password is in the BPP Express List.
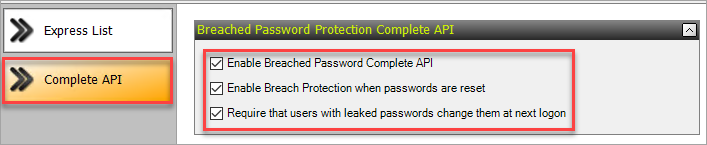
On the other hand, the Complete API checks the passwords against the online breached password list from Specops. To configure the BPP Complete API, follow the steps below.
1. Click the Complete API side tab.
2. Check the Enable Breached Password Complete API. This setting enables online password checking.
3. Check the Enable Breach Protection when passwords are reset. Enabling this option applies the BPP online checking when the user or administrator performed a password reset.
4. Check the Require that users with leaked passwords change then at next logon. This option automatically expires the user’s password and forces a password change.
5. Check the Send emails to users with passwords on the breach list and change the Email transport mode to SMTP if you have configured an SMTP server.
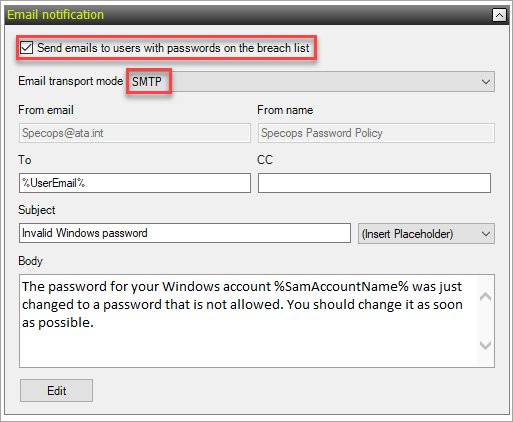
The screenshot below shows the email notification that the user receives if their new password is in the breached password list.

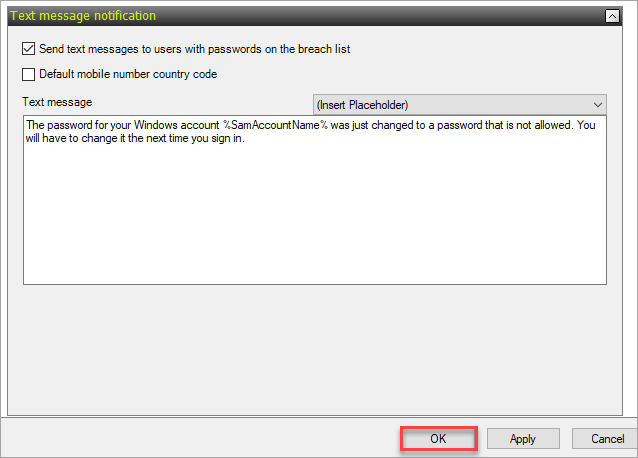
6. Leave the Send text messages to users with passwords on the breach list. With this option enabled, BPP will send a text message to the user’s mobile phone number in AD. The mobile phone number must follow the international format that begins with +<country code> (e.g.,+46).
Click OK to save the new password policy.
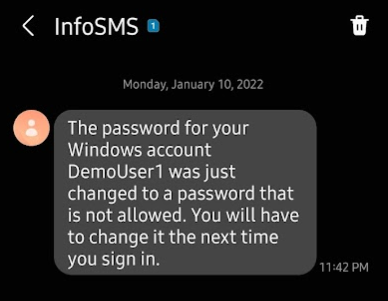
The screenshot below shows an example text message informing the user about their disallowed password.
Congratulations! You have now configured a password policy that is more fine-grained and with built-in notification features.
Conclusion
In this day and age, using strong passwords should be non-negotiable. But ‘strong’ can be subjective, and translating it into a good password policy can be challenging. But because Specops Password Policy has pre-defined templates, you don’t need to start a password policy from scratch.
With the Breached Password Protection add-on, you ensure that users will not use a leaked password. You can even define a custom dictionary to add to your disallowed passwords
Why don’t you continue exploring Specops Password Policy? Tweak or customize rules to fully understand how this product can help protect your user’s passwords, and in effect, protect your organization, too!


