

IT automation for DevOps engineers is genuinely addicting. Are you one of them? If you’re looking for a more powerful way to manage your infrastructure, SaltStack is the answer to your prayers. Overcoming forces anew can be daunting indeed. But don’t fret! This tutorial got you covered with SaltStack examples to explore!
SaltStack is an automation tool created to ease up infrastructure management. And in this tutorial, you’ll learn how to up your DevOps game by automating common tasks, such as installing software and configuring servers.
Ready? Read on and never waste time on manual tasks again!
Prerequisites
This tutorial will be a hands-on demonstration. If you’d like to follow along, be sure you have the following.
- Two Ubuntu servers (one master node and one minion node) – This tutorial uses Ubuntu 20.04, but any Linux distribution will work.
- A user account with root/sudo privileges.
Installing and Configuring Salt Master Node
Salt enables you to query and execute commands on remote nodes while maintaining remote nodes ensuring specific packages are installed and running. But before you can take advantage of Salt, you’ll have to install and configure Salt master on your master node.
1. SSH into your master node server, and run the following apt update command to update your package list with the latest packages.
sudo apt update -y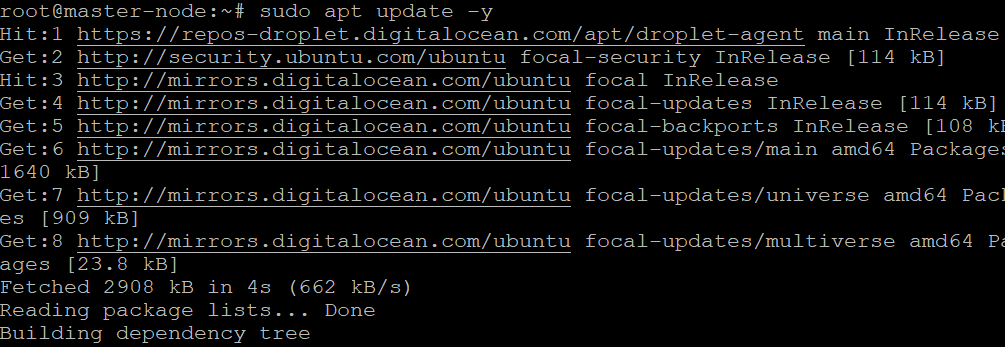
2. Next, run the following command to install Python since every Salt module, including the salt-master and the salt-client, rely on a Python interpreter.
You need to install at least Python 2.7 to use Salt.
# Adds the Deadsnakes PPA, which contains newer versions of Python, to your system.
sudo add-apt-repository ppa:deadsnakes/ppa
# Refreshes the list of packages from the newly-added repositories.
sudo apt update
# Installing python v3.7
sudo apt install python3.7 -y
3. Once the installation completes, run the below command to verify the Python version installed.
python3.7 -VThe output below shows the Python version installed on your machine. Python 3.7.12 is installed in this example, but yours may be different.

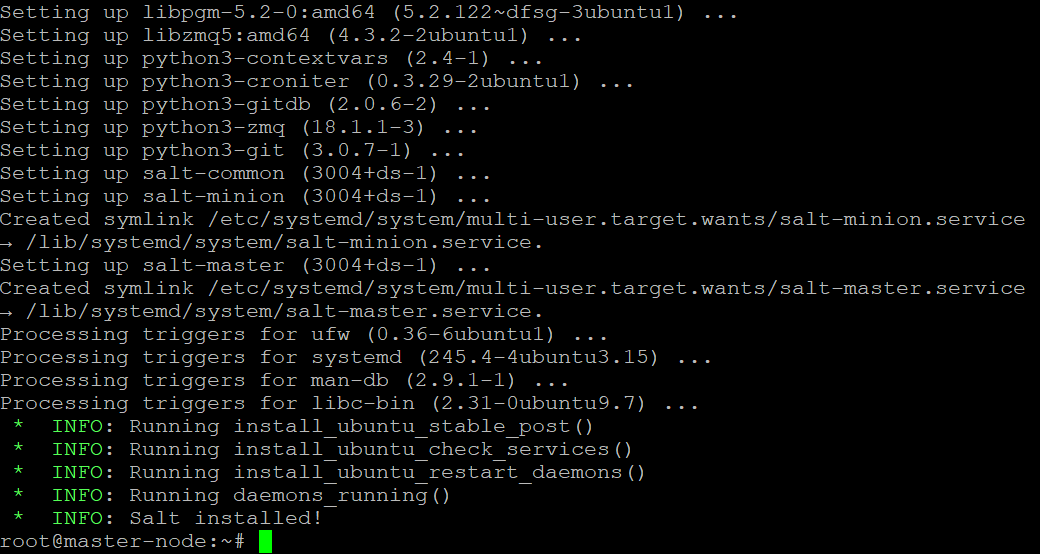
4. Run the following command to download (curl) the Bootstrap script (install_salt.sh) and run the script (sudo sh) to install the latest version (-P) of Salt. The -M flag specifies this installation is a master installation.
You can also install Salt using the APT package manager, but using the Bootstrap script (install_salt.sh) is a more efficient way of installing Salt. The Bootstrap script downloads and installs all required dependencies and related packages automatically.
curl -L https://bootstrap.saltstack.com -o install_salt.sh && sudo sh install_salt.sh -P -M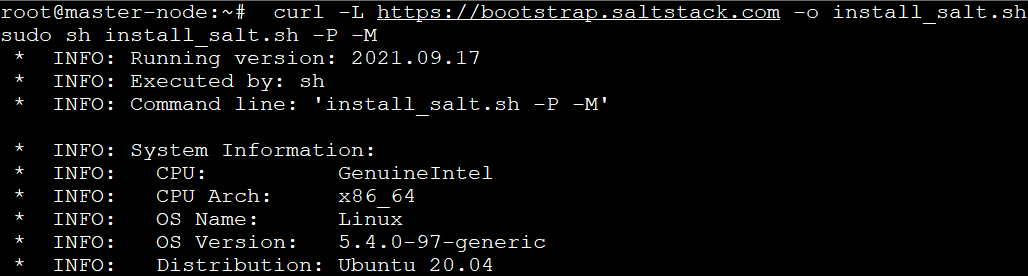
5. Open the /etc/salt/master file in your preferred text editor.
The /etc/salt/master file is where you’ll put all configuration options for your Salt master. This file is automatically generated when you run the Bootstrap script (install_salth.sh).
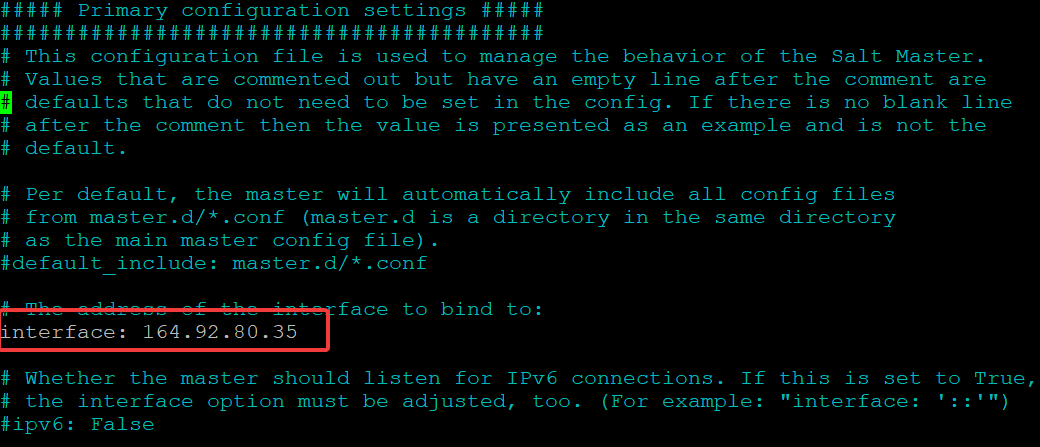
sudo nano /etc/salt/master6. Find the line that reads interface: 0.0.0.0, change it to your Salt master server’s public IP, and save the changes. Doing so secures your Salt master by allowing access only to authorized users.
The default configuration in the /etc/salt/master file is to listen on all interfaces, making your Salt master available to anyone on the network. This behavior is not desirable in a production environment, so you change the listening address.
7. Lastly, run the below command to restart the salt-master service to apply the changes. The command doesn’t have an output but quietly restarts the salt-master service.
sudo systemctl restart salt-masterInstalling and Configuring Salt Minion Server
Now that you’ve installed and configured the Salt master, it’s time to install the Salt minion server. A Salt minion is a slave server/node configured to connect to a Salt master/node. The Salt minion will listen for commands from the master and execute them on the minion server.
Like the Salt master, you can install the Salt minion server using the same commands with minor changes.
1. SSH into your minion node, and run the following commands to install the Salt minion.
sudo apt update -y
# Adds the Deadsnakes PPA, which contains newer versions of Python, to your system.
sudo add-apt-repository ppa:deadsnakes/ppa
# Refreshes the list of packages from the newly-added repositories.
sudo apt update
# Installing python v3.7
sudo apt install python3.7 -y
# Install the minion on the server (without the -M flag).
curl -L https://bootstrap.saltstack.com -o install_salt.sh && sudo sh install_salt.sh -P
2. Next, open the /etc/salt/minion file in a text editor to configure the Salt minion.
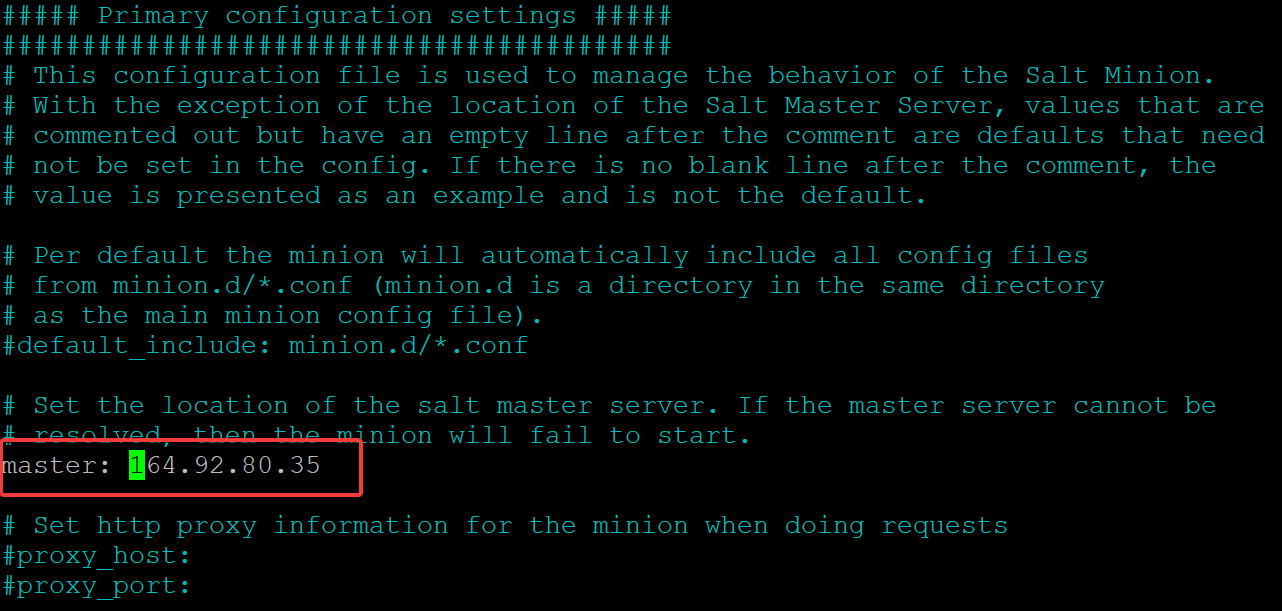
sudo nano /etc/salt/minionFind the line that reads master: salt, replace salt with your Salt master’s IP address, and save the changes. Your Salt cluster will fail to start if the minion cannot connect to the master.
3. Finally, run the following command to restart the Salt minion service to apply the changes.
sudo systemctl restart salt-minionAuthenticating Salt Master and Minion
You’ve installed and configured both Salt master and Salt minion, and that’s a good start. But before the Salt minion can communicate with the Salt master, you must authenticate them first.
1. Run the salt-key command below on the Salt master to see a list of all the currently installed keys. The salt-key command lets you manage keys for the Salt master and minion.
sudo salt-key --finger-allCopy and save the output to a secure place. You will need this key to authenticate the Salt minion.

2. Jump to your minion node and open the /etc/salt/minion configuration file.
sudo nano /etc/salt/minionFind the line that reads master_finger: ‘ ‘, as shown below.
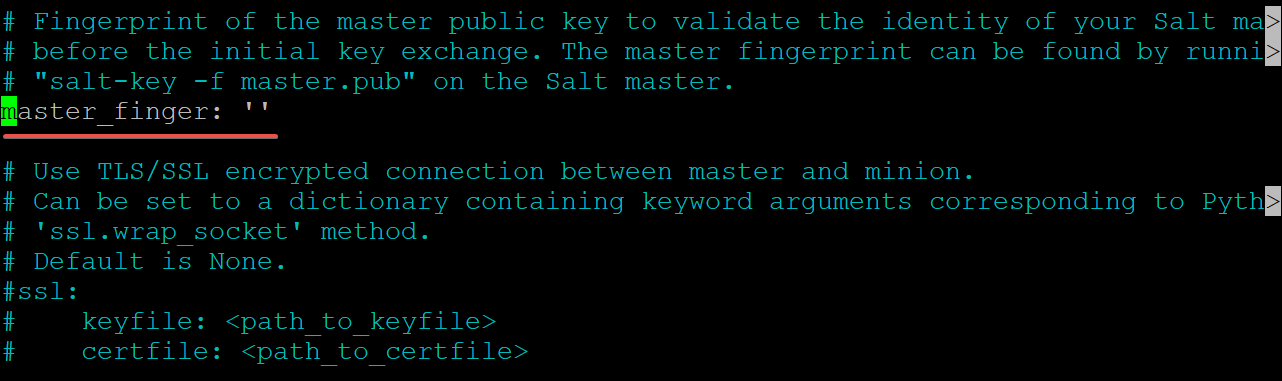
Paste the master.pub key you noted in step one inside the single quotes, or else the minion will not authenticate.

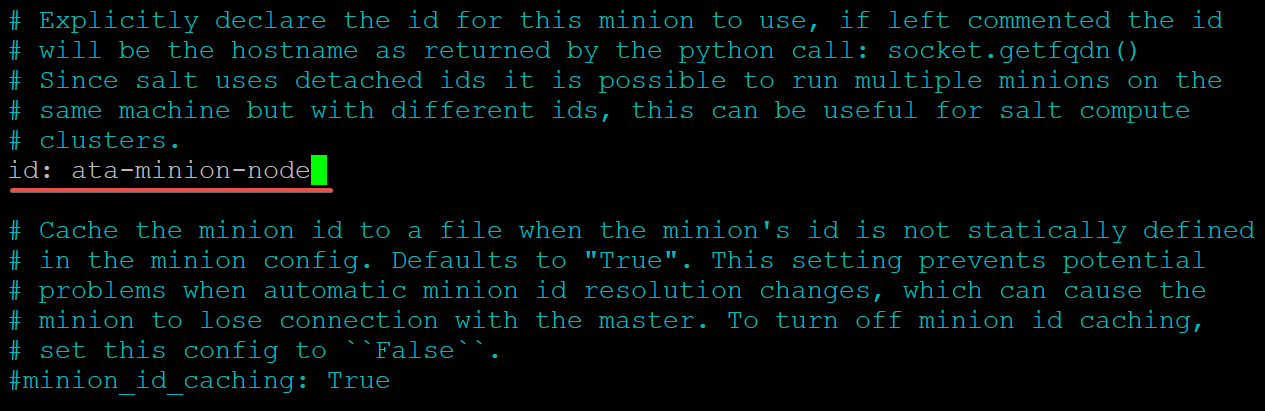
3. Find the line that reads id: and provide your Salt minion a unique identifier like a name (ata-minion-node), and save the changes.
4. Now run the below command to restart the Salt minion service again to apply the configuration changes.
sudo systemctl restart salt-minion5. Return to your Salt master and rerun the salt-key command below as you did in step one.
sudo salt-key --finger-allAs you see below, the key for the Salt minion (ata-minion-node) is listed as unaccepted. The key is waiting for the master node to prove its identity and accept the key at this stage.

6. Run the following command on the Salt master to accept the key for the Salt minion (ata-minion-node). Type y and press Enter to confirm when prompted.
sudo salt-key -a ata-minion-node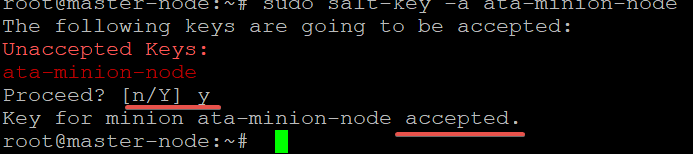
7. Rerun the salt-key command below for the last time to see the list of currently installed keys.
sudo salt-key --finger-allYou can see in the screenshot below that the minion key is now listed in accepted state. But you might encounter the following states other than accepted when working with keys:
- Denied – Indicates the master node automatically rejected the key. Your minion node may have a duplicate ID, or it may have been rebuilt with new keys generated. sudo salt-key –finger-all, you must delete the old key from the master node before re-attempting to authenticate.
- Rejected – Indicates the salt-key command rejected the key. Various reasons can cause a minion key to get rejected. These reasons can be but are not limited to your installation not matching the configuration on the master, or the key is for a different master node.

8. Finally, run the salt command below to test that the minion can communicate with the Salt master.
sudo salt ata-minion-node test.ping The output’s True value indicates the Salt minion successfully connected and communicates with the Salt master. If the test.ping command fails, the output will be False instead.

If you have more than one minion node, run the sudo salt ‘*’ test.ping command to test that the Salt master can communicate with the Salt minion.
Running Remote Commands to Install a Web Server
Now that you’ve verified the Salt minion can communicate with the Salt master, your minion node is now ready to accept commands. Perhaps you’re eyeing to install a web server, like NGINX. If so, running salt commands can help!
1. Run the below salt command to get a list of disk.usage for your minion node (ata-minion-node).
sudo salt ata-minion-node disk.usage 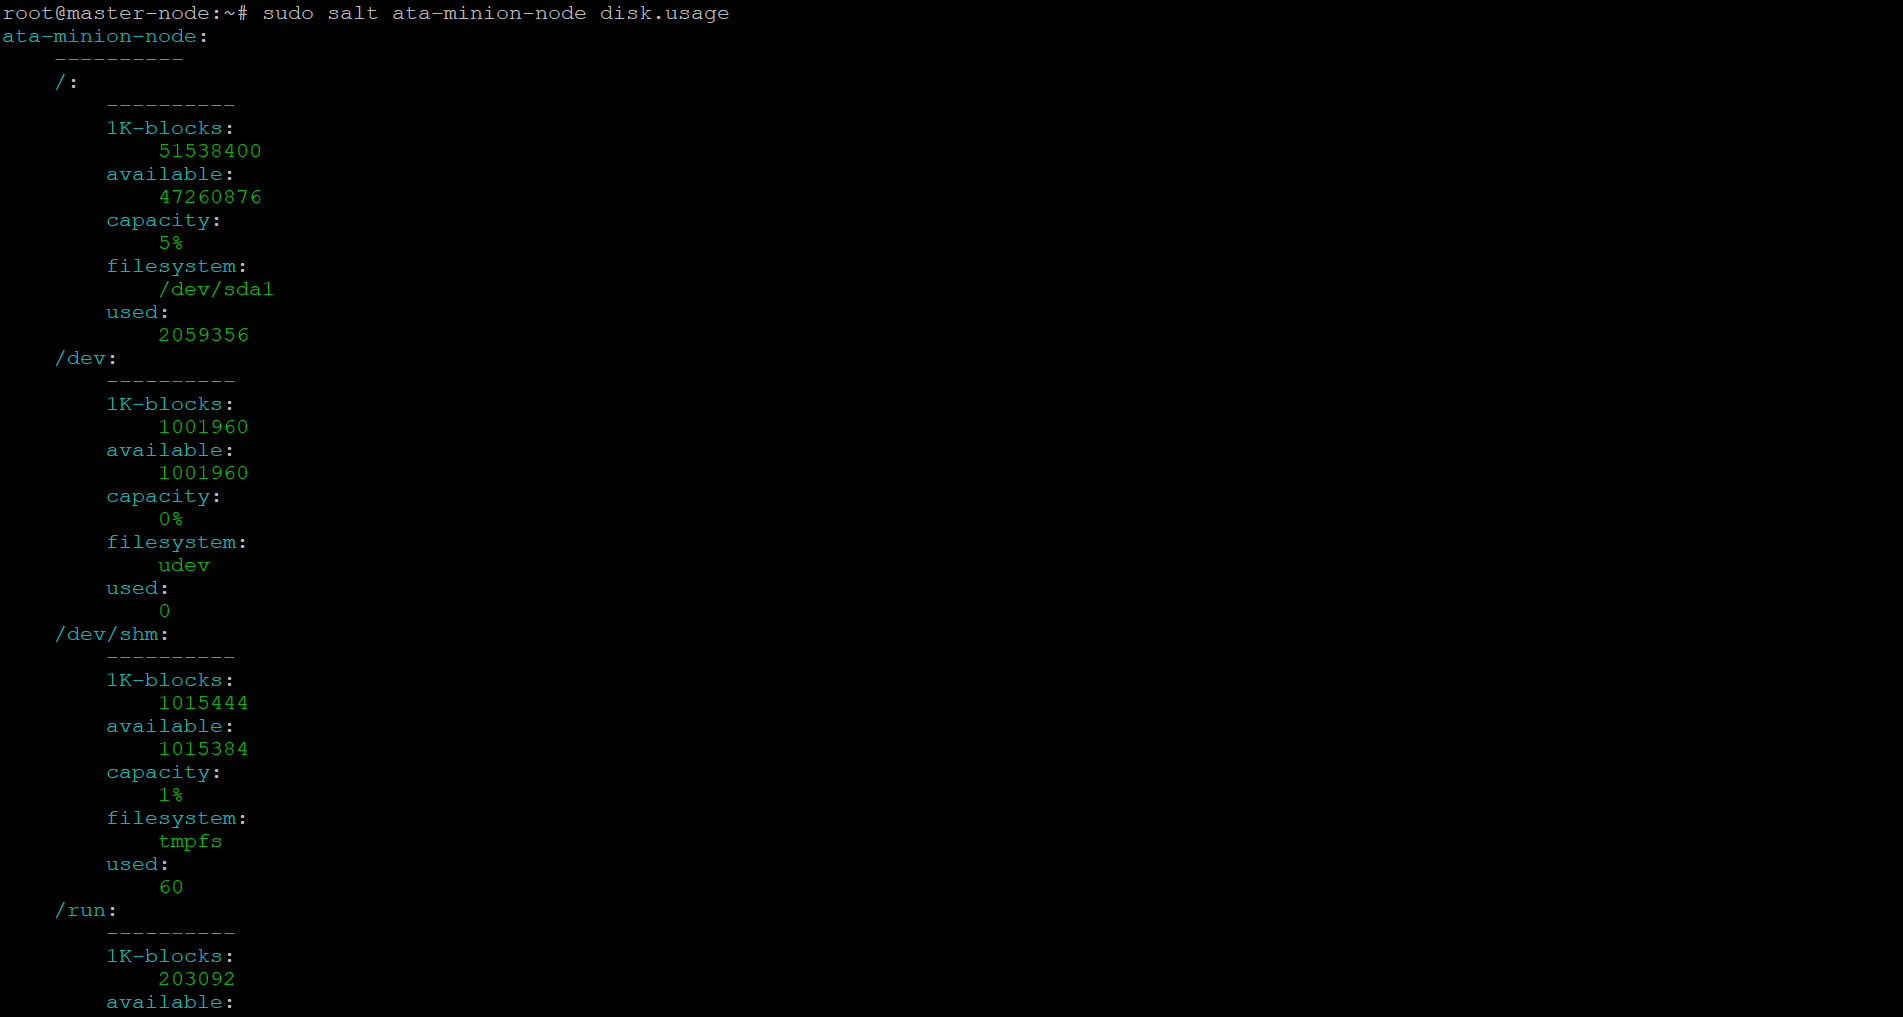
2. Next, run the command below to install the nginx web server on your minion node.
Note that you can replace the ata-minion-node with the wildcard (*) symbol to install the nginx web server on all of your minion servers. Doing so saves you time as you don’t have to install NGINX on each server.
sudo salt ata-minion-node pkg.install nginx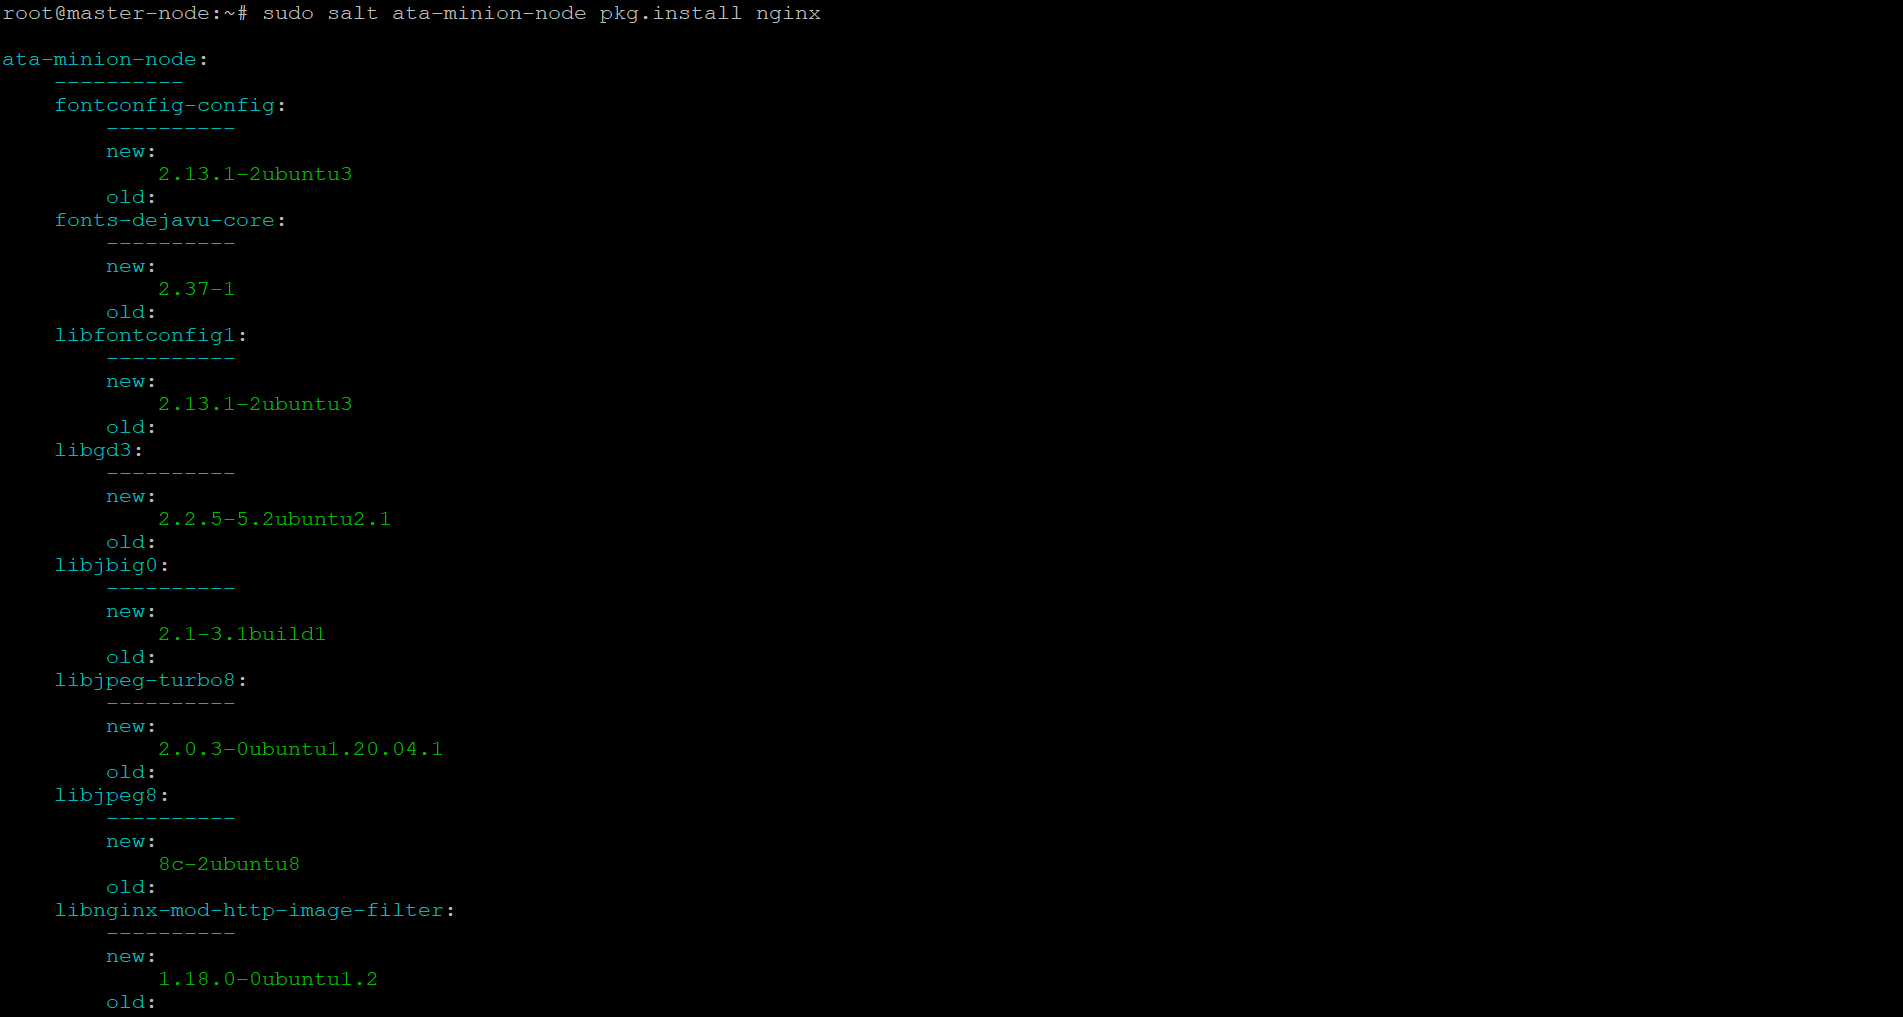
3. Now, switch to the minion server and run the below command to verify that you’ve successfully installed the nginx web server.
sudo systemctl status nginx Below, you can see the NGINX web server status is active (running).

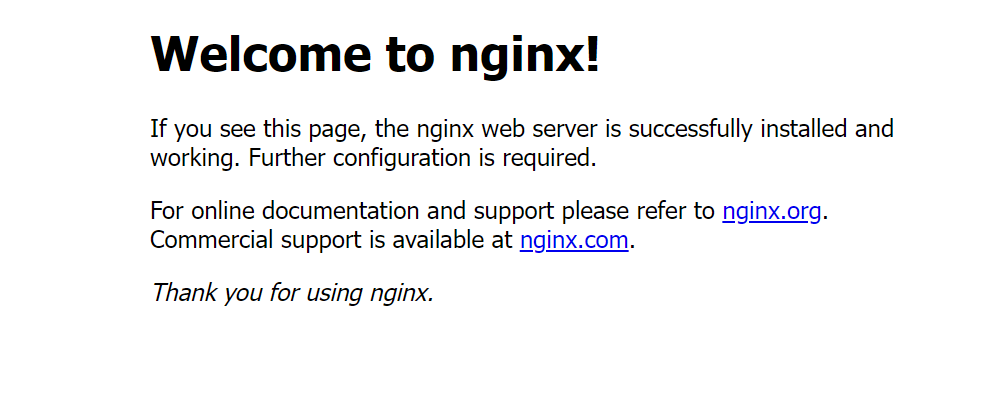
4. Finally, open your favorite web browser and navigate to the IP address of your minion server. If the NGINX web server is perfectly running, you’ll get NGINX’s welcome page, as shown below.
Managing Minions with State Files
You’ve previously learned how to run remote commands to install the NGINX web server on your minion server. But is it also possible to flexibly install packages with Salt? Yes, with Salt state files!
State files perform operations to manipulate regular files, special files, directories, and symlinks. But that’s not all. State files also let you manage your minion servers, such as installing packages.
1. Run the mkdir command below to make the environment-based directory (/svr/salt) for your state files.
sudo mkdir /srv/salt2. Create a new state file in the /srv/salt directory with your preferred text editor. You can name the state file as you like, but the state file is called setup.sls in this tutorial.
An SLS file is a basic data structure called configuration management.
Populate the setup.sls file with the code below, then save and close the file. The code below ensures that the php and unzip packages are installed on the minion server.
# Top-level key to group all network utilities-related configuration together.
network_utilities:
# State that the given package(s) should be installed on the minion server.
pkg.installed:
# Tells Salt to install the given package(s) on the minion server.
- pkgs:
- php
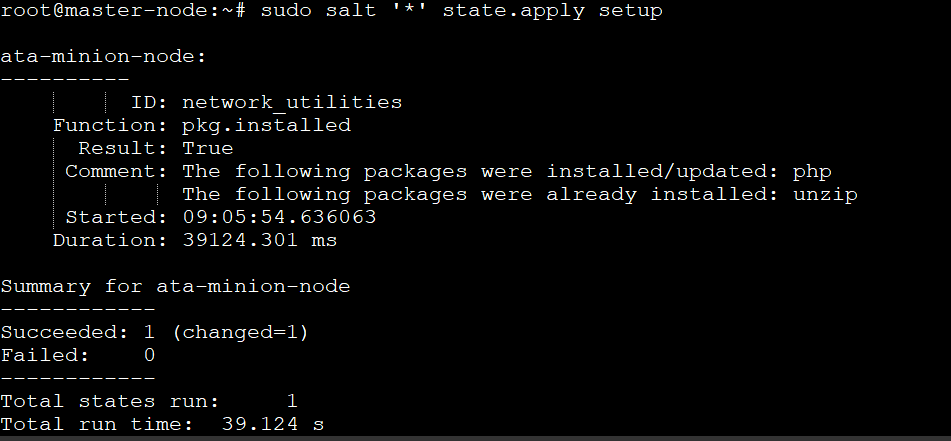
- unzip3. Now, run the salt command below to apply (state.apply) the state file (setup) to all of your minion servers.
sudo salt '*' state.apply setupAfter running the command, you’ll get the following output:
- Succeeded – indicates whether the state was applied successfully (true) or not (false). In this case, the state was applied successfully to the ata-minion-node minion server. A new package was installed, which is the php package.
- changed – Indicates the number of minions changed due to running the state file. In this case, the unzip package was already installed on the ata-minion-node minion server. As a result, the state file changed the zip packages to the latest version.
- Failed – Indicates the number of minions that failed to apply the state. In this case, there was no failure as the state was applied successfully to all of the minion servers.
- Total states run – Indicates the number of states that were run. In this case, there’s only one state run.
- Total run time – Indicates the total amount of time taken to apply the state. In this case, 39.124 seconds.
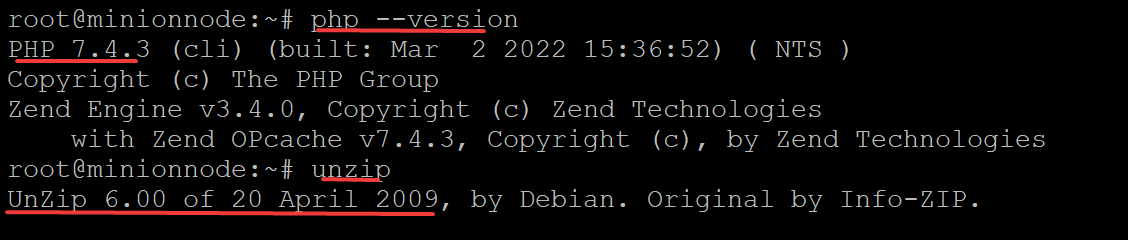
4. Finally, run each command below on your minion server to verify you’ve successfully installed the php and unzip packages using a state file.
php --version
unzip
Below, you can see the PHP and unzip versions installed. This output confirms that the state file (setup.sls) works in installing packages.
Conclusion
With the SaltStack examples in this tutorial, you’ve learned how Salt can help manage your minion servers, either by running remote commands or using a Salt state file. You’re now equipped with the knowledge to manage your minion servers to your heart’s content.
DevOps engineers need cloud-based services to test quickly, prototype and deploy new applications and features in this day and age. So why not try out salt cloud to provision minions on popular public clouds?


