

Have you ever created an Azure Resource Group (RG) and realized later that you’d misspelled the name? Or maybe even used the wrong name completely! Your initial reaction would probably be to rename the Azure Resource Group. But can you?
Unfortunately, Azure does not support renaming an RG. This rename function request has been in limbo since 2014. If you’ve only created the RG and have not added resources to it yet, the quickest workaround is to delete the RG and create a new one.
But if the RG is not empty, you obviously cannot delete it right away to start over. What do you do then? Lucky for you, this article will teach you the next best thing—to move resources to a new RG as a way to rename Azure Resource Groups. Let’s get started!
Prerequisites
This article will be a tutorial. If you plan on following along step-by-step, you will need the following:
- An Azure Subscription – If you don’t have one, you can register for a free Azure account.
- An Azure user account – The user account must have at least a Contributor Role permission to the Azure subscription. This role enables you to create and delete resource groups and move resources between resource groups.
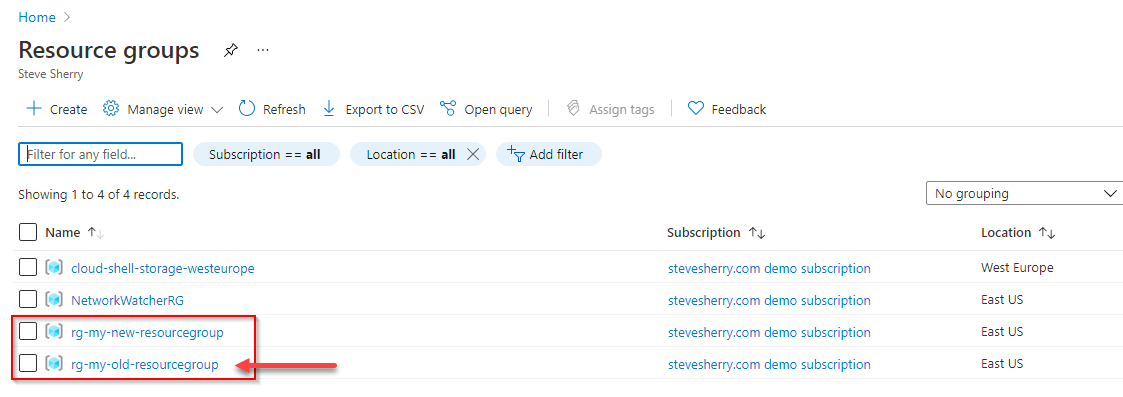
- Two resource groups – Where you’ll be moving resources from and to. In this tutorial, the two resource groups are:
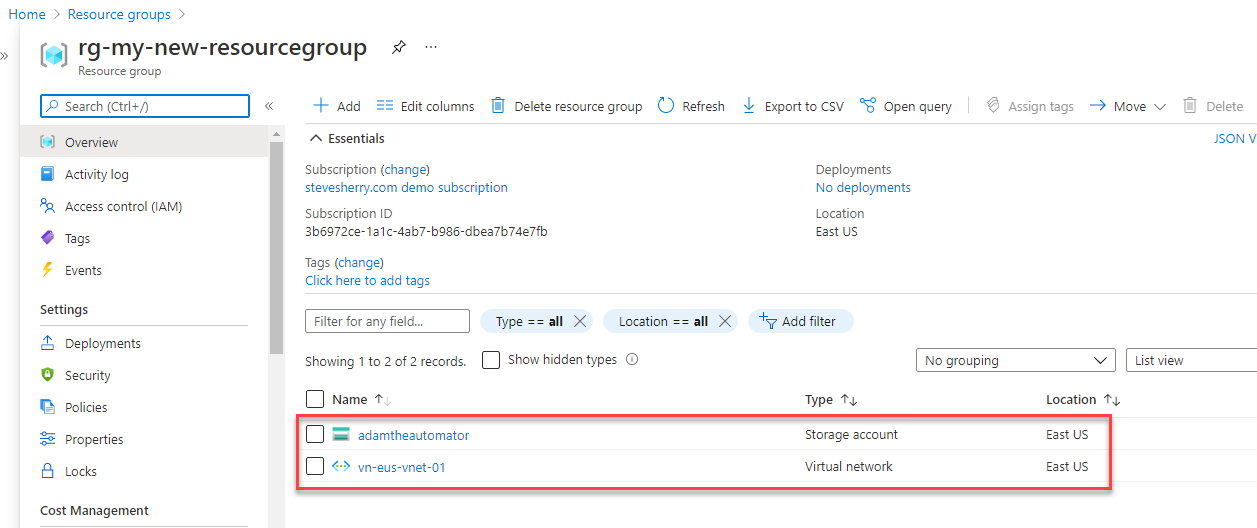
- rg-my-old-resourcegroup – The source RG contains two resources; a Virtual Network named vn-eus-vnet-01 and a Storage Account named adamtheautomator.
- rg-my-new-resourcegroup – The empty destination RG, which is the target for moving the resources from rg-my-old-resourcegroup.
This tutorial will only cover moving resources between resource groups in the same Azure subscription. Moving of resources between subscriptions is possible subject to the move operation support for resources in Azure.
Moving Resources Using The Azure Portal
If not automating a task, even IT pros would most likely favor the Azure Portal to manage Azure resources. Using the Azure Portal, you can visually review the available resources and move them into a new RG with a few mouse clicks.
While moving resources, both the source and destination resource groups will be in a locked state that may last for a maximum of four hours. When resources are in a locked, you cannot add, update, or delete them. The resources themselves will remain functional and unlocked.
Follow the steps below to move resources to another resource group.
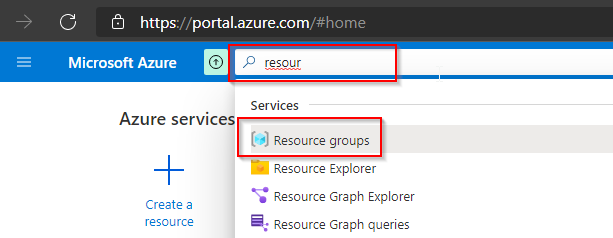
1. Open a web browser and navigate to the Azure Portal.
2. On the Search box at the top, type resource groups. As you type, the portal offers you a match. Click on Resource groups on the list of results.
3. On the Resource groups page, click the source RG, which is rg-my-old-resourcegroup, to view the resources it contains.
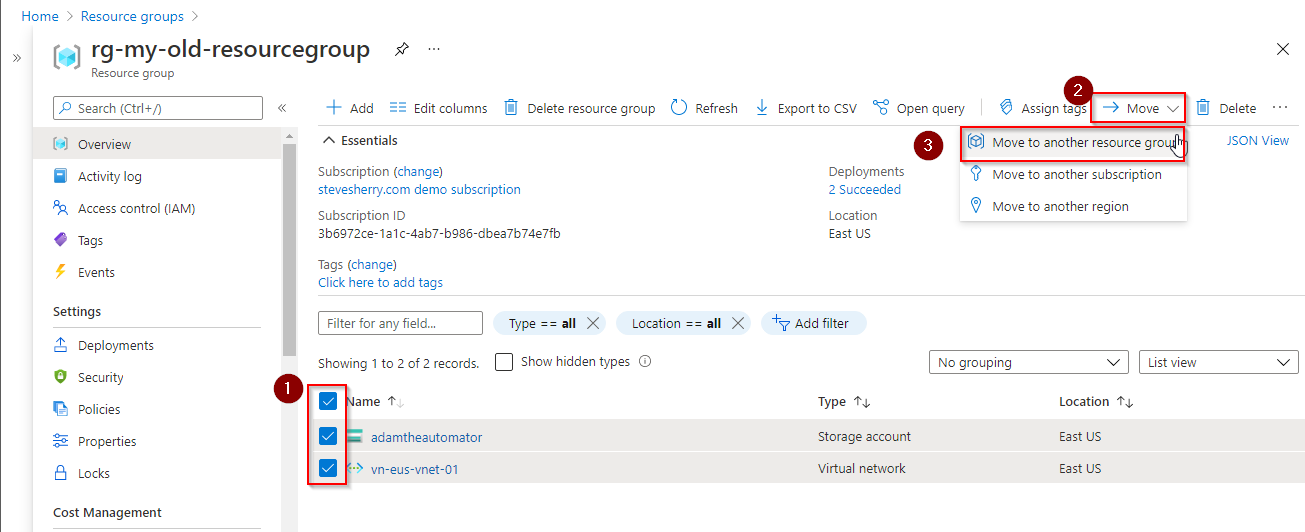
4. Next, select the resources to move. In this tutorial, those resources are: adamtheautomator and vn-eus-vnet01. After selecting the resources, click Move —> Move to another resource group.
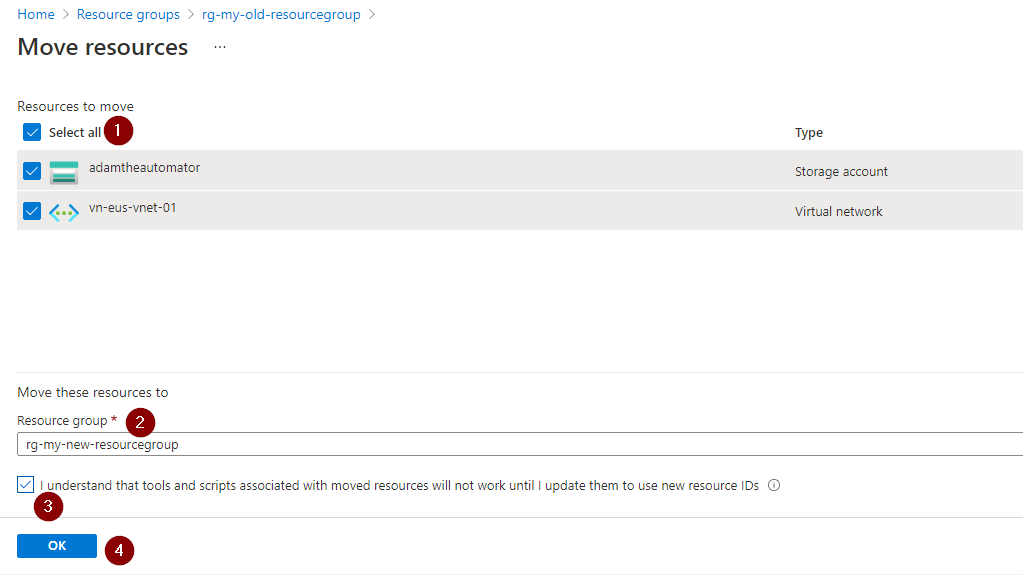
5. On the Move resources page, click to check the Select all box to select all resources.
Next, under the Move these resources to section, select rg-my-new-resourcegroup from Resource group the dropdown box.
Check the box to confirm that you understand that any existing tools and scripts will not work until you update them with new resource IDs. Click OK to proceed.
The RG name forms part of the unique path to a resource in the same way that a folder name forms part of the path for a file. Using the unique path is how a resource is accessed programmatically. Moving a resource will therefore impact any scripting resources you have created.
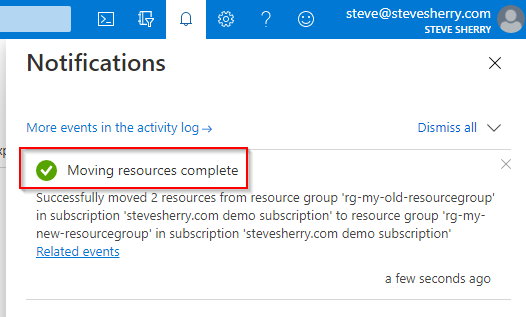
6. To see the progress, click the bell icon on the upper-right part of the page. As you can see on the screenshot below, the current status says Moving resources.

In this example, the moving process took approximately five minutes to complete. Your experience may be different. After Azure completed the resource move, the status then changes to Moving resources complete, as you can see below.
Click the X button on the top-right to close the notification. Closing the notification will bring you back to the rg-my-old-resourcegroup page.
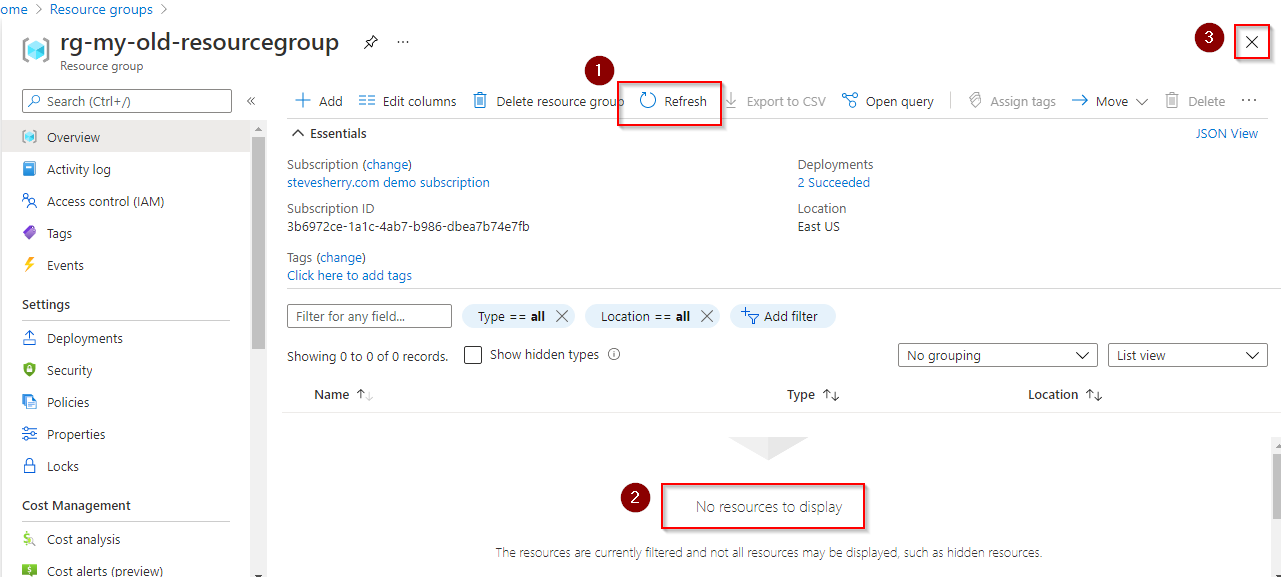
7. Back on the rg-my-old-resourcegroup page, you’ll notice the message that says No resources to display. This message is the result of moving the resources to another resource group. Click the X in the upper-right to close the page.
8. To confirm that the resources are now in the destination resource group, click the Resource groups breadcrumb link on the top of the page.
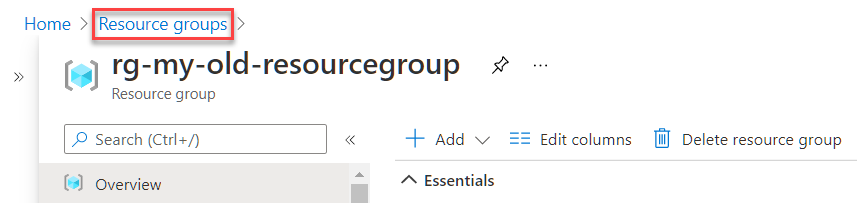
Next, on the list of resource groups, click rg-my-new-resourcegroup.
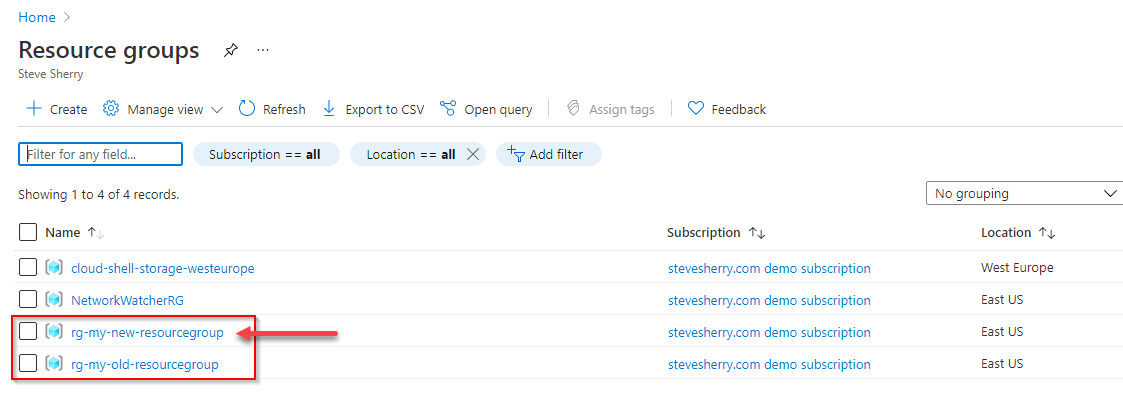
You should now see the resources that you moved from the rg-my-old-resourcegroup are now in rg-my-new-resourcegroup.
Moving Resources Using Azure PowerShell
If you prefer typing commands more than clicking the mouse to manage Azure, then Azure PowerShell could be the right tool for you. There are two ways you can use PowerShell to manage Azure—locally on your computer or from the Azure Cloud Shell.
This tutorial will be using the Azure Cloud Shell, where the Az PowerShell module comes pre-installed. The Az PowerShell module provides a variety of cmdlet that you can use to manage Azure from PowerShell.
Should you choose to use Azure PowerShell on your local computer, you’ll need to install the Az PowerShell module and then sign in to Azure with your Azure account.
To move Azure resources using the Azure PowerShell, proceed as follows.
If you’re accessing the Azure Cloud Shell for the first time, Azure may ask you to choose which subscription to create the storage account that the shell will use.
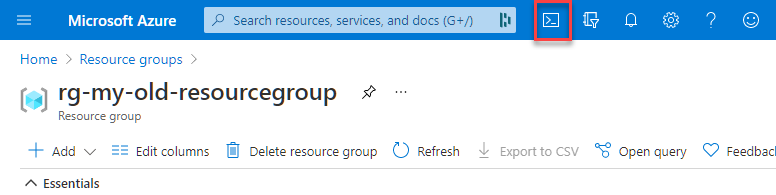
1. Open your browser and navigate to https://shell.azure.com/. Or, if you’re already at the Azure Portal, click the Cloud Shell button next to the Search box.
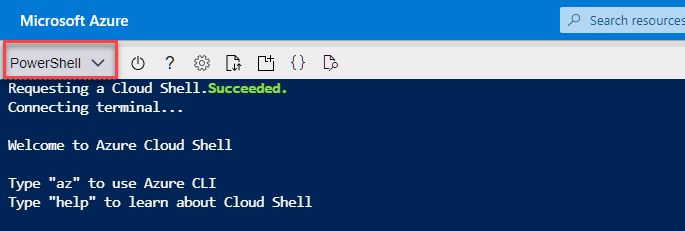
2. Once the Cloud Shell is ready, on the upper-right corner, confirm that PowerShell is the active environment and not Bash. If not, click the dropdown box and select PowerShell.
3. Next, run the az resource list command to get the ID of the resources you plan to move. The ID value is a unique identifier of each Azure resource.
# Get the list of resources and store them in a variable.
 $resources = Get-AzResource -ResourceGroupName rg-my-old-resourcegroup
# Display the ResoureID values on the screen.
 $resources.ResourceId
4. Now, execute the Move-AzResource command below in your Azure PowerShell window. This command will move the resources you’ve stored inside the $resources variable to the destination resource group.
# Move the resources to the destination resource group rg-my-new-resourcegroup
 Move-AzResource -DestinationResourceGroupName rg-my-new-resourcegroup -ResourceId $resources.ResourceId
5. At the next prompt, confirm the move by pressing Y and press Enter. The resource move duration may last from few seconds to several minutes. In this example, the move took approximately 30 seconds to complete.

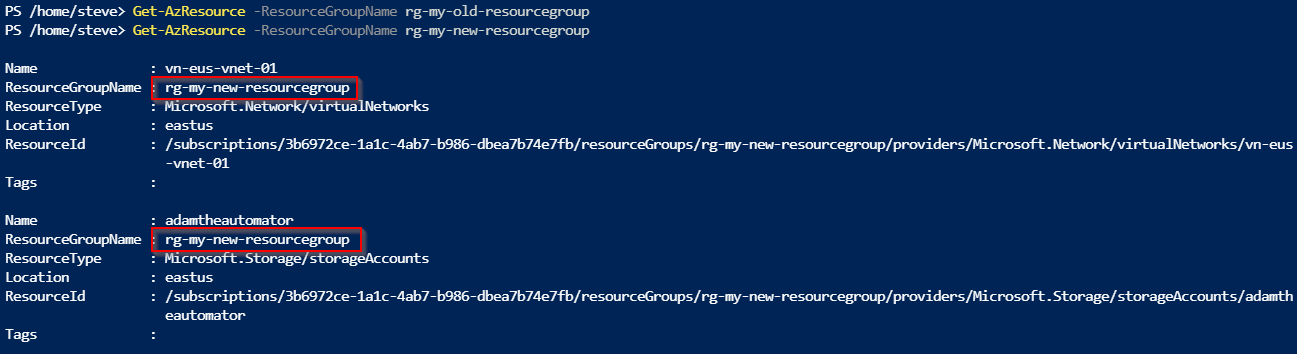
6. After completing the resource move, execute each command below. These commands will get the list of resources in each resource group, which will help you confirm if the resource move was successful.
# Gets a list of resources in the source resource group
 Get-AzResource -ResourceGroupName rg-my-old-resourcegroup
# Gets a list of resources in the destination resource group
 Get-AzResource -ResourceGroupName rg-my-new-resourcegroup
As you can see below, the first command did not retrieve any resources from the source RG. At the same time, the second command showed that the resources now exist in the destination RG. This result confirms that the resource move operation was successful.
Moving Resources Using Azure CLI
Another excellent command-line tool for managing Azure resources is the Azure CLI. Like Azure PowerShell, you can use Azure CLI locally on your computer and the Azure Cloud Shell. This tutorial will use the Azure Cloud Shell, where Azure CLI is already pre-installed.
Should you choose to use Azure CLI on your local computer, you’ll need to install Azure CLI and sign in to Azure.
To move Azure resources using Azure CLI on the Azure Cloud Shell, follow these steps.
If you’re accessing the Azure Cloud Shell for the first time, Azure may ask you to choose which subscription to create the storage account that the shell will use.
1. Open your browser and navigate to https://shell.azure.com/. Or, if you’re already at the Azure Portal, click the Cloud Shell button next to the Search box.

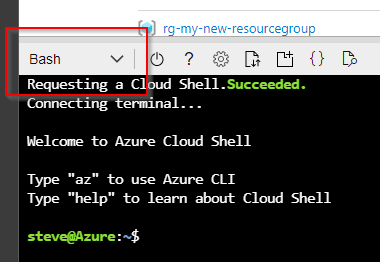
Azure CLI works on both the PowerShell and Bash cloud shell. For this tutorial, you’ll be working with the Bash shell experience.
2. Once the Cloud Shell is ready, confirm that Bash is the active environment and not PowerShell in the upper-right corner. If not, click the dropdown box and select Bash.
Next, run the az resource list command to get the ID of the resources you plan to move. The ID value is a unique identifier of each Azure resource.
# Capture the ResourceID values of each resource and store them in a variable.
 oldresources=$(az resource list --query "[?resourceGroup=='rg-my-old-resourcegroup'].{ name: id }" --output tsv)
# Display the ResourceID values on the screen
 echo "${oldresources[*]}"
az resource list command4. Now, execute the az resource move command below. This command will move the resources you’ve stored inside the oldresources variable to the destination resource group.
# Passes the captured ids into the az resource move command
 az resource move --destination-group rg-my-new-resourcegroup --ids $oldresources
During the move, you will not have control of the shell, and you can only wait for the move operation to finish. The resource move duration may last from few seconds to several minutes. In this example, the move took approximately five minutes to complete.
5. After completing the resource move, execute each command below. These commands will get the list of resources in each resource group, which will help you confirm if the resource move was successful.
# Gets a list of resources in the source resource group
 az resource list --query "[?resourceGroup=='rg-my-old-resourcegroup'].{ name: id }" --output tsv
# Gets a list of resources in the destination resource group
 az resource list --query "[?resourceGroup=='rg-my-new-resourcegroup'].{ name: id }" --output tsv
The result below shows that the first command did not retrieve any resources from the source RG. At the same time, the second command showed that there are now resources in the destination RG.

Conclusion
This article’s goal was to teach you how to work around Azure’s lack of resource group rename functionality. You’ve learned three methods of moving resources as a way to rename Azure resource groups. Why get stuck with poorly named resource groups when you can change them?
Between using the Azure Portal, Azure PowerShell, and Azure CLI, which method did you like best? Also, you could learn further by moving different resource types between subscriptions too, and you might discover possible incompatibilities and unsupported scenarios.


