


Creating a Docker image for Python data science libraries can be a pain if you’re using different operating systems for a particular project. If you’re having trouble setting up Python data science libraries, then you’ve come to the right place.
In this tutorial, you’ll learn how to create a Docker image for Python data science libraries, with not just one but two methods.
Ready? Let’s dive in!
Prerequisites
This tutorial will be a hands-on demonstration. If you’d like to follow along, be sure you have the following:
- Docker Desktop or Docker Engine version 20.10.8 is used in this tutorial.
- A Windows 10 machine – This tutorial uses Windows 10 OS Build 19042.1165, but other Docker-supported operating systems will also work.
Working with a Jupyter Notebook Docker Image for Library Testing
Using Jupyter notebook base images on Docker is one way to use Docker images for your Python data science libraries. The Jupyter Project Docker images from the official Docker hub lets you save time and install multiple libraries all at once.
The Juypter Notebook Docker image is a web application that enables creating and sharing documents that contain live code, such as Python code.
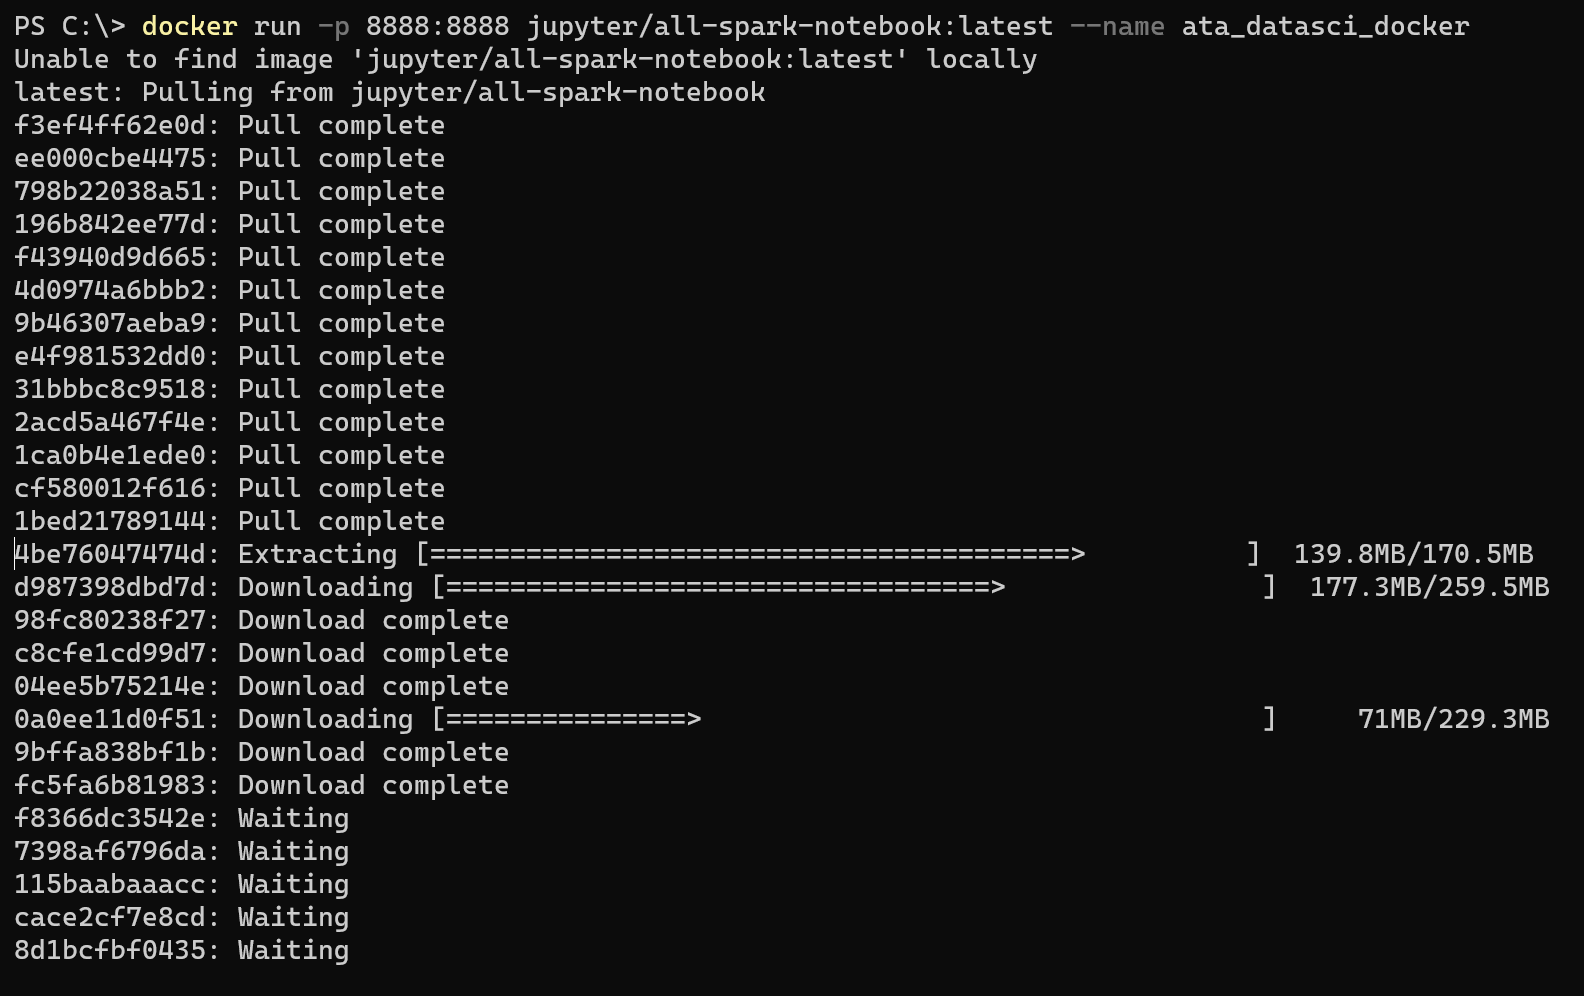
1. Open PowerShell as administrator and use the docker run command shown below to create a running container of Jupyter notebook’s base image, all-spark-notebook, on your host machine.
Notice that for this example, the all-spark-notebook image is tagged with latest and named ata_datasci_docker.
Follow Jupyter’s guide in choosing the correct Jupyter Notebook image for your projects.
docker run -p 8888:8888 jupyter/all-spark-notebook:latest --name ata_datasci_dockerNotice below that the download progress takes time since it’s Docker’s first time downloading the image from Jupyter.
2. Next, press Ctrl and click on the last URL, or copy and paste the URL, beginning with 127.0.0.1 to access Jupyter Lab on your web browser from the container.
In this demo, localhost:8888 in the host machine points to the notebook server with a token.

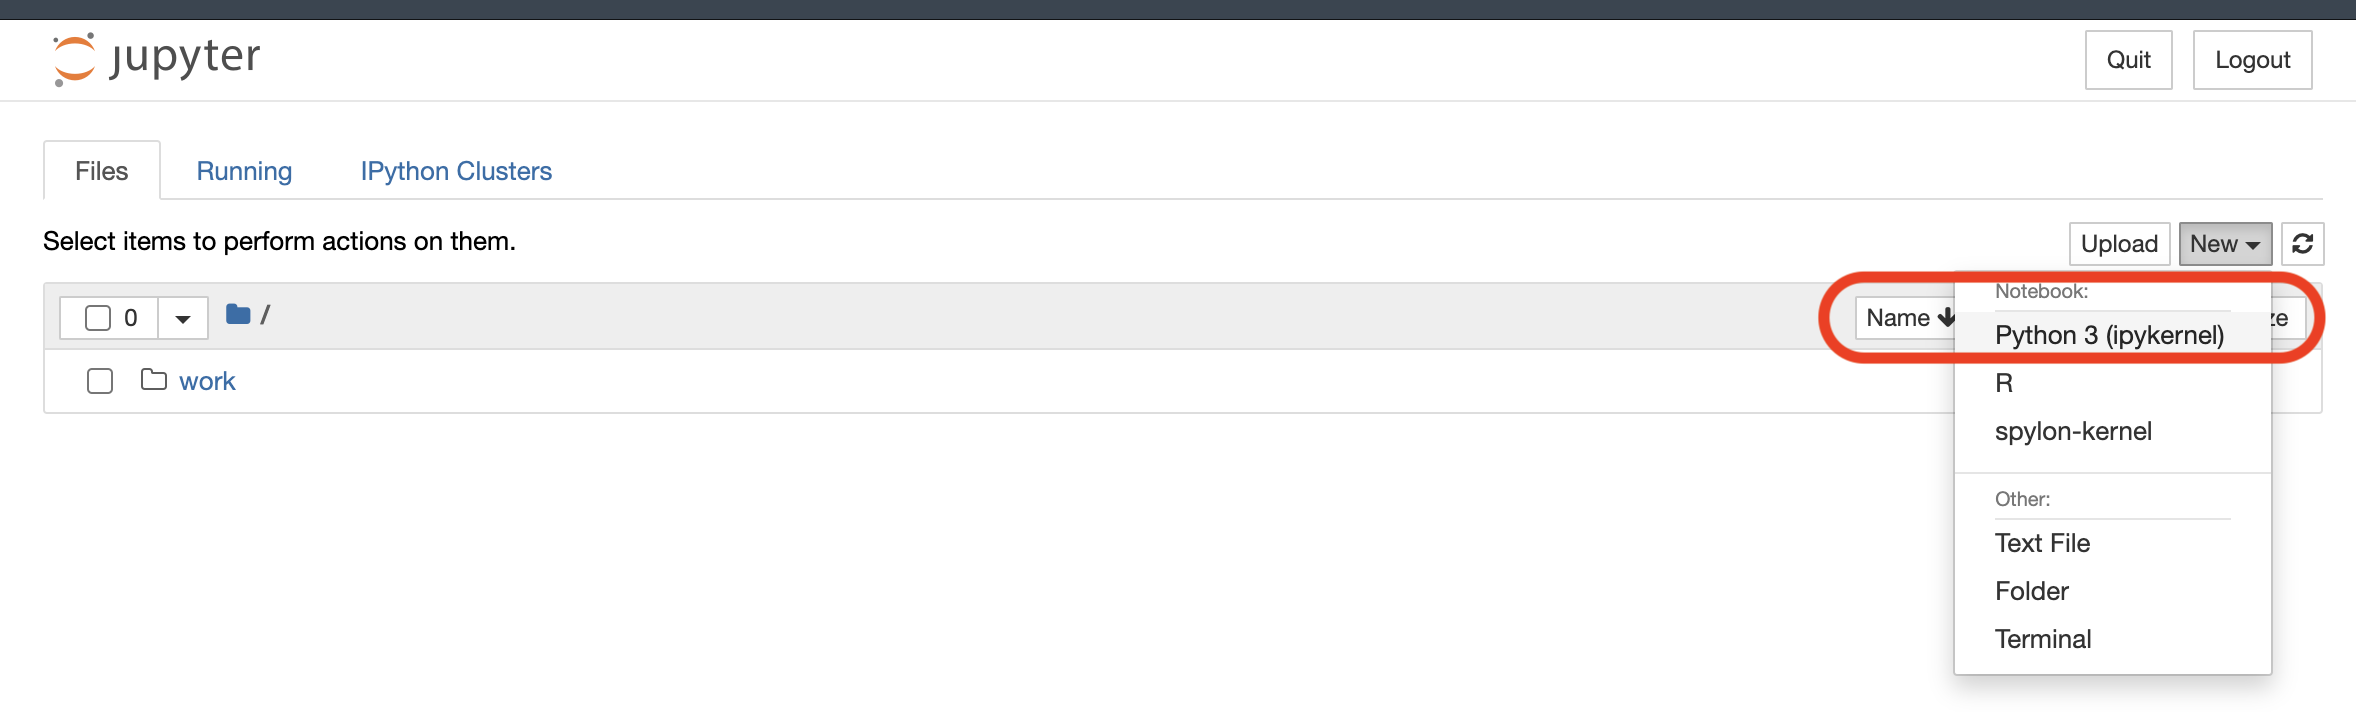
3. Switch to your preferred web browser and browse to the copied URL and you will see a clean installation of the Jupyter server and all the necessary basic data science libraries for Python.
Click on the New button and then select Python 3 (pykernal), as shown below. Doing so opens a new tab, which shows an untitled Python 3 powered notebook that you’ll see in the next step.
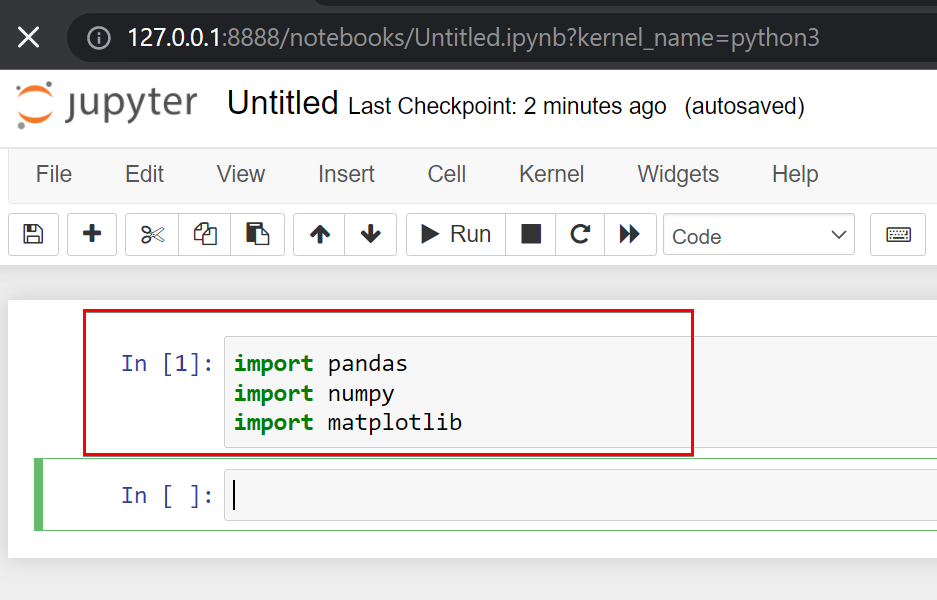
4. Copy/paste the commands below in to the new Python 3 Jupyter notebook’s first line (ln [1]). Press the Shift+Enter keys to run the commands to import the libraries to the Jupyter notebook.
import pandas
import numpy
import matplotlib
For Python, the most popular trio of libraries for data science is numpy, pandas, and matplotlib. You may have additional data science libraries for your use case, but most small-scale data science projects can run with these three. Take a look at websites like Calm Code to help you identify which Python libraries fit your project.
5. Copy/paste the series of commands below in the Python 3 notebook’s input field (In [#]), then press Shift+Enter keys to execute the commands. Doing so lets you verify if each library you imported is working.
a. Testing the numpy Library
In the commands below, you create a number array, and then let numpy calculate and print the maximum value from the numpy_test array.
# Create a numpy array
numpy_test = numpy.array([9,1,2,3,6])
# Test if numpy calculates the maximum value for the array.
numpy_test
# Prints the maximum value in numpy_test array
numpy.max(numpy_test)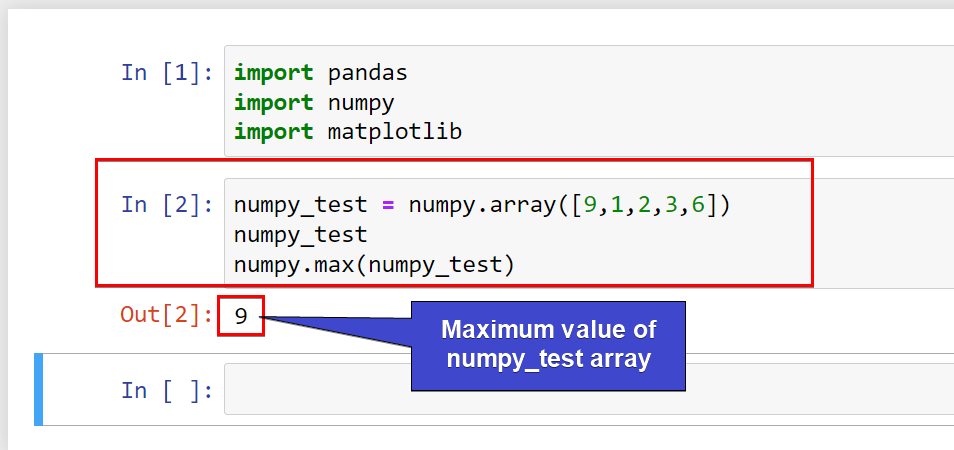
b. Testing the pandas Library
The commands below let you create and print a sample dataframe, a two-dimensional data structure, in a table format with two columns, name and age.
# Create the pandas dataframe with columns name and age
sample = pandas.DataFrame(columns=['name','age'])
# Add row for record named HelenMary with age 18 and so on
sample.loc[1] = ['HelenMary',18]
sample.loc[2] = ['Adam',44]
sample.loc[3] = ['Arman',25]
# Display the resulting dataframe in the Jupyter notebook
sample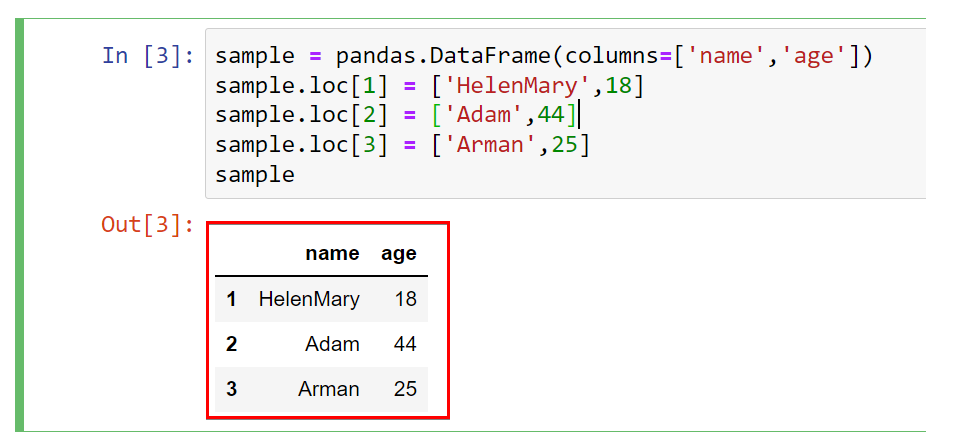
c. Testing the matplotlib Library
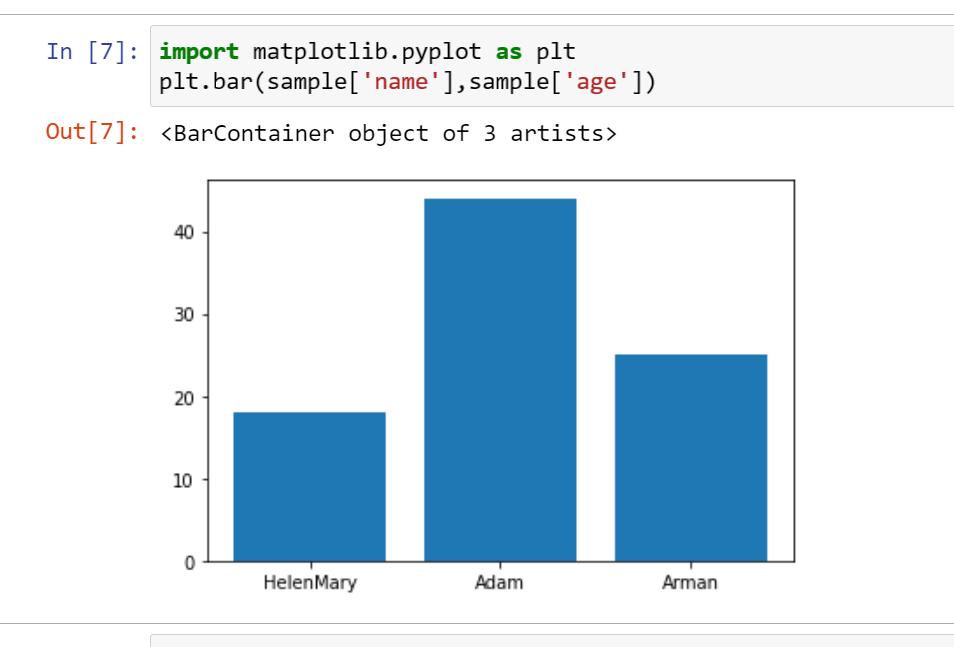
The commands below create a bar chart of the previous sample dataframe from where you tested the numpy library.
Both pandas and numpy allow numeric calculations and data manipulations from raw data, while matplotlib enables you to visualize them properly.
# Import the matplotlib's plotting mechanism with short name of plt
import matplotlib.pyplot as plt

# Plot bar chart with label name and value age from previous steps.
plt.bar(sample['name'],sample['age'])
Below, you can see the visual representation of the dataframe in a chart form.
Note that you only tested three libraries, but Jupyter’s Docker images contain a lot of other Python libraries depending on the image you selected for your data science project.
For example, the all-spark-notebook loaded in this demo also can use Apache Spark for large-scale data processing operations. But if you do not need this much computing, a more lightweight Jupyter Docker image like minimal-notebook can do the trick.
Working with Minimal Setup from Slim Python Images
From the previous method of using a Jupyter notebook, Jupyter’s Docker images are handy to install bundles of Python libraries for data science that go together. But Jupyter’s containers can get too heavy or loaded with features.
Perhaps you prefer a minimal setup for your data science project. In that case, look into Python’s official Docker images as they allow more control, prioritize high performance, and remain user-friendly. Plus, official Docker images contain all the latest updates directly from Python.
1. Run the command shown below to create an empty Dockerfile in the current directory. You’ll need this Dockerfile to pull a slim Linux container from Docker’s hub powered by Python’s official image.
This demo uses the 3.9.7-slim-bullseye version, but the official hub of Python also shows other options. Choose based on your use case and preferred Python version.
New-Item DockerfileYou may also use
touch Dockerfilefor Linux based operating systems to do the same.
2. Next, open the Dockerfile using your favorite text editor, and copy/paste the code below in to the Dockerfile. Change the maintainer value to your name in the code below and add a custom description of your liking.
This code below has a couple of things to perform:
- Specifically pulls the Python 3.9.7 slim bullseye image,
- Adds descriptions to the image through LABEL commands which will reflect in Docker hub,
- Specify the working directory inside the Docker container once run.
- Installs the Python libraries, such as
nbterm,numpy,matplotlib,seaborn, andpandas.
# Specifies the Docker image from Python
FROM python:3.9.7-slim-bullseye

# Image descriptions
LABEL maintainer="Adam the Automator - H"
LABEL version="0.1"
LABEL description = "data science environment base"

# Specifies the working directory
WORKDIR /data

# Installs the Python data science libraries
RUN pip install nbterm numpy matplotlib seaborn pandas
3. Change the working directory to where you saved your Dockerfile. Run the below docker command to build your custom data science image, ds_slim_env, in your working directory (.).
The image is named ds_slim_env for this demo, but you can name it differently as you prefer. docker build -t ds_slim_env .
docker build -t ds_slim_env .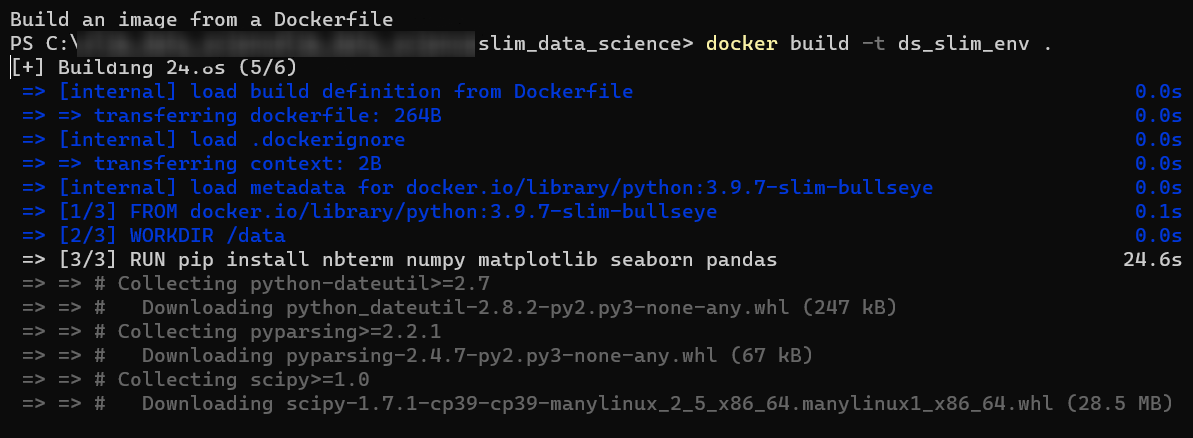
4. Now run the docker below command to list all Docker images (image ls) in your machine to verify if the ds_slim_env image exists. docker image ls
docker image ls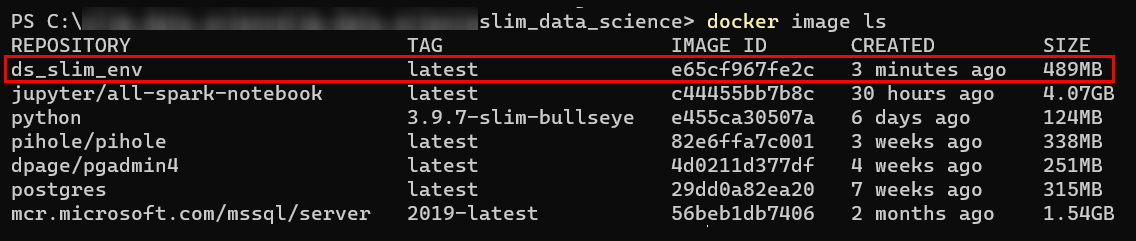
5. Run the command below to run an interactive (-it) container named minimal_env that allows you to leverage the data science environment (ds_slim_ev). The command will take you to the Linux shell terminal (/bin/bash) of the Docker container (minimal_env), as you’ll see in the next step.
docker run -it --name minimal_env ds_slim_env /bin/bash6. Next, run the below command to check the installed Python version. Note the version as it may come in handy when you install libraries in the future.
docker run -it --name minimal_env ds_slim_env /bin/bash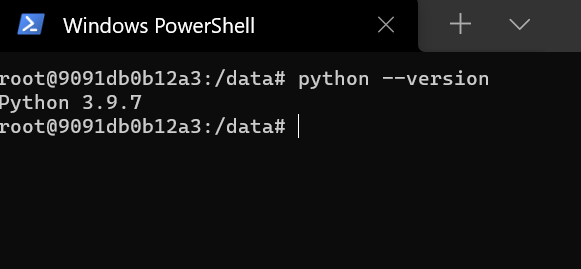
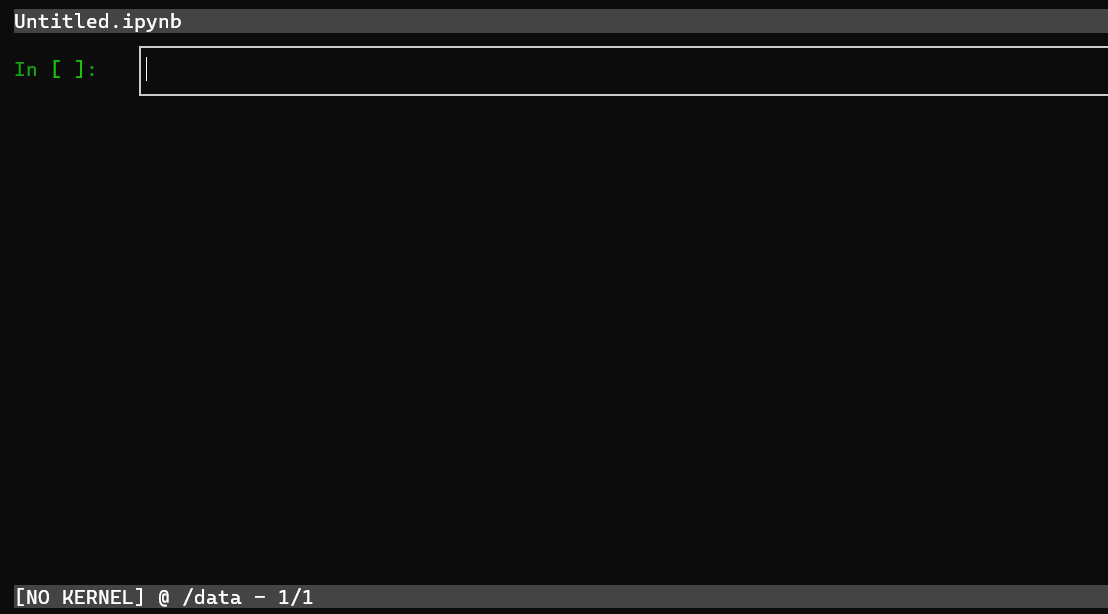
7. Run the commands below to install a Python kernel and access nbterm, the command-line version of the Jupyter notebook. Installing a Python kernel allows you to test libraries.
# Install Python Kernel
pip install ipykernel
# Access nbterm (Jupyter notebook's command-line version)
nbterm
As you can see below, the command takes you to an interface similar to the Jupyter notebook minus the heaviness of the browser server.
8. Input the commands below in the cell (ln [1]), as shown below. Press Esc, then Ctrl+E keys to run the commands in the cell. These commands import pandas, numpty, and seaborn libraries.
import pandas
import numpy
import seaborn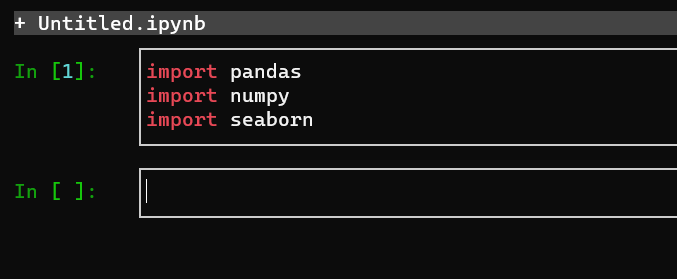
9. Press Esc, then the B key to enter a new cell and insert the commands below. Press Esc, then Ctrl+E keys to run the commands in the cell as you previously did (step eight).
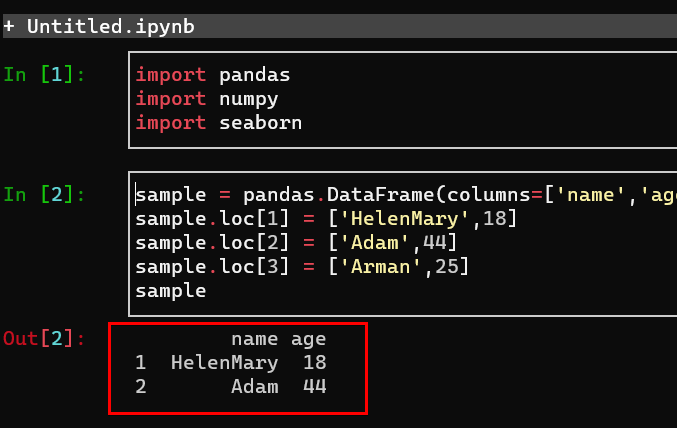
The commands below let you create and print a sample dataframe in a table format with two columns (name and age).
sample = pandas.DataFrame(columns=['name','age'])
sample.loc[1] = ['HelenMary',18]
sample.loc[2] = ['Adam',44]
sample.loc[3] = ['Arman',25]
sample
You can also do many other things like create for loops and manipulate datasets to achieve some insights.
You can see below that the sample dataframe displays correctly in a table format.
You can also test the other libraries as you did in step five under the “Working with Jupyter Notebook Setup” section.
You can also download flat files like CSV files containing data and convert them into a pandas dataframe before using the different libraries to transform and visualize the content.
Finally, press Esc, then Ctrl+Q twice to exit nbterm and return to the container terminal shell. Type exit to return to the original Windows 10 PowerShell command line of the host machine.
Conclusion
In this tutorial, you’ve learned how to create a Docker image for Python data science libraries in two methods. One method is via pre-existing Jupyter Docker images, while the other method is based on a minimal/lightweight Docker image from Python’s official image hub.
You learned how to install a few data science libraries in both methods and even create your custom Docker image with a Dockerfile. As you realized, creating a data science environment using Docker is a bit challenging, but it’s worth it!
And as a next step, why not explore deploying a data-powered website Docker image to AWS resources?


