


Data analysis has been a definite factor in business decision-making. If you are looking for a way to connect and quickly analyze your data in real time, the Power BI API may be your solution. Power BI API lets you extract data from your Power BI dashboards and reports and create and publish new content to your Power BI workspace.
In this tutorial, you will learn to access and manipulate your data, create custom reports and dashboards, and share your insights.
Dig in and start making better data-driven decisions with Power BI API!
Prerequisites
This tutorial will be a hands-on demonstration. To follow along, be sure you have the following:
- A PowerBI account.
- An API platform for building and using APIs – This tutorial uses Postman.
- Power BI Desktop – This tutorial uses v2.105.664.0.
Setting up Your Power BI API Environment
Power BI is a Business Intelligence (BI) tool offered by Microsoft that provides real-time high-level analytics, extensive modeling, and custom development. This tool has led the charge in making business analysis more efficient through intuitive and interactive services.
To take advantage of Power BI API, you first must set up your Power BI API Environment using the Power BI Developer portal to establish REST API Power BI Integration seamlessly:
1. Open your favorite web browser, navigate the Power BI Developer Portal, and Sign in with your Power BI credentials.
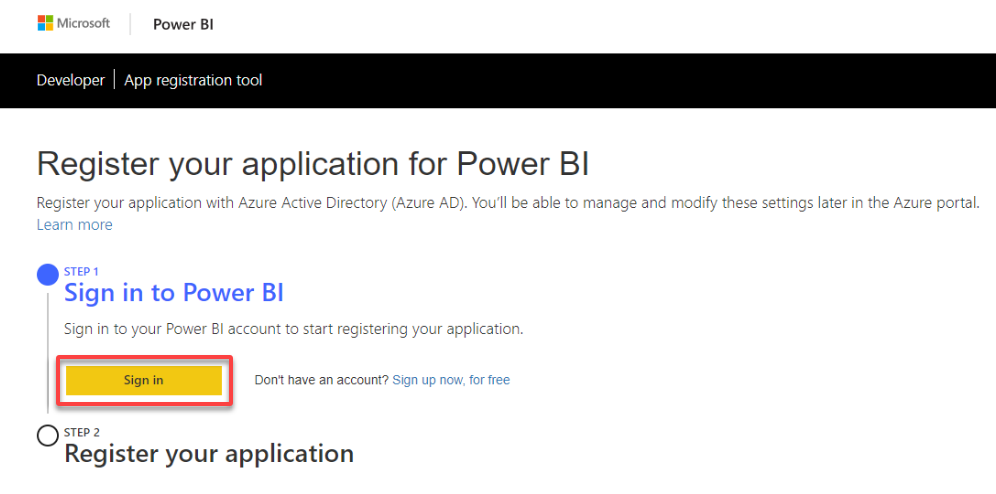
2. Once signed in, as shown below, click Next to continue the integration of Power BI REST API.
💡Remember to use the most recent version of the Power BI REST API. Microsoft regularly releases updates to the API, and using the most current version can ensure better performance and stability.
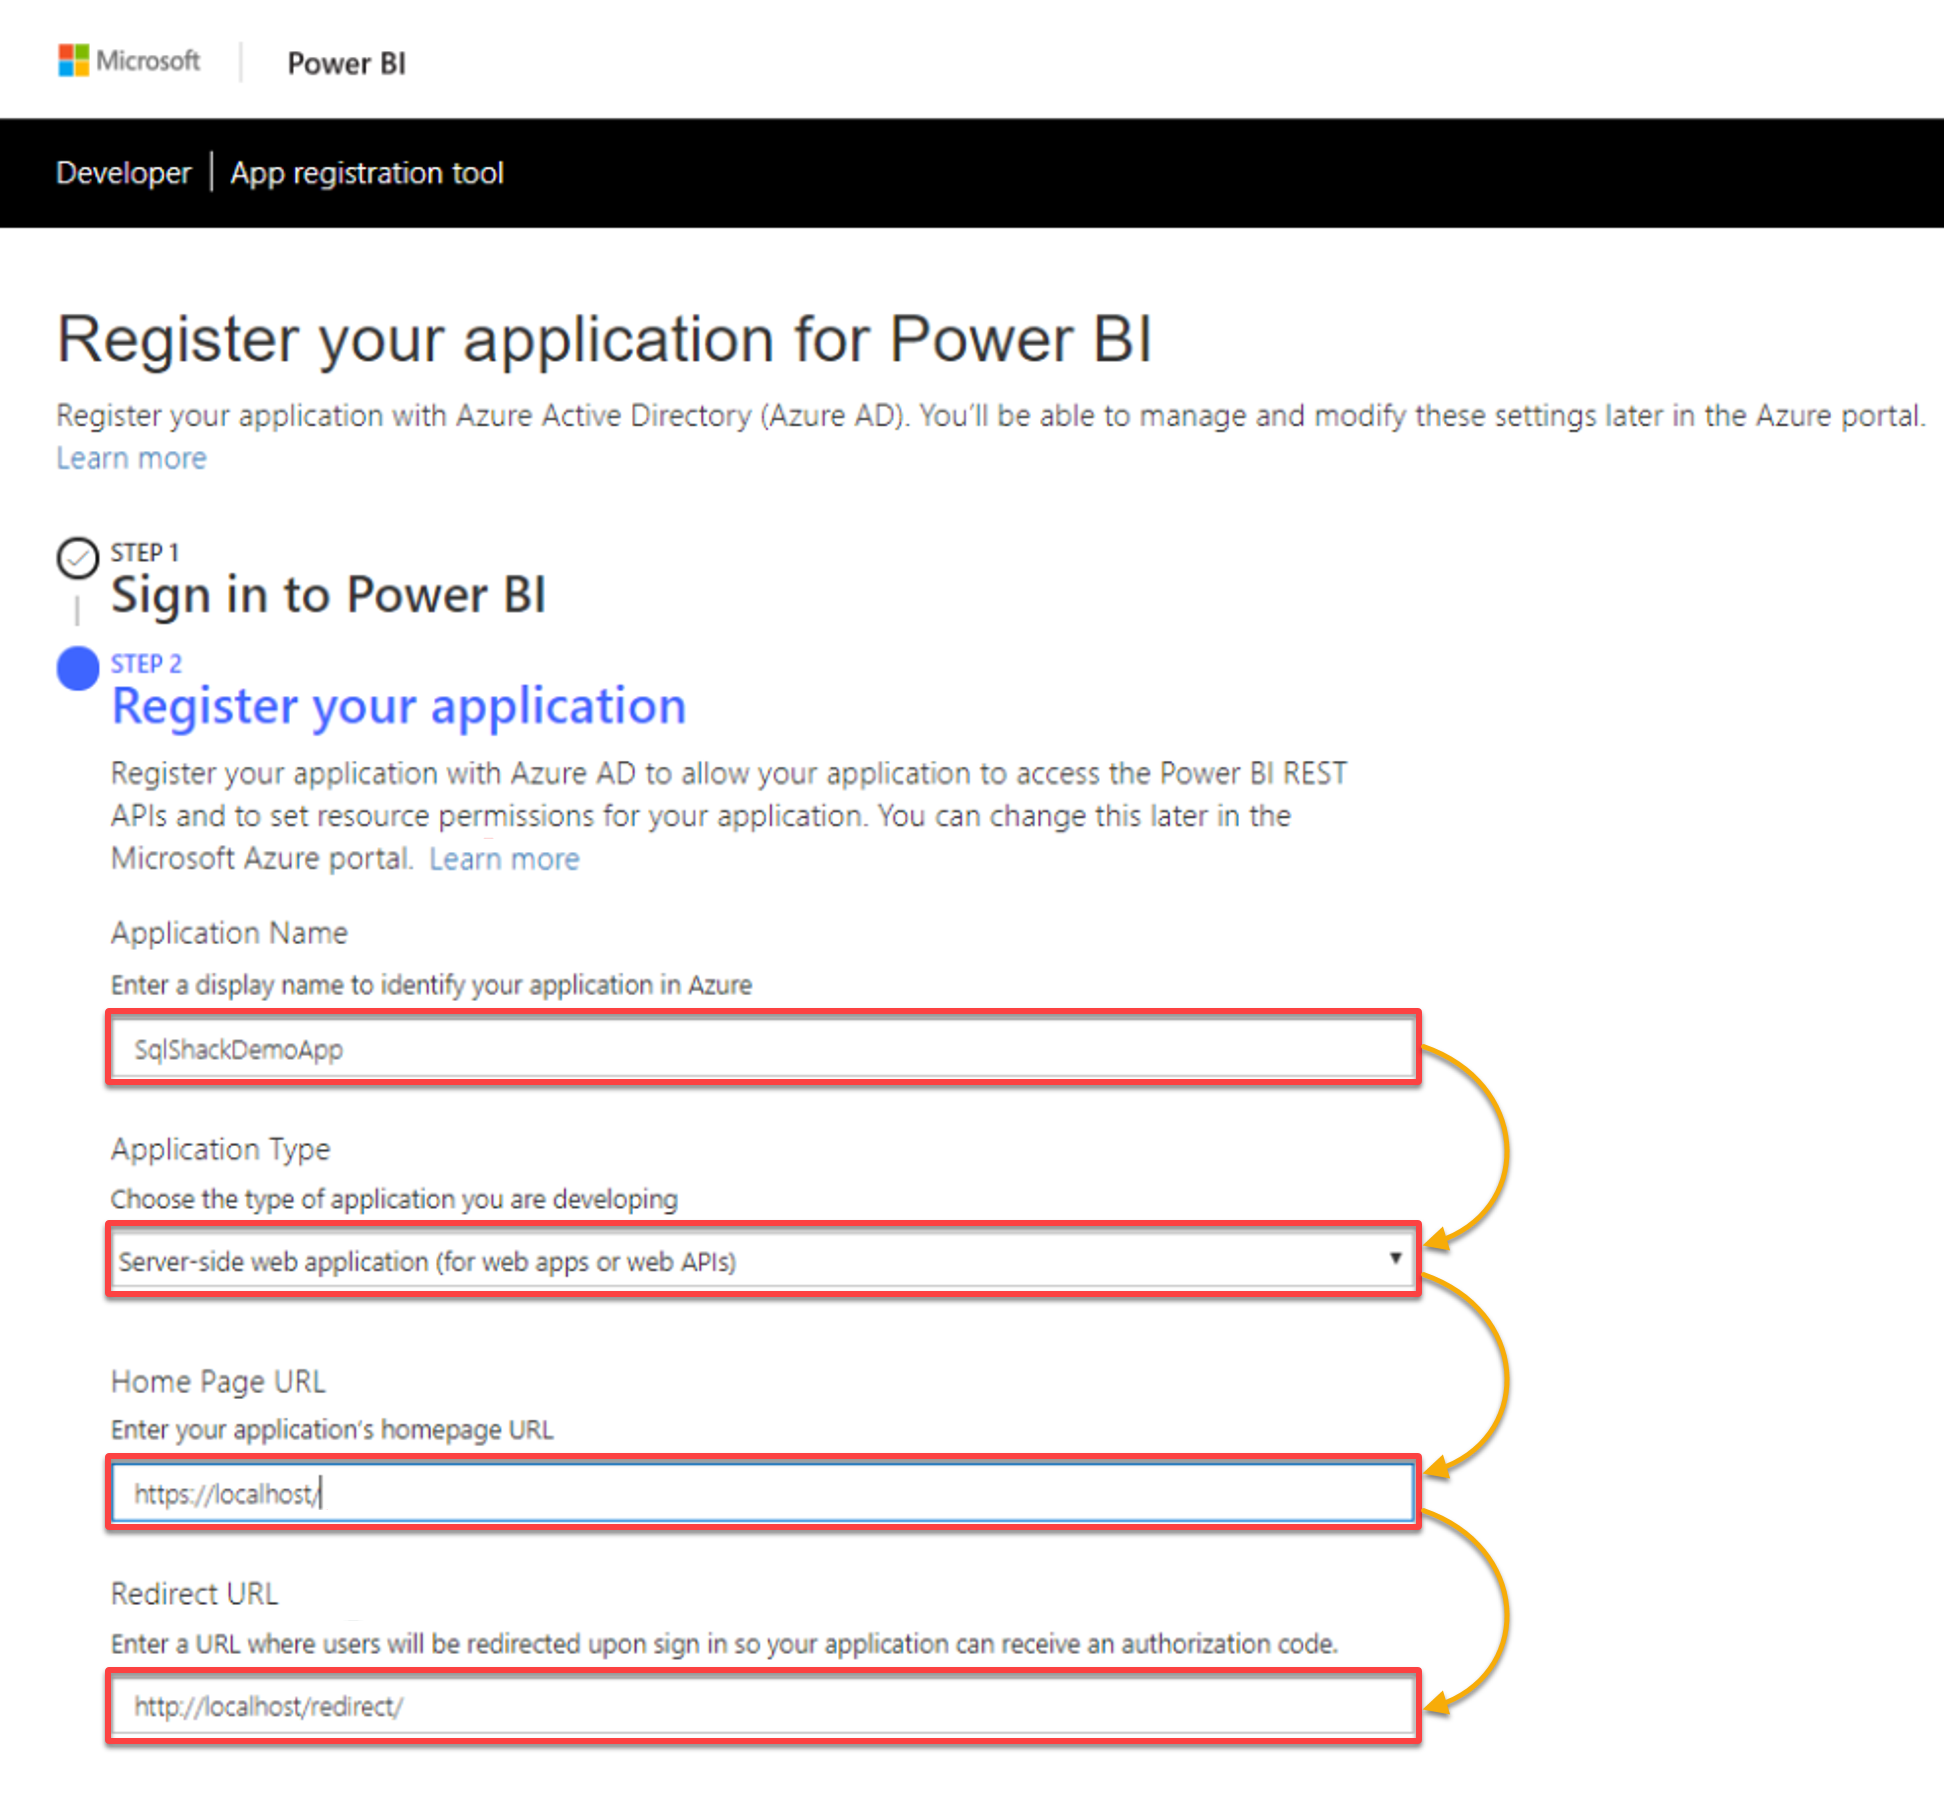
3. Next, register your application with the following:
- Application Name – Provide a name for your application.
- Application Type – Choose a type that describes your application. This tutorial’s choice is the Server-side type.
- Home Page and Redirect URL – Provide your application’s homepage URL and a URL where users are redirected once signed in.
4. Now, scroll down, select the necessary access permission, which includes primary read access for read datasets for your integration, and click Register.
Once your application is registered, you will get an Application Secret Key and Application Key to access your registered application.
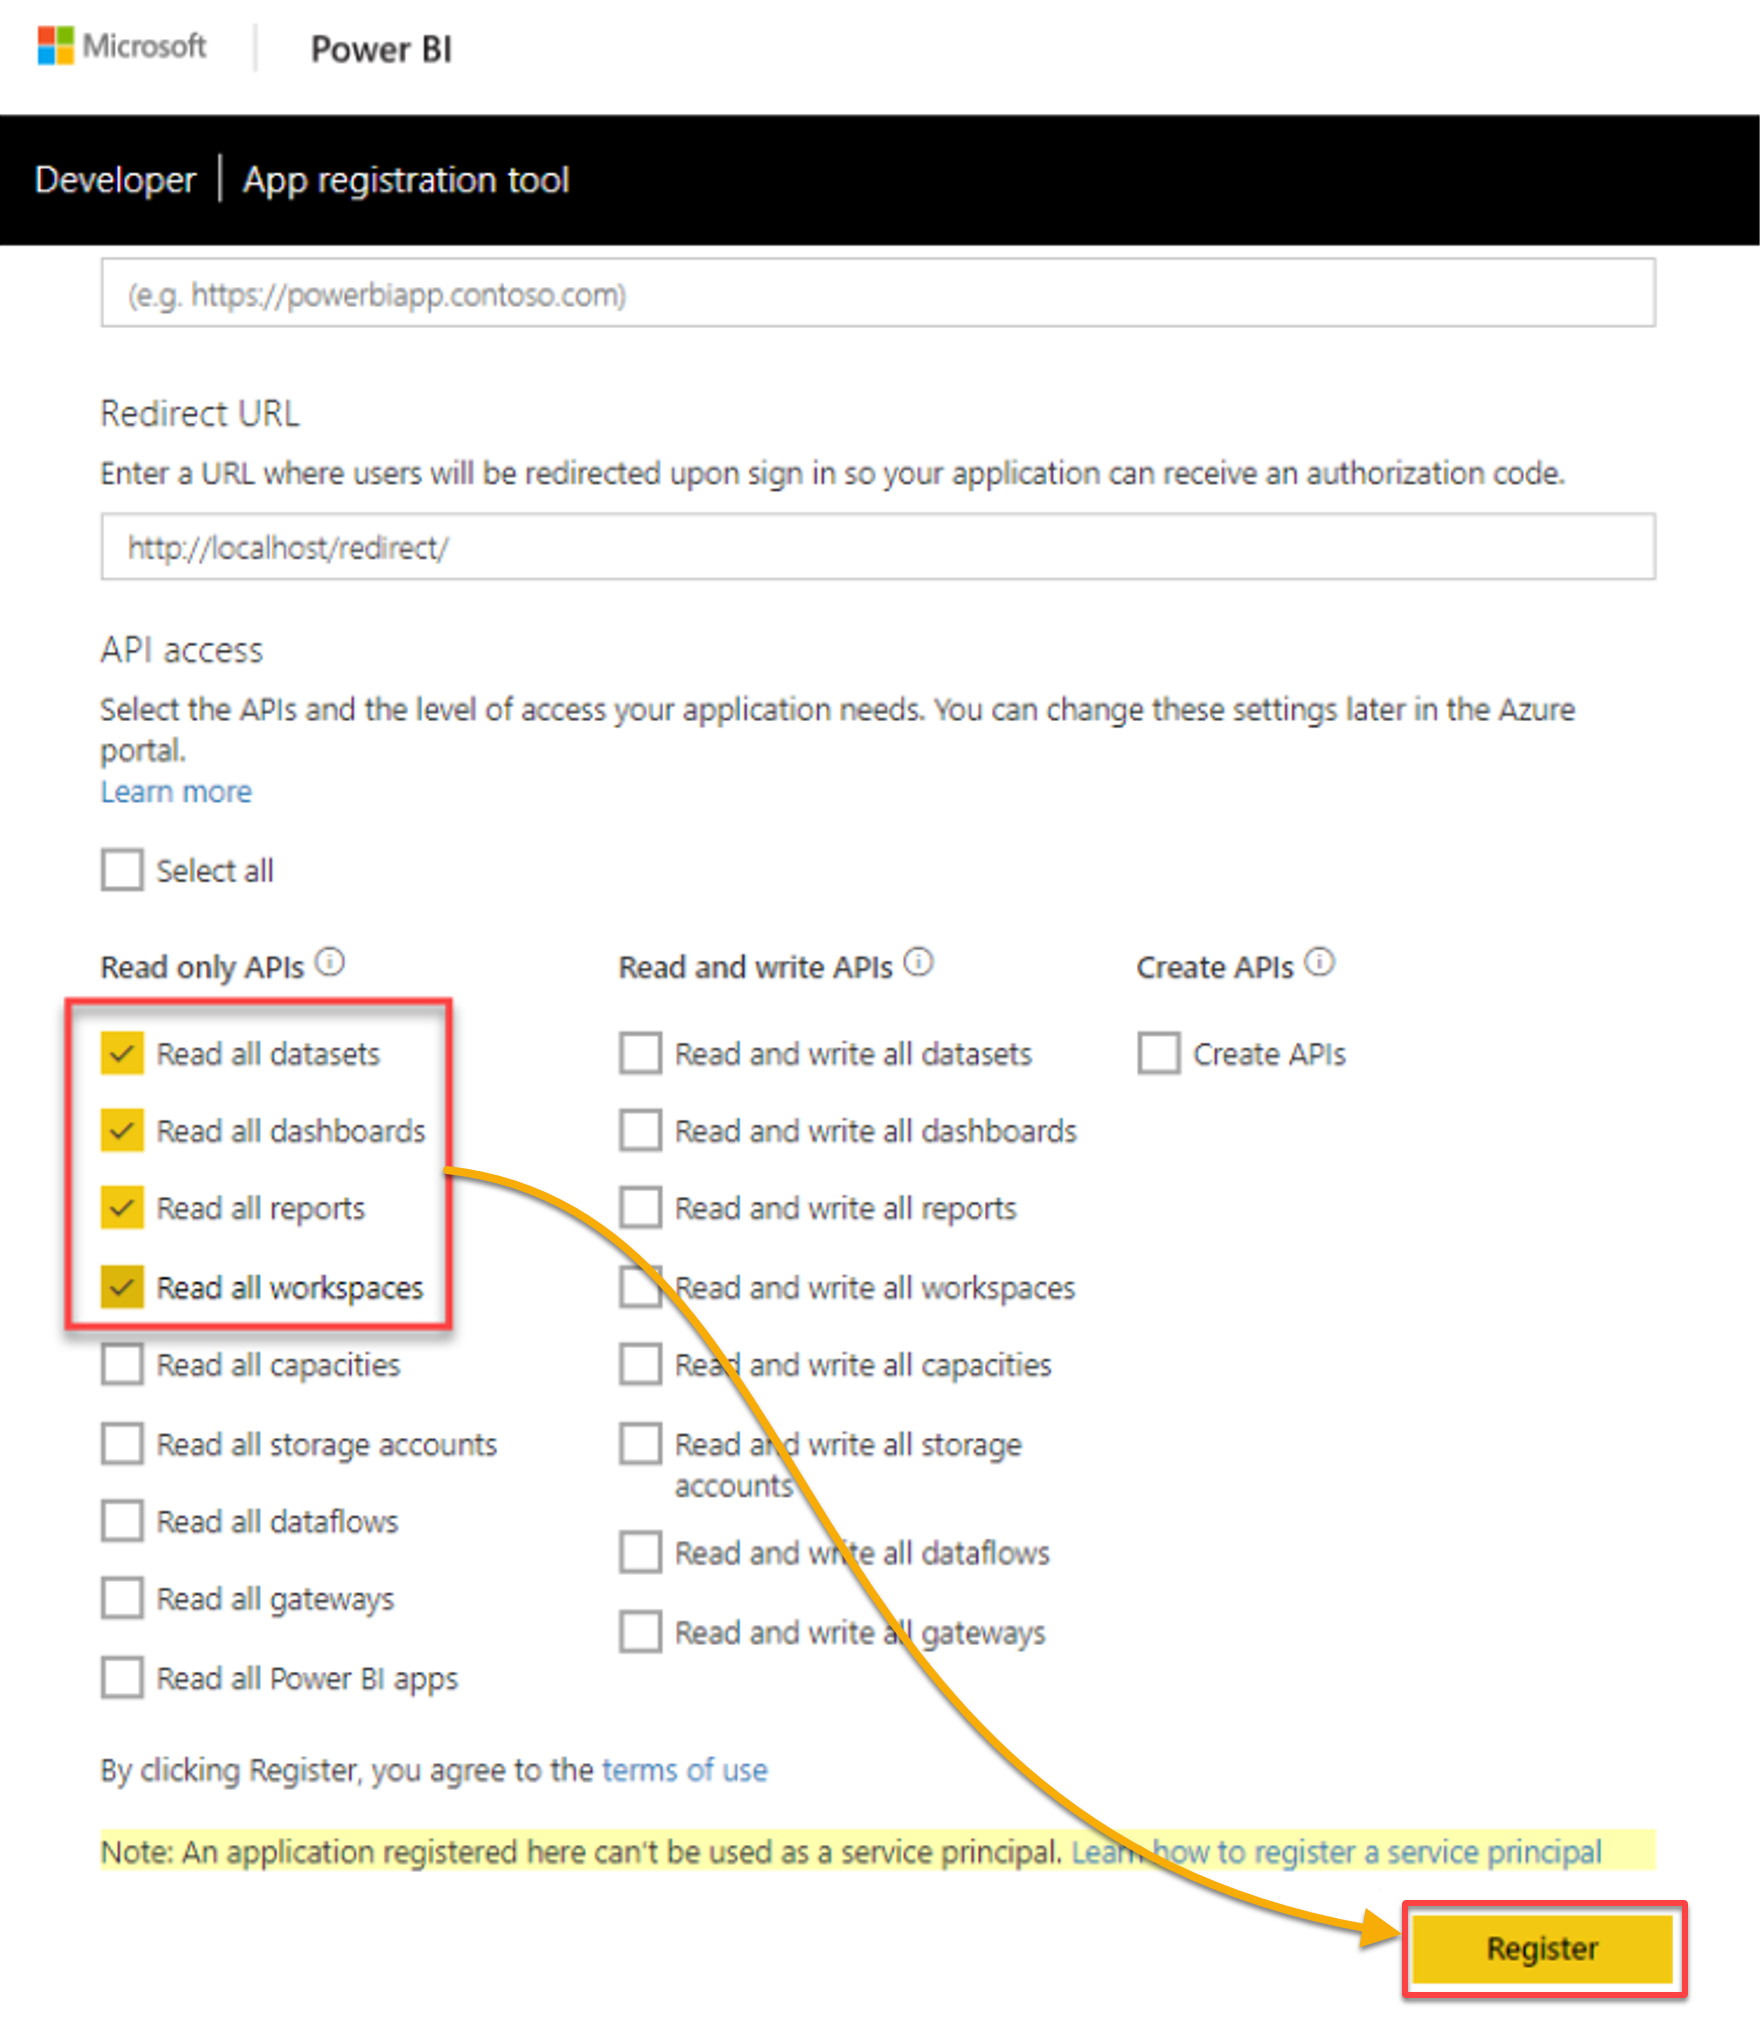
5. Store the Application ID and Applicationsecret somewhere safe.

6. Next, click Accept to grant access right to your account, and continue the REST API Power BI integration process.
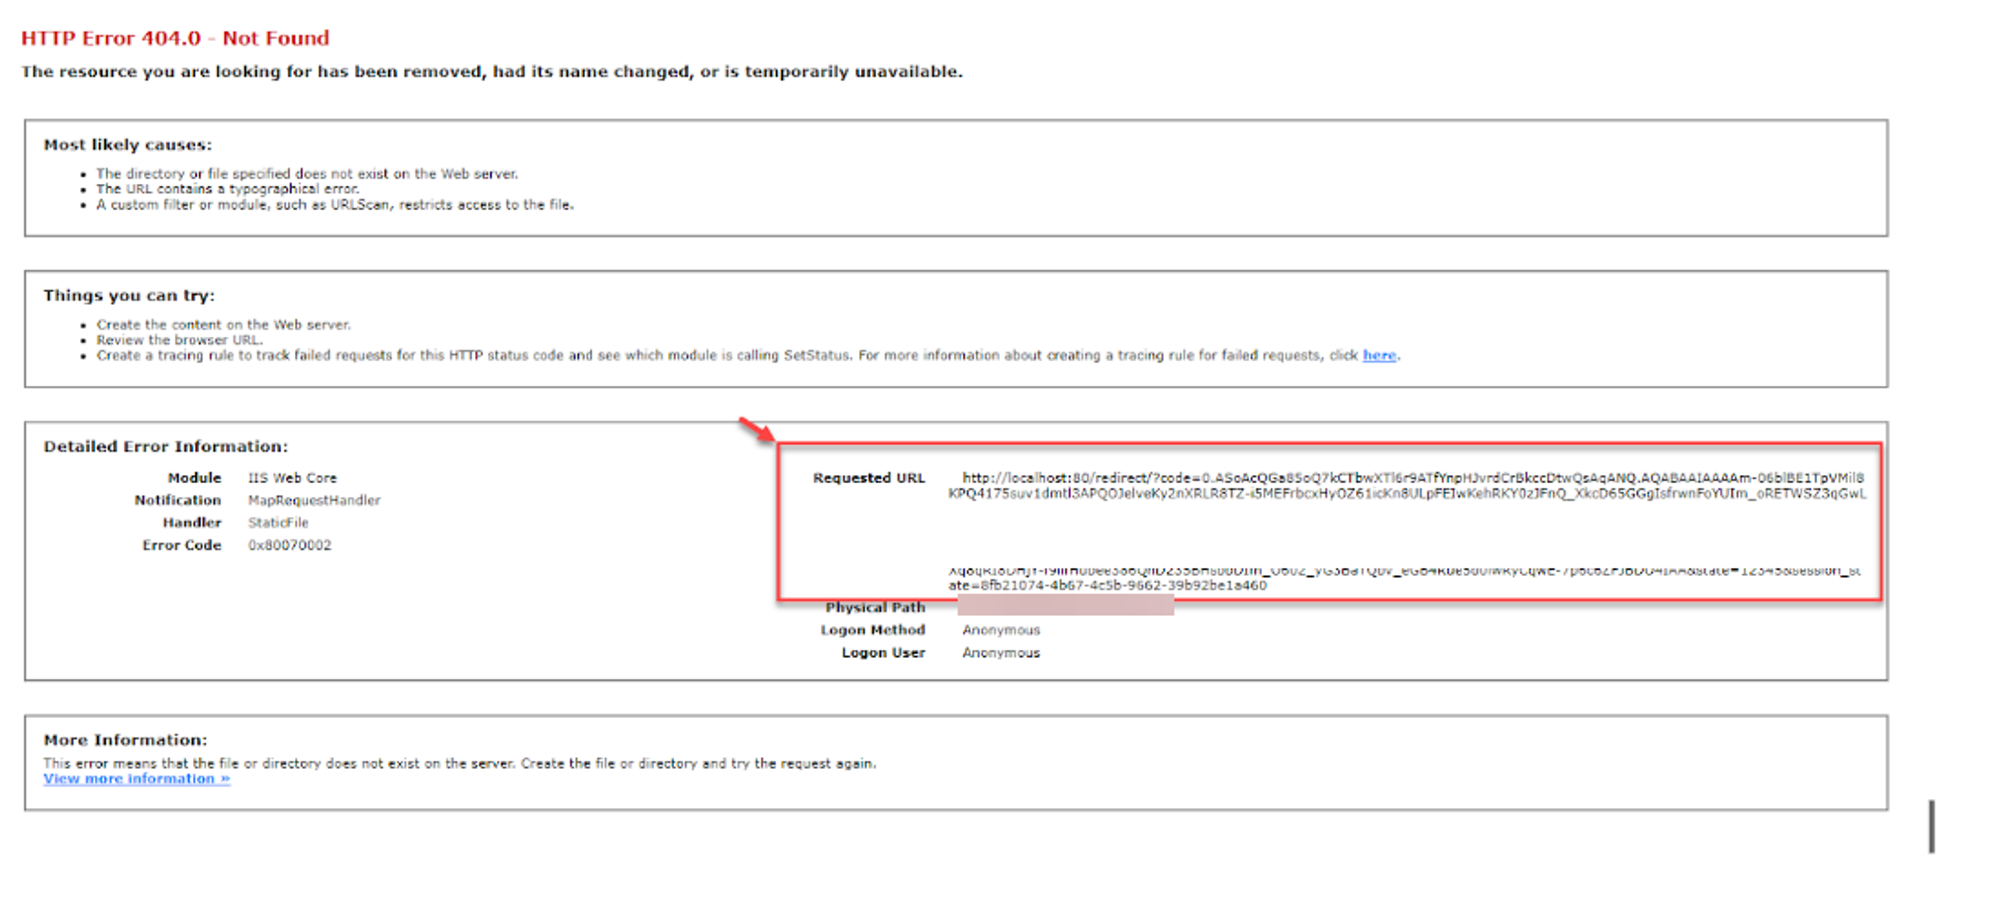
Once authorized, your browser redirects to the Redirect URL, where you will get an “HTTP 404 error” saying you have no local web application (step seven).

7. In the Requested URL section, copy the URL and securely save the text you see after the code for the REST API Power BI Integration process.
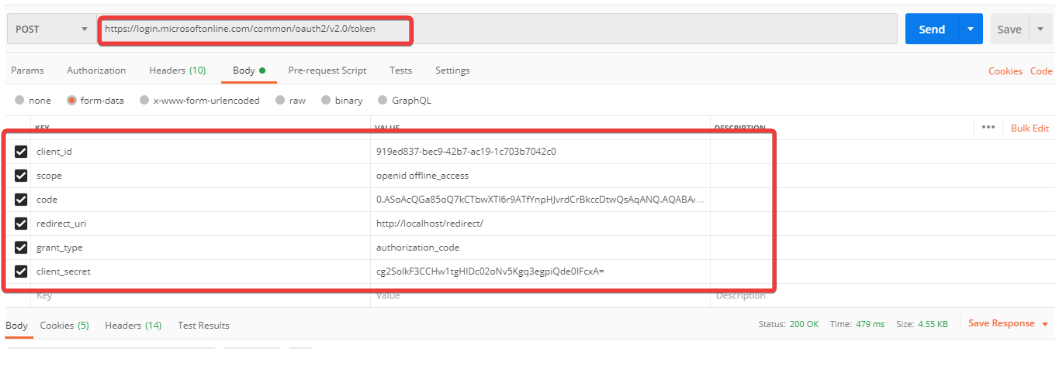
8. Launch your API platform (Postman), and call the endpoint below from Power BI REST API.
https://login.microsoftonline.com/common/oauth2/v2.0/tokenThe Power BI REST API has different endpoints for scenarios and use cases. Be sure to choose the right endpoint to ensure you are getting the data you need in the most efficient way possible.
Ensure you use the POST method with the following information: client_id, scope, code, redirect_url, grant_type, and client_secret.
The Power BI REST API supports several verbs, including GET, POST, PATCH, and DELETE. Be sure to use the proper verb for the task you’re trying to accomplish.
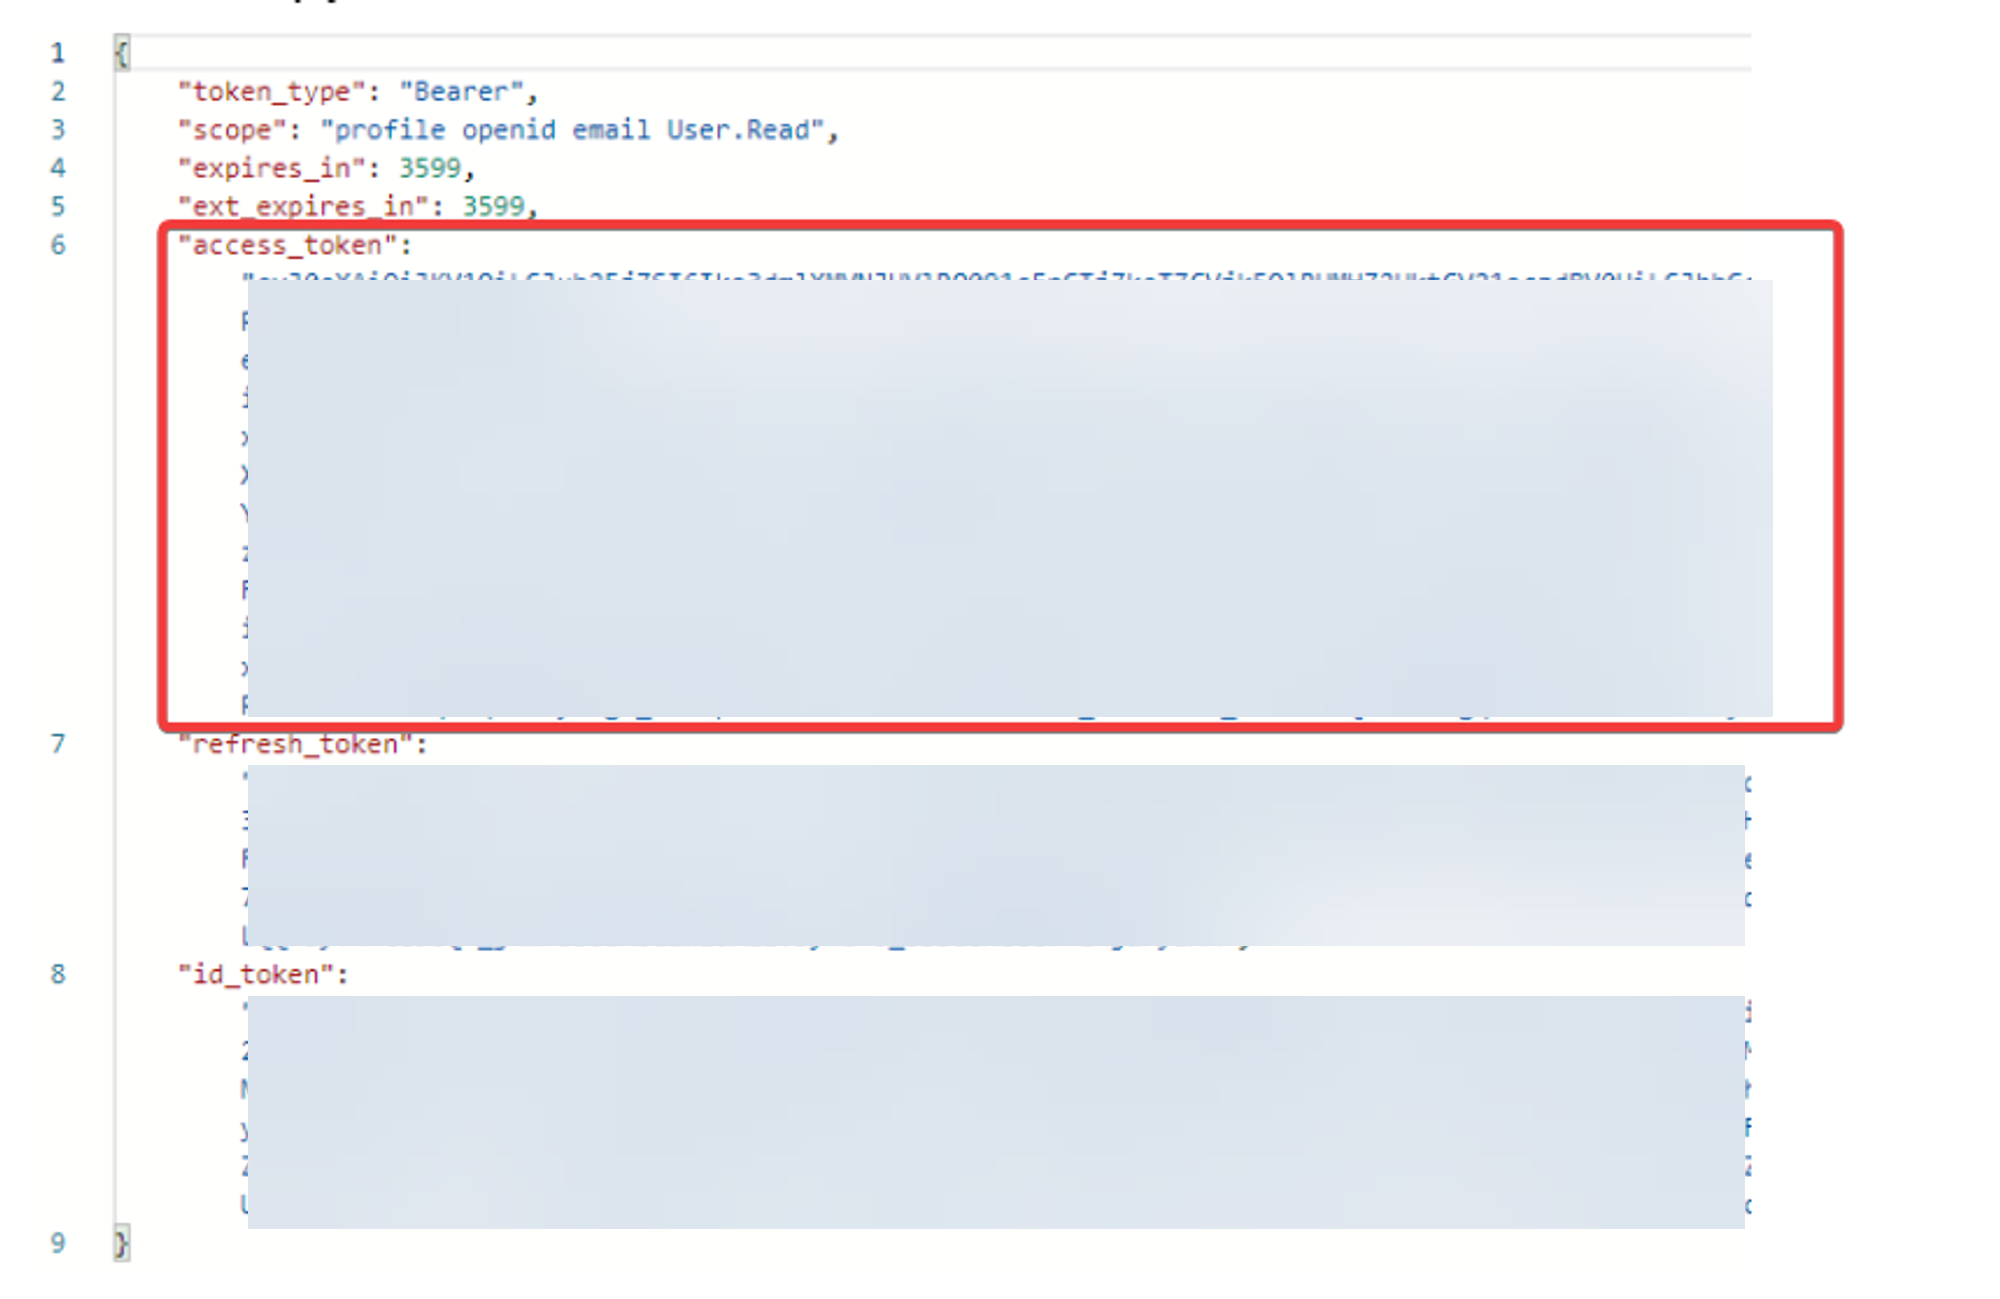
9. After calling the endpoint, copy and save the access_token value securely. The access token will be an authorization pass when accessing any endpoint.
💡Note that limiting the number of calls to the API is essential. Making multiple calls to the API in rapid succession can strain the system. Use pagination to retrieve data in chunks. But if you need to call the same data multiple times, consider using caching.
With a fully functional PowerBI API environment, you are one step away from performing the following:
- Integrate Power BI reports, dashboards, and datasets into custom applications.
- Automate report and dashboard creation and management.
- Extract data from Power BI for further analysis using a set of RESTful web APIs.
💡Be sure to use Azure Application Insights or other monitoring tools to monitor the implementation of your Power BI REST APIs to identify any bottlenecks or potential issues.
Getting the List of Datasets and Reports
With an access token handy, you can get data from your Power BI workspace using the same endpoint. Your access token will grant you access rights.
💡Note: Optimizing the size of your data by removing any unnecessary columns or rows is crucial. Large data sets can slow down the performance of the API.
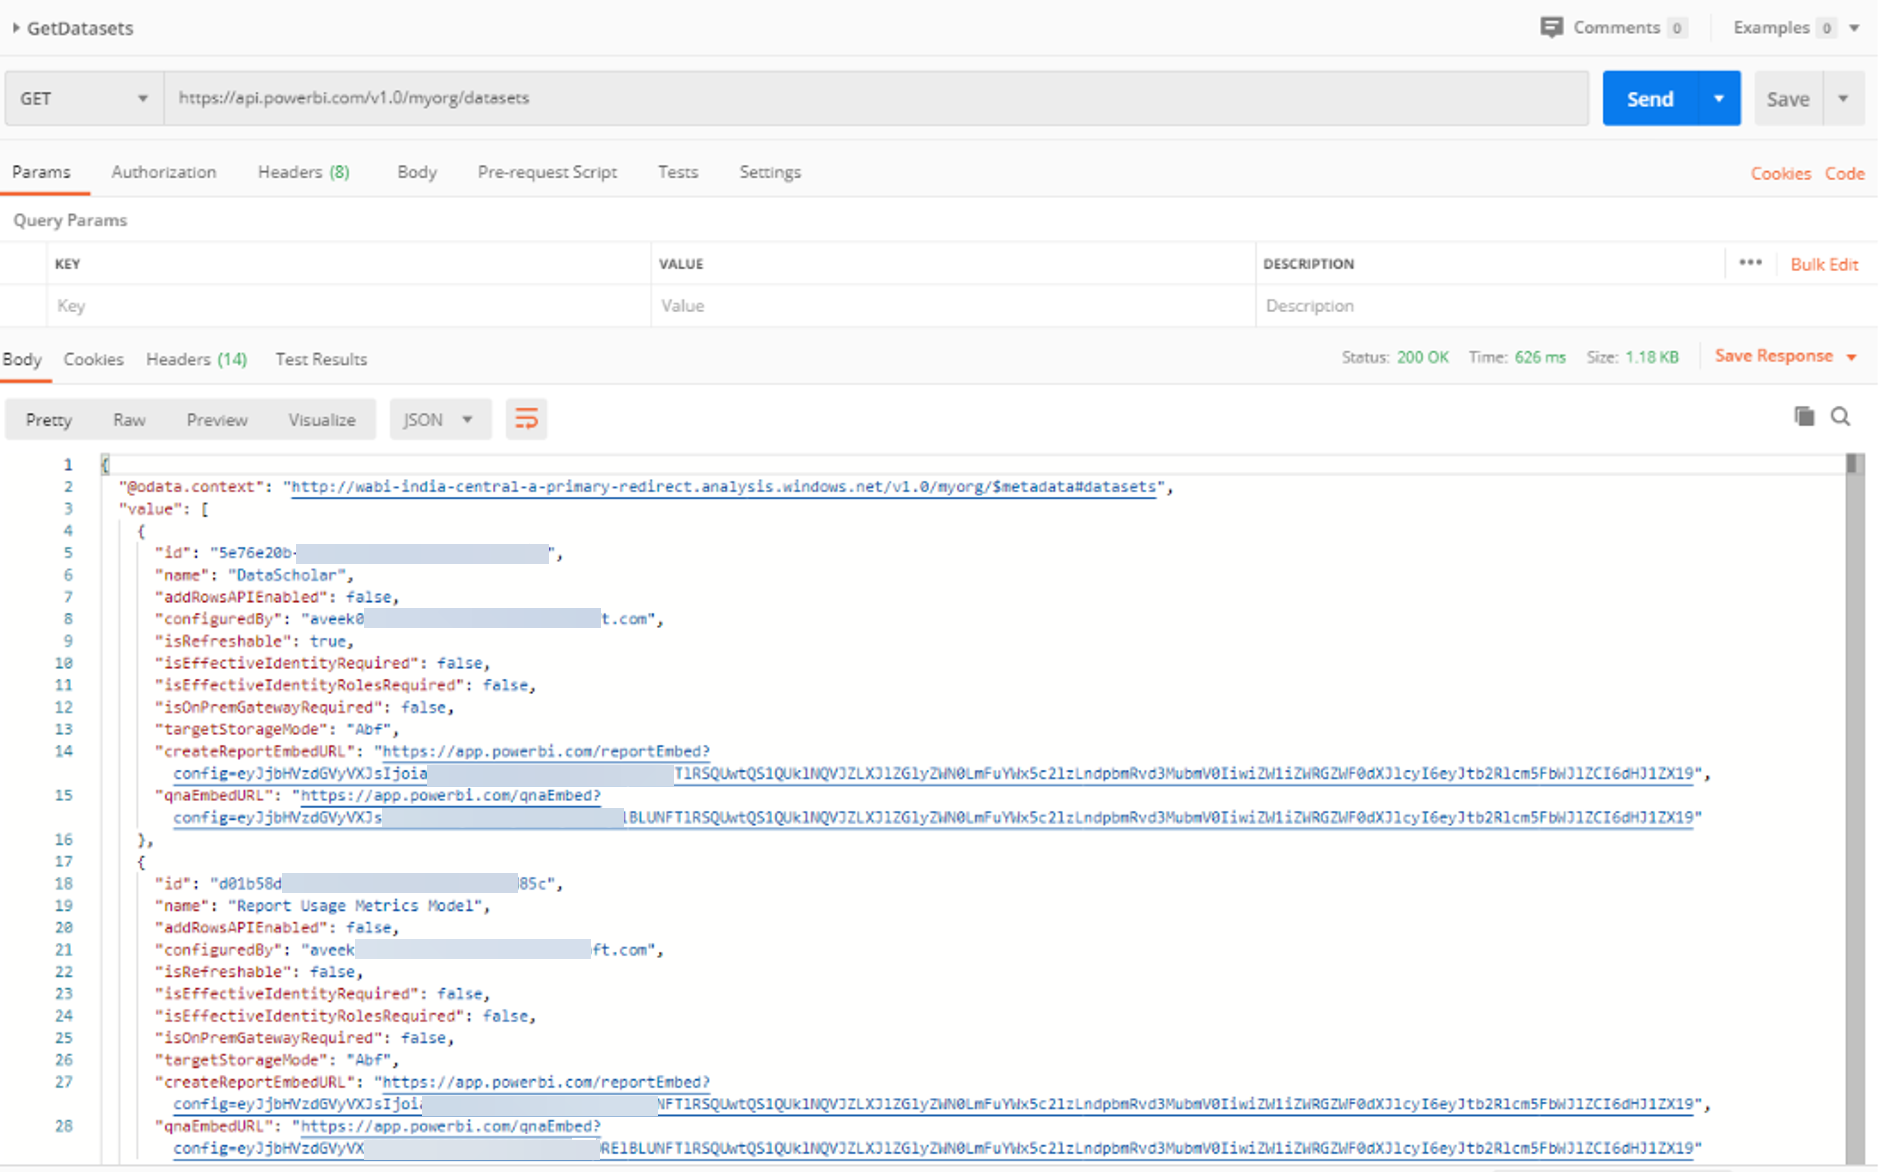
1. Visit the Power BI documentation for getting datasets, and copy the HTTP URL, as shown below. You will use this URL to get a list of datasets using Power BI REST API.
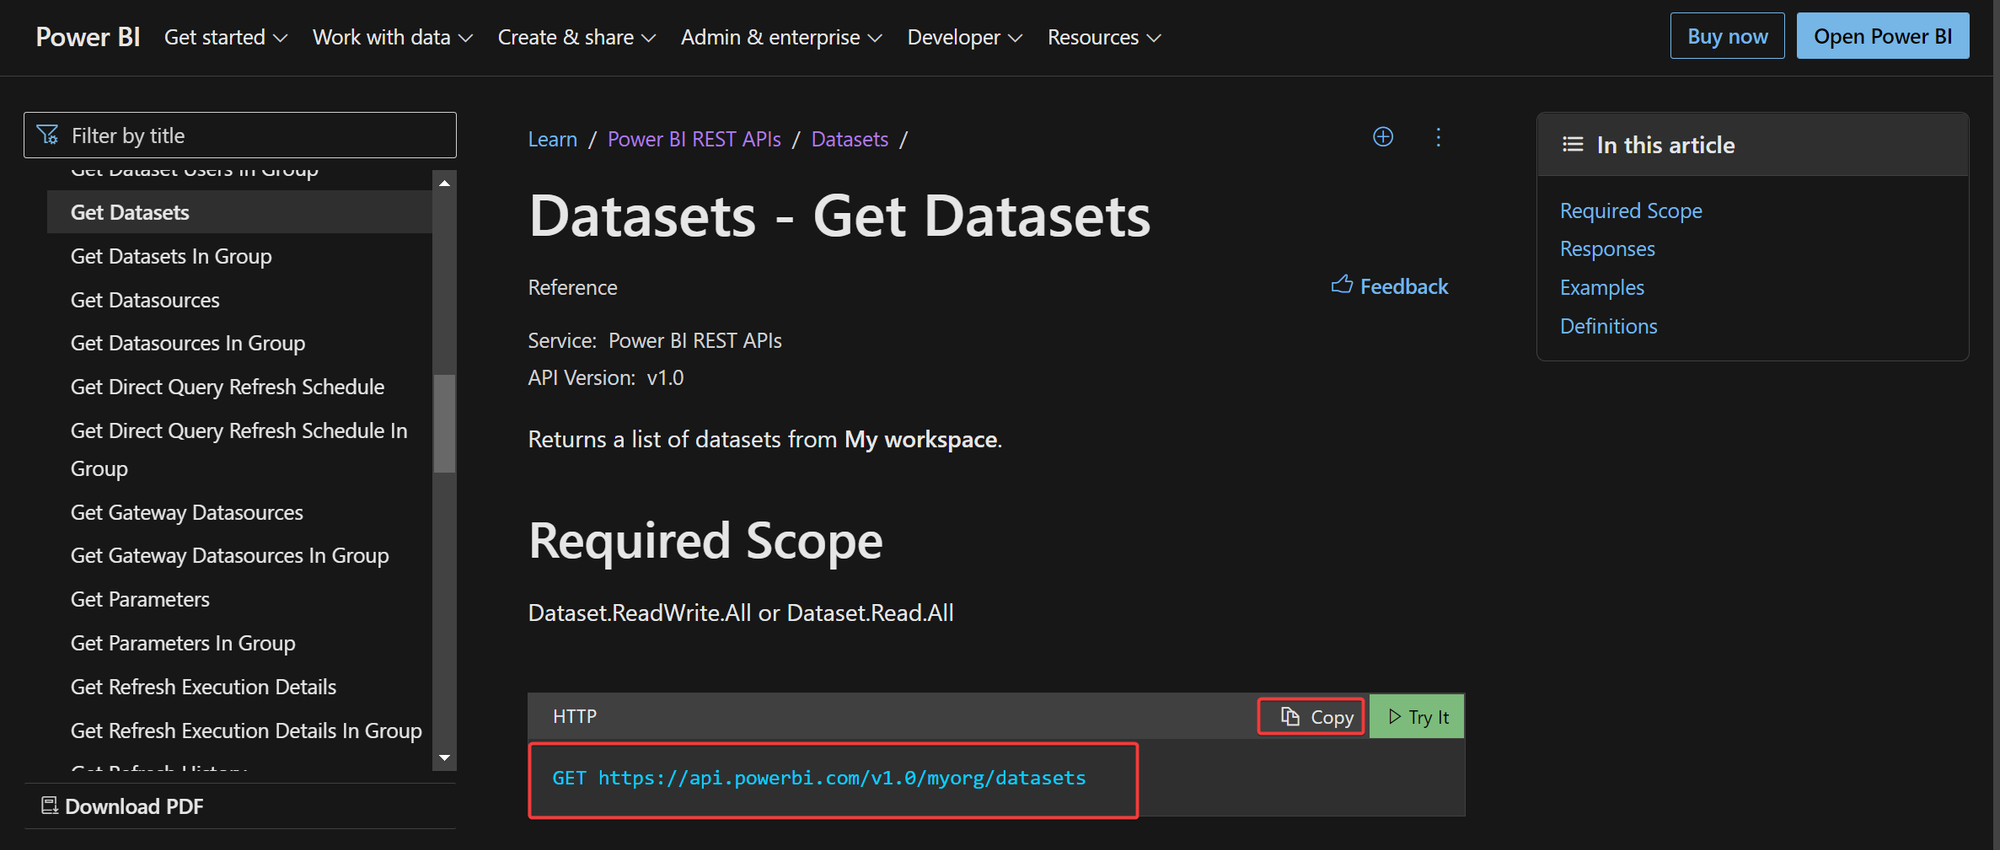
Next, on Postman, enter the endpoint you copied in step one, and provide the authorization token you copied in the last step of the “Setting up Your Power BI API Environment” section.
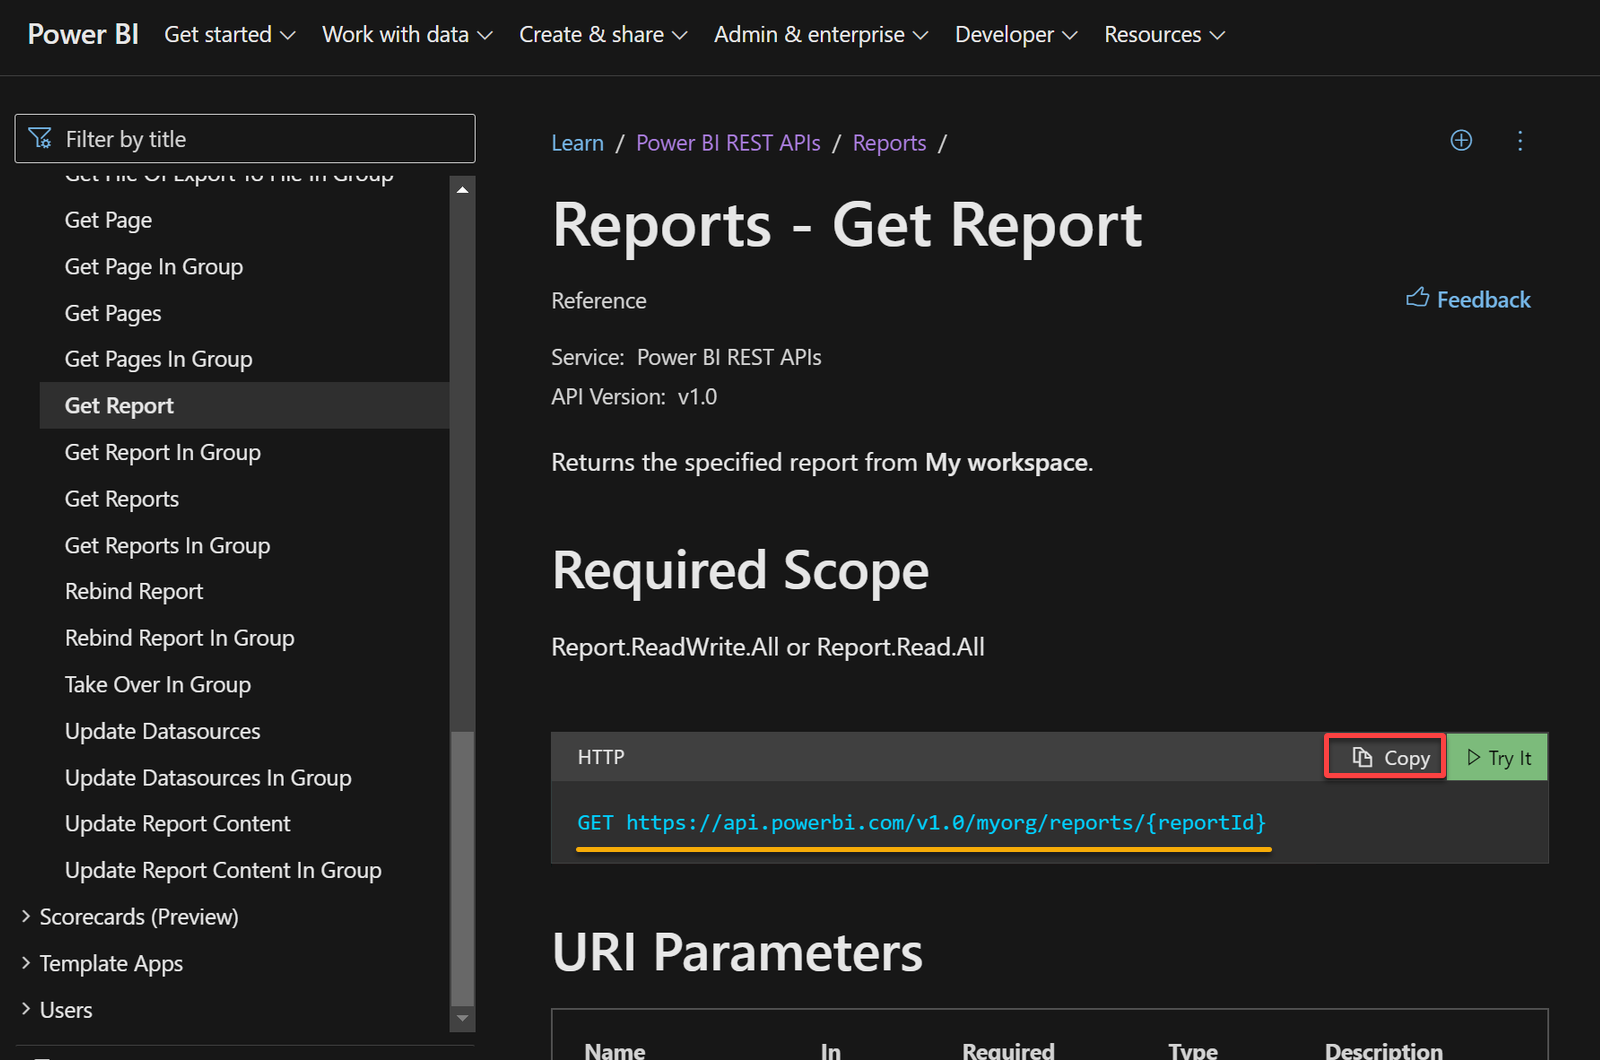
3. Navigate to Power BI REST APIs documentation of the getting list of reports.
4. Now, copy the URL to get a list of reports from your workspace.
5. In Postman, paste the URL you copied in step four, enter your access token as an authorization key, and click Send.

Connecting External Data to the Power BI Workspace
Getting data from the PowerBI workspace using Power BI REST Endpoint can be more useful if you visualize the data. You can visualize your data as you desire from a third-party API in your workspace.
In this tutorial, you will fetch data from a third-party open API, Chuck Norris Jokes API.
1. Visit Chuck Norris Jokes API documentation and copy the URL, as shown below.
https://api.chucknorris.io/jokes/random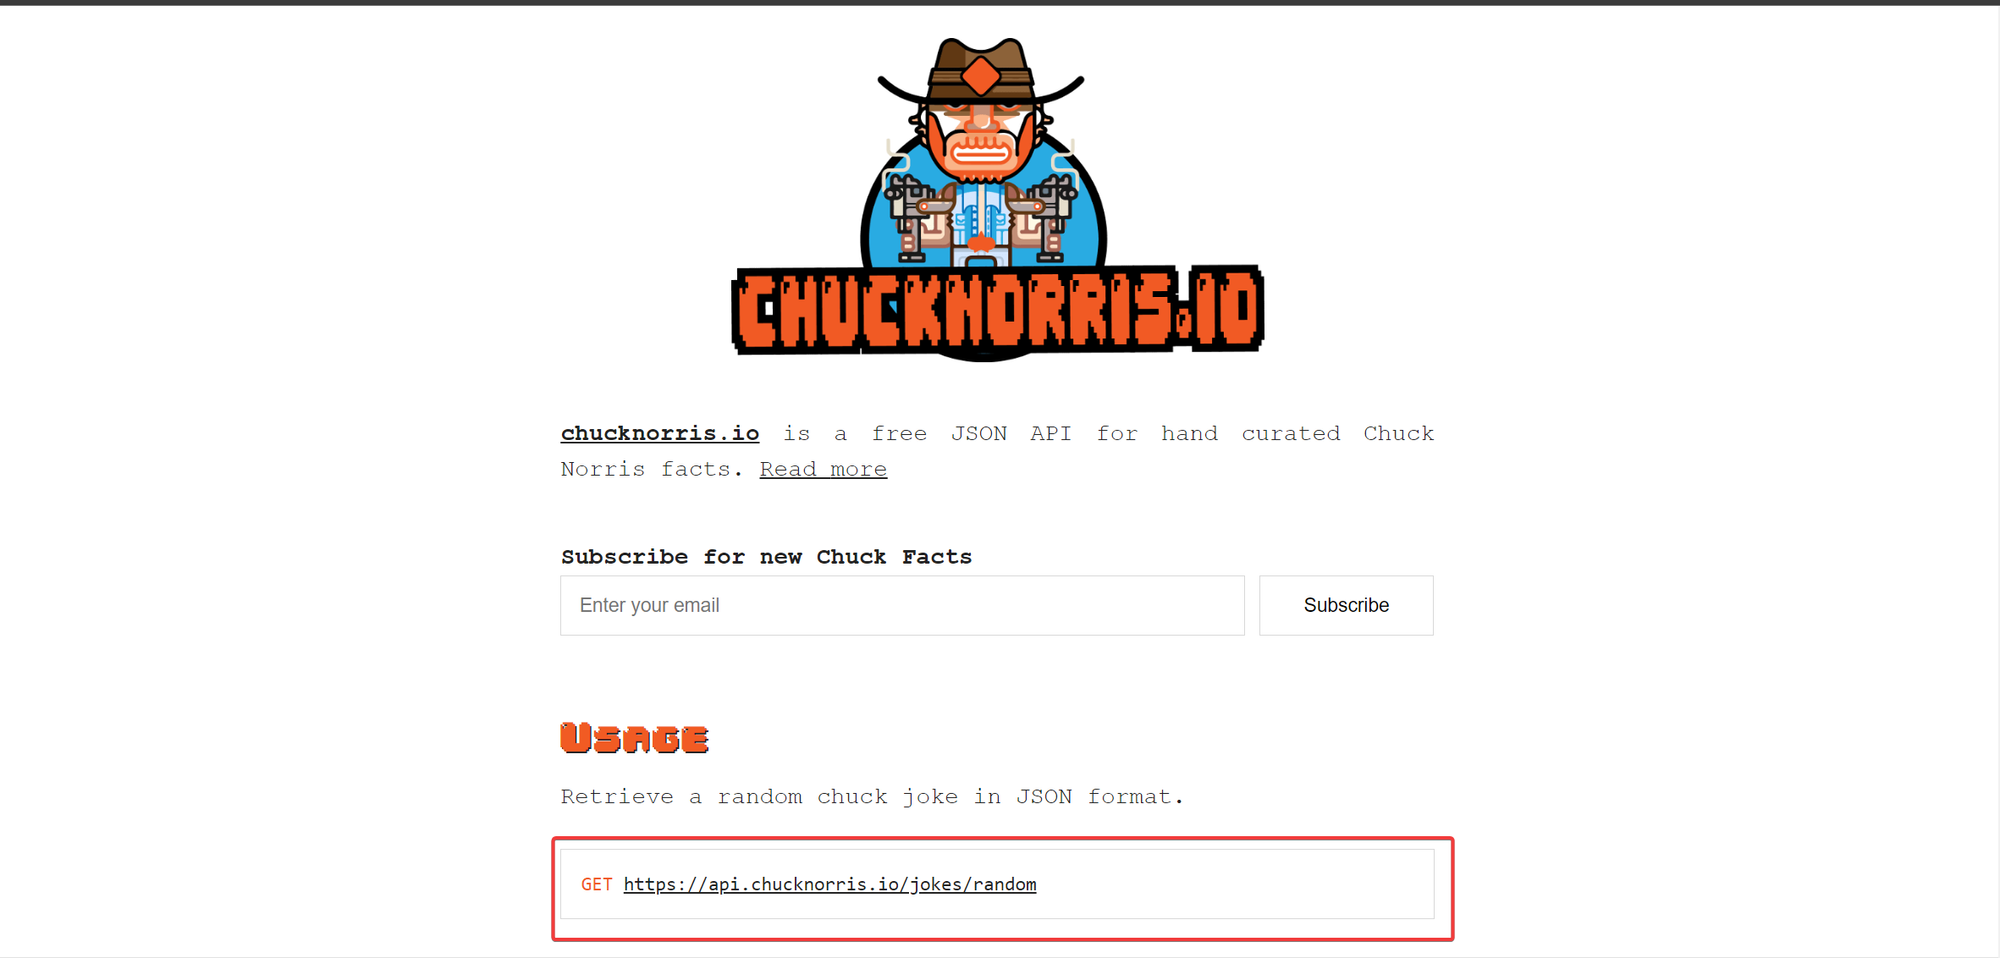
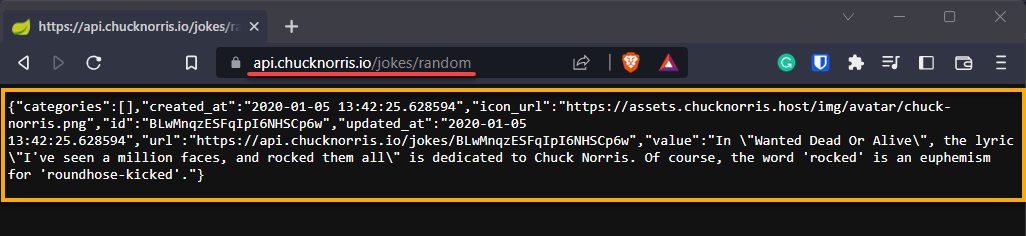
2. Next, navigate to the URL you copied in step one on your browser.
3. Launch Power BI Desktop, and open the Power Query Editor window.
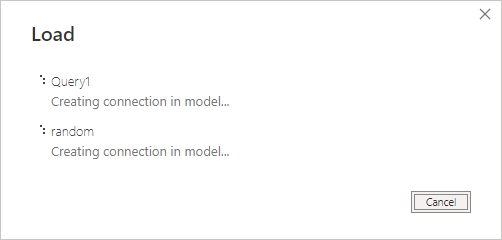
4. Now, paste the URL you copied in step one to the pop-up window, as shown below, and click OK.
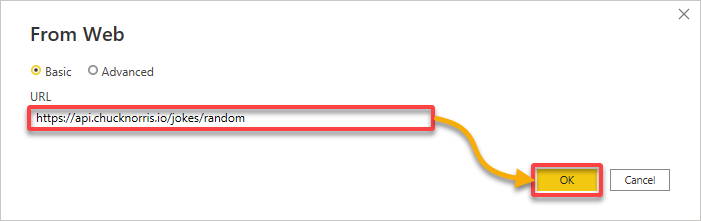
Wait for the data to load via API.
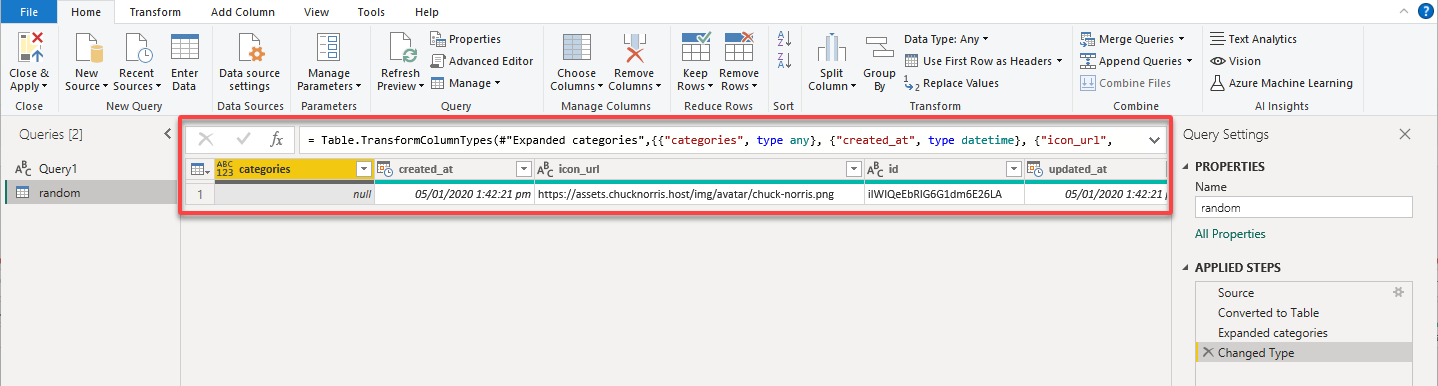
5. Once the data has loaded, ensure the data is correct.
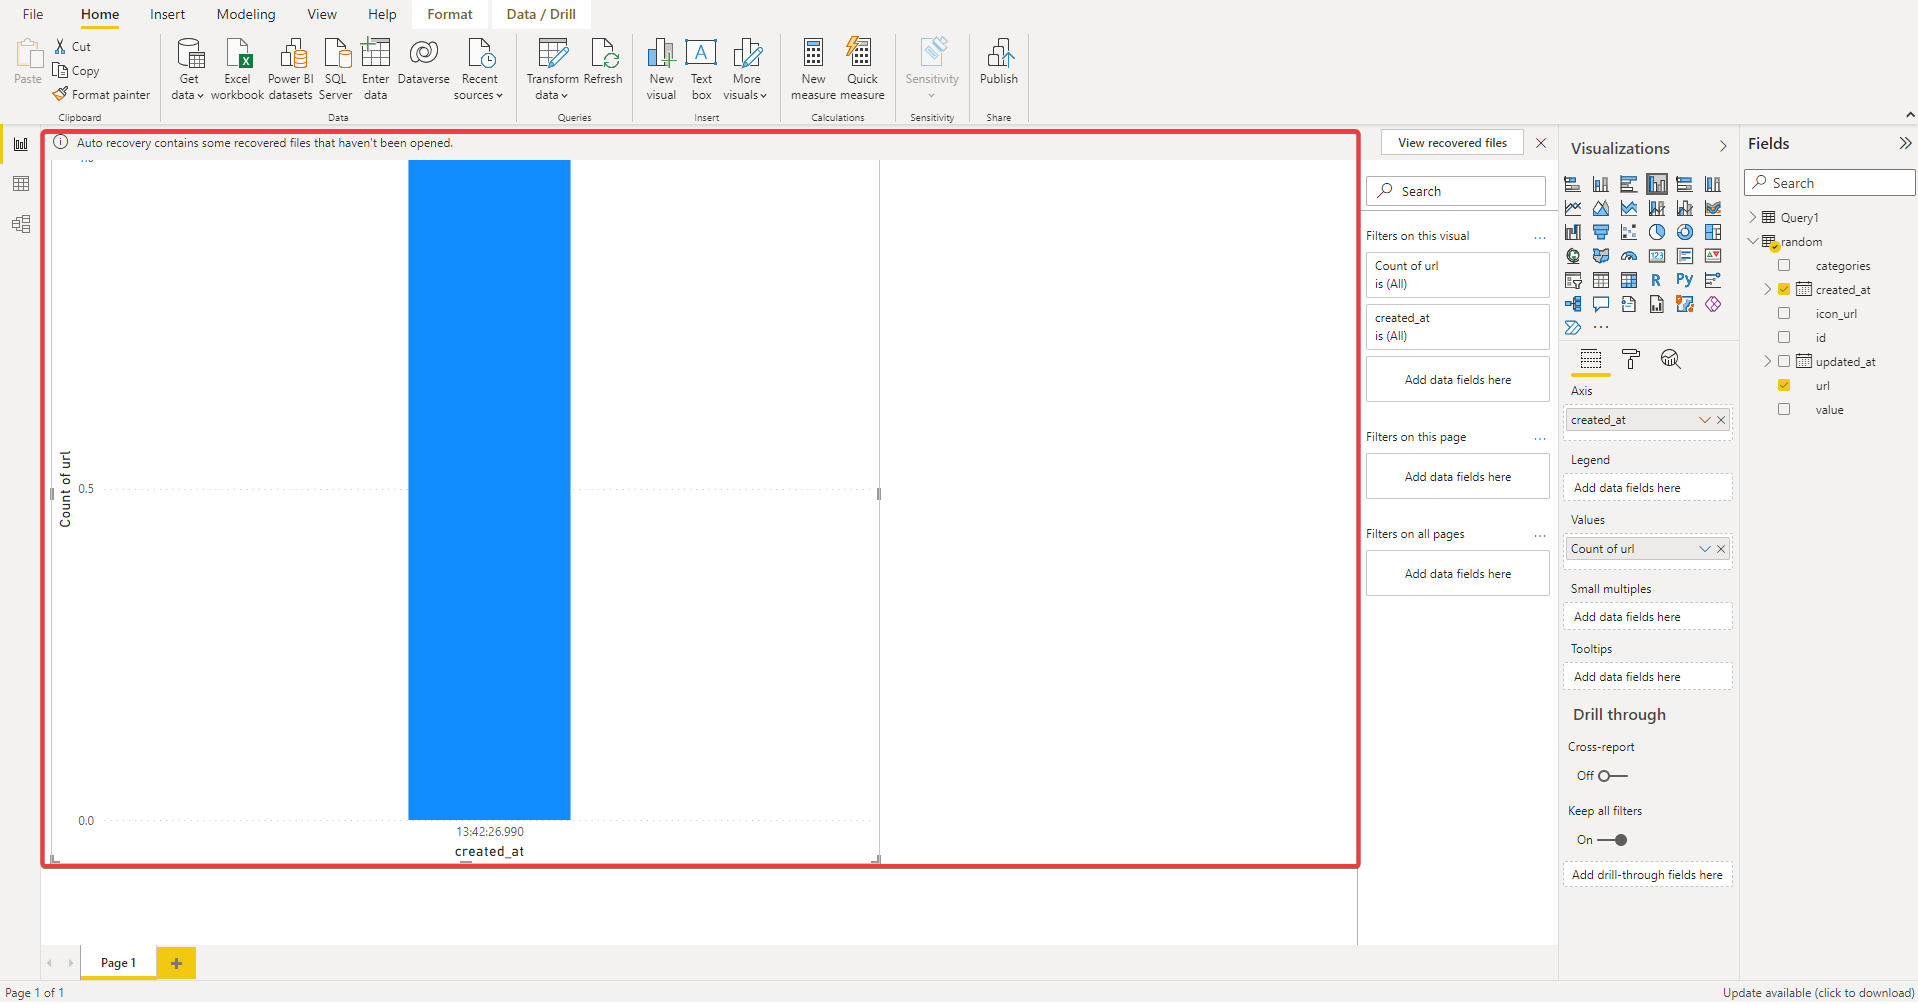
6. Finally, visualize the loaded data as you desire.
Conclusion
Throughout this tutorial, you have learned to set up a Power BI API environment where you loaded and visualized data via API in your Power BI Desktop. You have seen how Power BI API is valuable for businesses wishing to understand their data better.
With Power BI API, you can ease analyzing and visualizing large amounts of information by connecting various data sources and automating report generation. Additionally, the API’s ability to refresh data in real-time allows you to make data-driven decisions quickly and confidently.
Why not further explore the API documentation by attempting some small hands-on projects to gain experience? Take your time to learn and understand Power BI REST Endpoint. Eventually, you can unlock the full potential of Power BI and make data-driven decisions for your organization or personal projects!


