


Have you ever been frustrated with a slow-running Mac, bogged down by digital clutter? Fortunately, there is a solution — OnyX macOS, your ultimate maintenance tool!
In this tutorial, you will learn to set up OnyX on your macOS to regain that lightning-fast performance.
Dive in and rejuvenate your macOS experience with OnyX!
Prerequisites
This tutorial consists of hands-on demonstrations. To actively participate, ensure you have a Mac computer running macOS version 10.2 or later. This tutorial uses a MacBook running macOS 12 (Monterey).
Downloading and Installing OnyX macOS
A sluggish machine is never a good thing, even for a Mac. The good news is that, with OnyX, you open the doors to a faster, more efficient Mac experience.
But just like with any other software, you must install OnyX on your system before you can use it.
To download OnyX macOS, follow these steps:
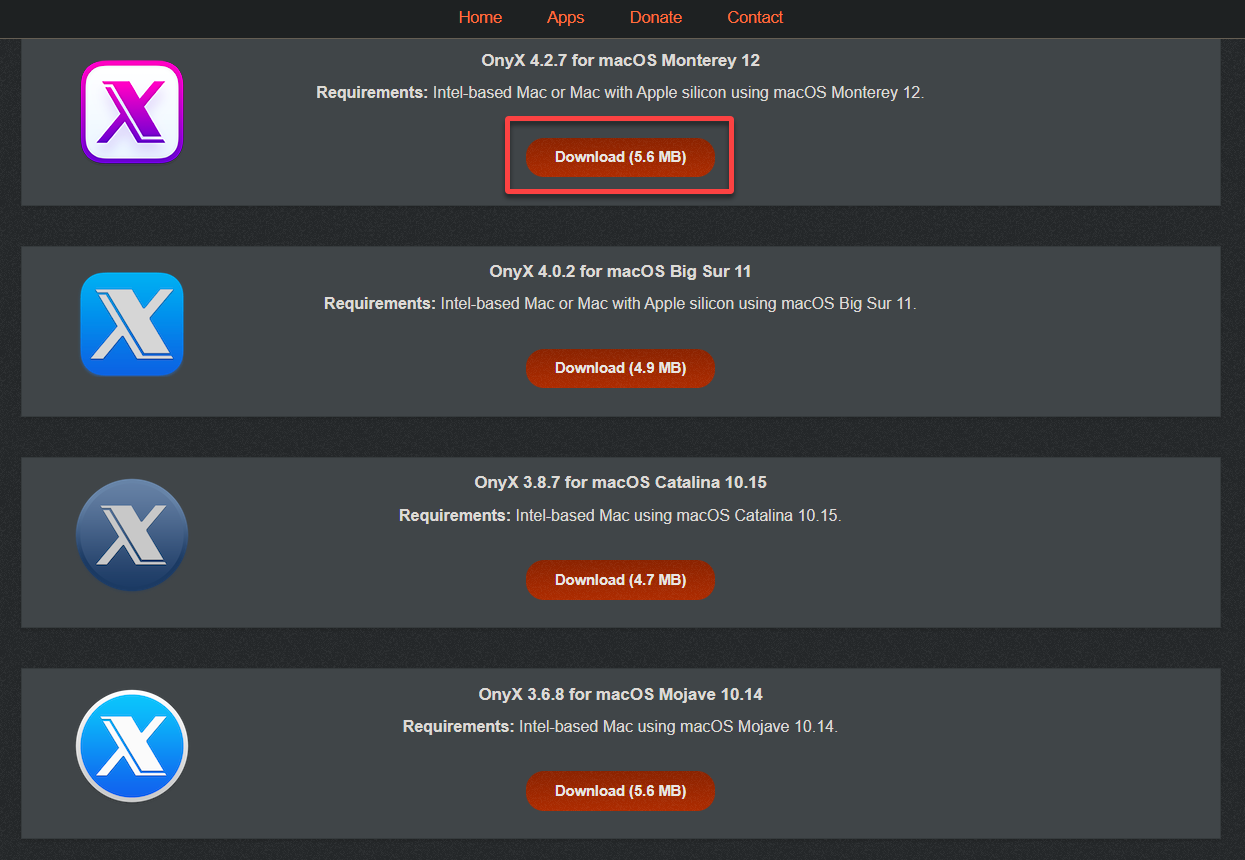
1. Open your favorite browser and visit the official OnyX website.
2. On the OnyX page, locate the compatible version of OnyX for your macOS and click the Download button to download the installer package.
3. Double-click the downloaded installer file to launch the installation wizard (step four).
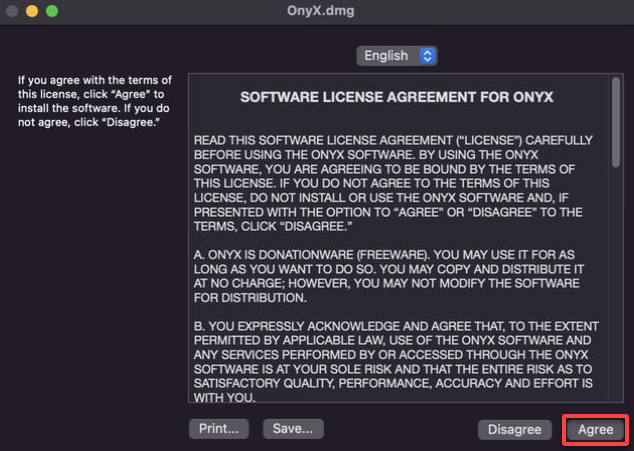
4. Now, read through the license agreement and click Agree to accept the terms.
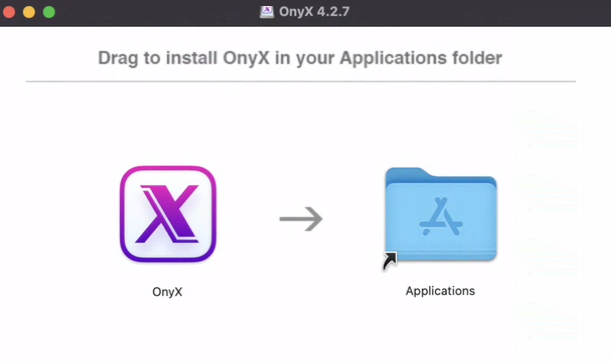
5. Drag and drop the OnyX icon into the designated Applications folder to install the application in that location. The Application folder is a common location for storing all your installed applications.
The application’s files, resources, and necessary components are copied from the installer file and placed within the Applications folder. This action makes the application accessible and ready for use.
💡 Homebrew is the package manager for macOS if you prefer to install OnyX via your terminal. Homebrew lets you quickly install OnyX with the following command.
brew install onyx
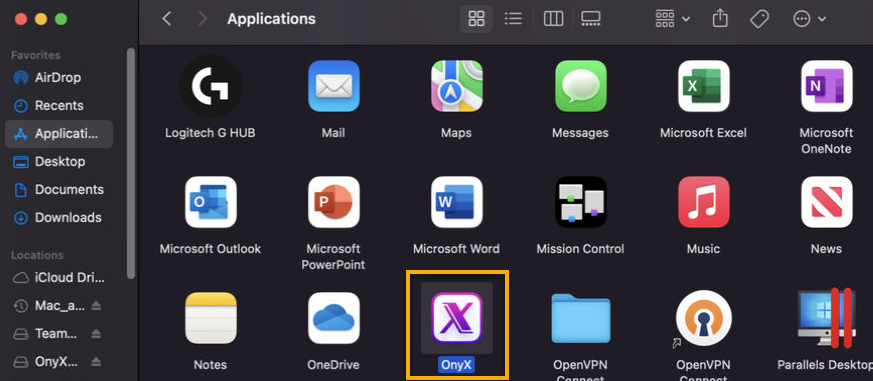
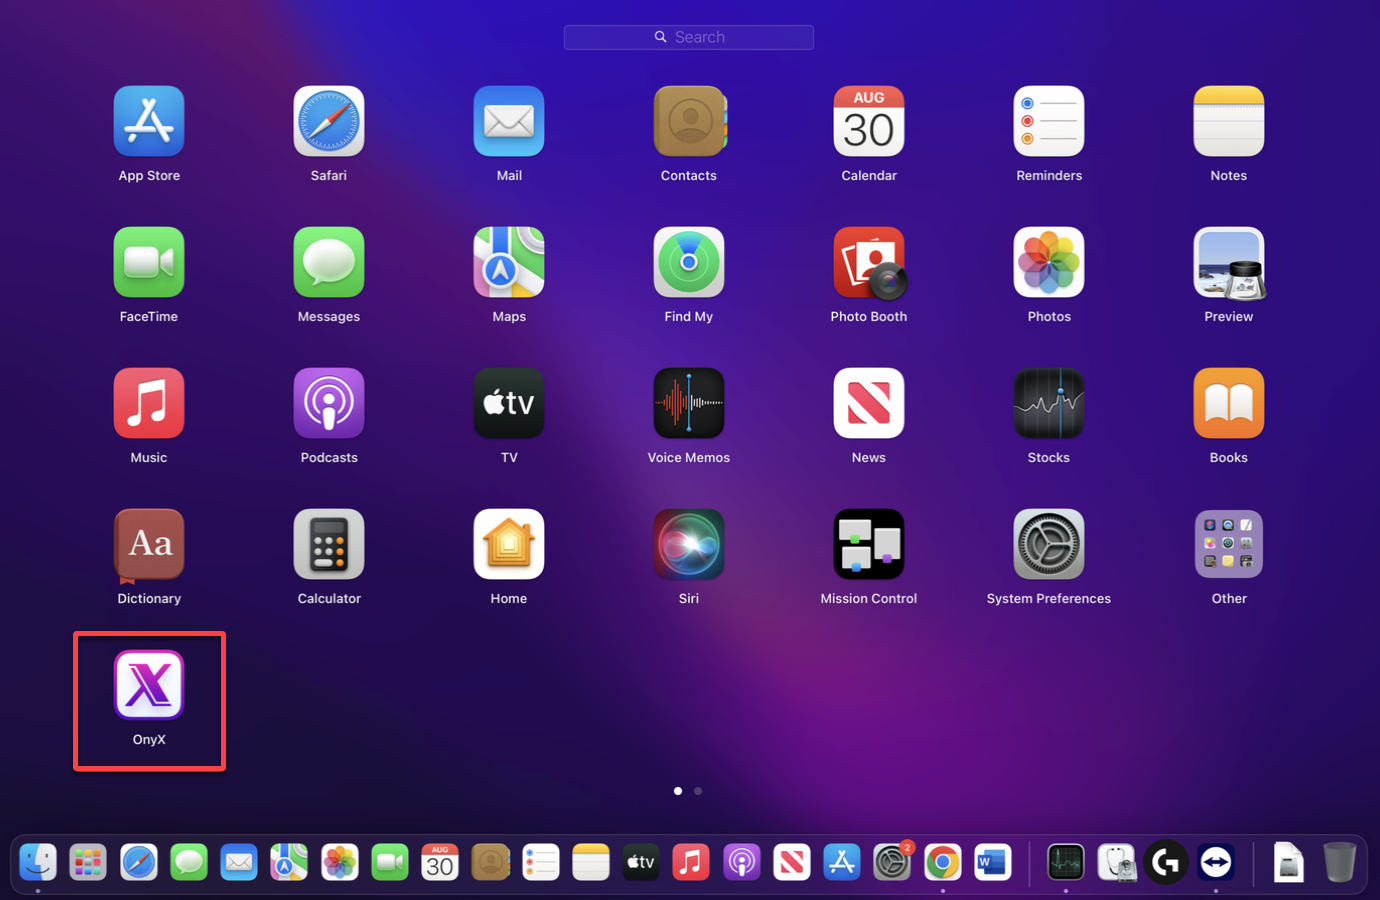
6. Navigate to the Applications folder in the file manager, and you will see OnyX has been successfully installed, as shown below.
7. In your Launchpad, double-click OnyX to open the tool.
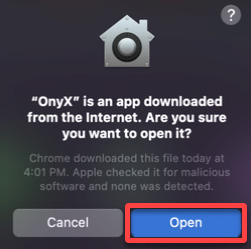
8. When prompted, click Open to confirm launching OnyX.
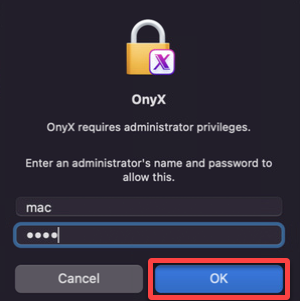
9. Lastly, provide your user credentials and click OK to authorize launching OnyX.
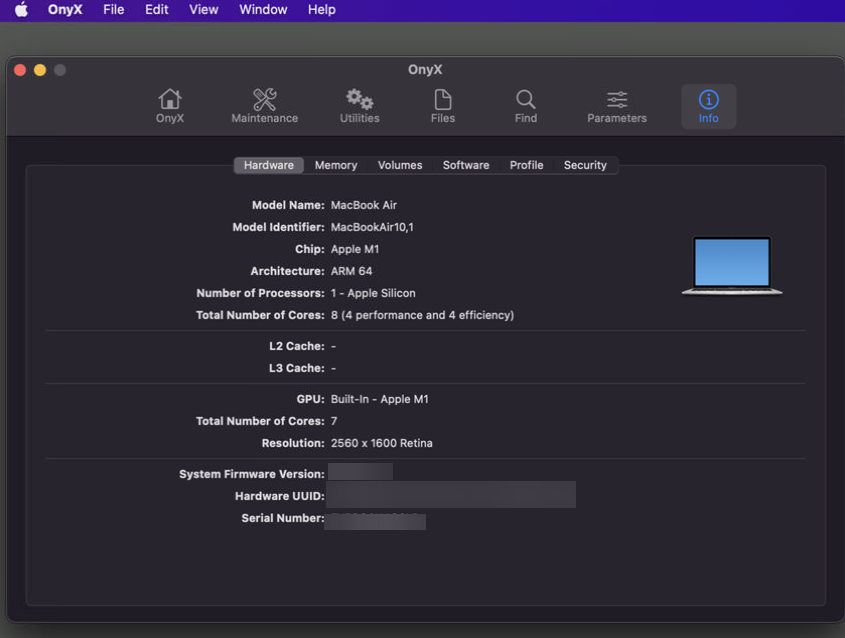
Assuming everything proceeds as expected, the OnyX main window is displayed, as illustrated below. One of the distinctive strengths of OnyX lies in its user-friendly interface, which streamlines tasks that would otherwise require intricate command-line inputs.
Now, you can start using OnyX to clean and optimize your system.
Granting Full Disk Access to OnyX
With OnyX installed on your macOS, you must ensure OnyX has access to system files, logs, caches, and other data stored across your entire disk. Venture into a crucial step of granting full disk access to OnyX.
Granting full disk access allows OnyX to dig deep into your system, optimizing and cleaning your Mac thoroughly.
To grant full disk access to OnyX on your Mac:
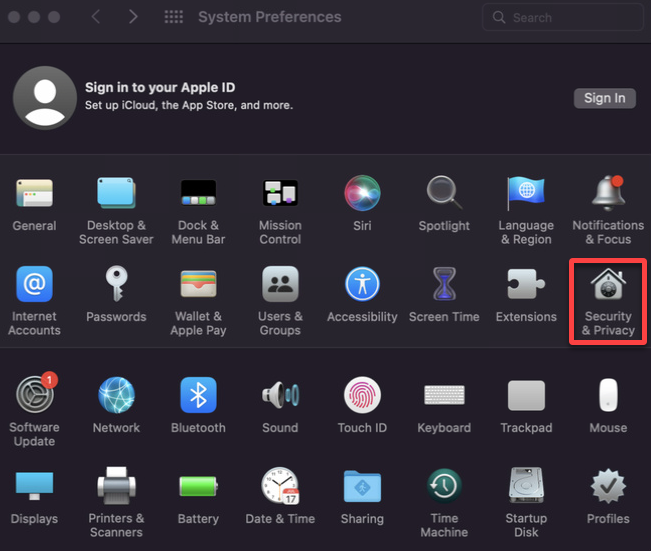
1. Navigate to System Preferences in the Apple menu, and click Security & Privacy to open the Security & Privacy settings.
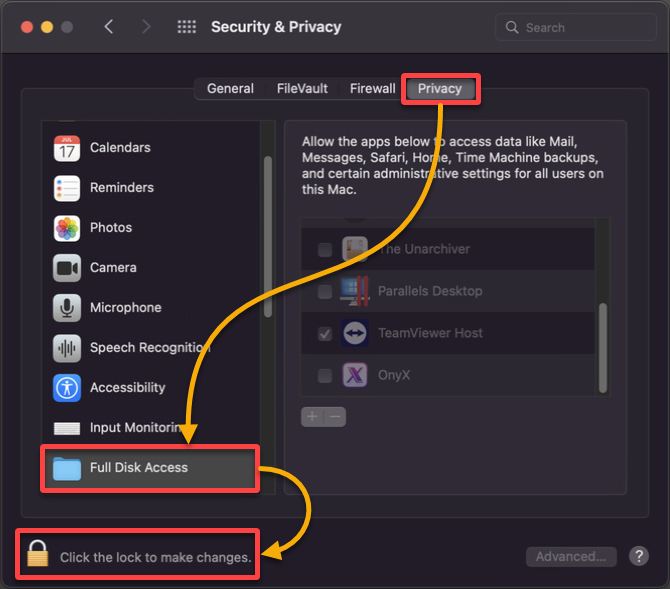
2. Next, navigate to the Privacy tab, select Full Disk Access (left panel), and click the Click the lock to make changes button, which unlocks Security & Privacy preferences.
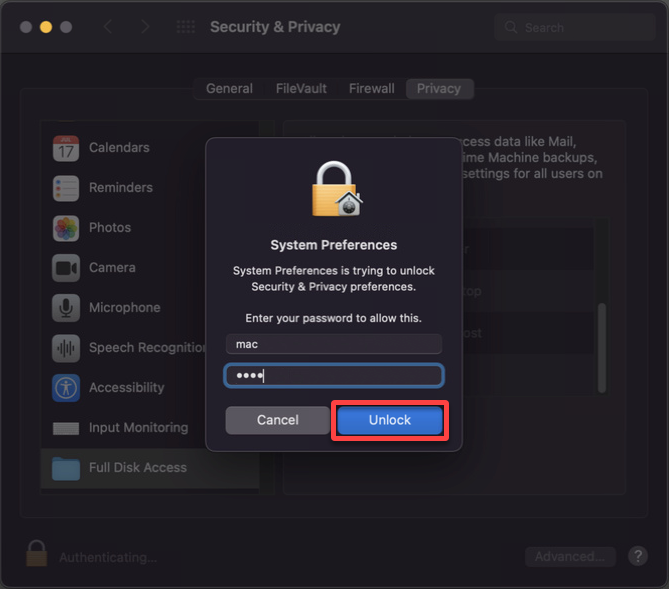
3. Provide your credentials, and click Unlock when prompted to confirm unlocking Security & Privacy preferences.
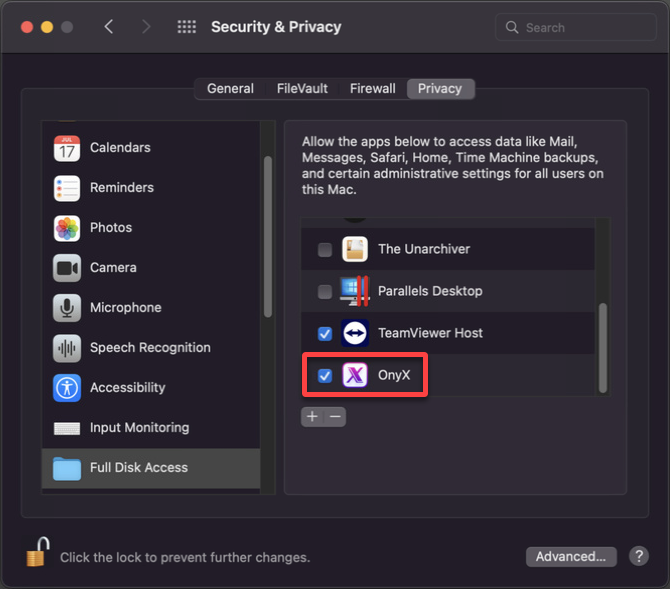
4. Finally, tick the checkbox next to OnyX in the list of apps under the Privacy tab to grant OnyX full disk access on your Mac.
Maintaining Your Mac with OnyX
After granting OnyX full disk access to your system, you can ensure your Mac runs at its best. Think of it as giving your Mac a spa day to rejuvenate its digital soul.
OnyX offers numerous activities that you can perform to maintain your Mac. But, this tutorial will focus on some of the basic maintenance tasks.
To maintain your Mac in its tip-top shape with OnyX:
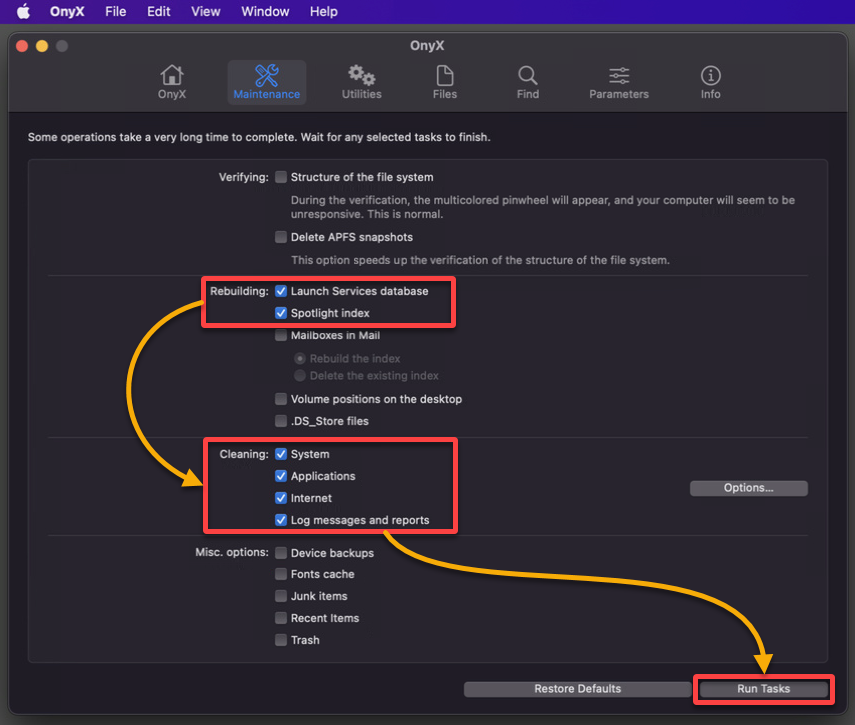
Launch OnyX, navigate to the Maintenance tab, and select the following options:
- Rebuilding – Tick the following checkboxes to declutter your system:
| Rebuilding Feature | Details |
|---|---|
| Launch Services Database | Enabling this feature rebuilds the Launch Services Database, which helps reduce the amount of clutter in your contextual menu. Contextual menus can become cluttered with unnecessary applications due to the presence of “rogue software.” |
| Spotlight Index | Enabling this option rebuilds the Spotlight Index if it becomes corrupted or slow. Spotlight is a powerful tool that allows you to quickly search for files, applications, emails, and other content on your Mac. But over time, the Spotlight index becomes outdated or corrupted. |
- Cleaning – Enable the following features (System, Application, Internet, Log messages and reports) to rid your system of unnecessary files. These files can include log messages and application caches, among others. By performing this cleanup, you can reclaim the disk space these files might have occupied.
Keep all other features at default (unless you know exactly how the other features work, and click Run Tasks to start the cleaning process.
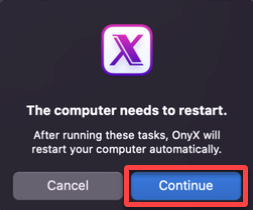
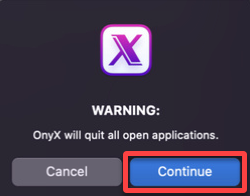
When prompted, click Continue twice to confirm the maintenance tasks.
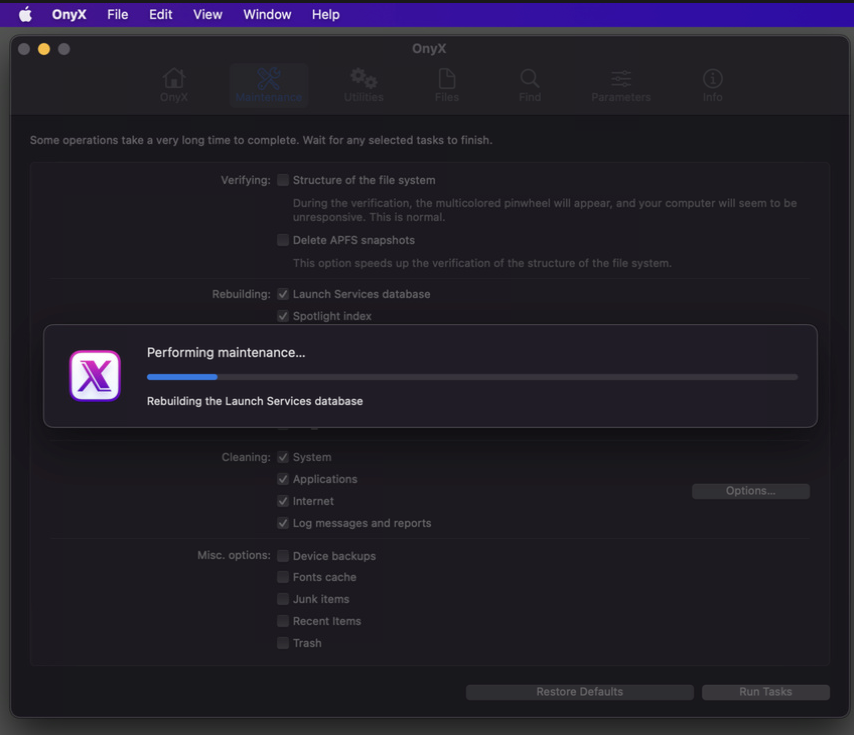
Below, the maintenance process begins, and you can now sit back and relax. After the maintenance process, you will notice a faster and more responsive system.
You will also have freed up disk space from all the unwanted logs, caches, and other unnecessary files removed during the cleaning process.
Conclusion
Throughout this tutorial, you have embarked on a journey to discover how OnyX on macOS can become your go-to tool for maintaining your Mac. OnyX is a versatile utility that empowers you to clean up clutter effortlessly, fine-tune system performance, rebuild the Spotlight Index, and perform integrity checks, among other tasks.
By incorporating OnyX into your routine, you can ensure your Mac stays in top-notch condition for years to come. But why not delve deeper into OnyX’s settings? Tailor them to your specific needs for even more precise performance enhancements!
Additionally, staying current with macOS updates and security patches is vital for the long-term health of your system. Regularly visiting Apple’s website to keep your Mac up-to-date is essential in maintaining performance and security.


