


Managing files and directories on a computer may seem relatively easy, but you should perform the task with caution. Bear in mind that one wrong move, and you can mess up your applications or, worse, your entire system. If you still haven’t found a visual file manager to help you with file management tasks, Midnight Commander is a good find and a must-keep.
You don’t find many visual file managers for the Linux terminal, but one that has been around for many years is Midnight Commander. And in this tutorial, you’ll walk through getting started with Midnight Commander and smoothly manage your files and directories.
Read on and keep your files organized with Midnight Commander!
Prerequisites
This tutorial will be a hands-on demonstration. If you’d like to follow along, be sure you have a Linux system. This tutorial uses Ubuntu 20.04 LTS, but any modern Linux distribution will work.
What is Midnight Commander?
Managing files on their Linux servers in a command-line environment may seem daunting, time-consuming, and even dangerous. Well, not until you get to know Midnight Commander. But what is Midnight Commander anyway?
Midnight Commander makes working with files in the Linux terminal much easier and faster. But what about features? Midnight Commander includes a two-panel view, drag-and-drop, built-in file viewer, and editor — all you need for file management.
Another beauty of Midnight Commander is that it’s compatible with almost all Linux Bash shells and SSH clients and lets you remotely manage files on another computer! Even better? When using Midnight Commander with an SSH client, you’ll have all the features and functions of a GUI file manager.
Installing Midnight Commander
Even though Midnight Commander is available in default repositories of most Linux distributions, Midnight Commander doesn’t come installed by default.
Before running commands to manage your files, you’ll first have to install Midnight Commander on your machine.
1. Run the apt update command below to update the local package index.
apt update -y
2. Next, run the apt install command below to install Midnight Commander (mc) on your machine.
apt install mc -y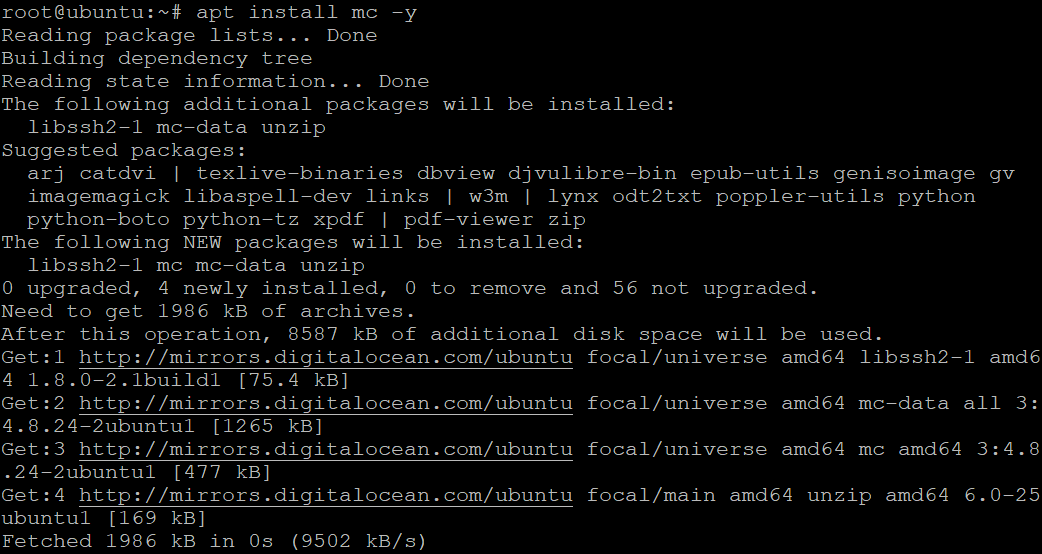
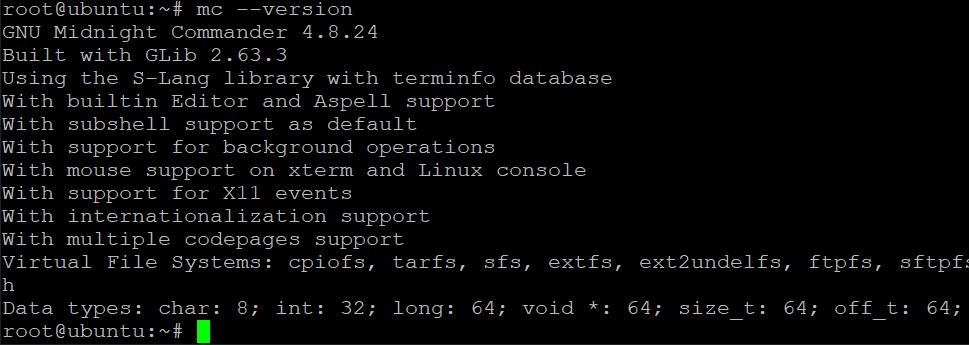
3. Finally, run the below command to verify Midnight Commander’s installed version.
mc --versionBelow, Midnight Commander’s version installed is 4.8.24, but yours may be different. This output confirms that you’ve successfully installed Midnight Commander.
Launching and Navigating Midnight Commander
After installing Midnight Commander, you might want to look around before jumping into any file manipulations. And obviously, you need to launch Midnight Commander first.
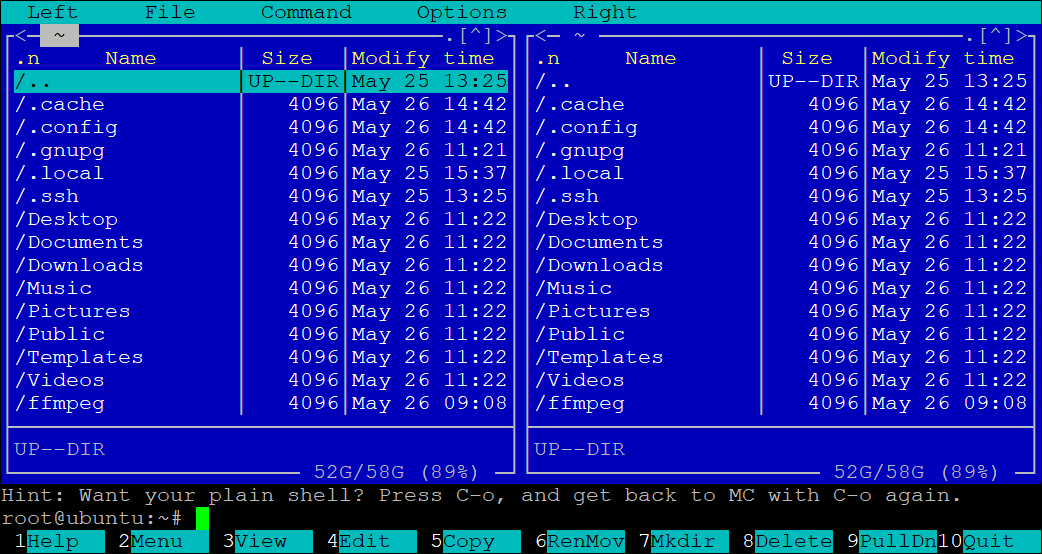
1. Run the mc command to launch Midnight Commander in your terminal.
mcYou’ll see a Textual User Interface (TUI) similar to the following in your terminal. In computing, a textual user interface relies on text commands. A TUI is usually on a command-line interface (CLI) but may also use menu-driven interfaces and other forms of input devices.
A text-based interface can be faster and more efficient than a GUI, especially for tasks performed regularly or requiring a lot of typing. These features keep text-based interfaces in use today, particularly in Unix-like operating systems.
By default, Midnight Commander uses a blue background color. The developer used this color to make the interface look like Norton Commander, a popular DOS file manager from the 1980s. But seeing too much bright colors can hurt your eyes. So why not turn it off?
2. Press F10 to quit the colored interface and return to your terminal.
3. Now, rerun the mc command below appended by –nocolor option to use a black and white color scheme for the Midnight Commander’s interface.
mc --nocolorAs you can see below, Midnight Commander’s interface is now all black and white — suits the name “Midnight.” More comfortable in the eyes, right?
The first thing you’ll notice is the two vertical panes. With either of the two panes, you can view the contents of the file system, list of files, or show a directory tree. You can use the Tab key to switch or click on either pane.
Why two panes? The two-pane layout allows you to work with two different directories simultaneously.
ư
4. Use the arrow keys to navigate up and down the directory listing in either pane, and press Enter to open the selected directory, as shown below.
5. Press the F9 key to select an item in the menu bar. Likewise, you can use your mouse to click on a menu item just like you would with any other graphical interface. Some users prefer this method as it can be faster than using the keyboard.
Below, you can see the menu item gets highlighted in black.

At this point, you can launch a program, copy or move files, search for text, change the user interface settings, and more using your left and right arrow keys to move. You can think of each menu item as a command in Midnight Commander.
6. Lastly, press the Left or Right arrow keys to highlight any menu items and press the Down arrow key to open the sub-menu. But if you click on the menu item, the sub-menu opens up right away.

Viewing and Editing Files
You’re now familiar with navigating Midnight Commander’s interface. So now it’s time to apply what you learned to work with managing files. For a start, you’ll view and edit a sample text file.
1. Run the below command at the Midnight Commander’s subshell (bottom). This command doesn’t provide output but creates a test.txt file in your working directory. You’ll use this file to test the menu items.
echo 'Hello from CLI' > test.txt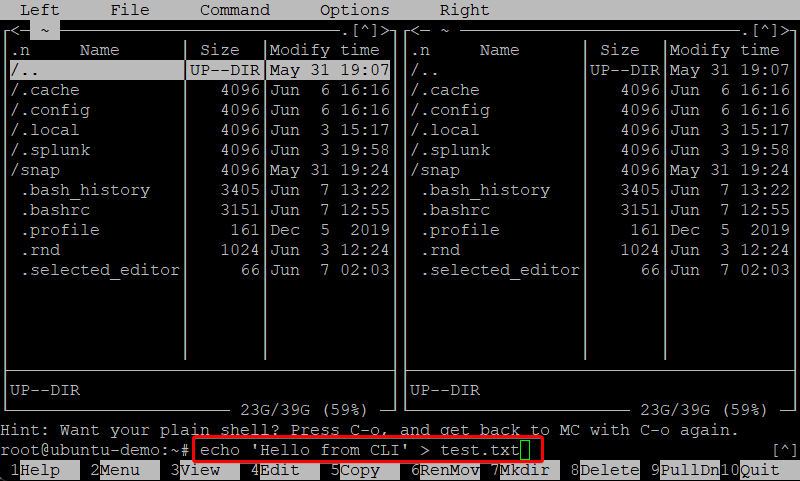
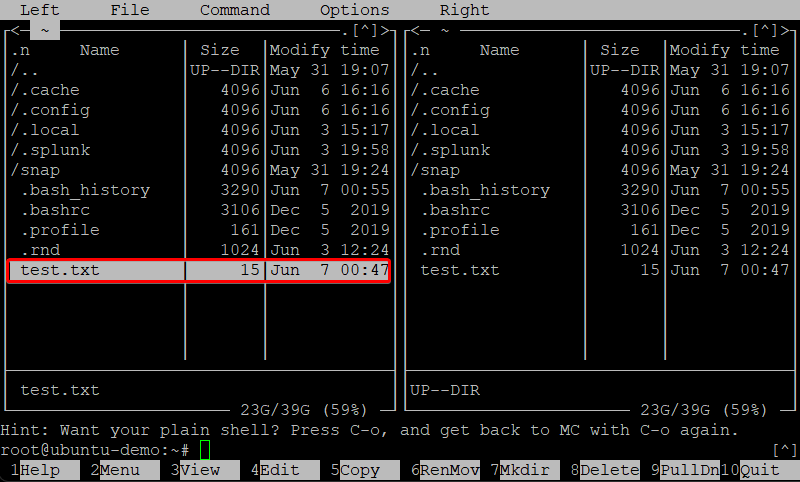
2. Next, navigate back to Midnight Commander, and you’ll see the newly-created file (test.txt).
3. Open your newly-created file in any of the two ways below:
- Using your mouse, click on the test.txt file —> File menu —> View.
- Using your keyboard, press the down arrow or up arrow keys to highlight the test.txt file and press F3. A text viewer will open the contents of the file.
4. Now, press the Q key to exit the text viewer, select the file again and press F4 this time to edit the file, and Midnight Commander opens your file in your default text editor.
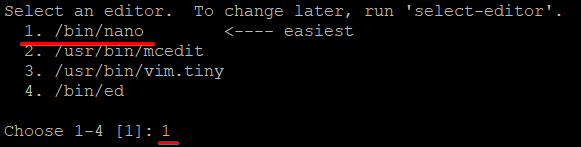
If you don’t have a default text editor set up, you’ll be asked to choose one the first time you try to edit a file, as shown below. But this tutorial uses the nano text editor (1).
5. Make any changes as you like in your text editor, save the file, and close the editor.
6. Finally, select your file again, press F3 to see if the changes you made reflect on the file, and press F10 to exit from Midnight Commander.

Managing Files and Directories
Opening and editing files are not all you can do with Midnight Commander but also managing files and directories. You’ll copy, move, delete, and create files and directories for this tutorial to see how the process works in Midnight Commander.
1. Run the following command on your terminal to open the /tmp directory in both panes of Midnight Commander (mc).
cd /tmp && mc --nocolor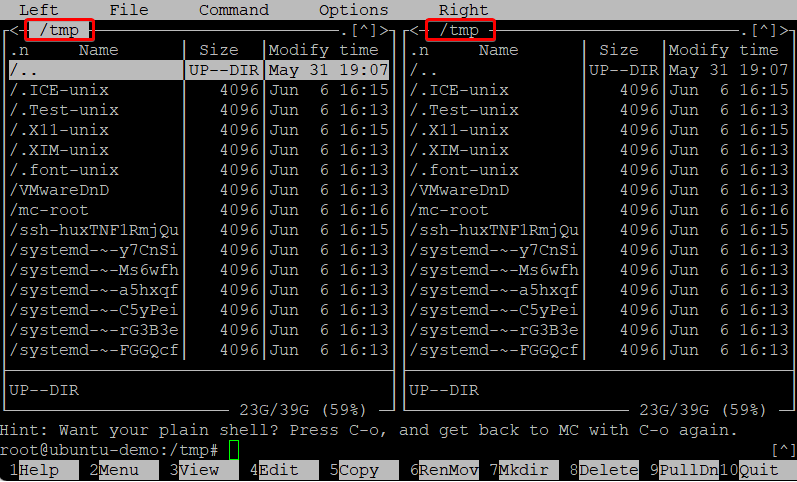
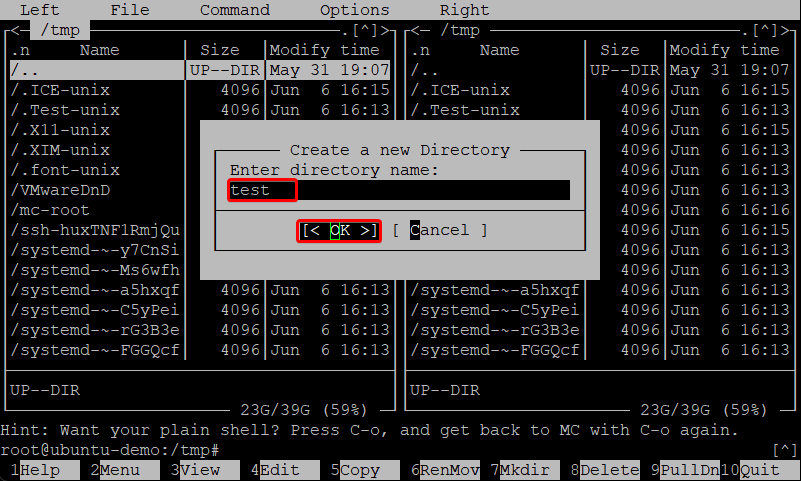
2. Next, press F7, enter a name directory name, and press Enter to create a new directory. For this tutorial, the new directory is called test.
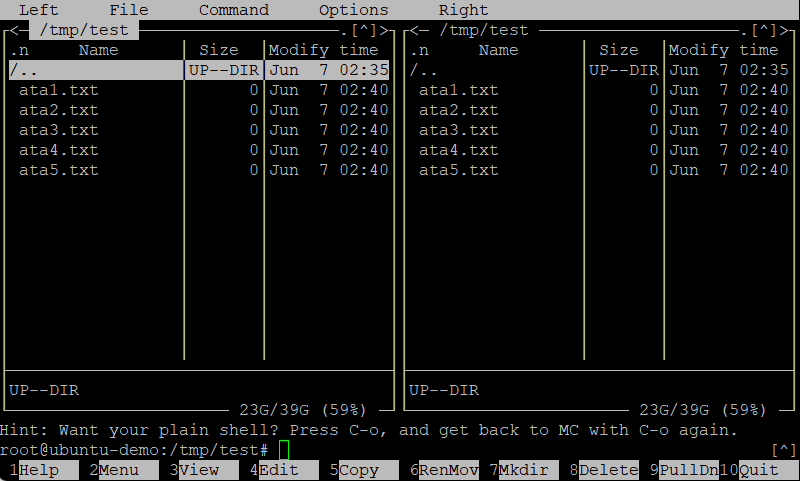
3. Run the following commands while in the Midnight Commander’s prompt, as shown below, to create text files (ata{1..5}.txt) inside the test directory.
cd test
touch ata{1..5}.txt
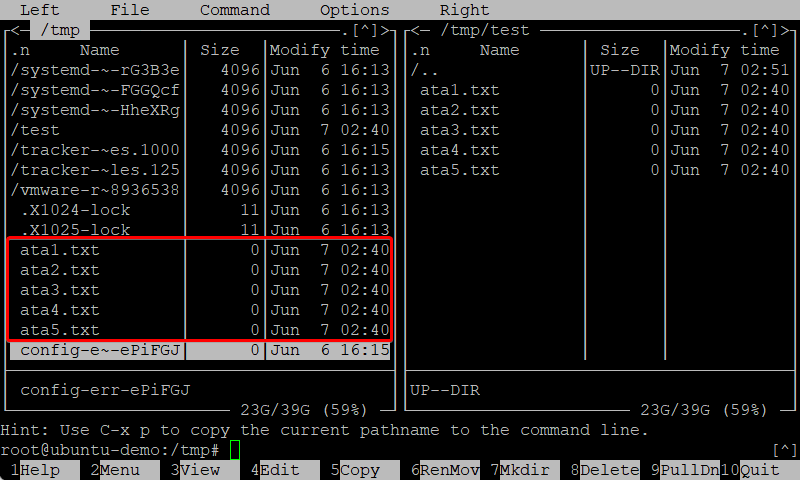
Below, you can see the newly-created files in the /tmp/test directory.
4. Click on the ata1.txt file with your mouse, and press the Insert key five times (depending on how many files you’ll copy) to select all the text files.
Press F5, enter the destination directory, in this case, the /tmp directory, and press Enter to copy the text files you selected.
5. Finally, click on the back button (top-left) to navigate the /tmp directory.
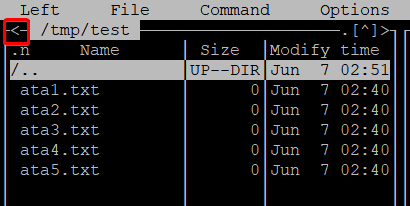
Below, you can see the text files you copied from the /tmp/test to the /tmp directory.
Performing Time-Saving Tricks
You’ve learned the basics of managing files in Midnight Commander, but it’s never too much to invest for more time-saving tricks up your sleeves.
Perhaps you’re at the bottom of a directory tree, and you want to go up one level (the parent directory). Typically, you’d scroll to the top of the file listing until you meet the /.. entry and press Enter. This process works but can be tedious if you have many files in the current directory.
Enable the Lynx-like motion option to instantly navigate back to the parent directory — smooth, huh? This option is a special feature in Midnight Commander that simulates how the Lynx web browser moves around web pages. You’ll set the left (back) and right (forward) arrow keys to move up and down the directory tree.
1. Enable the Lynx-like motion option with the following:
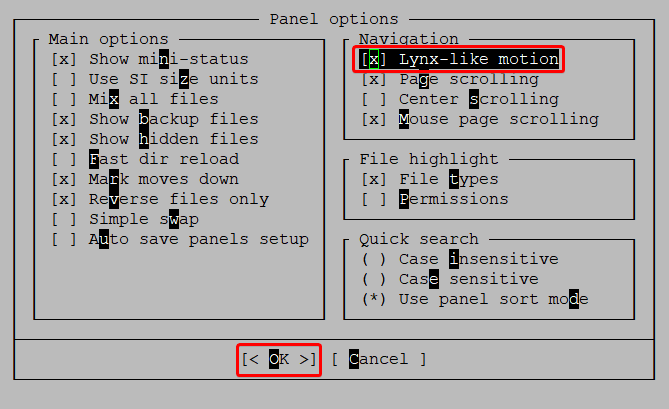
- Press F9, followed by O and P keys which translates to accessing —> Options —> Panel options menu.
- Use your arrow keys to select the Lynx-like motion option on the Panel options window, and press the Space key to enable the option.
Or tick the box in front of the Lynx-like motion option to enable it.
- Press Enter to save the changes.
2. Next, highlight a directory, press the Right key to access that directory, and then press the Left key to navigate back to the previous directory. Makes your life easier.
3. Highlight a compressed file, and press Enter to view the compressed file’s contents. This shortcut lets you quickly view the contents of a compressed file without extracting anything.
4. Finally, press the Ctrl+Space keys to quickly know the size of all directories in the current directory. This feature can be useful when you want to see how much space a directory is taking up on your hard drive.
Conclusion
In this tutorial, you’ve learned to navigate the Midnight Commander and the basics of managing files and directories on your system. You’ve learned some time-saving tricks, and even if they look so basic, small tricks still have a big impact in the long run.
GUIs truly look pretty and all, but Midnight Commander can still keep up with the demands of file management with speed and simplicity.
To level up your newfound knowledge, why not try changing permissions or owners of files and directories with Midnight Commander? Or perhaps, create symbolic links (symlinks)?


