


Github Actions are a way of automating processes related to the code in your repositories, from contributions to building and deployment. The problem with such automation is that secret data often needs to be stored somewhere to keep the wheels of automation turning. Need a way to secure data? GitHub Actions Secrets is the way!
GitHub Action Secrets keeps sensitive data encrypted and away from your not-so-sensitive code, allowing you to automate with peace of mind.
Read on, and explore GitHub Action Secrets while you securely automate the building and pushing of a Docker image!
Prerequisites
This tutorial will be a hands-on demonstration. If you’d like to follow along, be sure you have the following:
- A GitHub account and a repository – This tutorial uses a public repo named ATA_Pub.
- A Docker Hub account and a repository for hosting built container images – This tutorial uses a repository named oddjobsinc/ata-repo.
Creating GitHub Action Secrets
Securing sensitive information, like credentials, must always be a top priority. But how exactly do you secure them? By creating secrets, you secure your workflow and keep your secrets away from prying eyes.
To secure your workflow with GitHub action secrets:
1. Open your favorite web browser, log in to GitHub and navigate to your repository.
2. Next, click Settings on your repository homepage to access the repository settings.
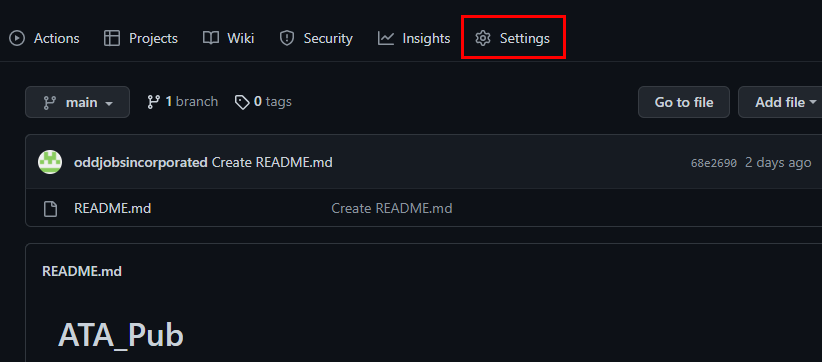
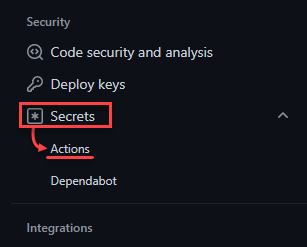
3. Select the Secrets dropdown menu (left panel) under the Security section, and choose Actions. Doing so opens the Action secrets page, where you can create a new secret.
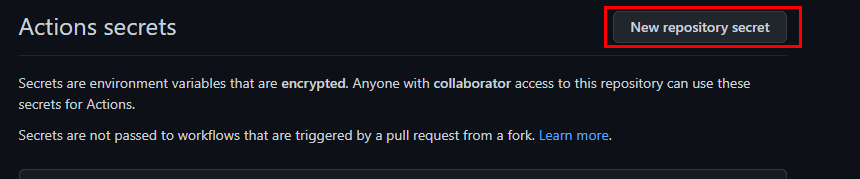
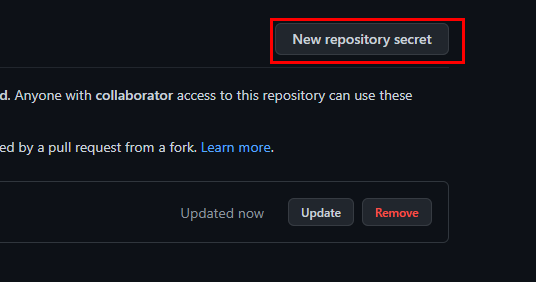
4. Now, click New repository secret to create a secret that will be used for Actions on your GitHub repository, which is ATA_Pub, in this case.
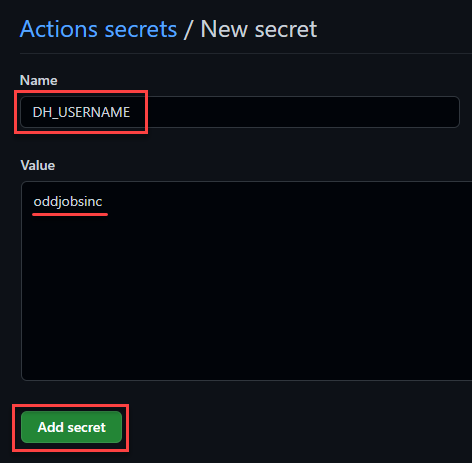
5. Configure an action secret for the Docker Hub username with the following:
- Name – Set a secret name for the Docker Hub username. But this tutorial’s choice is DH_USERNAME.
- Value – Provide your Docker Hub account’s username.
- Click Add secret to finalize creating the secret.
6. Click New repository secret again to create another secret for the Docker Hub password.
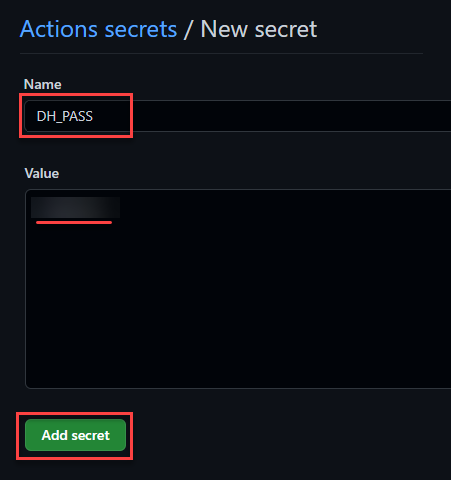
7. Lastly, configure the new secret for your Docker Hub password:
- Name – Specify a secret name for your Docker Hub password (DH_PASS).
- Value – Provide your Docker Hub password.
- Click on Add secret to create the secret.
Creating Secrets For an Environment
You’ve just created secrets for GitHub actions, but how about secrets for your environments? Environment secrets help secure automation related to specific deployment environments.
Environments are only available for public repositories and can be protected as follows:
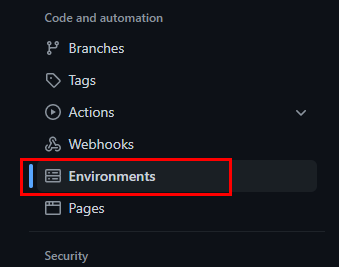
1. Click Environments (left panel) on your repository’s settings page to list the environments available to your repository.
2. Next, click New environment to initiate creating an environment.

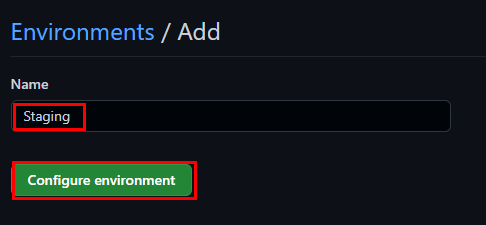
3. Name the environment you prefer, and click Configure environment to configure a new one.
This tutorial uses Staging as the environment name.
4. Now, click Add Secret under the Environment secrets section to create a secret for this new environment.
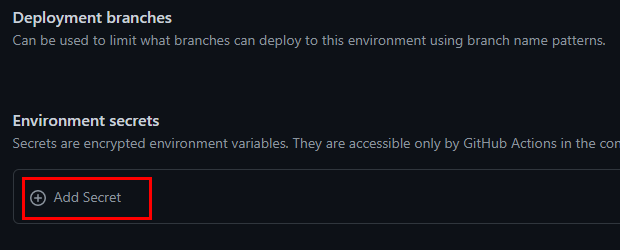
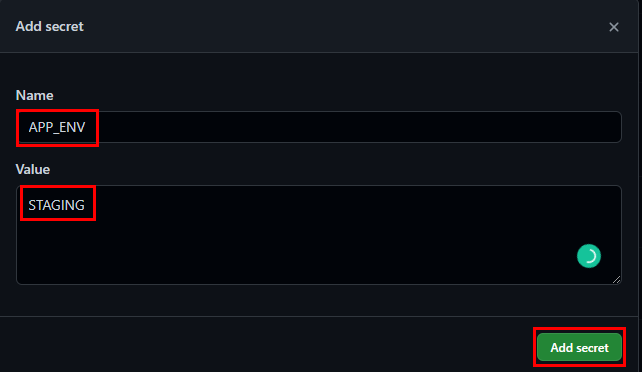
5. Provide appropriate values for the Name and Value fields of the secret, and click Add secret to save the new secret. Secrets don’t always have to contain sensitive data, though they are always encrypted.
For instance, the build your Action was automating was configured based on the value of an environment variable. If so, you can create an environment secret named APP_ENV that will have the value STAGING only when the app is built in the Staging environment.
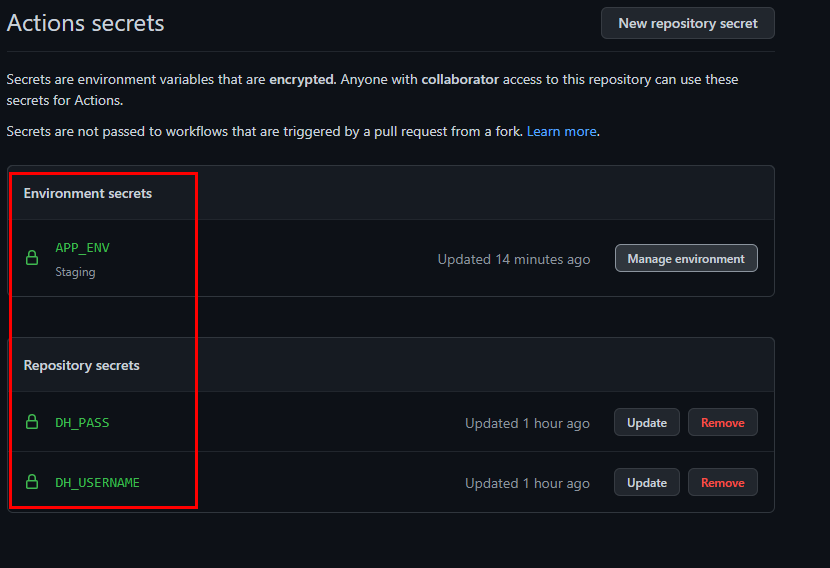
6.Lastly, navigate the Actions page to see the list of available secrets.

You should now see a list of secrets your actions can access, as shown below.
Creating a GitHub Action Workflow
Whether you aim to secure sensitive information or an environment, you already know how to by creating secrets. But this time, you’ll put those secrets to the test and see how they work with GitHub action workflow. A workflow is a compilation of jobs (configurable automated process) defined in a YAML file.
To create a GitHub action workflow:
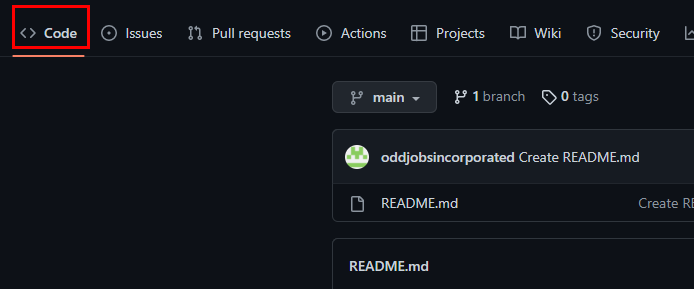
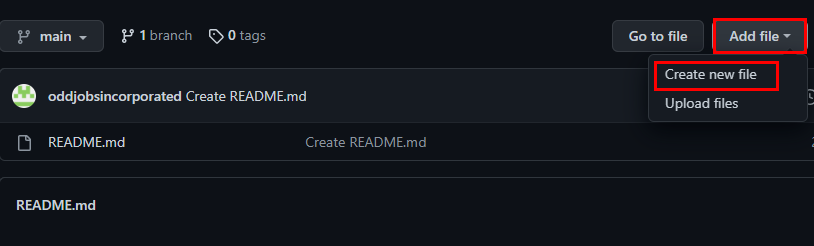
1. Select the Code tab on your repository page to access the files in the repository (ATA_Pub), as shown below.
2. Next, click the Add file dropdown button → Create new file to initiate adding a new workflow YAML file to the repository.
3. Add the following code snippet into the new file to create a workflow with a login-action. GitHub allows you to specify placeholders for your secrets so you do not have to risk exposing the actual values in your workflow files.
The code below builds an image defined by a Dockerfile in your repository. Take note of the tags directive, which will be used to identify the images built by this workflow.
name: build custom python container

# Run the job in this workflow when commits are pushed to the main branch
on:
  push:
    branches:
      - 'main'

jobs:
  # Build and push a container on an ubuntu runner
  build-push:
    runs-on: ubuntu-latest
    steps:
      -
        # Check out the code with the latest version of the Dockerfile
        name: Checkout
        uses: actions/checkout@v3
      -
        # Login to DockerHub with your secrets
        name: Login to DockerHub
        uses: docker/login-action@v2
        with:
          username: ${{ secrets.DH_USERNAME }}  # Placeholder for the login username on DockerHub
          password: ${{ secrets.DH_PASS }}      # Placeholder for the login password on Dockerhub
      -
        # Build and push the resulting image to the repo {{Docker-ID/repo-name}} on DockerHub automatically
        name: Build and push
        uses: docker/build-push-action@v3
        with:
          push: true
          tags: oddjobsinc/ata-repo:mypython-v1
4. Now, provide a name for your workflow file, which should be in the /.github/workflows/ directory. This tutorial uses workflow.yml for the workflow filename.
You can type the full path into the filename field, and GitHub formats the path accordingly, as shown below.

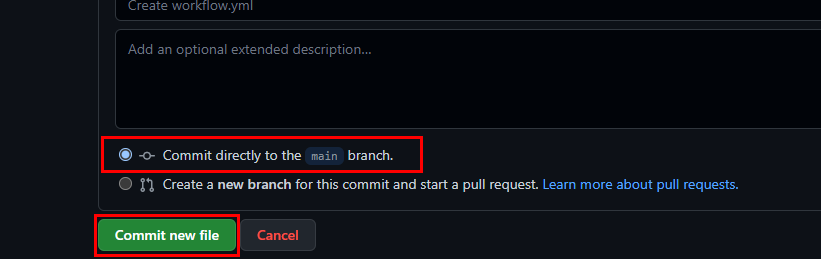
5. Finally, click Commit new file to commit the workflow.yml file directly to your main branch.
Creating a Dockerfile for Automated Building
You’ve just created your workflow, but you still need to specify the contents of the image that the Action will build and push. So you’ll create a Dockerfile for automated building.
1. Create a new file that will serve as the Dockerfile in your repository.

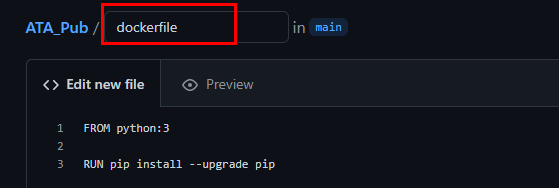
2. Next, add the following code to the file, which contains instructions to create an image from the official python 3 image and upgrade the pip tool to the latest version.
FROM python:3

RUN pip install --upgrade pip
3. Name the file as dockerfile in the main branch, as shown below.
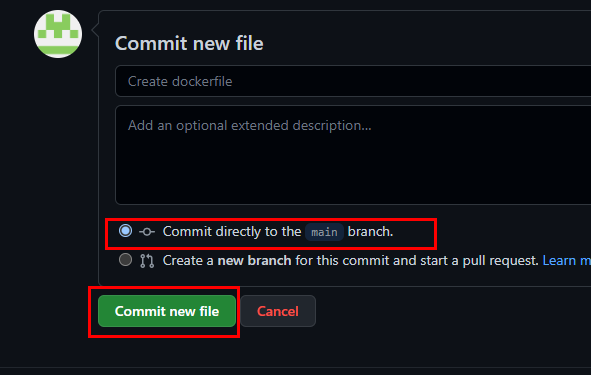
4. Now, leave the default commit message unchanged, and click Commit new file to commit the file to the main branch.
Monitoring the Running GitHub Workflows
With all the resources in place, you must monitor the progress of an automatic Action. Monitoring workflows lets you see what works and what doesn’t in your workflow. This feature is a big help in debugging a failed workflow.
To monitor running GitHub workflows:
1. Select the Actions tab to see a list of available workflows in your repository.
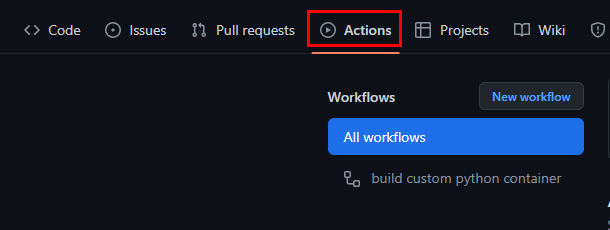
You’ll see a list of Action runs for All workflows like in the screenshot below.
Each run is named after the commit message that triggered the run. You’ll also see an amber spinner indicating the Action triggered by committing to the main branch is still running.
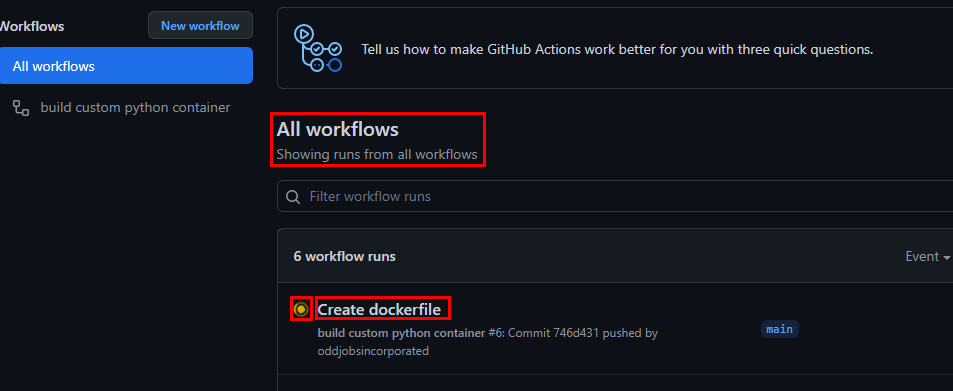
The Action is designed to run automatically on every push to the main branch. With that behavior, committing the Dockerfile with the web GitHub interface in the previous section should trigger the Action.
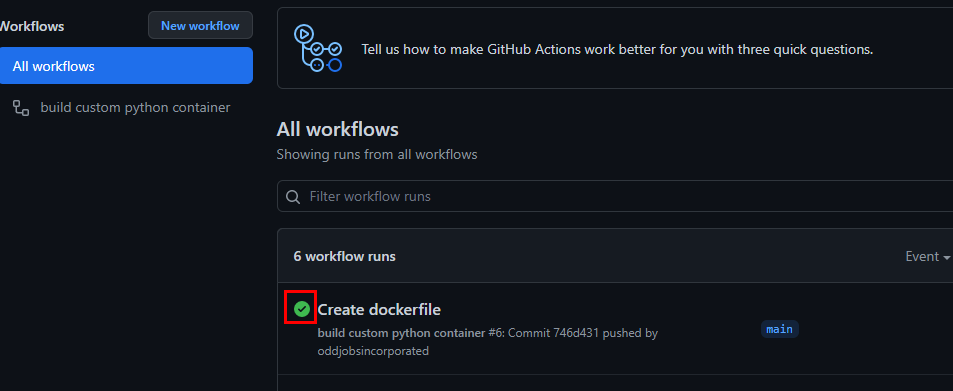
After a while, the progress symbol turns green, as shown below, or red, indicating the result of the Action run. In this case, the run was successful, and you can expect to find a container image in your DockerHub repository.
2. Open the Docker Hub repository at https://hub.docker.com/repository/docker/<docker-id>/<repo-name> in a new tab to confirm the automated build and push was successful.
Be sure to replace <docker id> and <repo-name> with your actual Docker ID and repository name. But for this tutorial, the complete URL is https://hub.docker.com/repository/docker/oddjobsinc/ata-repo.
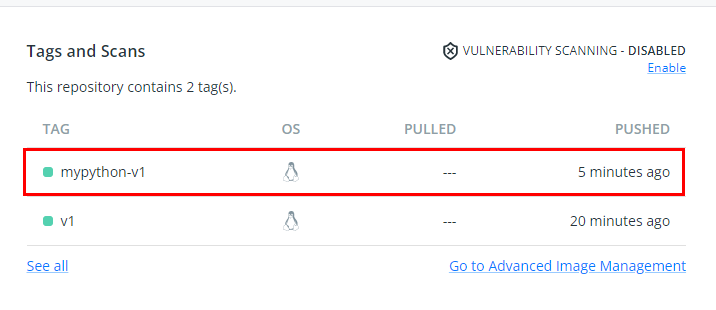
3. Now, scroll to the Tags and Scans section to see a list of all images in your repository.
Below, you can see the tag mypython-v1, the latest image pushed to the repository.
Viewing Logs for Encrypted Secrets
You now have a successful automated action without exposing sensitive data in your code. But what happens when the Action is logged? No worries! Your secrets are all encrypted. It’s time to view GitHub Action Secrets in the logs and see if what’s being logged is genuinely encrypted.
To view the logs for encrypted secrets:
- Click the workflow run you are interested in from the list under the Actions tab to view further details about it. In this case, select Create dockerfile, as shown below

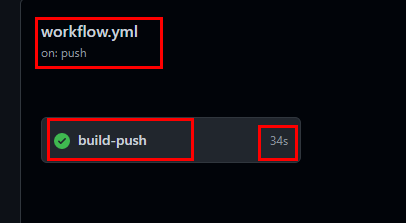
2. Next, select the job name to bring up a summary of the steps taken to execute the job. In this tutorial, the job name is build-push.
GitHub also gives relevant information about the job, such as:
- How long did the job completion take?
- Where can the job definition be found?
- What event triggers the job?
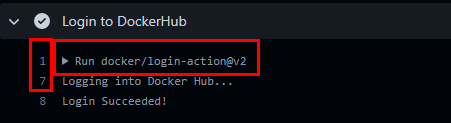
3. Select Login to DockerHub for a list of related log entries for the login step. But you can also select any step you like.

4. Finally, select the Run docker/login-action@v2 log entry to reveal multiple related log entries. The fact that this entry can be expanded is given away by the dropdown symbol and the apparent jump in numbering, as shown below.
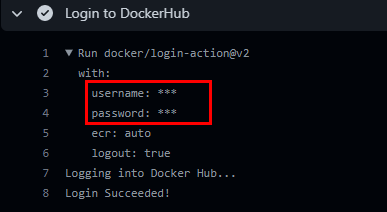
The expanded list in the screenshot below shows that the username and password were logged but cannot be read. Why? GitHub automatically protects data defined as secrets all the way.
This feature helps you avoid exposing them in plain text workflow files while keeping them encrypted in the logs.
Conclusion
By coming this far, you have learned to create GitHub Action Secrets to avoid disclosing sensitive data in your Actions on GitHub. Not only that. You also learned to secure your automation.
Why not deepen your automation game by learning to create Slack Bot to invoke GitHub Actions?


