

Gone are the days of cryptic commands and rigid syntax. Why spend more time deciphering man pages than scripting or navigating your system? Embrace the power and simplicity of fish shell, your ticket to a smoother, more intuitive Linux experience.
Learn to transform your Linux journey with fish shell, from its user-friendly interface to its extensive customization options.
Say hello to streamlined workflows and a newfound confidence in your Linux skills!
Prerequisites
Before you get started, take a moment to ensure you’ve got the following essentials covered to follow along in this tutorial:
- Fish Shell is installed on your machine – This tutorial uses fish-3.7.0, the latest version as of this writing.
- A Linux system – This tutorial uses an Ubuntu 22.04 LTS for demonstrations, but other distributions will work.
Exploring Command Validations, Autocompletion, and Suggestions
With the fish shell installed, dive into the fish shell for seamless command executions. The fish shell offers real-time feedback and context-aware suggestions for commands, file names, and arguments.
But first, you’ll need to access the fish shell before peering into command validations, autocompletion, and suggestions.
To explore this feature that lets you identify and correct errors before you even execute them, carry out the following:
1. Open a terminal and run the fish command below to access the fish shell.
fish
2. Next, type the first letter of the ls command to attempt to list all files in your current directory.
As shown below, the letter ‘l‘ turns red since the fish shell doesn’t recognize it as a valid command. This immediate visual cue indicates something’s wrong with the command.
But don’t worry! Thanks to auto-suggest, the letter ‘s’ appears muted, hinting at the correct command.

3. Now, press the right arrow or Ctrl+F keys to accept the auto-suggested ls command.
Notice the letter ‘l’ has changed from red to blue because the fish shell now recognizes your command as ls.

Defining Command Aliases in the Fish Configuration File
Besides real-time feedback and context-aware suggestions, fish offers a powerful and flexible way to customize your command line environment—the fish configuration file. Unlike other shells that may use multiple configuration files, fish primarily uses a single file called config.fish located in the ~/.config/fish/ directory.
To see how configurations affect the fish shell, start with defining command aliases as follows:
1. Open the fish configuration file using your preferred code or text editor, like nano or vim, but this tutorial uses the former.
nano ~/.config/fish/config.fishOnce opened, you will see the initial content of the fish shell’s configuration file, which may contain default configurations or be relatively empty. This initial state depends on whether you or your system’s setup process has previously added configurations.
The file might only include comments or basic conditional blocks for new installations, like the one below.

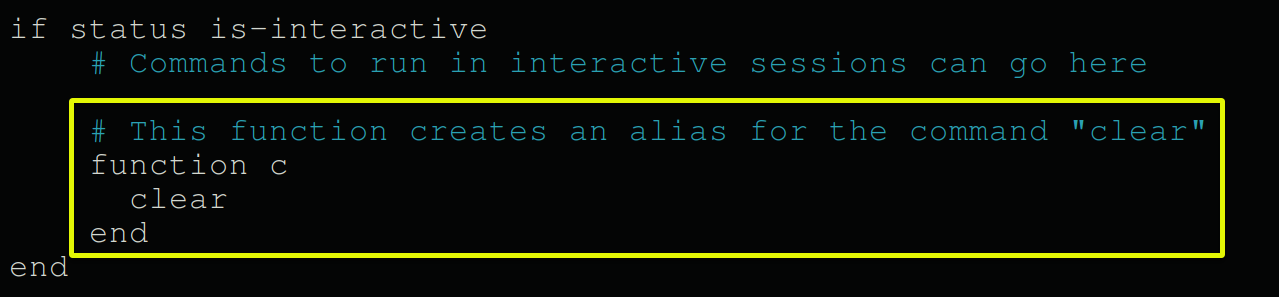
2. Inside the if block, add the following function, save the changes, and close the editor.
At this point, you’re creating custom settings in the fish configuration file, and this function defines an alias (c) for the clear command.
# This function creates an alias for the command "clear"
function c
    clear
end
💡 Note: Each defined function has a corresponding .fish file in the ~/.config/fish/functions/ directory (i.e., c.fish).
clear command3. Execute the following command to source the configuration file (config.fish).
This command has no output to the terminal but applies the configuration changes to your current session.
💡 This fish configuration file is executed automatically each time a new fish session is started and is the perfect place to define shell customizations.
source ~/.config/fish/config.fish4. Subsequently, type c in the prompt to verify your changes.
Notice the letter ‘c‘ turns blue since the fish shell recognizes it as the clear command. This behavior indicates a successful change in the fish configuration.
See how the letter ‘c’ turns blue? That change is because the fish shell knows the letter ‘c’ is the clear command. This behavior signals a successful update in your fish configuration.
Now, why not set up a few more aliases for those trusty commands you keep returning to whenever the mood strikes?

clear command worksCustomizing the Fish Shell Prompt
In addition to setting up aliases for smoother operations, fish gives you the power to customize your prompt, like adding a personal touch to your shell. Instead of lengthy directory paths, enjoy a cleaner, more organized prompt.
To customize the fish shell prompt, execute the following actions:
1. Open the fish configuration file (~/.config/fish/config.fish), and add the following function.
This function customizes your fish shell prompt to display (echo) a dollar sign ($) followed by a space.
# Customizing fish prompt
function fish_prompt
    echo '$ '
end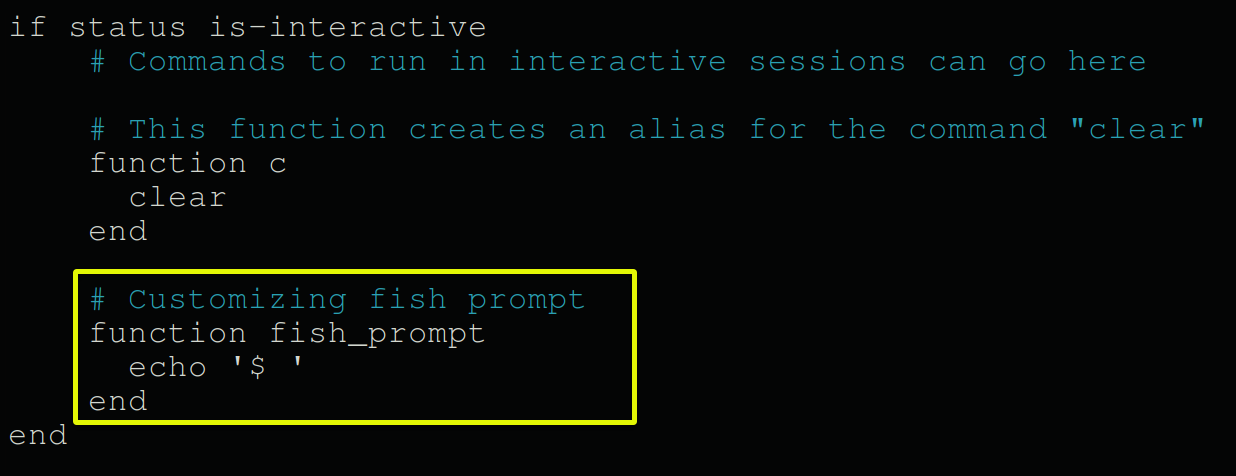
2. Save the changes to the fish configuration file and exit the editor.
3. Now, source the configuration file to apply your changes.
source ~/.config/fish/config.fishOnce sourced, you’ll see the prompt changes like in the following screenshot.

Persisting Changes Across Sessions
You’ve seen how to create customizations in the fish shell. But one thing to note: These settings are only available in the current session.
What happens once you close the current session and open a new one? Poof! Your meticulously crafted configurations are all gone—bummer, right? But fear not, as there’s still hope. Let the funcsave command rescue your configurations from oblivion!
To persist your configurations across sessions, proceed with the following:
1. Open the fish configuration file, and append the funcsave command to each function together with the function name, like so:
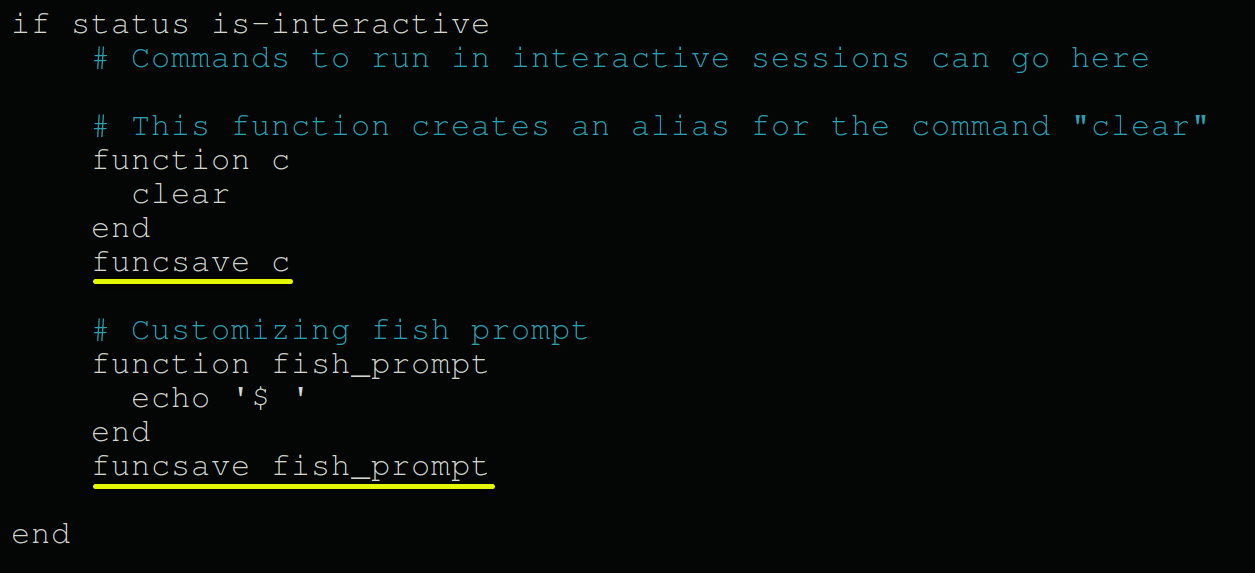
funcsave command to persist functions across sessions2. Save your changes, and close the editor and the terminal.
3. Open a new terminal session, and run the fish command below to access the fish shell
fishIf the funcsave commands you appended work in persisting your configurations, you’ll see messages like the ones below.

Setting and Persisting Environment Variables
While persisting functions are great, managing globally accessible values takes shell scripting up a notch—setting environment variables. Unlike traditional shells relying on export, fish use set with options to control the variable scope and export behavior.
But there’s a catch, you know? Ah, you guessed it right! A variable set via the set command on the terminal is only accessible in the current session.
To set and persist environment variables, the -gx flag will come in handy as follows:
1. Add the following command to set the MY_VARIABLE variable in the fish configuration file as global. Below is how the -gx flag works:
-g– Makes the variable global, accessible from any scope within the same user environment.-x– Exports the variable, making it available to any external commands or programs launched from fish.
# Set MY_VARIABLE globally and export it
set -gx MY_VARIABLE HelloWorld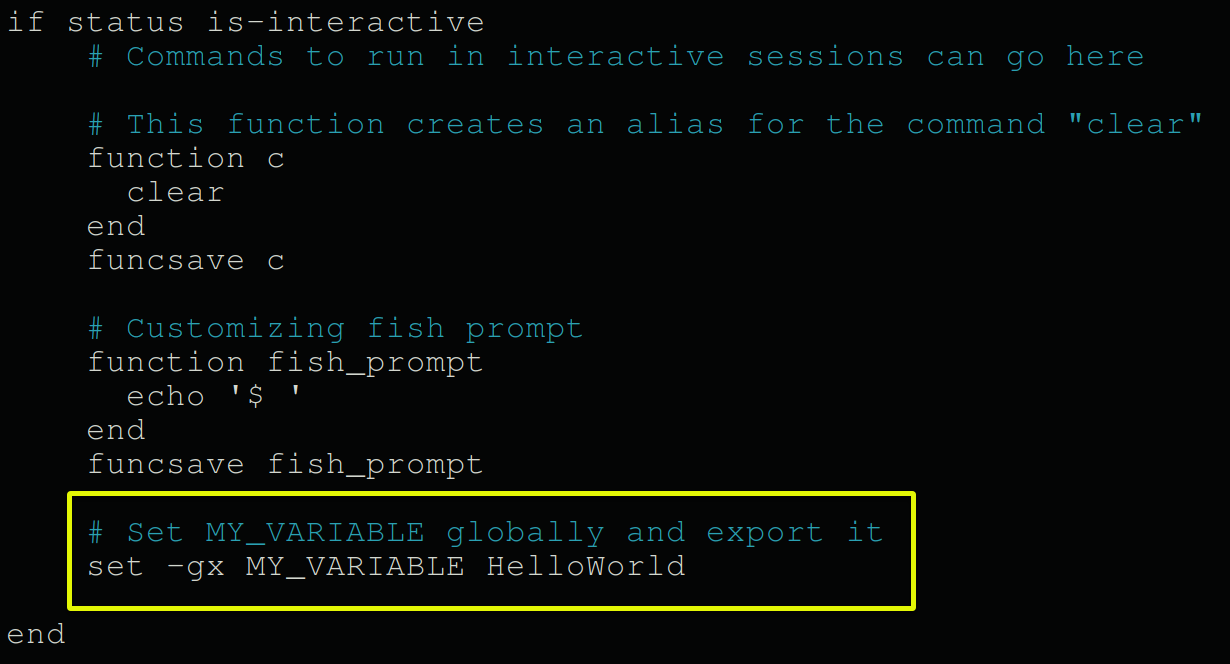
2. Save the configuration changes, then close the editor and the terminal.
3. Open a new terminal session, access the fish shell, and run the following command to confirm the changes.
echo $MY_VARIABLEThe output below confirms the changes have taken effect across sessions.

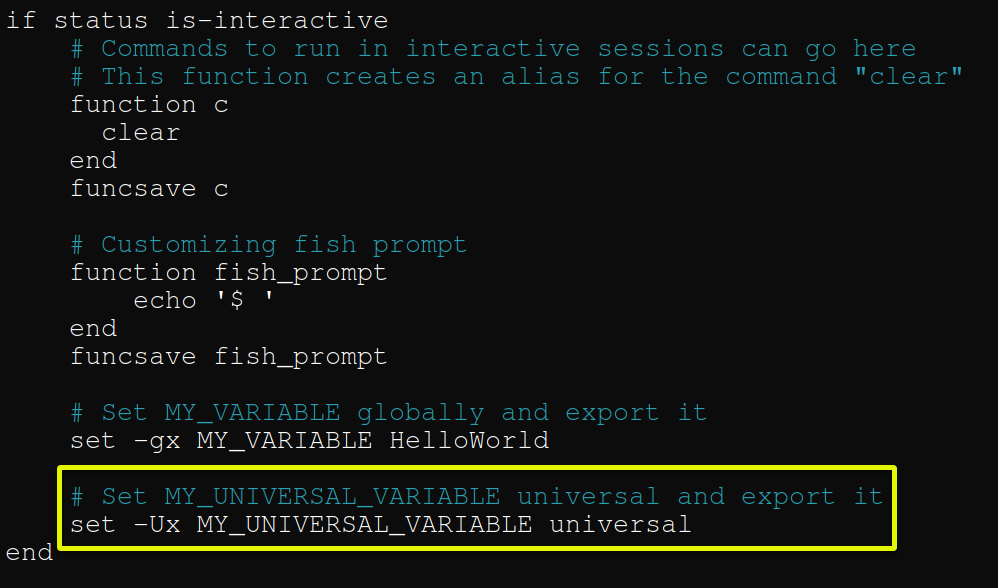
4. Once confirmed, add the following set command to the fish configuration file, save the changes, and close the editor.
This command makes the MY_UNIVERSAL_VARIABLE variable global across all sessions, even after reboots.
# Set MY_UNIVERSAL_VARIABLE universal and export it
set -Ux MY_UNIVERSAL_VARIABLE universal
See how the -Ux flag works below:
-U– Makes theMY_UNIVERSAL_VARIABLEvariable universal, ensuring it’s shared across all current and future terminal sessions, including those of different users.-x– The variable is exported to child processes, making it accessible to any commands or scripts invoked from the current session.
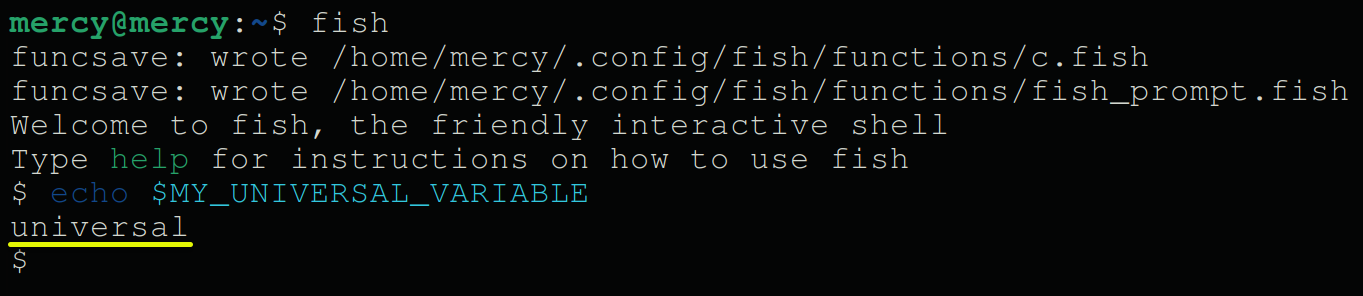
5. Open a new terminal session, access the fish shell, and run the echo command below to verify the changes.
echo $MY_UNIVERSAL_VARIABLEIf all goes well, you’ll have the following output, indicating the changes have taken effect across sessions.
💡 Beyond the fish configuration file, leverage
fish_configin the terminal for quick and auto-applied customizations. This command launches a web interface in your browser, enabling prompt adjustments, settings tweaks, and function and variable management in a user-friendly setup.
Managing Fish Plugins with the Fisher Package Manager
The fish shell is impressive on its own, right? But guess what? When you start integrating plugins, it becomes even more powerful. These plugins expand the fish shell’s capabilities, bringing in new commands, utilities, and integrations to significantly enhance your command-line experience.
One good example is Fisher, a package manager designed for the fish shell. This plugin is built with performance and simplicity in mind, and it’s lightweight.
💡 Fisher is lightweight in managing fish shell plugins and isn’t directly comparable to system-level package managers. This distinction is evident regarding the size and complexity of packages it manages.
To manage fish plugins, you must first install Fisher with the outlined steps:
Open your terminal, access the fish shell, and execute the following command to download and install Fisher. This command fetches the Fisher installation script and pipes it to source, which executes the script within the current fish shell session via curl.
curl -sL https://raw.githubusercontent.com/jorgebucaran/fisher/main/functions/fisher.fish | source && fisher install jorgebucaran/fisherOnce installed, you’ll see the following output.

Now, run the fisher command below to confirm the installation by viewing your system’s currently installed --version of Fisher.
fisher --version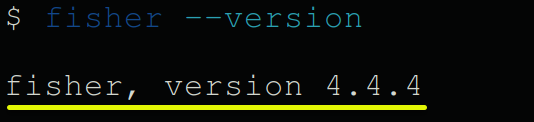
Installing the GitNow Plugin
Now that you’ve got Fisher running, what’s next? How about beefing up your fish shell with some cool plugins? GitNow, for instance, is a toolkit that supercharges your Git workflow within the fish shell—tempting.
GitNow offers streamlined commands for routine Git tasks, enhancing productivity and simplifying your Git command routine.
To install GitNow using the Fisher package manager, follow these steps:
1. In your fish shell, execute the following fisher command to install the GitNow plugin (joseluisq/gitnow).
This command tells Fisher to fetch and integrate GitNow into your fish configuration, making its array of Git shortcuts immediately available.
fisher install joseluisq/gitnow
2. Once installed, run the gitnow command below to confirm GitNow is correctly installed.
This command displays the currently installed version of GitNow, but only if GitNow commands are recognized in your shell.
gitnow --version
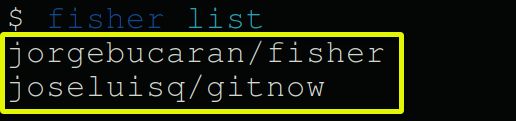
3. Lastly, run this fisher command to list all plugins Fisher manages, including GitNow.
fisher listBelow, you can see the GitNow plugin and the Fisher plugin itself.
Removing Fish Shell Plugins
Is your fish shell drowning in plugins? Like you’re left sorting through the mess to find what you need? Tidy up your fish shell environment by removing unnecessary plugins.
To remove a plugin managed by Fisher in your fish shell, proceed with these steps:
1. Execute the following command to list all currently installed plugins.
fisher listPick one from the list that you wish to remove.
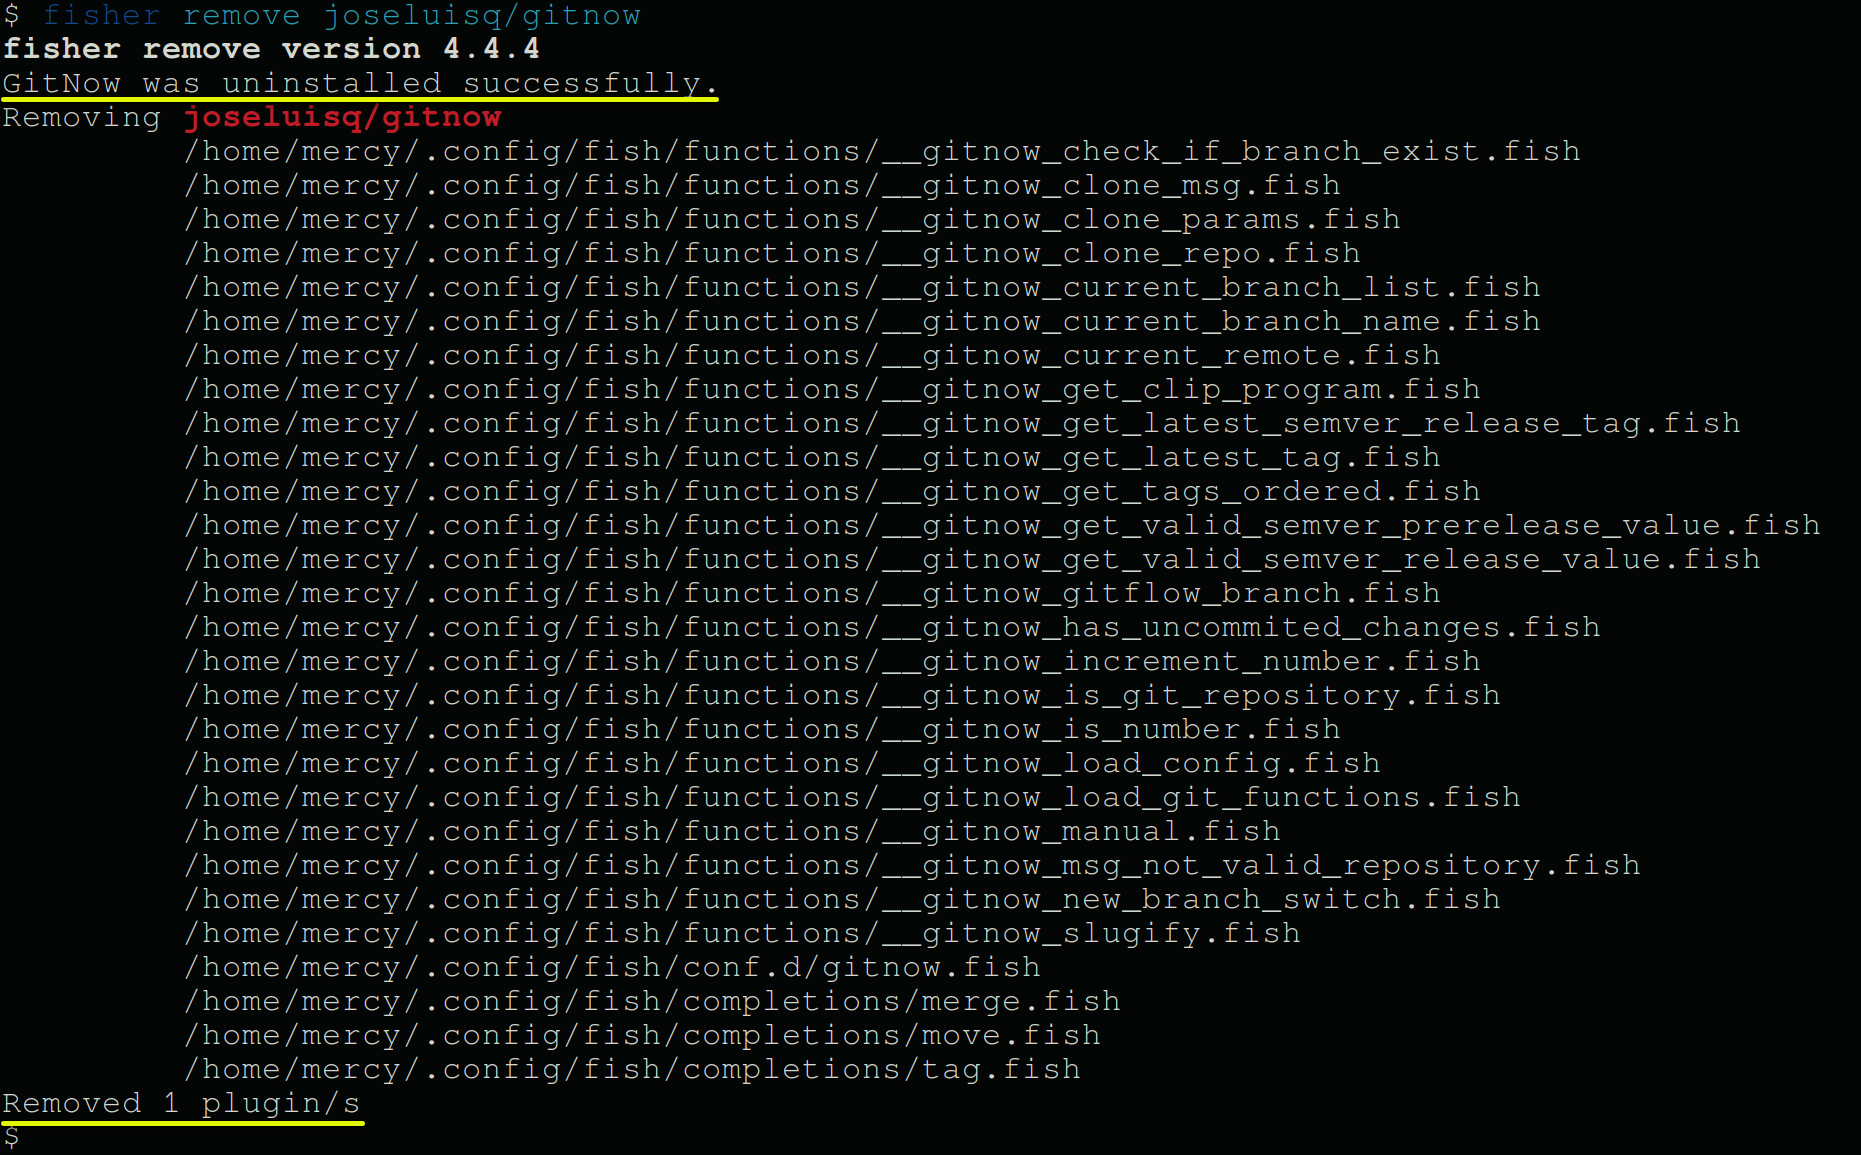
2. Next, run the fisher remove command below, followed by the plugin name (joseluisq/gitnow) to remove.
fisher remove joseluisq/gitnowThis command tells Fisher to uninstall the GitNow plugin from your fish shell environment.
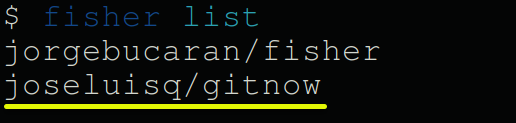
3. Now, run the same fisher list command to confirm the GitNow plugin has been successfully removed.
fisher listThe GitNow plugin should no longer appear in the list of installed plugins.

Uninstalling the Fisher Package Manager
As you’ve seen, the Fisher package manager is genuinely handy. But uninstalling it can be your best choice if you find yourself unhappy or having trouble with Fisher.
To uninstall Fisher comprehensively from your fish shell, complete the following:
Execute the command below to list and remove fisher and all installed plugins via Fisher.
fisher list | fisher remove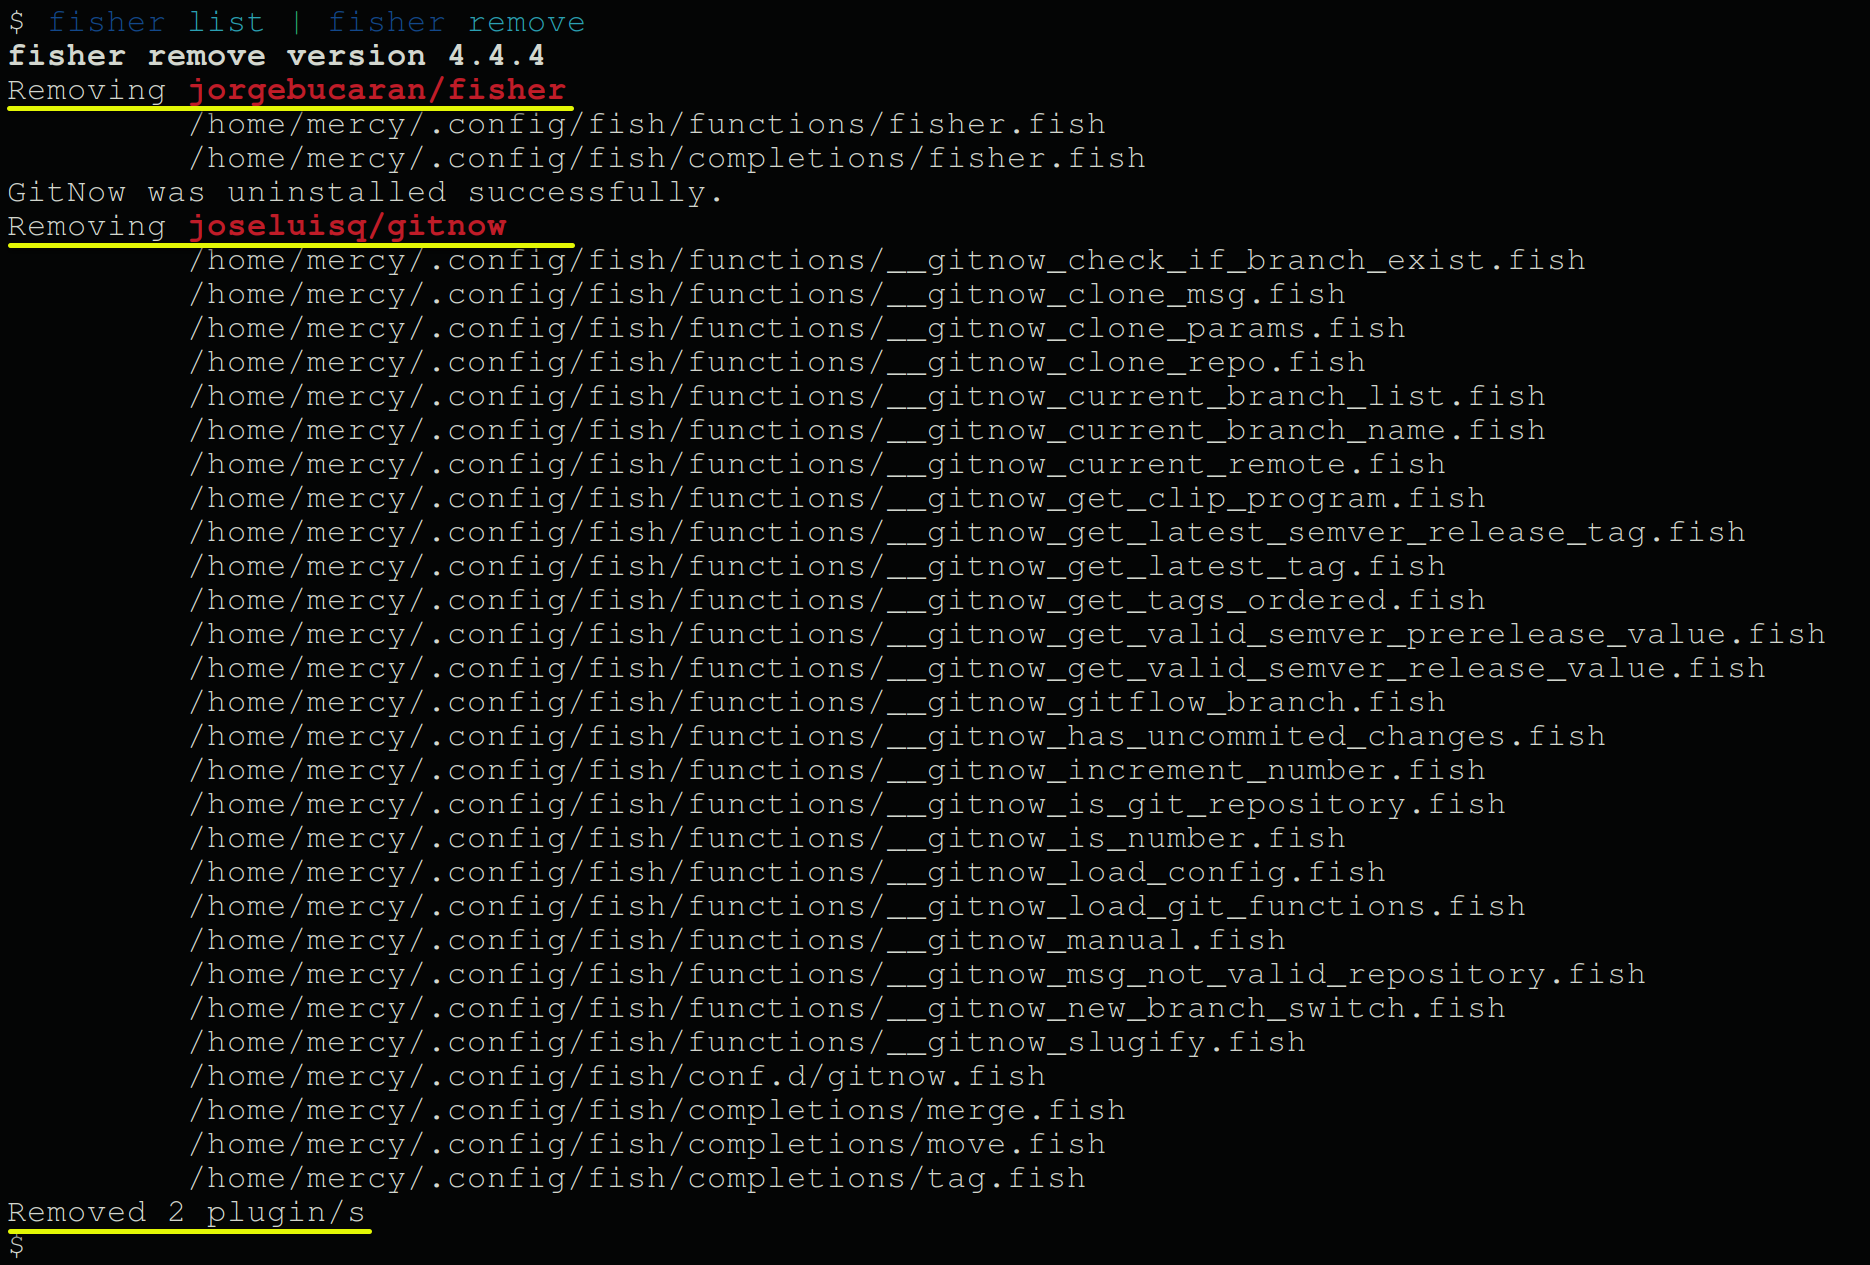
Alternatively, execute the following command to remove only fisher itself.
fisher remove jorgebucaran/fisher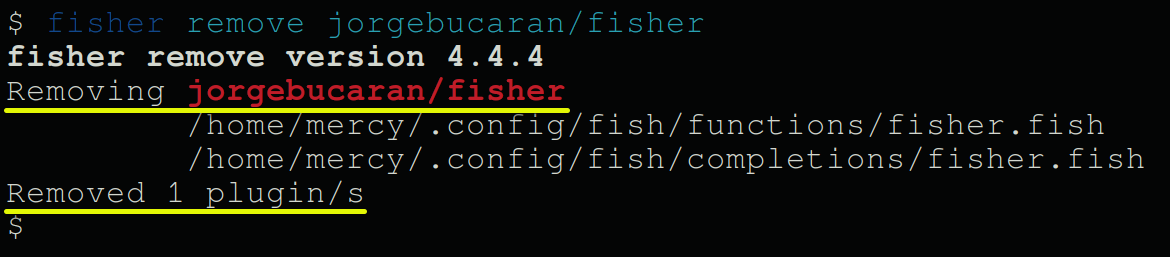
Exploring the Oh My Fish Package Manager
When you’re already cruising with Fisher, why consider Oh My Fish? You’ve experienced the power of fish shell plugins with Fisher. But here’s the kicker: this framework opens up a new realm of customization for the fish shell, offering an extensive collection of themes and plugins.
To see what Oh My Fish has in store for you, install this package manager first with the following:
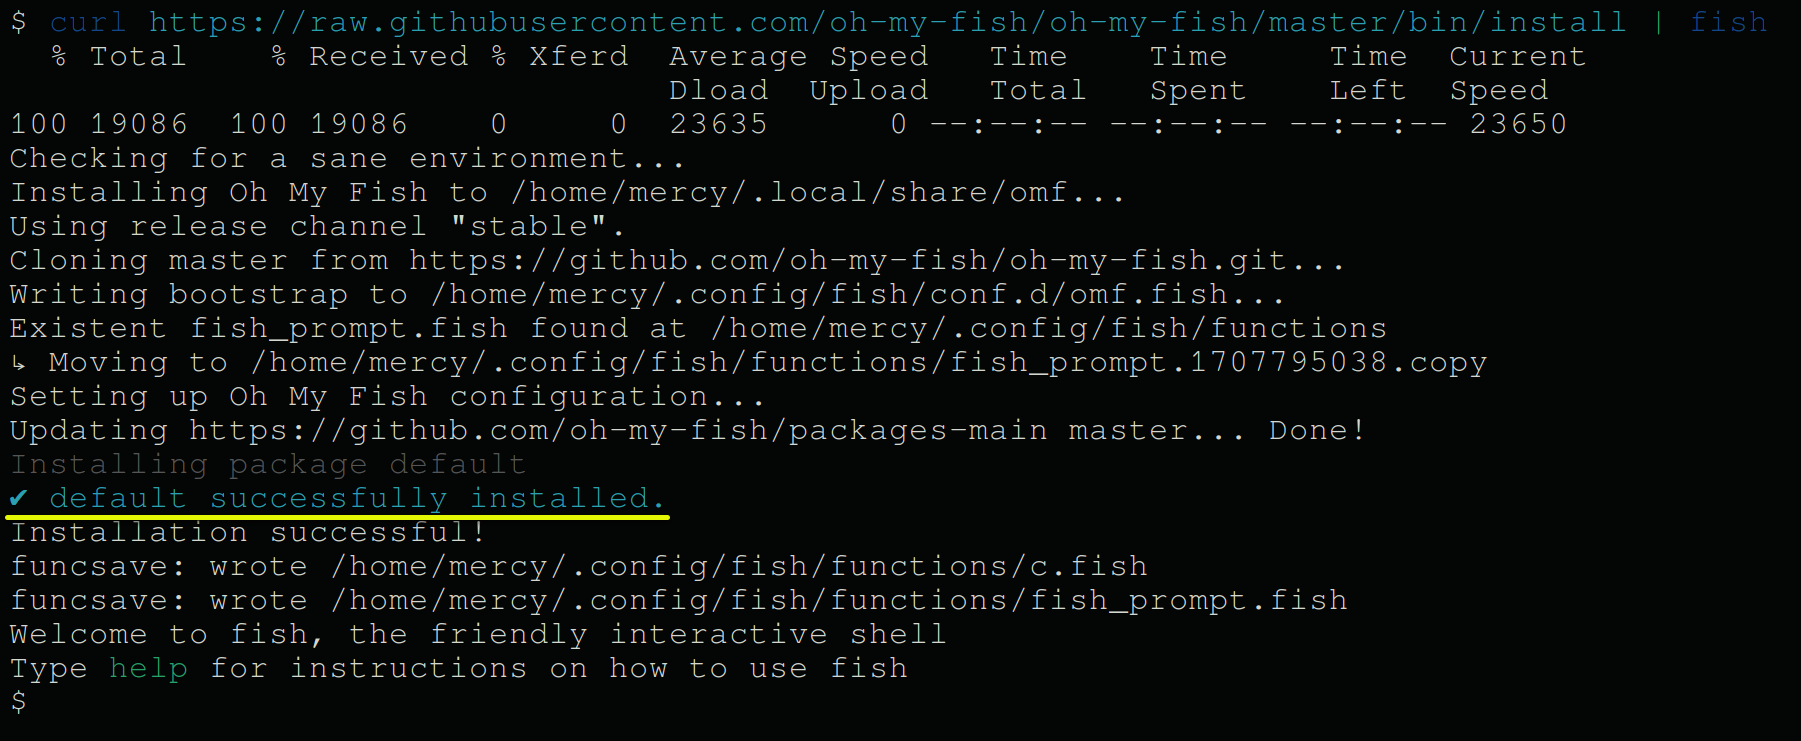
Run the following curl command to download and run the Oh My Fish installation script (https://get.oh-my.fish) within the fish shell.
curl -L https://get.oh-my.fish | fishIf successful, you’ll have an output similar to the following.
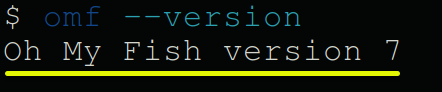
Once installed, execute the following omf command to check Oh My Fish’s installed version.
omf --versionA successful response, as shown below, indicates that Oh My Fish is ready and waiting to transform your fish shell experience.
Customizing Environment with Oh My Fish Themes
Are you tired of the same old fish shell look? Why not add a splash of personality? Give your fish shell environment a makeover with fresh, personalized themes from Oh My Fish.
To customize your fish shell environment, you must install themes with these steps:
1. Open the fish configuration file, and remove the fish_prompt function that defines how your prompt displays. Doing so ensures the custom prompt you’ve set doesn’t conflict with or override the themes provided by Oh My Fish.
💡 Themes come with unique prompts crucial for their look and function. Disabling your custom prompt (
fish_prompt) ensures your chosen Oh My Fish theme fully integrates its design and features into your fish shell.
2. Next, delete (rm) ~/.config/fish/functions/fish_prompt.fish file. This command has no output, but deleting this file ensures the fish shell reverts to its default prompt.
rm ~/.config/fish/functions/fish_prompt.fish3. Run this source command for the changes in the fish configuration file to take effect.
source ~/.config/fish/config.fish
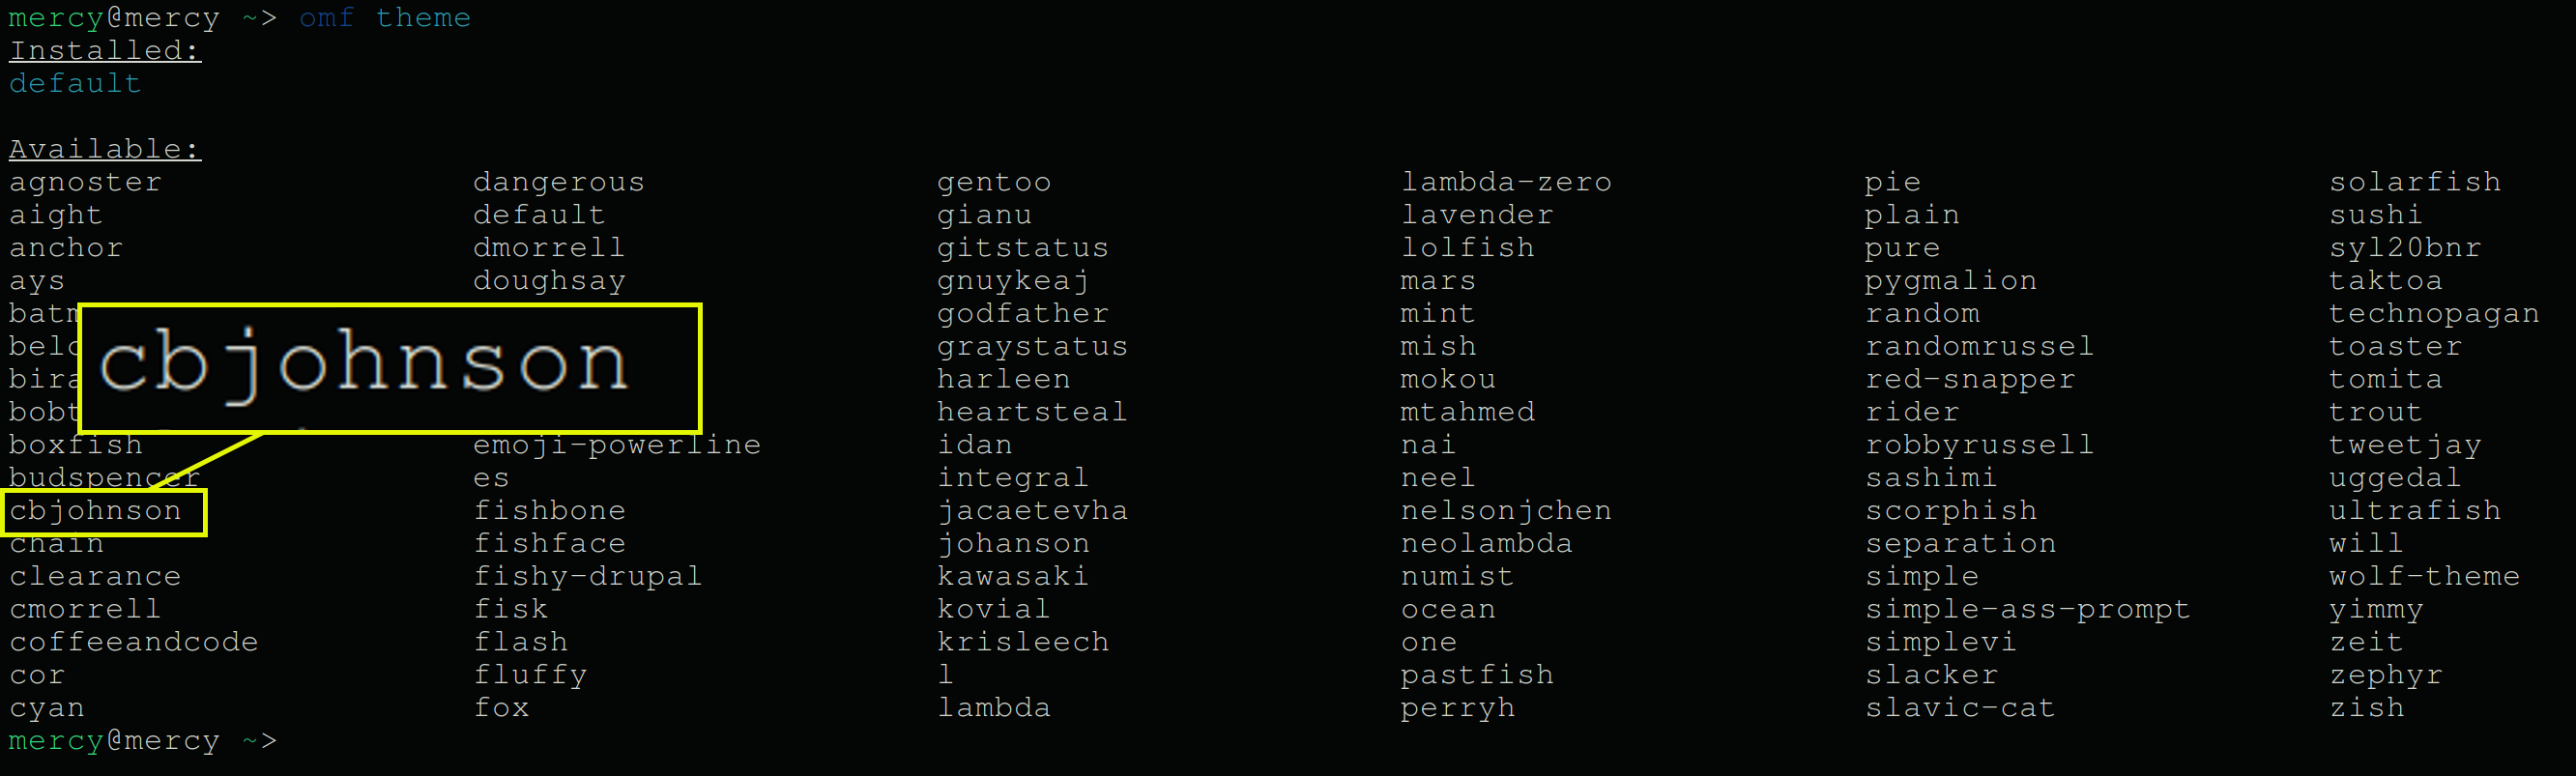
4. Now, execute the following omf command to discover the perfect theme for your fish shell.
omf themePick one theme you wish to integrate into the fish shell (i.e., cbjohnson).
💡 Visit the official GitHub repository for Oh My Shell themes to see what each theme looks like before you install them.
💡 Enhance your fish shell with plugins by running the following command to install plugins. Visit the OMF GitHub repository for a list of plugins to install.
omf install <plugin_name>
5. Thereafter, run the below command to install the theme you picked in step four (cbjohnson).
omf install cbjohnsonOnce installed, your prompt immediately changes, as in the following.

💡 Tip: Quickly switch between themes when you have two or more by running the following command.
omf theme <theme_name>
Uninstalling Oh My Fish
Oh My Fish is a gem for sprucing up your shell vibe. But if you ever want a change of scenery or try something new, uninstalling Oh My Fish gives your fish shell a fresh start.
To uninstall Oh My Fish, undertake the following:
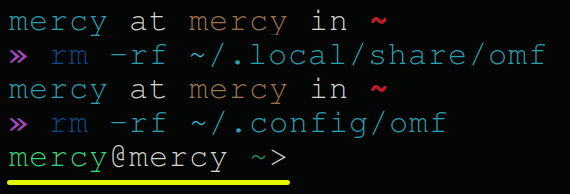
1. Execute the following rm commands to delete all Oh My Fish-related files.
rm -rf ~/.local/share/omf
rm -rf ~/.config/omf
Once removed, you’ll see your initially installed theme disappear.
2. Next, execute each command below to delete more Oh My Fish-related files.
These commands have no output, but deleting these files ensures all remnants of Oh My Fish are removed from your system.
rm -rf ~/.local/share/omf/pkg/omf/functions/omf.fish
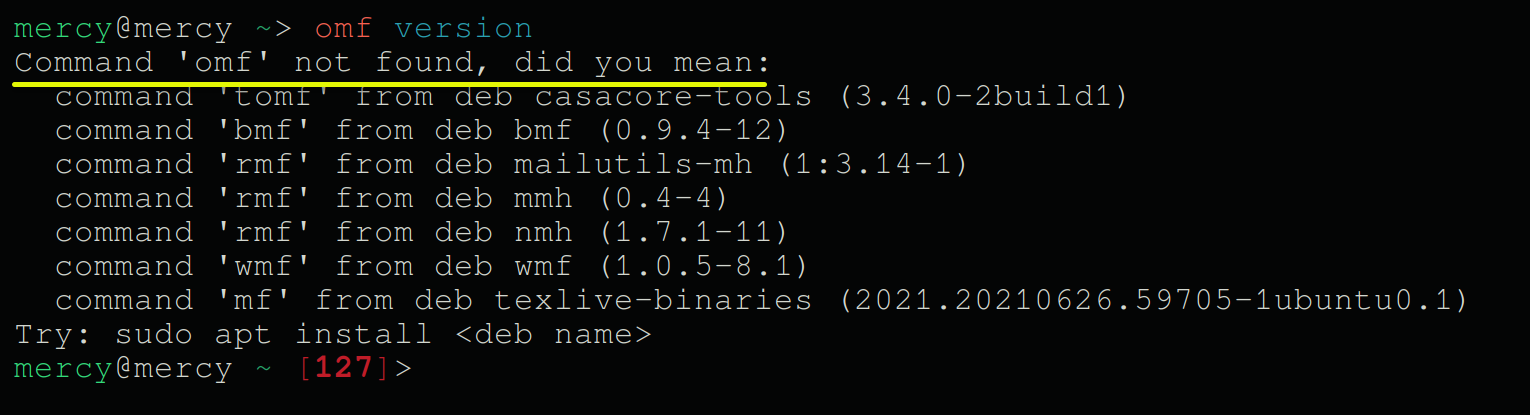
rm ~/.config/fish/conf.d/omf.*3. Now, run the below omf command to verify the deletion.
omf --versionYou’ll see an error like the following, saying the omf command isn’t found and that Oh My Fish has been completely uninstalled.
Setting Fish as the Default Shell
If you’ve loved the ride with the fish shell enhancing your Linux experience, why not set it as your default shell? That way, you save yourself the hassle of switching whenever you fire up a new terminal.
To set fish as your default shell, fulfill the following steps:
1. Execute the command below to find which path the fish shell is located.
which fishCopy the path to the clipboard, as you’ll need it in the following steps.

2. Next, run the following command to add fish to the list of acceptable shells in /etc/shells.
echo "/usr/bin/fish" | sudo tee -a /etc/shells
3. Finally, run the chsh command below to change your default shell to fish (/usr/bin/fish).
chsh -s /usr/bin/fishWhen you restart your machine, you’ll have fish as your default shell.

💡 Tip: Switch back from fish to another shell like Bash as your default by repeating all the steps in this section. Ensure you specify the path to Bash in steps two and three, then restart your machine for the changes to apply.
Conclusion
Throughout this tutorial, you’ve dived deep into the essence of the fish shell, uncovering its powerful features and customizable options. From defining aliases to customizing prompts and persisting environment variables to managing plugins, fish shell has been your trusty sidekick.
You’ve gained insights into transforming your Linux experience with the Oh My Fish package manager. Moreover, you’ve learned how to effortlessly discover and install new plugins and themes, expanding the functionality and aesthetics of your fish shell environment.
Now you’ve explored the basics of the fish shell, dive deeper and unlock its full potential. Why not experiment with custom prompts like Powerline or Starship to give your shell a personalized touch?


