


Ever wanted to set up a proxy application? Proxy applications are an effective way to increase your privacy online. Envoy Proxy is one of the best applications to set up an HTTP proxy server. And the best part of it? It’s completely free!
In this tutorial, you’ll learn how to use Envoy as an HTTP reverse proxy server or even a TCP relay server. Configure your own custom security policies with just a few clicks!
Read on and let Envoy Proxy Server help increase your privacy!
Prerequisites
This tutorial will be a hands-on demonstration. If you’d like to follow along, be sure you have the following:
- A Linux machine – This demo uses Ubuntu 20.04 LTS, but any Linux distribution will work.
Installing Envoy Proxy
Before proxying applications, you’ll first install the application on your machine, similar to how you do so with other packages. But you’ll also install required dependencies before installing it from a third-party repository.
1. Run the apt update command below to update your machine’s repository index.
sudo apt update -y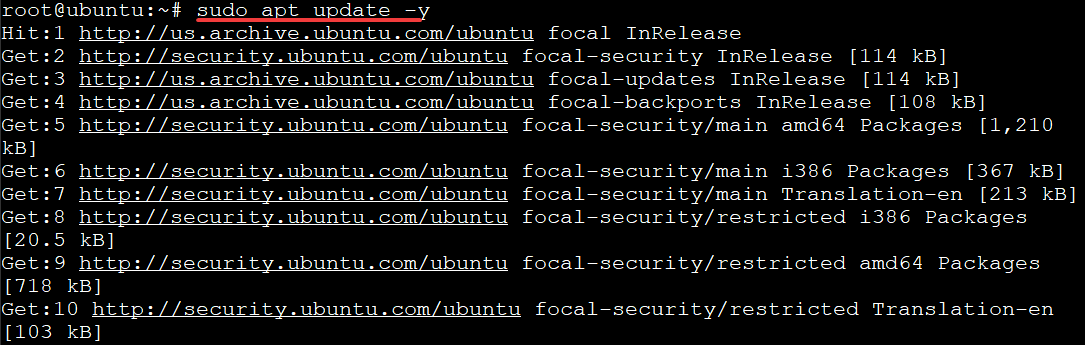
2. Next, run the apt install command below to fetch packages from repositories over the HTTP Secure protocol (HTTPS) (apt-transport-https). The command then installs the required dependencies (gnupg2)
The command fetches packages from repositories over the FTP protocol (curl) and displays LSB (Linux Standard Base) information about the machine (lsb-release). The LSB information lets it know what LSB version your machine is compatible with.
sudo apt install apt-transport-https gnupg2 curl lsb-release -y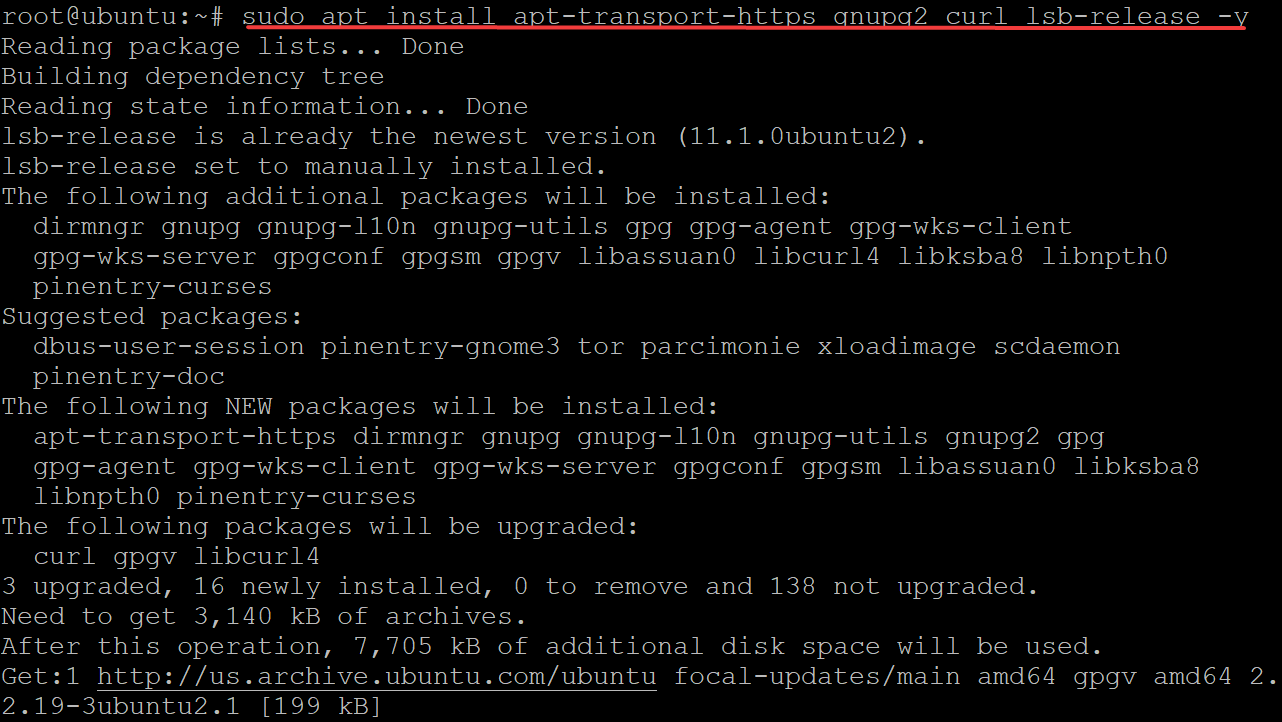
3. Run the below curl command to import the GPG key from the server’s developer (gpg.8115BA8E629CC074.key) to your APT keyring (getenvoy-keyring.gpg). This GPG key ensures that you get the official version of the server rather than a man-in-the-middle attack.
The APT keyring uses GPG to check the signature of the Envoy Proxy Server’s repository before installing or upgrading it.
curl -sL 'https://deb.dl.getenvoy.io/public/gpg.8115BA8E629CC074.key' | sudo gpg --dearmor -o /usr/share/keyrings/getenvoy-keyring.gpgThe command has no output if the GPG key is imported correctly, like the one below.

4. Now, run the echo command below to verify that the GPG key is valid and trusted (sha256sum --check). Replace key_ring with the developer’s public keyring.
echo key_ring /usr/share/keyrings/getenvoy-keyring.gpg | sha256sum --checkAs you can see below, the key is valid and OK to use.

5. Run the below echo command to add the Envoy Proxy Server’s official repository (https://deb.dl.getenvoy.io/public/deb/ubuntu $(lsb_release -cs) main) to your machine. This command tells APT where to download and install packages.
echo "deb [arch=amd64 signed-by=/usr/share/keyrings/getenvoy-keyring.gpg] https://deb.dl.getenvoy.io/public/deb/ubuntu $(lsb_release -cs) main" | sudo tee /etc/apt/sources.list.d/getenvoy.listYou’ll see the dl.getenvoy.io/public/deb/ubuntu string in the output shown below, which is where your server is hosted, and that it’s in the focal release channel. This output confirms that the server’s repository is added to your machine.

6. Next, rerun the apt update command to get the latest package information from repositories on your machine.
sudo apt update -y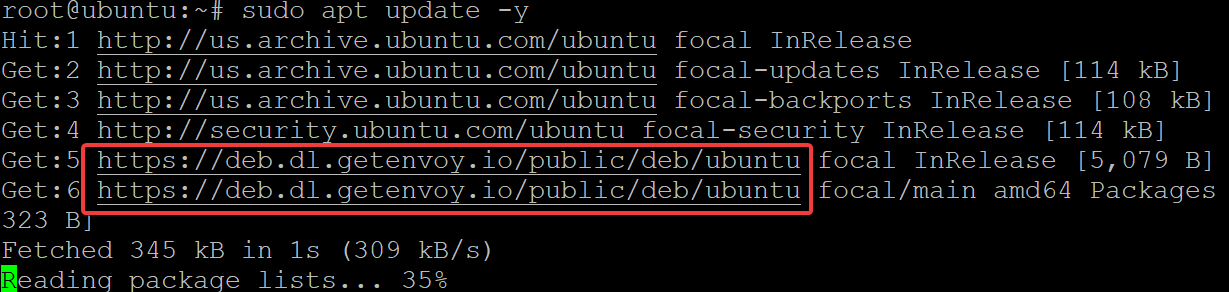
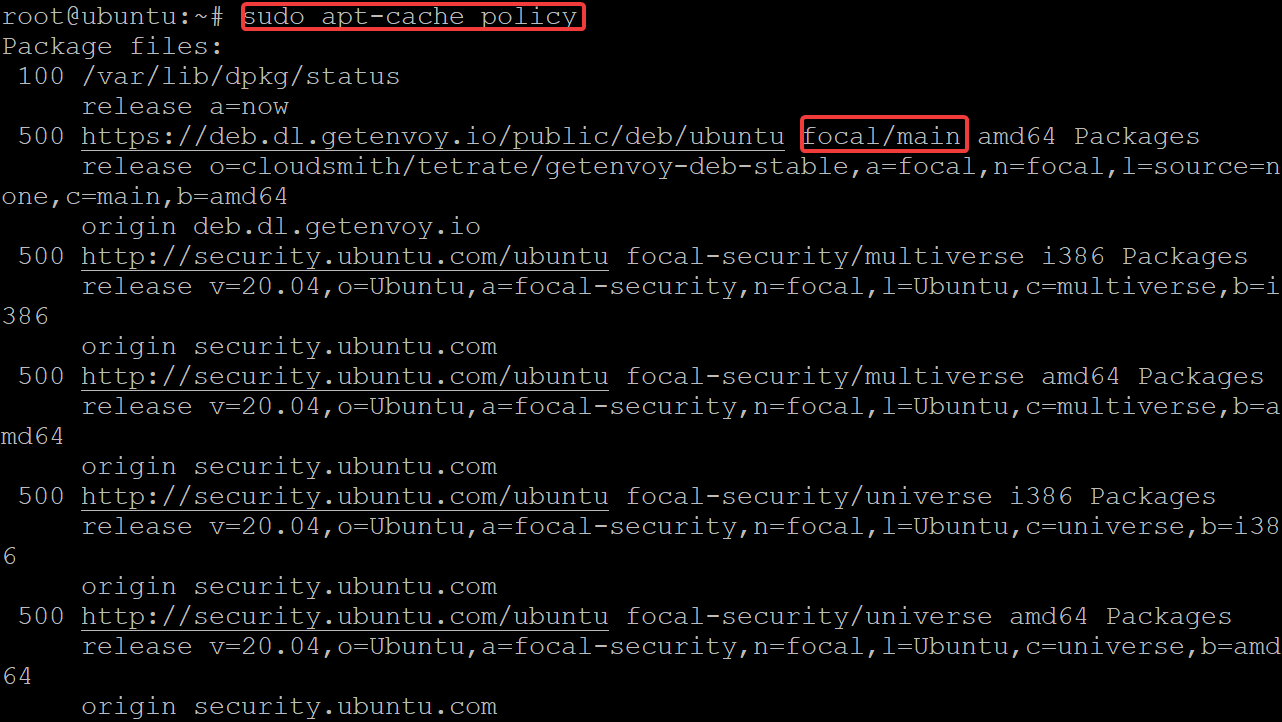
7. Run the apt-cache policy command below to confirm that the server is available for installation from the repository on your machine.
sudo apt-cache policyBelow, you can see that the server is available for installation in your ubuntu machine from its release channel (focal channel).
8. Finally, run the apt install command below to install the server (getenvoy-envoy).
sudo apt install getenvoy-envoy -y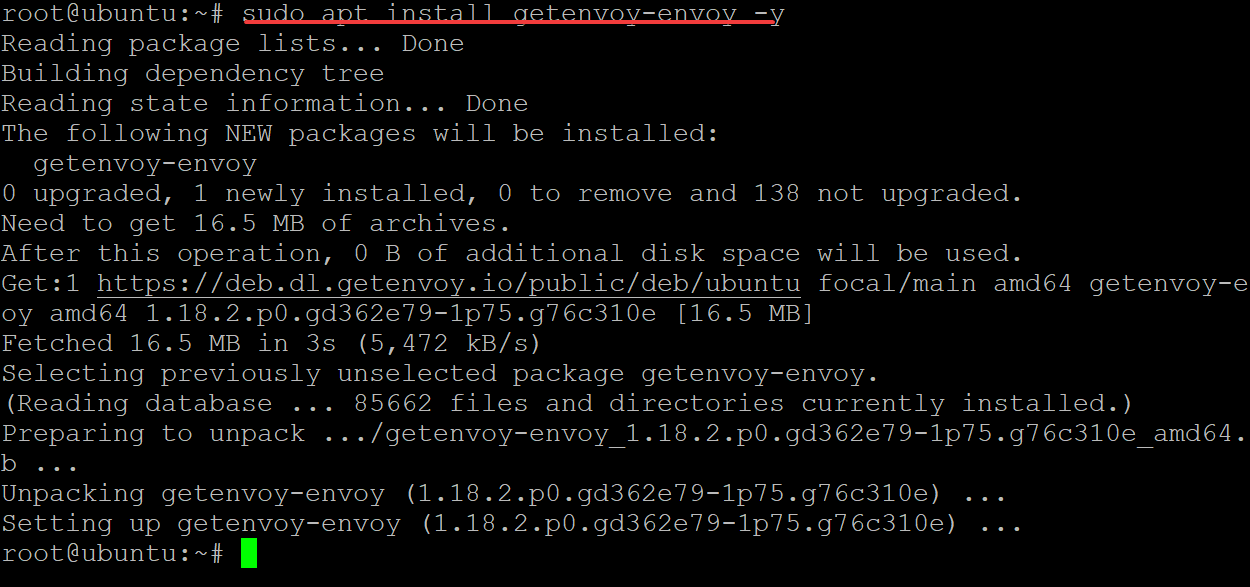
Running the Envoy Proxy Server
You have installed the Envoy Proxy Server, but how do you know it works? You’ll run a demo instance from your terminal.
1. Run the envoy --version command to check the server version running on your machine.
envoy --versionIf you’ve installed the server correctly, you’ll see the version printed on your terminal. In this demo, the version is 1.18.2, but yours may be different.

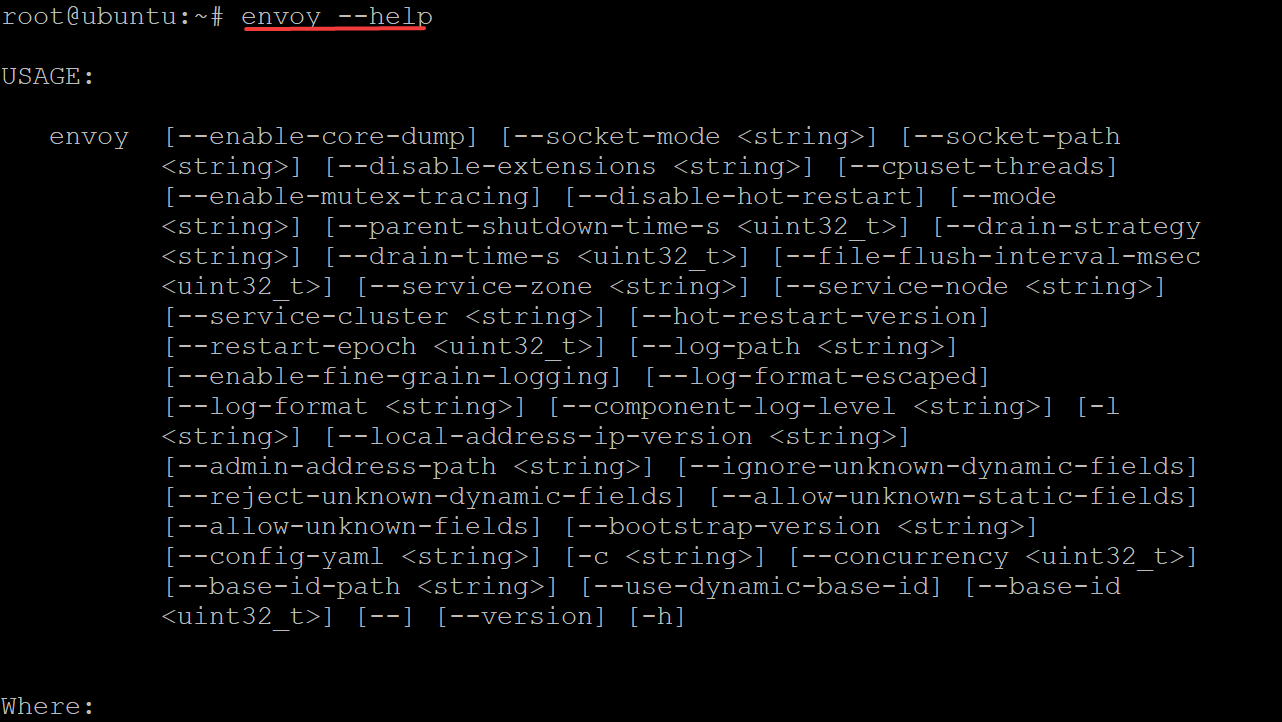
2. Next, run the envoy --help command to list all the options you can use when running the Envoy Proxy Server.
envoy --helpYou can use most of the options listed in the output below to view or change the behavior of the server.
3. Run the wget command below to download the demo configuration named envoy-demo.yaml file from the server’s website. You will use this file to start a demo.
wget https://www.envoyproxy.io/docs/envoy/latest/_downloads/92dcb9714fb6bc288d042029b34c0de4/envoy-demo.yaml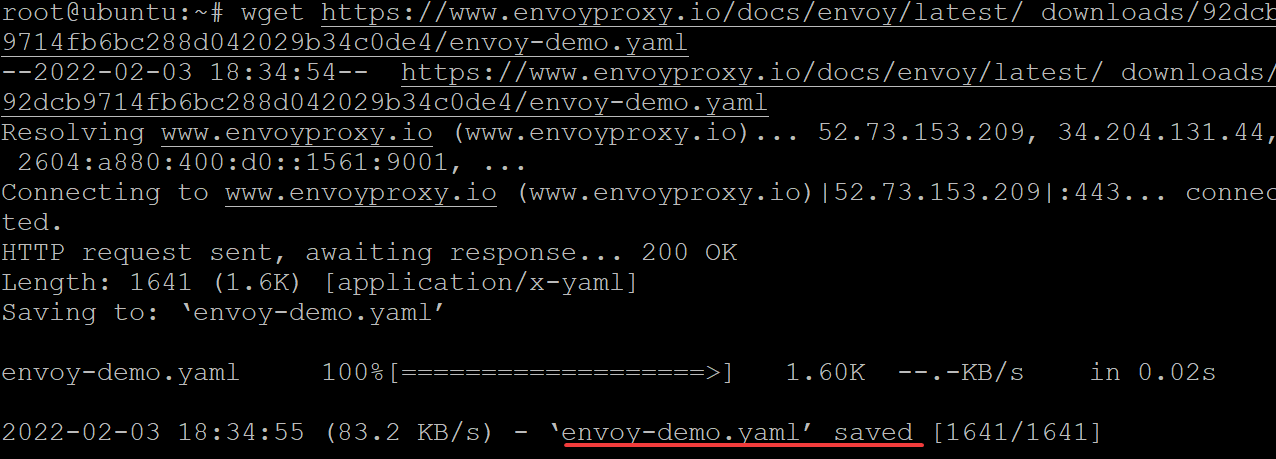
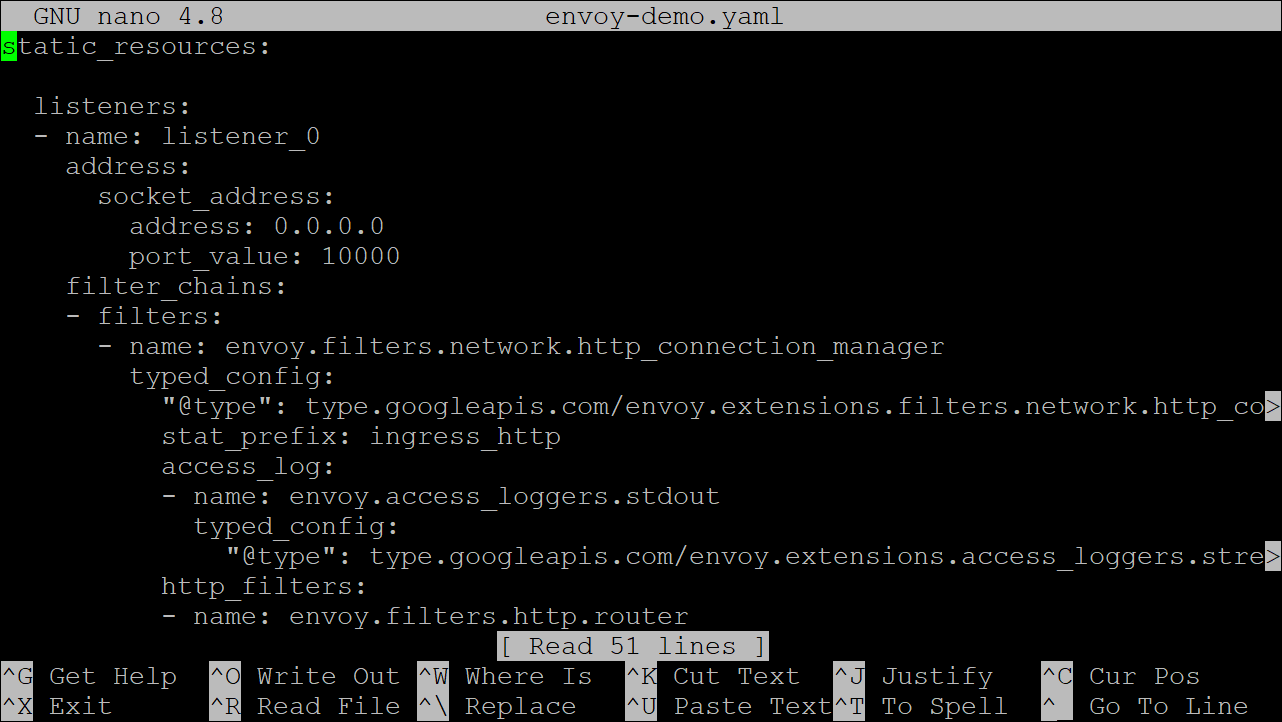
The envoy-demo.yaml file’s content looks like the one below. This file tells the server to listen for incoming connections (0.0.0.0) to process HTTP requests in port 10000.
4. Now, run the below command to tell the server to read the configuration (-c envoy-demo.yaml) file, which starts an instance.
envoy -c envoy-demo.yaml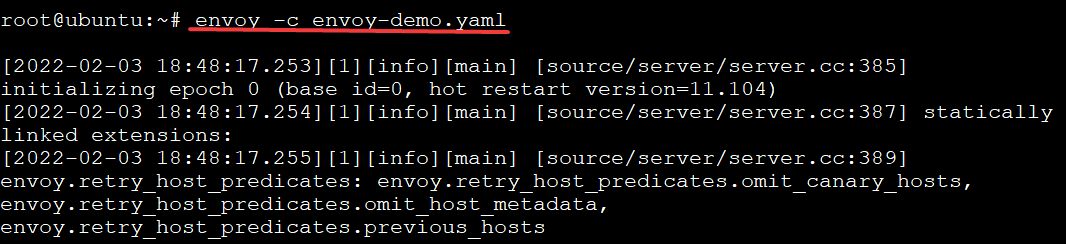
5. Next, run the below command to check all running processes in your system (ps -ef) and verify that Envoy Proxy Server is running (grep envoy).
ps -ef | grep envoyYou’ll see the Envoy Proxy Server process listed in the output below. At this point, your Envoy Proxy Server listens for requests and proxying on port 10000.

6. Run the netstat command below to check if the Envoy Proxy Server listens to port 10000.
sudo netstat -tulpn | grep :10000Below, you can see the port number (10000) you used to configure Envoy Proxy Server.

7. Now, run the ufw command below to open port 10000 on your firewall. If you use a third-party firewall, you might need to adjust the command to open the corresponding port for your proxy server.
The below command adds a firewall rule to secure your server since it only listens to incoming connections from port 10000.
sudo ufw allow 10000/tcp
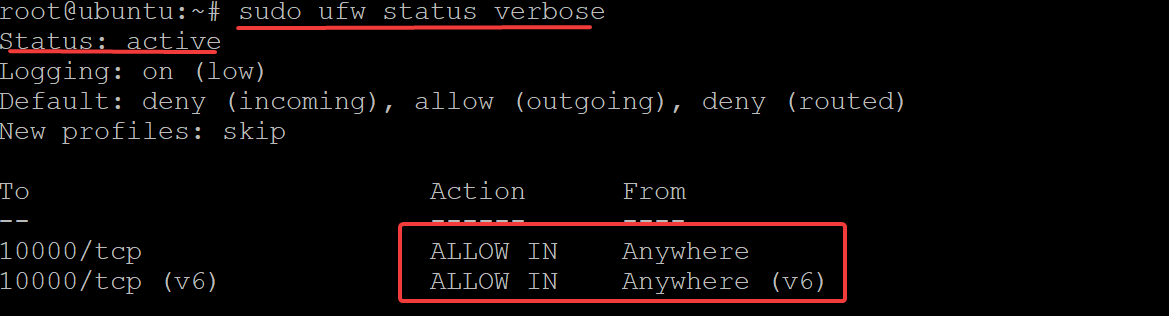
8. Run the ufw status command to check your firewall status and confirm that your Envoy Proxy Server port is open.
sudo ufw status verboseThe output below confirms that the Envoy Proxy Server’s port (10000) is open on your firewall.
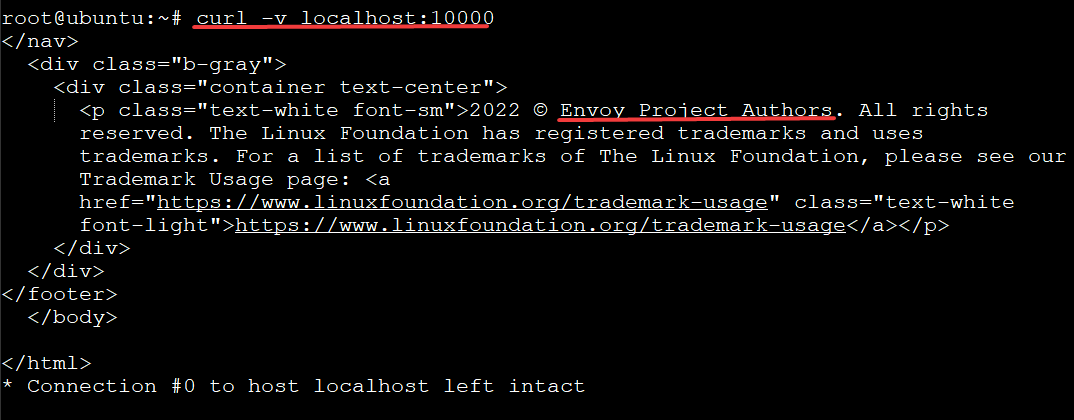
9. Finally, run the curl command below to know if your Envoy Proxy Server is proxying/working as intended.
curl -v localhost:10000As expected, the curl command is proxied by Envoy Proxy Server, as you can see the default welcome page from Envoy Proxy below.
Conclusion
In this tutorial, you’ve learned how to install and run Envoy Proxy Server on your Ubuntu machine. You’ve also touched on adding a firewall rule to open Envoy Proxy Server’s port (10000) and verified your Envoy Proxy Server works perfectly.
At this point, you have a fully-functional proxy server, and you can now use it to proxy your application’s traffic.
Now, why not set up a scalable and highly available proxy infrastructure with Envoy Proxy Server with this newfound knowledge?


