

If you need one place to store and manage your AWS logs, look no further than Amazon CloudWatch. CloudWatch is a handy feature that helps with event correlation and is critical in maintaining visibility within your technical infrastructure.
Not a reader? Watch this related video tutorial!Since Elastic Compute Cloud (EC2) Instances commonly run critical workloads, log visibility is vital, and it makes complete sense to integrate EC2 with CloudWatch.
In this tutorial, you’re going to learn how to set up one component of CloudWatch on your AWS EC2 instances, the CloudWatch Agent. Once configured, the agent will then send select logs to AWS CloudWatch for further investigation.
Prerequisites
This article will be a tutorial. If you plan on following along step-by-step, you will need the following:
- An AWS Account
- An IAM User with:
- AWS Management Console access
- The IAM permissions required to perform IAM, EC2, and CloudWatch activities.
IAM policy creation and AWS Application Programming Interface (API) permissions are outside this article’s scope. Always adhere to the principle of least privilege when authorizing accounts to perform actions.
- Administrative access to an EC2 Instance running a supported operating system. This tutorial will be using an EC2 Instance running Windows Server 2019.
Creating an IAM Role
Before CloudWatch will work with an EC2 instance, it must have an IAM role. An IAM role, if properly configured for least privilege, allows CloudWatch to work correctly but without unnecessary permissions.
Let’s start this tutorial by creating an IAM role for CloudWatch in the AWS Management Console that leverages an AWS Managed Policy. This policy will authorize your EC2 Instance to make calls to CloudWatch.
To create an IAM role that will allow your EC2 Instance to communicate with CloudWatch:
1. Open a web browser.
2. Navigate to the AWS Management Console and sign in to your AWS account by supplying your AWS (root) or IAM account credentials.
3. Click Services on the upper left-hand corner of your screen.

4. Next, click IAM from the Services drop-down menu located under the Security, Identity, & Compliance category. This option will take you to the IAM console.

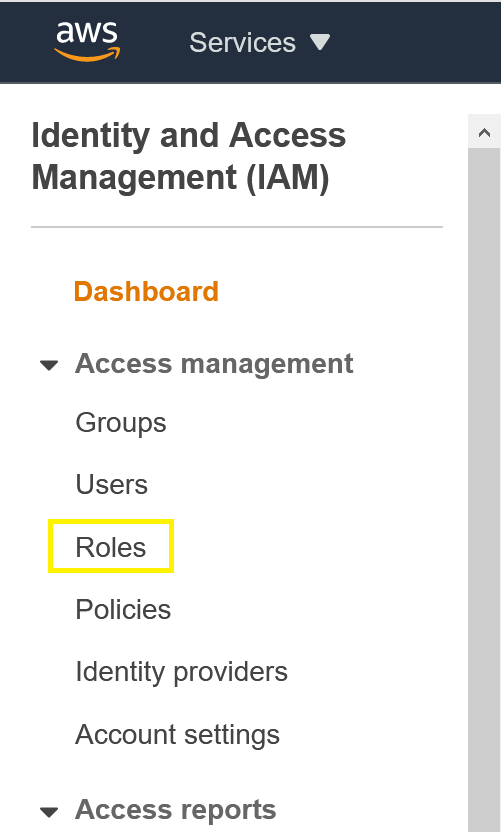
5. Now, click Roles from the menu on the screen’s left-hand side located under the Access Management category.
6. From the Roles screen, select Create Role, located at the top of your screen.
You may see a message at the top of your screen that describes what an IAM role is. If that is the case, the Create Role option is located underneath the message.

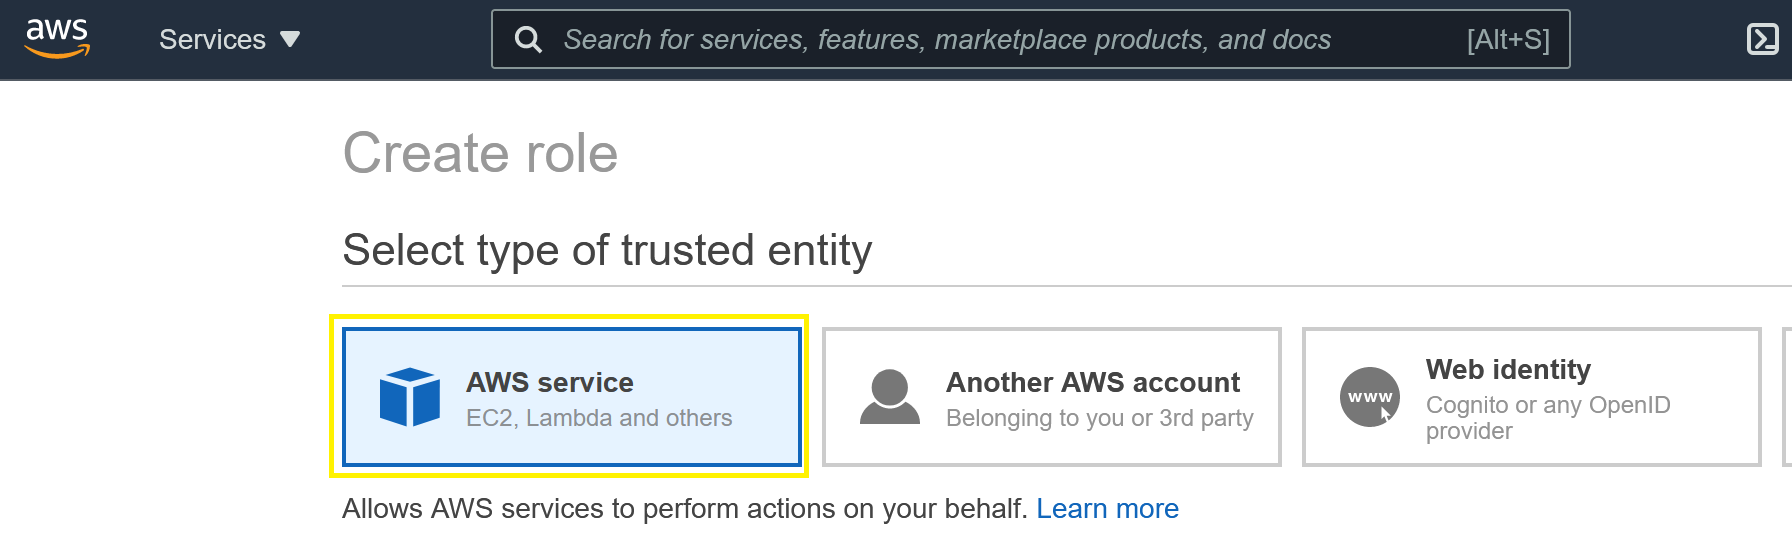
7. On the Create Role page, designate the Type of Trusted Entity as AWS Service. AWS Service roles allow AWS services to interact with other resources (e.g. CloudWatch) on your behalf.
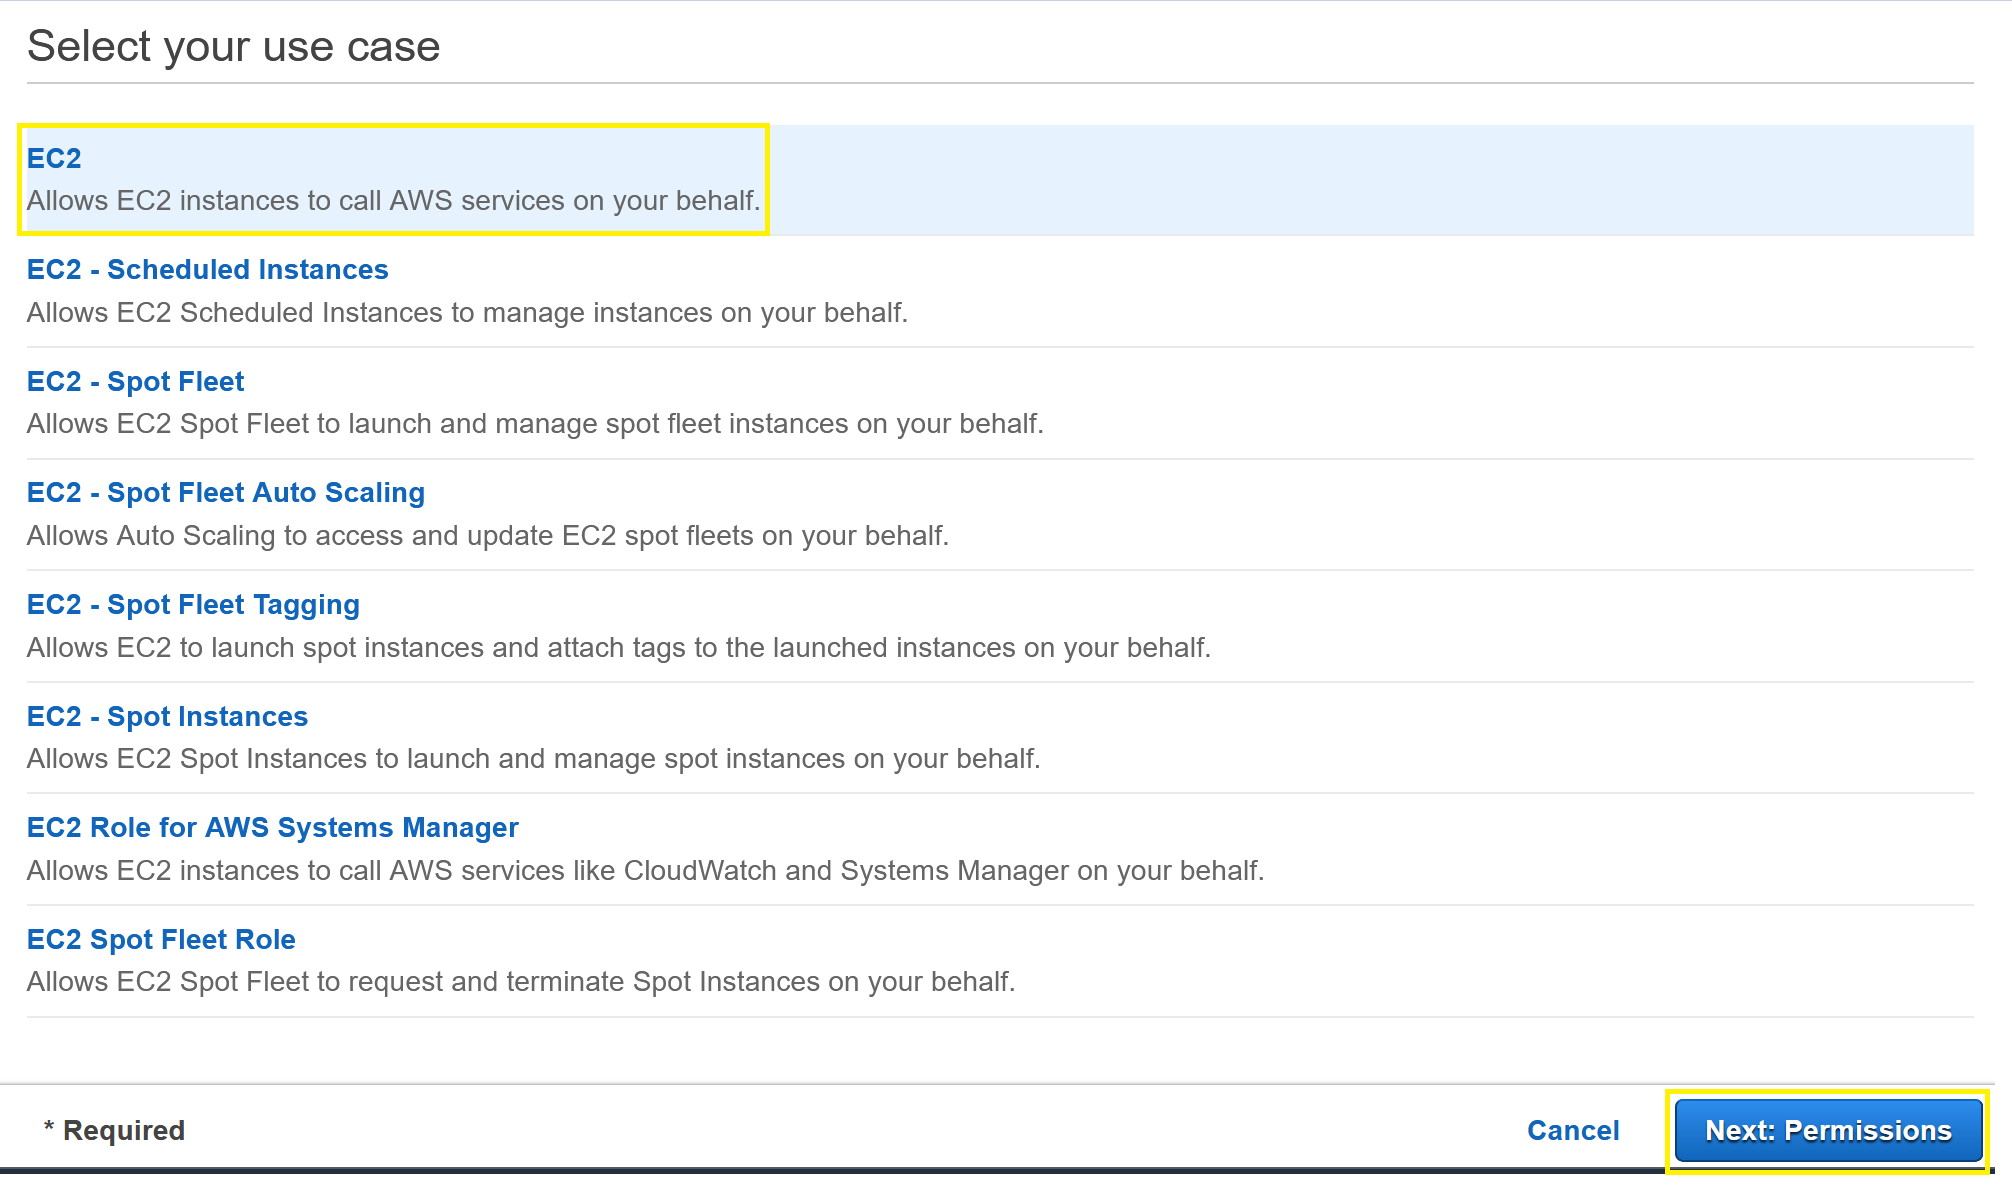
8. Select the EC2 option from the list of use cases since the CloudWatch Agent will be installed on an EC2 Instance and will communicate with CloudWatch.
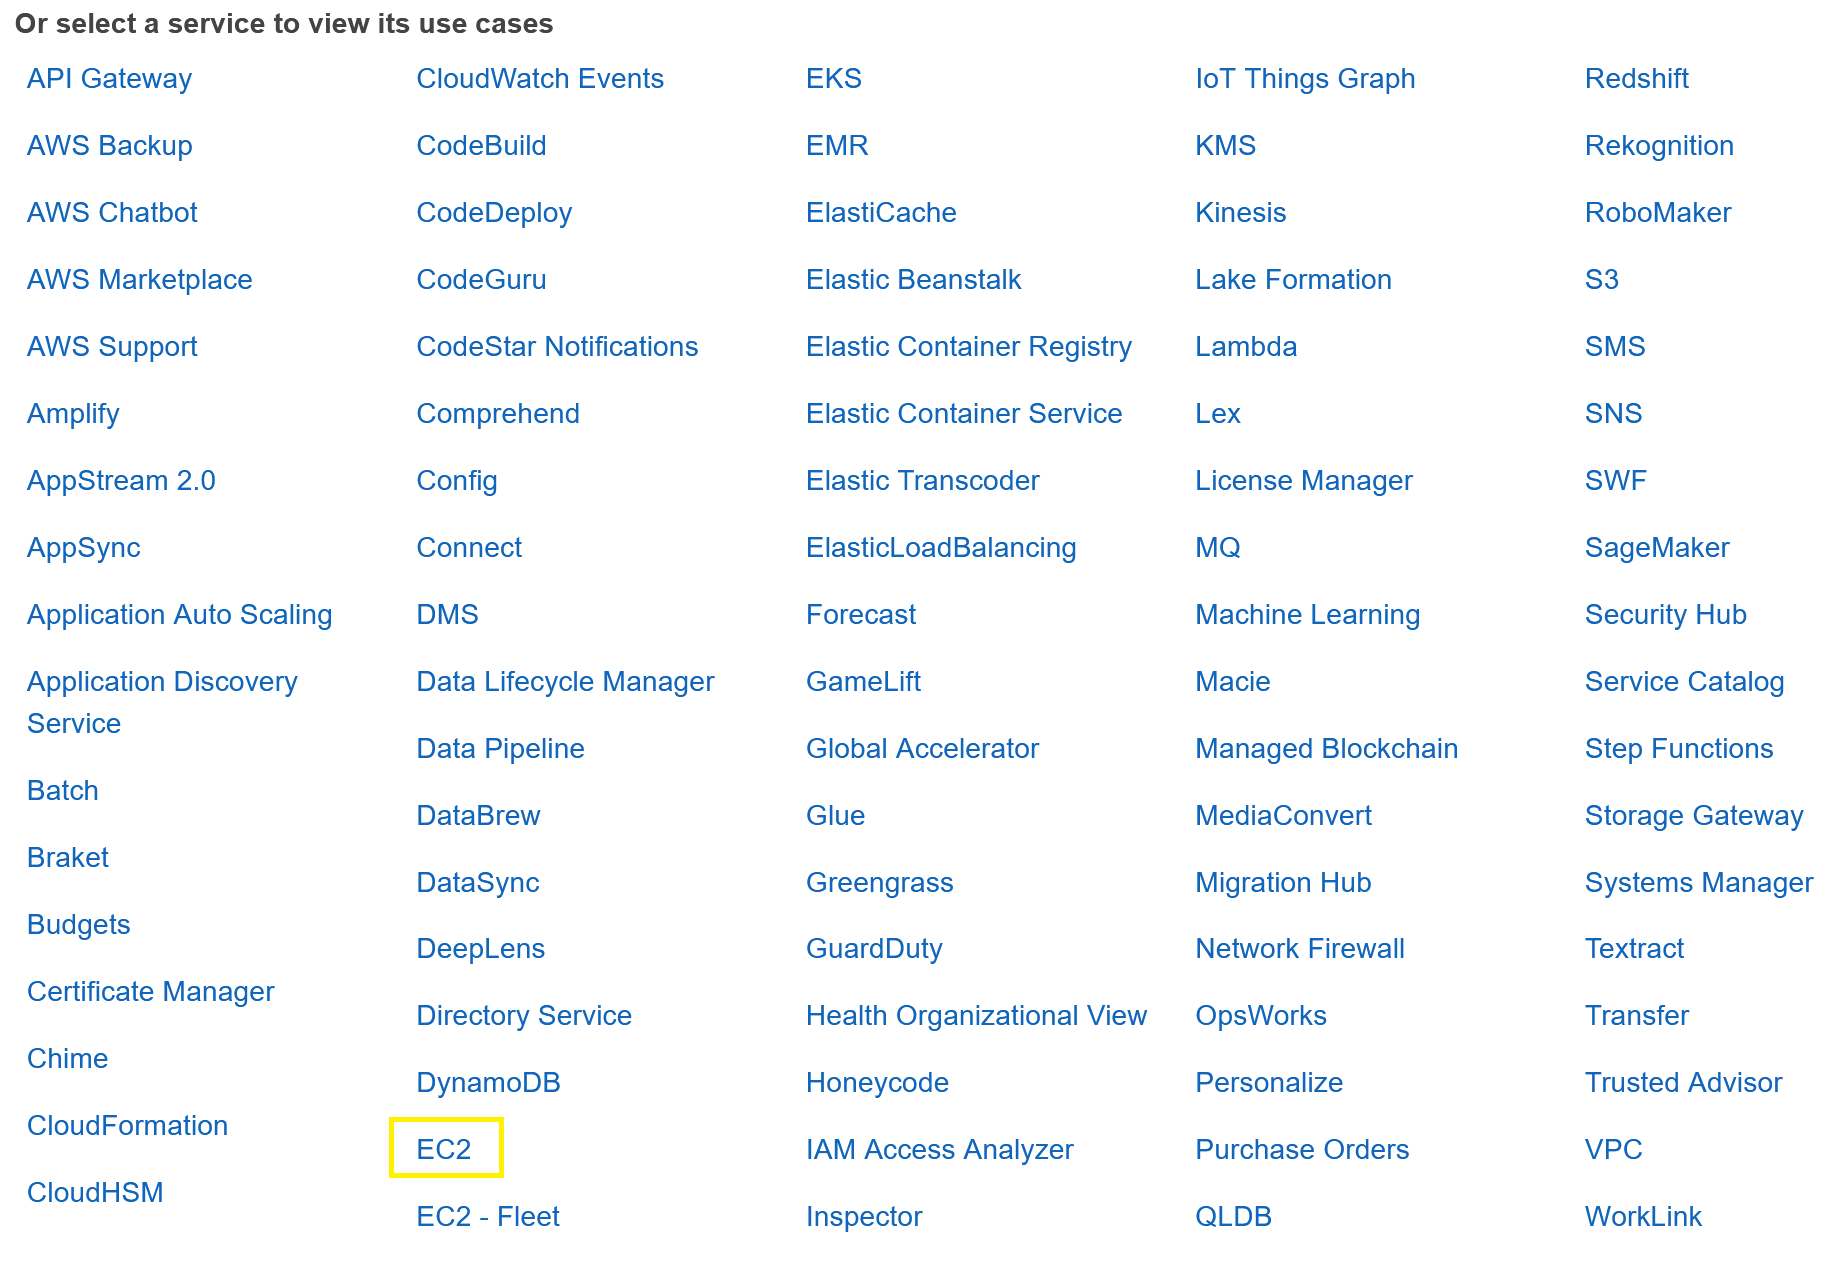
9. From the list of use cases, select the EC2 option and then select Next: Permissions.
10. On the permissions page, enter “CloudWatchAgentServerPolicy” into the search bar and then check the box to the left of the CloudWatchAgentServerPolicy’s Policy Name. After checking the box, select Next: Tags.
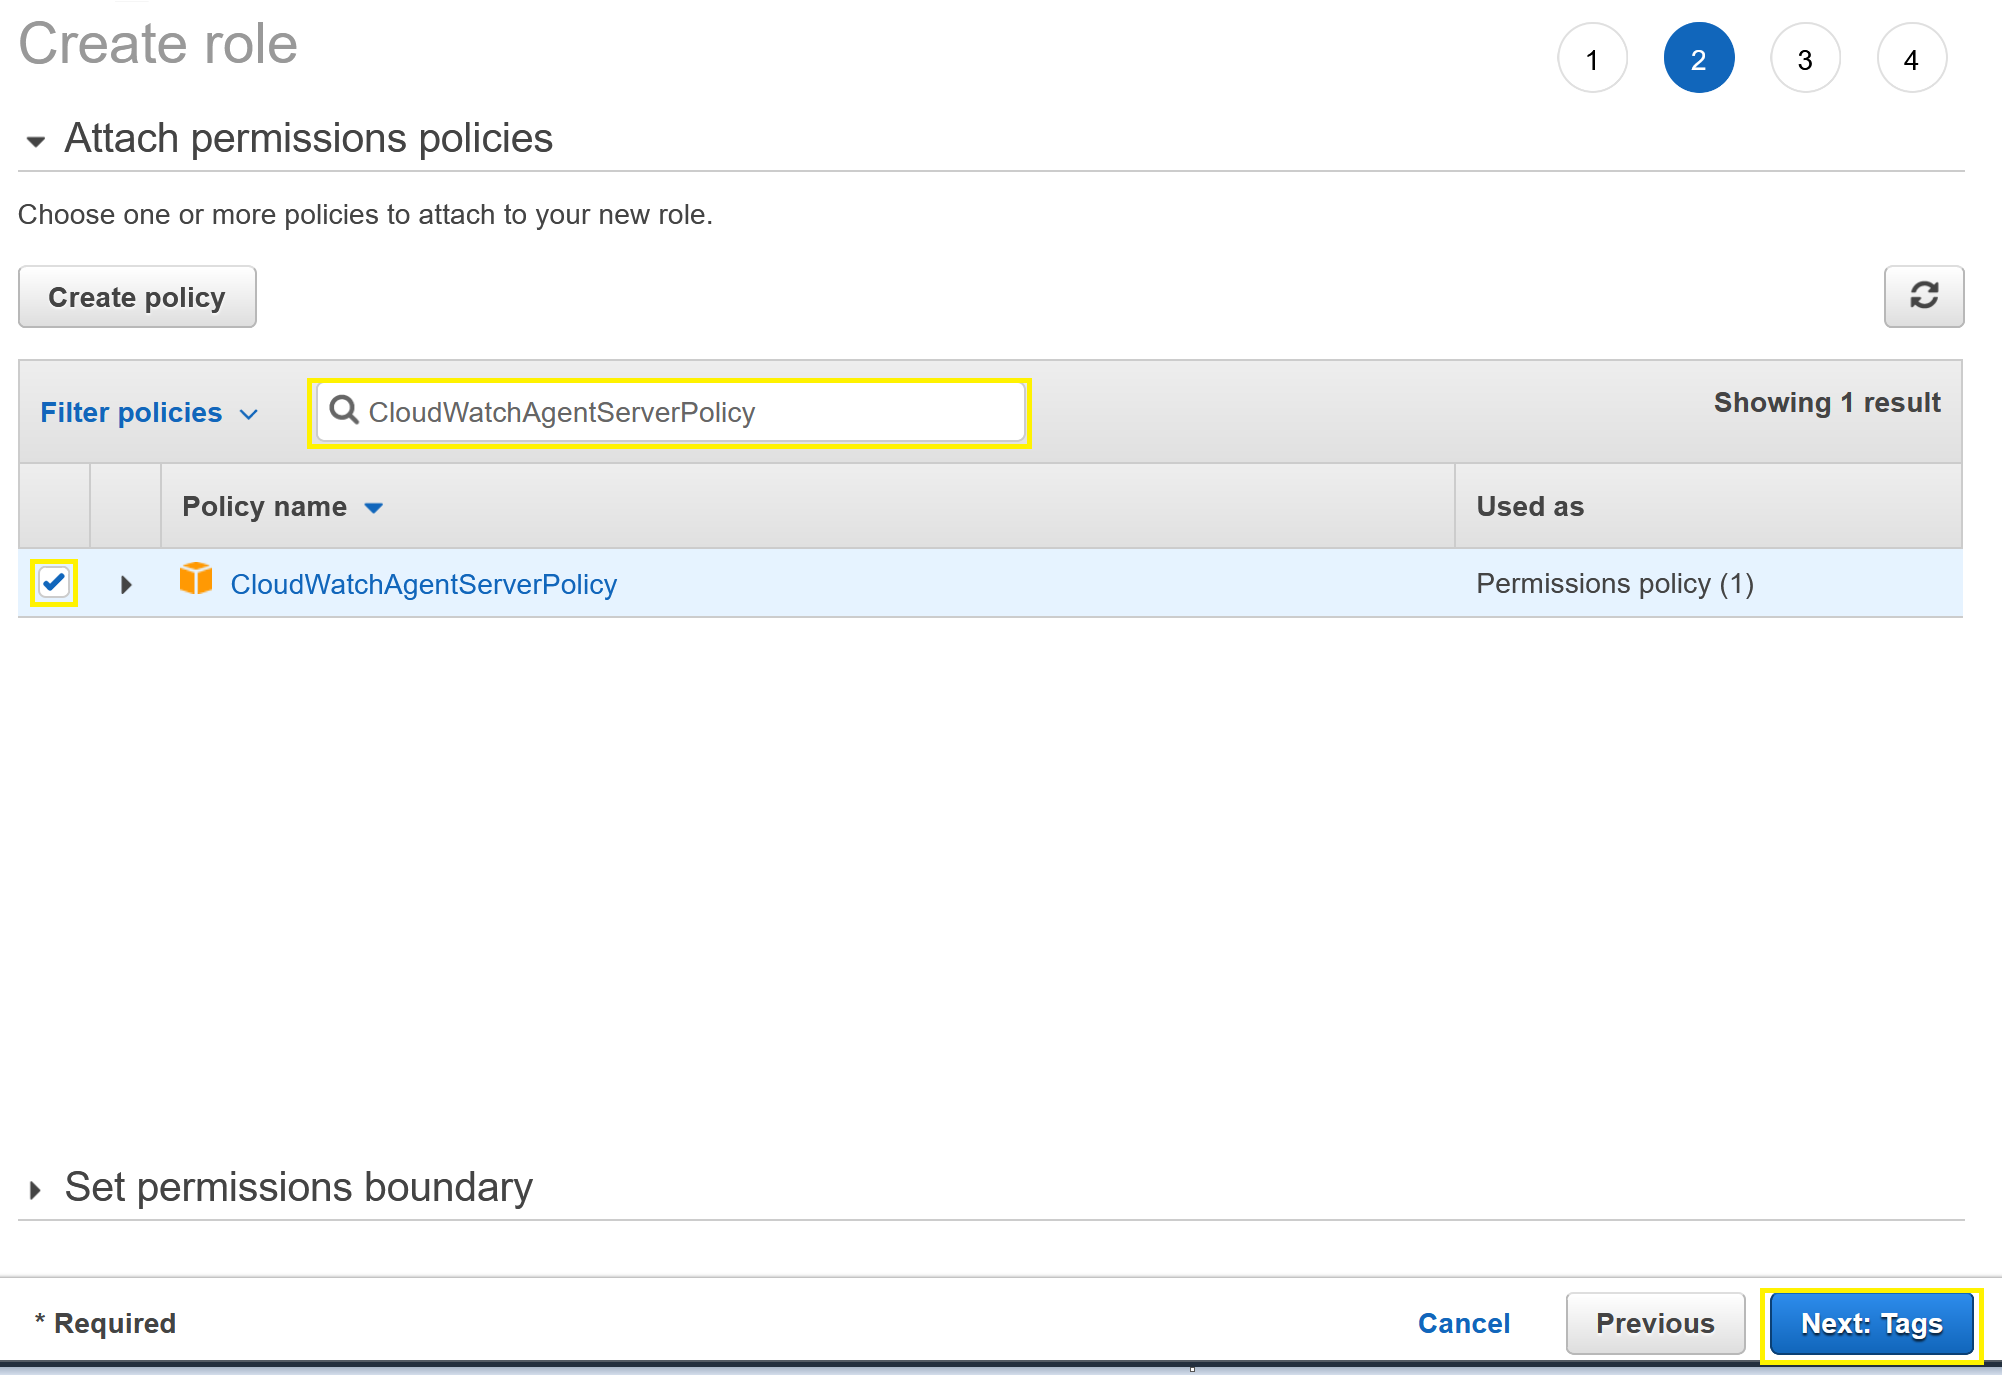
The CloudWatchAgentServerPolicy contains a set of list, read, and write permissions that allow your EC2 Instance to collect and send metrics and logs to CloudWatch. The policy’s JavaScript Object Notation (JSON) is shown below. For more information on JSON policy elements, reference AWS documentation.
{
"Version": "2012-10-17",
"Statement": [
{
"Effect": "Allow",
"Action": [
"cloudwatch:PutMetricData",
"ec2:DescribeVolumes",
"ec2:DescribeTags",
"logs:PutLogEvents",
"logs:DescribeLogStreams",
"logs:DescribeLogGroups",
"logs:CreateLogStream",
"logs:CreateLogGroup"
],
"Resource": "*"
},
{
"Effect": "Allow",
"Action": [
"ssm:GetParameter"
],
"Resource": "arn:aws:ssm:*:*:parameter/AmazonCloudWatch-*"
}
]
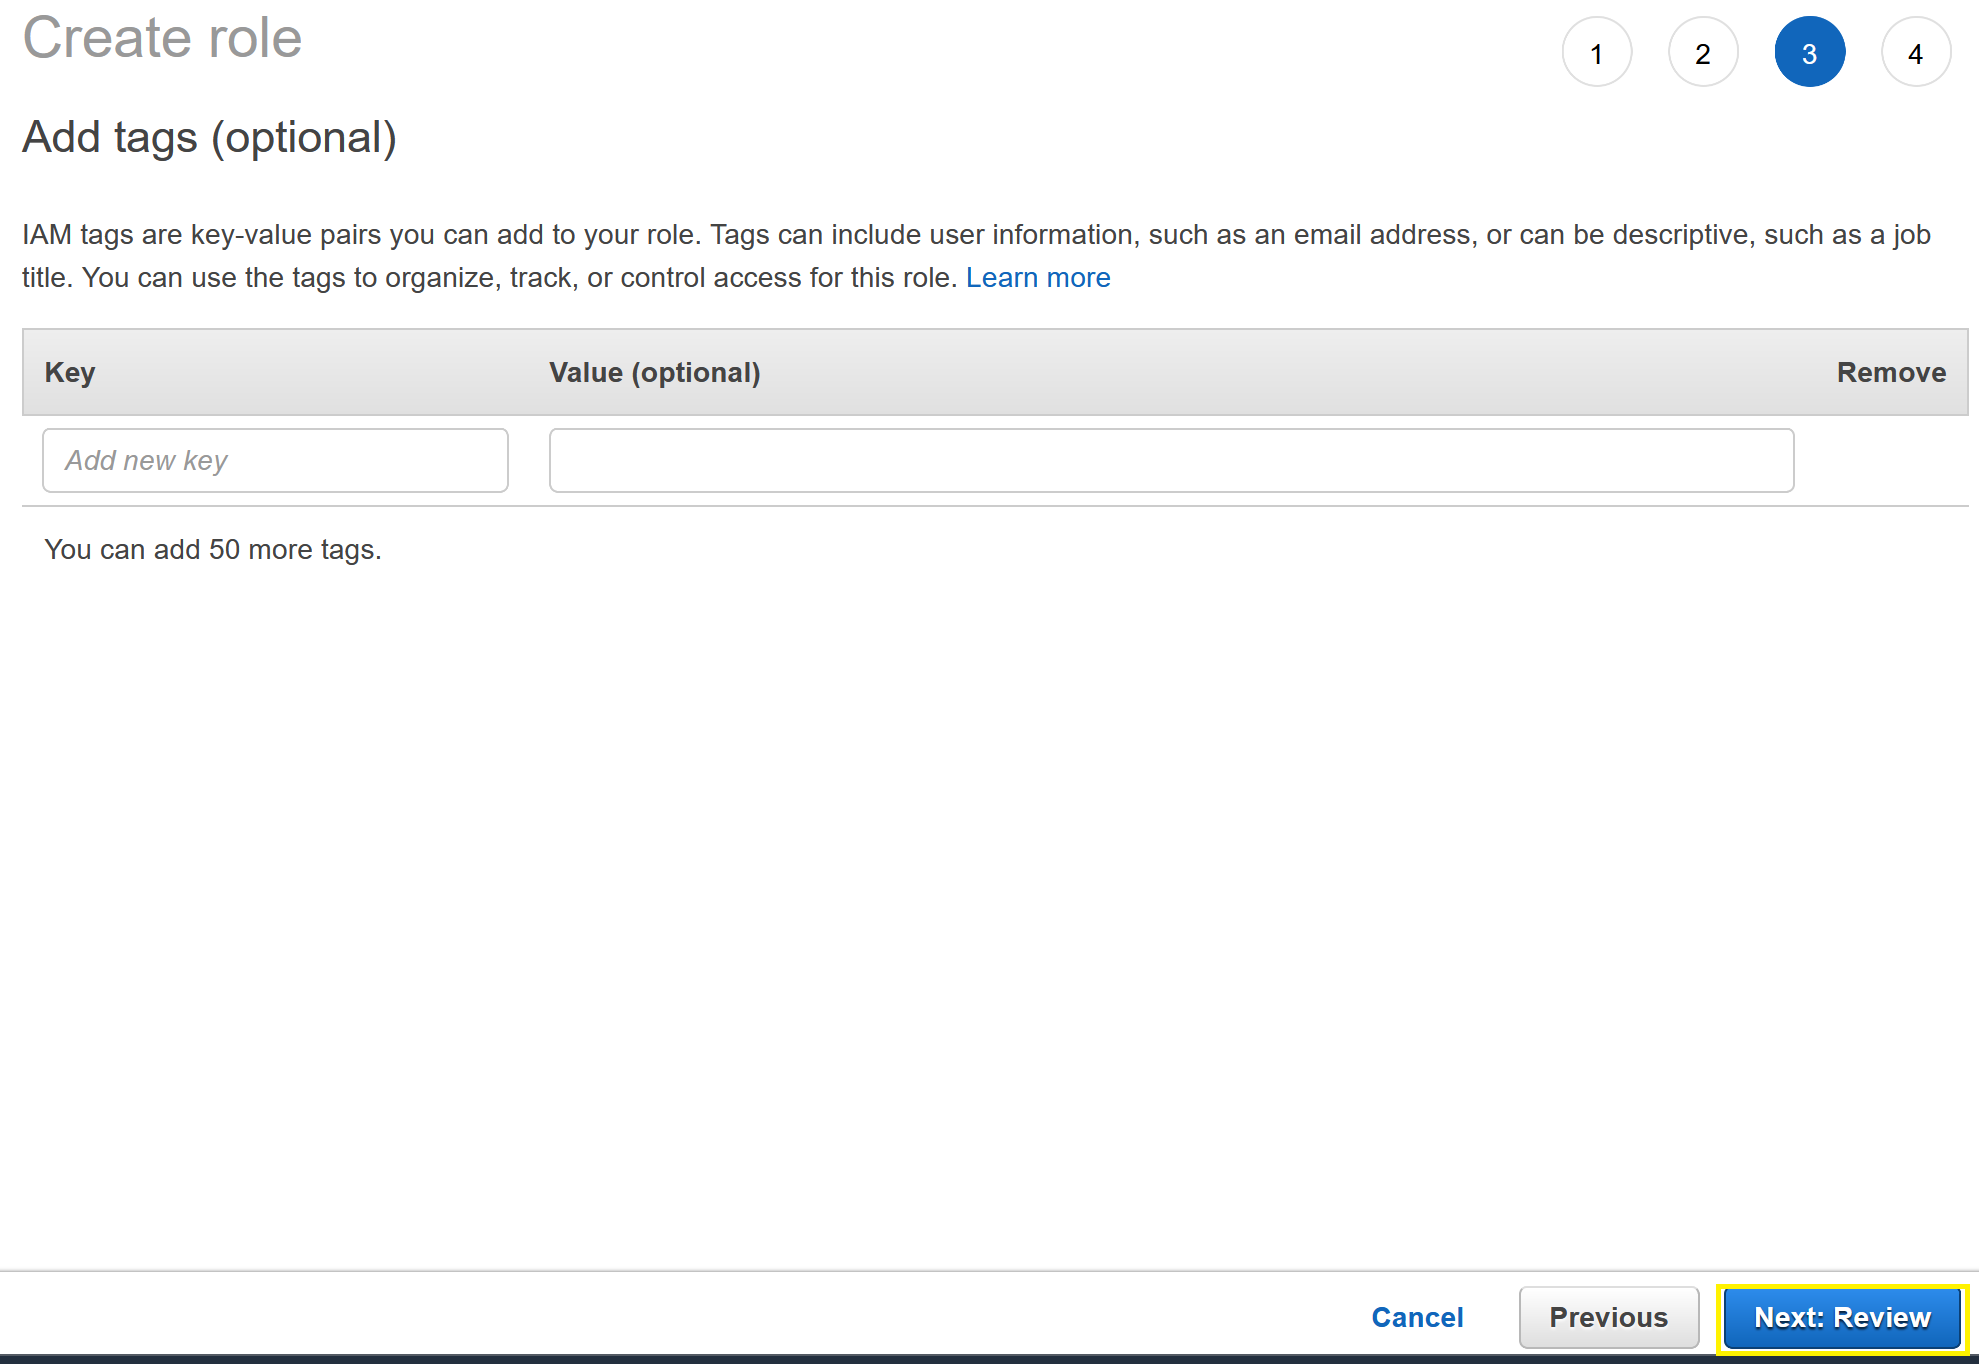
}11. This tutorial will forego assigning tags to this role, leaving the Key and Value boxes blank, and hit Next: Review. Tags are optional key/value pairings that help manage and organize resources within AWS.
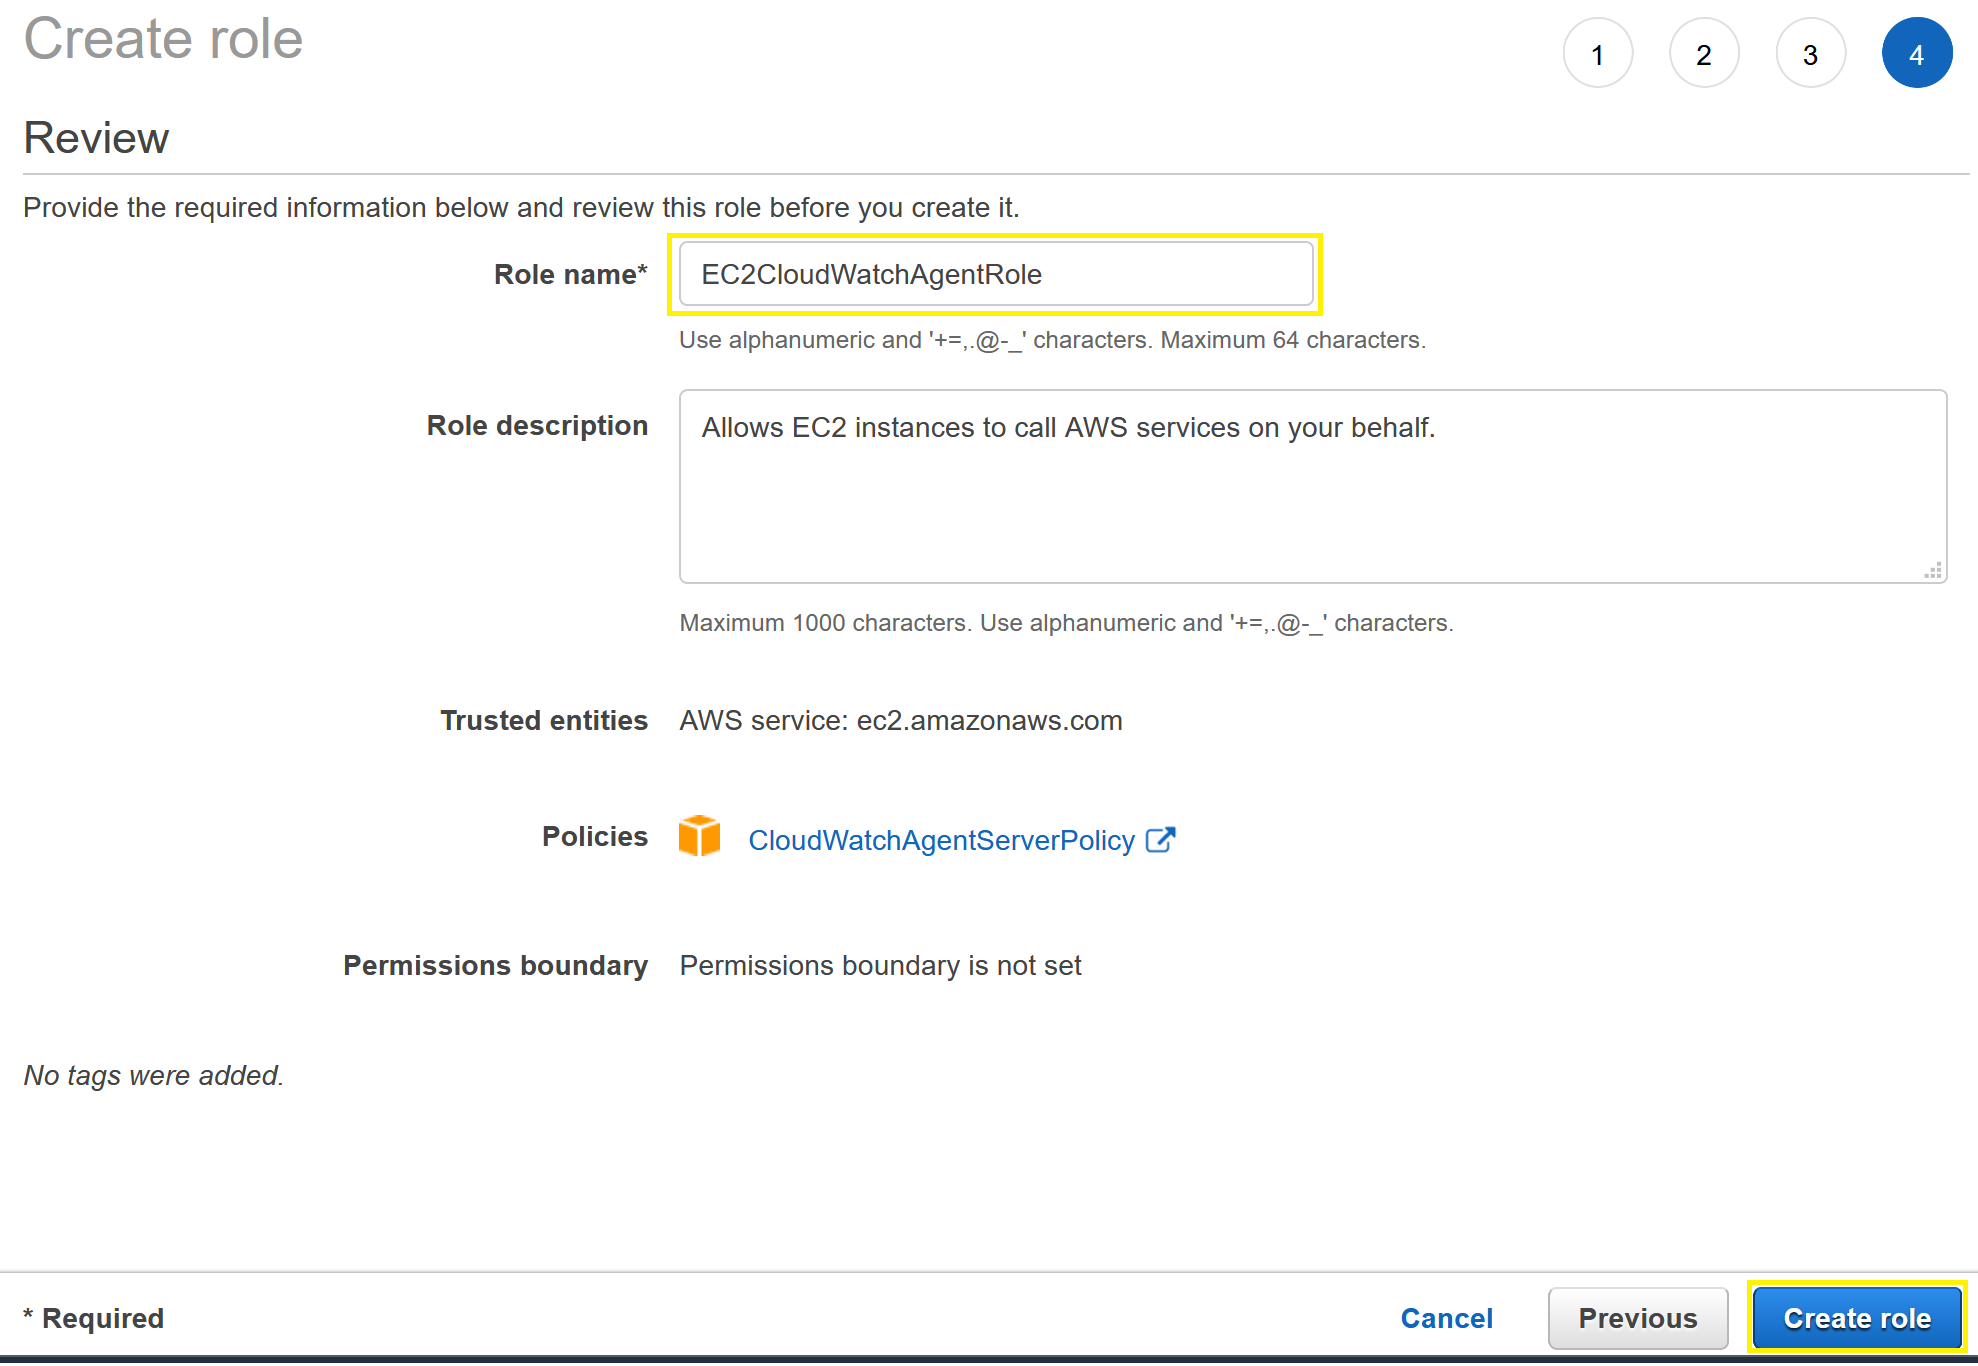
12. Assign your role a unique name and select Create Role. In the following screenshot, this tutorial’s Role name is EC2CloudWatchAgentRole.
13. Now check for the success message at the top of your screen. You should see a message that identifies the IAM role’s name, as shown below.

Great work! Your EC2 Instance will leverage the IAM role you created to communicate with the CloudWatch and CloudWatch Log services!
Attaching an IAM Role
Now that you’ve created an IAM role and attached the appropriate IAM policy, it’s time to attach the role to your EC2 Instance. To secure the IAM role to your EC2 Instance:
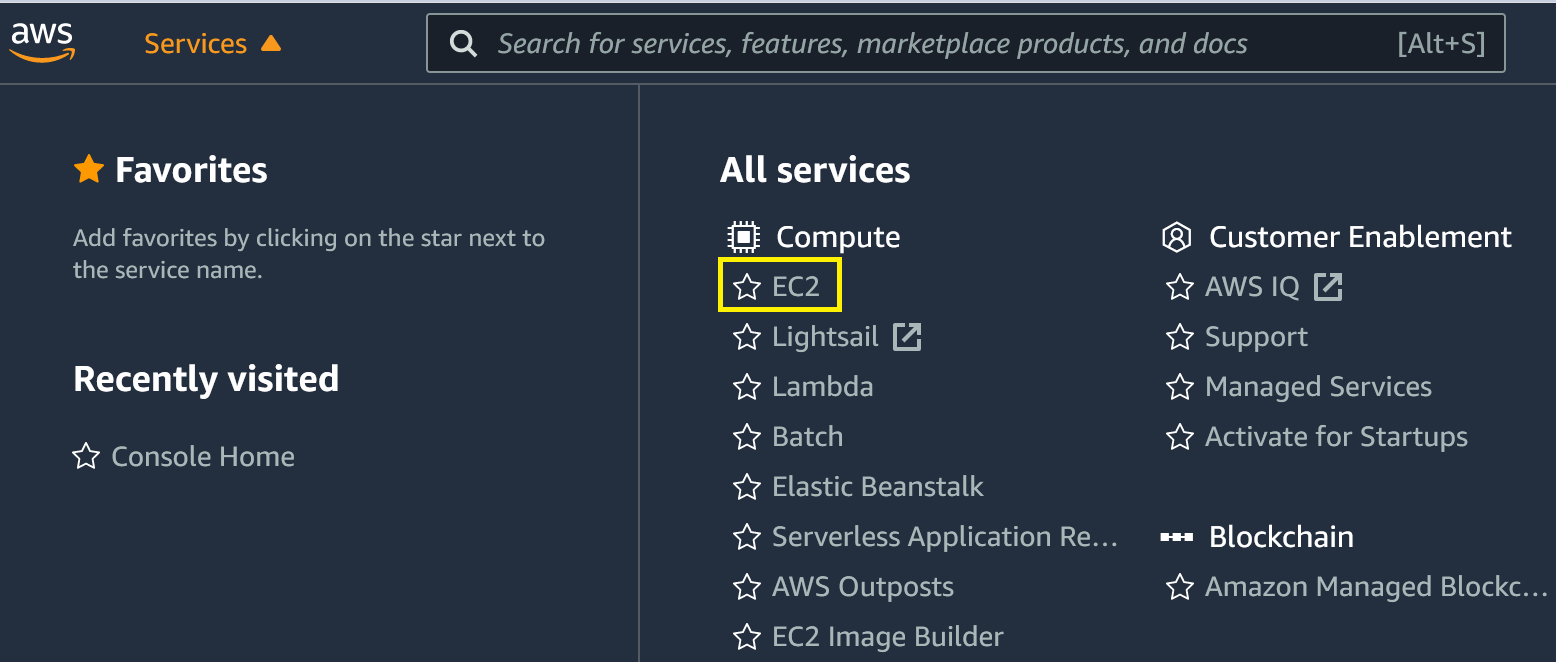
1. Assuming you’re still in the AWS Management Console, click Services in the upper left-hand corner of your screen.

2. Now click EC2 under All services. This option will take you to the EC2 console.
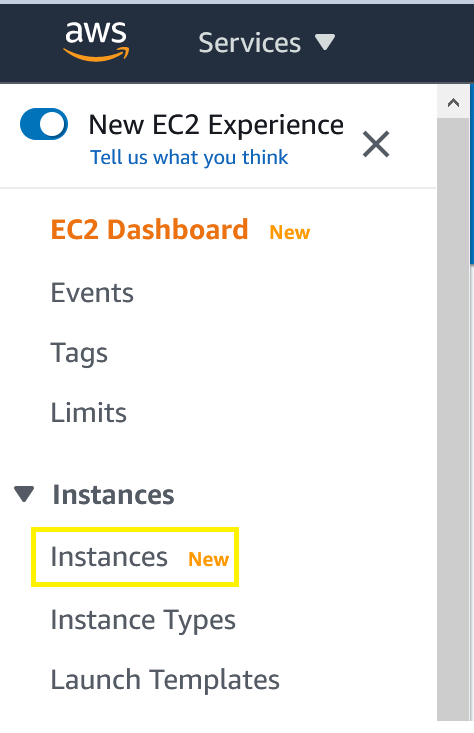
3. Select Instances from the menu on the left-hand side of the screen under the Instances category.
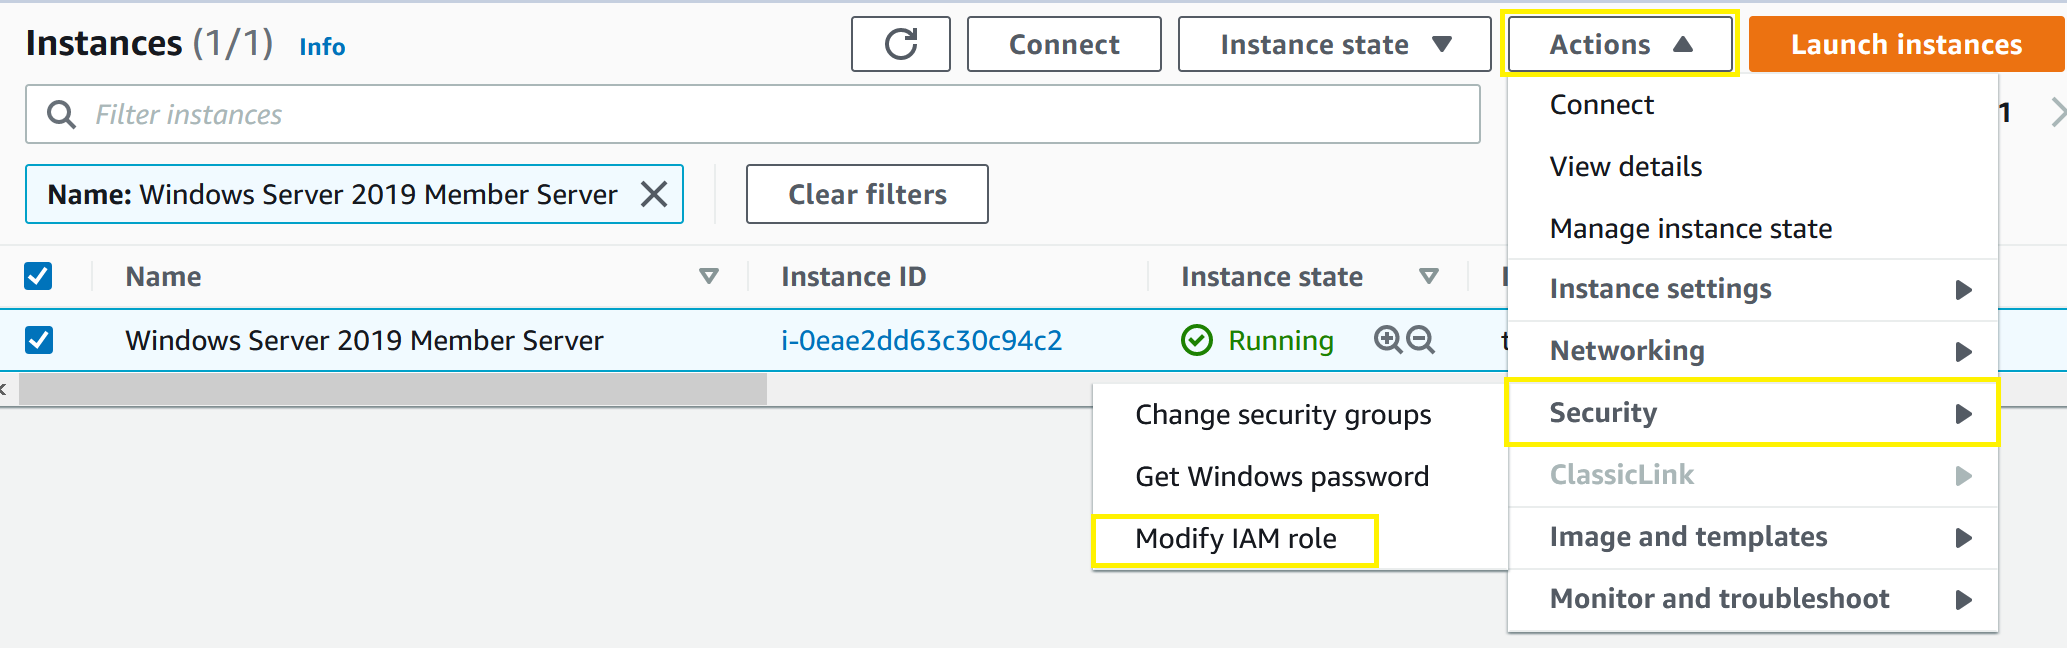
4. Within the Instances window, check the box to the left of the EC2 Instance that you will be installing the CloudWatch Agent on.

5. Select Actions —> Security —> Modify IAM Role. The Modify IAM Role option brings you to a menu that allows you to select and attach the IAM role created earlier in this tutorial.
6. Now, select the role you created earlier in this tutorial (EC2CloudWatchAgentRole) from the drop-down menu and then click Save.
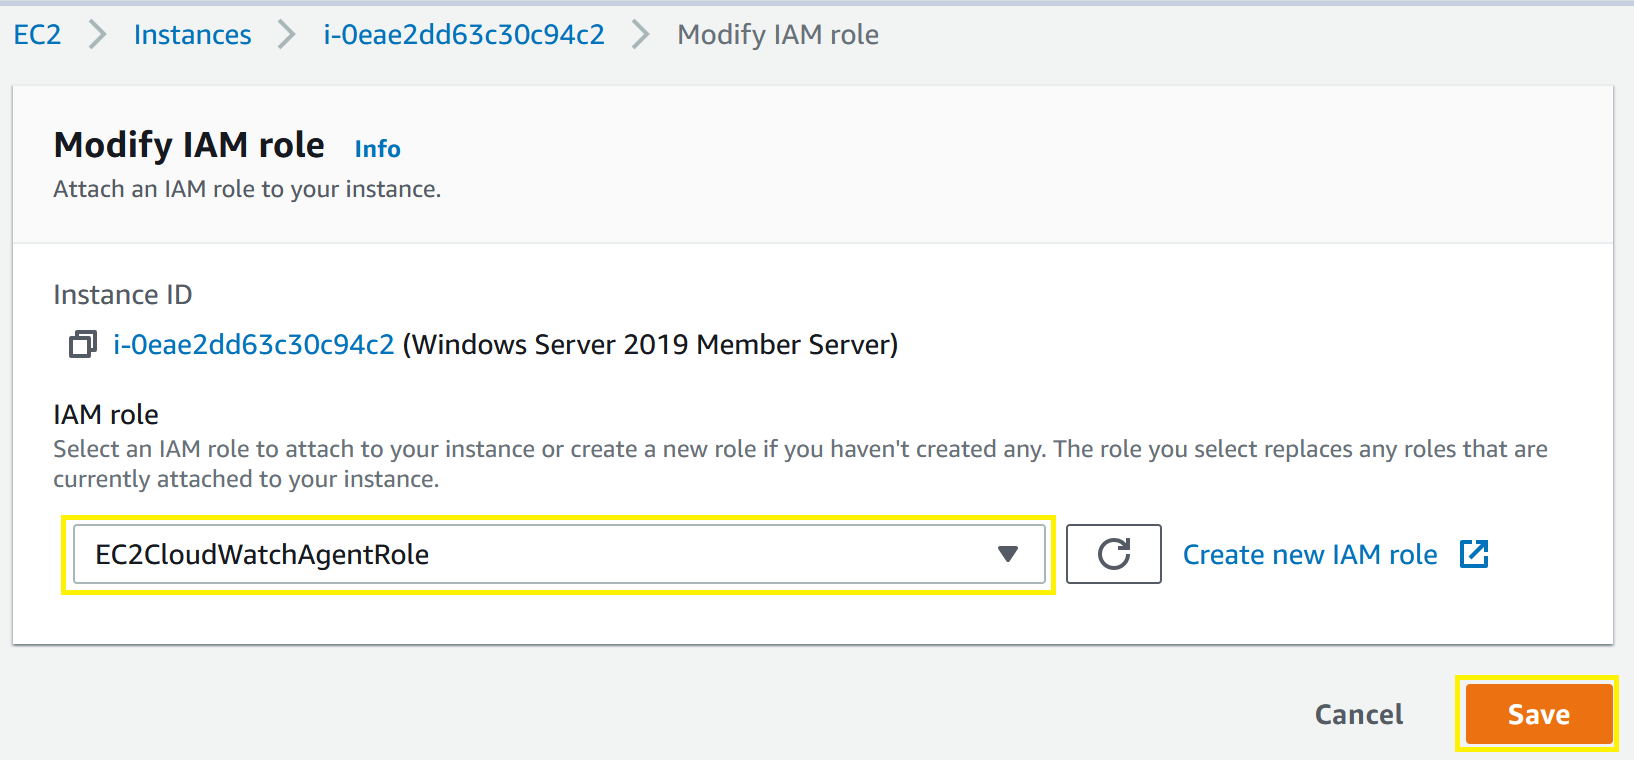
7. Verify the role is attached to your EC2 Instance by viewing the success message on the top of your screen. The success message contains the IAM role name and the EC2 instance’s Instance ID. In the following screenshot, this tutorial’s IAM Role name EC2CloudWatchAgentRole and Instance ID i-0eae2dd63c30c94c2 are shown.

Fantastic work! With the IAM role attached to your EC2 Instance, it can now communicate with the necessary CloudWatch services.
Downloading the CloudWatch Agent
Now it’s time to transfer the CloudWatch Agent from Amazon’s Simple Storage Service (S3) to your EC2 Instance. You can download the CloudWatch agent via a web browser, but this tutorial will be using PowerShell.
To download the agent with PowerShell:
1. Connect to an EC2 Instance using Remote Desktop or Session Manager.
2. Once you can see the Windows desktop, open a Windows PowerShell console session.
3. Next, download the CloudWatch Agent installation package invoking PowerShell’s Invoke-WebRequest cmdlet. This cmdlet will download the amazon-cloudwatch-agent.msi installation package to your desktop.
#Download the CloudWatch Agent installation package to the user's desktop.
 Invoke-WebRequest -Uri https://s3.amazonaws.com/amazoncloudwatch-agent/windows/amd64/latest/amazon-cloudwatch-agent.msi -OutFile $env:USERPROFILE\Desktop\amazon-cloudwatch-agent.msi
4. Verify the amazon-cloudwatch-agent.msi installation package exists using PowerShell’s Test-Path cmdlet.
#Verify Amazone CloudWatch Agent was successful.
 Test-Path -Path $env:USERPROFILE\Desktop\amazon-cloudwatch-agent.msi
The returned value of True indicates that your download was successful!
Great work! You downloaded Amazon’s CloudWatch Agent to your desktop.
Installing the CloudWatch Agent
In the last section, you downloaded the CloudWatch Agent, amazon-cloudwatch-agent.msi, to your desktop. Let’s now install the CloudWatch agent on your EC2 instance.
While still on the EC2 instance’s console, to install the agent:
1. Open a PowerShell console session as an Administrator.
2. Next, run the CloudWatch Agent MSI installer using msiexec. msiexec is a Windows-native executable that installs MSI packages. The command below uses msiexec with the install (/i) switch to install amazon-cloudwatch-agent.msi from your desktop.
#Install the CloudWatch Agent
 msiexec /i $env:USERPROFILE\Desktop\amazon-cloudwatch-agent.msi
3. Once you execute the command, a window will appear that displays a progress bar. The installation process only takes a few seconds. Allow it to complete before moving to the next section.
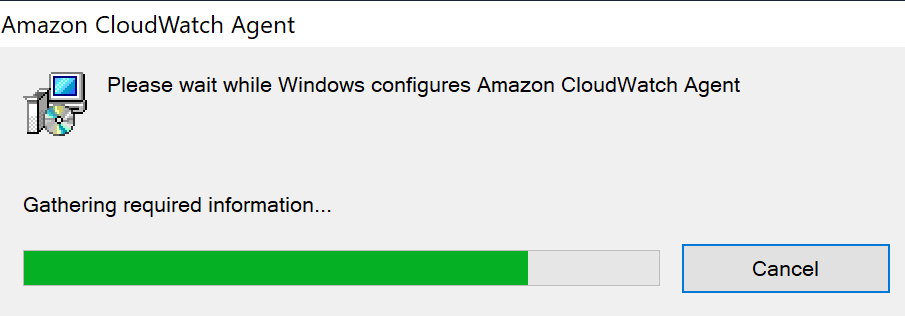
Quick and easy! The CloudWatch agent is now installed.
Configuring & Activating the CloudWatch Agent
Now that the CloudWatch Agent is installed, you must tell the agent what to collect and where to send the collected data. This configuration is defined within the JSON-based CloudWatch Agent Configuration File. To build the configuration file, the CloudWatch agent comes with a configuration wizard to accomplish this task.
The CloudWatch agent configuration wizard is not the only way to create and edit the CloudWatch agent configuration file. You can also create or edit the configuration file manually.
To trigger the wizard and configure the CloudWatch agent:
1. Open a PowerShell console session as an Administrator.
2. Launch amazon-cloudwatch-agent-config-wizard.exe by running the following code snippet. The executable program is menu-driven and will provide configurable options within your PowerShell console session.
#Launch the amazon-cloudwatch-agent-config-wizard.exe executable
 & $env:ProgramFiles\Amazon\AmazonCloudWatchAgent\amazon-cloudwatch-agent-config-wizard.exe
3. Next, choose the options that you would like to apply to the configuration file. The chosen options in this tutorial keep the metric collection settings in their default state and customize the Windows event log option to collect send Security events.
When prompted with Do you want to store the config in the SSM parameter store? be sure to deviate from the default configuration and set it to 2. The value of 2 tells the configuration wizard that you do not want to store the config in Parameter Store. Using the Parameter Store is outside the scope of this tutorial.
- On which OS are you planning to use the agent? (Default: Windows)
- Are you using EC2 or On-Premises hosts? (Default: EC2)
- Do you want to turn on StatsD daemon? (Default: yes)
- Which port do you want StatsD daemon to listen to? (Default: 8125)
- What is the collect interval for StatsD daemon? (Default: 10s)
- What is the aggregation interval for metrics collected by StatsD daemon? (Default: 60s)
- Do you have any existing CloudWatch Log Agent configuration file to import for migration? (Default: no)
- Do you want to monitor any host metrics? e.g. CPU, memory, etc. (Default: yes)
- Do you want to monitor cpu metrics per core? Additional CloudWatch charges may apply. (Default: yes)
- Do you want to add ec2 dimensions (ImageId, InstanceId, InstanceType, AutoScalingGroupName)
- into all of your metrics if the info is available? (Default: yes)
- Would you like to collect your metrics at high resolution? This enables sub-minute resolution for all metrics, but you can customize for specific metrics in the output json file. (Default 60s)
- Which default metrics config do you want? (Default: Basic)
- Are you satisfied with the above config? Note: it can be manually customized after the wizard
- completes to add additional items. (Default: yes)
- Do you want to monitor any customized log files? (Customized: 2 (no))
- Do you want to monitor any Windows event log? (Default: yes)
- Windows event log name: (Customized: Security)
- Do you want to monitor VERBOSE level events for Windows event log Security? (Default: yes)
- Do you want to monitor INFORMATION level events for Windows event log Security? (Default: yes)
- Do you want to monitor WARNING level events for Windows event log Security? (Default: yes)
- Do you want to monitor ERROR level events for Windows event log Security? (Default: yes)
- Do you want to monitor CRITICAL level events for Windows event log Security? (Default: yes)
- Log group name: (Default: Security)
- Log stream name: (Default: [{instance_id}])
- In which format do you want to store windows event to CloudWatch Logs?
- (Default: XML: XML format in Windows Event Viewer)
- Do you want to specify any additional Windows event log to monitor? (Customized: 2 (no)
- Do you want to store the config in the SSM parameter store? (Customized: 2 (no))
4. Now, apply the CloudWatch agent configuration using the included amazon-cloudwatch-agent-ctl.ps1 PowerShell script. The following code snippet applies the agent configuration by telling the CloudWatch Agent to fetch the config from $env:ProgramFiles\Amazon\AmazonCloudWatchAgent\config.json.
#Apply CloudWatch Agent Configuration
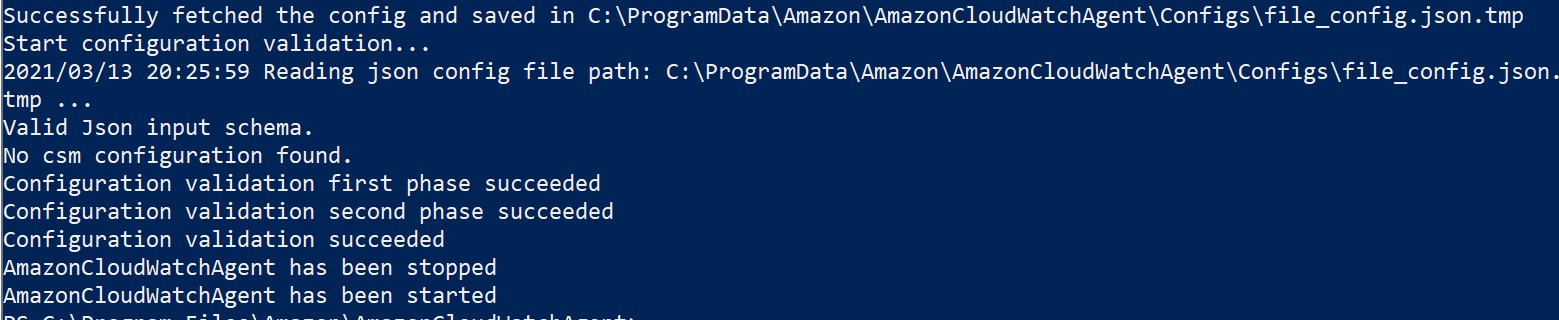
& $env:ProgramFiles\Amazon\AmazonCloudWatchAgent\amazon-cloudwatch-agent-ctl.ps1 -a fetch-config -m ec2 -c file:$env:ProgramFiles\Amazon\AmazonCloudWatchAgent\config.json -sThe expected output of the command is shown below. In the following screenshot, you will see that the agent successfully fetched the config and validated the configuration. After the script validates the configuration, the script restarts the agent.
Great work! The CloudWatch agent is now installed and configured on your EC2 Instance! If you followed along, metrics and log data are now being sent to the CloudWatch service!
Next Steps
In this tutorial, you used the command line to install and configure Amazon’s CloudWatch agent on an EC2 Instance running a Windows operating system. You should be able to now view the metrics and logs produced by your EC2 Instance in the CloudWatch console.
As a next step, try to manually edit the CloudWatch agent config.json file to force Windows Application logs into CloudWatch. When you’re done experimenting, uninstall the CloudWatch Agent to avoid unnecessary charges!


