


Need a streaming platform to handle large amounts of data? You’ve undoubtedly heard about Apache Kafka on Linux. Apache Kafka is perfect for real-time data processing, and it’s becoming more and more popular. Installing Apache Kafka on Linux can be a bit tricky, but no worries, this tutorial has got you covered.
In this tutorial, you’ll learn to install and configure Apache Kafka, so you can start processing your data like a pro, making your business more efficient and productive.
Read on and start streaming data with Apache Kafka today!
Prerequisites
This tutorial will be a hands-on demonstration. If you’d like to follow along, be sure you have the following.
- A Linux machine – This demo uses Debian 10, but any Linux distribution will work.
- A non-root user account with sudo privileges, necessary to run Kafka, and named
kafkain this tutorial. - A dedicated sudo user for Kafka – This tutorial uses a sudo user called kafka.
- Java – Java is an integral part of Apache Kafka installation.
- Git – This tutorial uses Git for downloading the Apache Kafka Unit files.
Installing Apache Kafka
Before streaming data, you’ll first have to install Apache Kafka on your machine. Since you have a dedicated account for Kafka, you can install Kafka without worrying about breaking your system.
1. Run the mkdir command below to create the /home/kafka/Downloads directory. You can name the directory as you prefer, but the directory is called Downloads for this demo. This directory will store the Kafka binaries. This action ensures that all your files for Kafka are available to the kafka user.
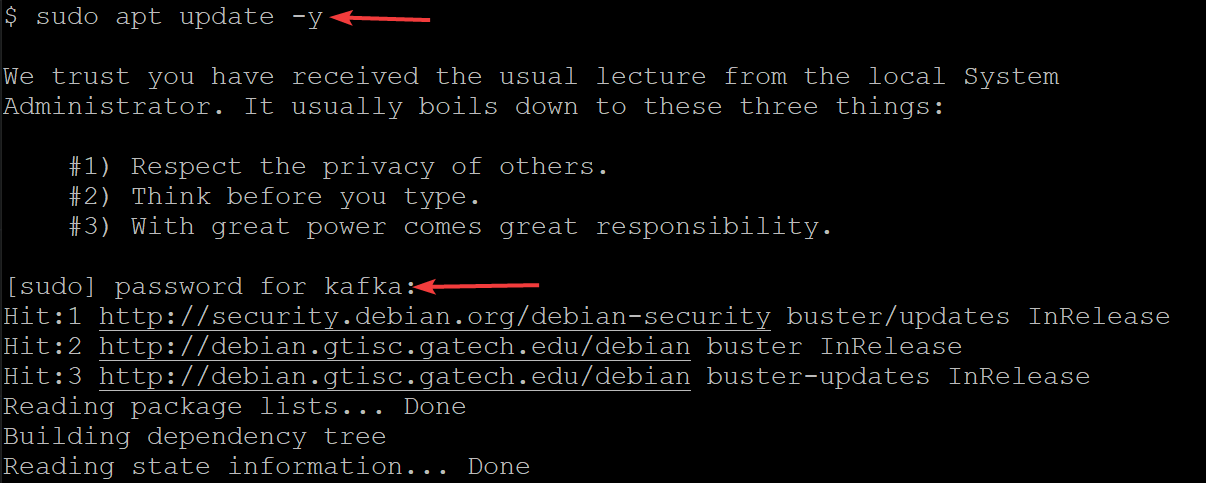
mkdir Downloads2. Next, run the below apt update command to update your system’s package index.
sudo apt update -yEnter the password for your kafka user when prompted.
3. Run the curl command below to download Kafka binaries from the Apache Foundation website to output (-o) to a binary file (kafka.tgz) in your ~/Downloads directory. You will use this binary file to install Kafka.
Be sure to replace kafka/3.1.0/kafka_2.13-3.1.0.tgz with the latest version of Kafka binaries. As of this writing, the current Kafka version is 3.1.0.
curl "https://dlcdn.apache.org/kafka/3.1.0/kafka_2.13-3.1.0.tgz" -o ~/Downloads/kafka.tgz
4. Now, run the tar command below to extract (-x) the Kafka binaries (~/Downloads/kafka.tgz) into the automatically created kafka directory. The options in the tar command perform the following:
The options in the tar command perform the following:
-v– Tells thetarcommand to list all files as they get extracted.
-z– Tells thetarcommand to gzip the archive as it’s being uncompressed. This behavior is not required in this case but is an excellent option, especially if you need a quick compressed/zipped file to move around.
-f– Tells thetarcommand which archive file to extract.
-strip 1-Instructs thetarcommand to strip the first level of directories from your file name list. As a result, automatically create a subdirectory named kafka containing all of the extracted files from the~/Downloads/kafka.tgzfile.
tar -xvzf ~/Downloads/kafka.tgz --strip 1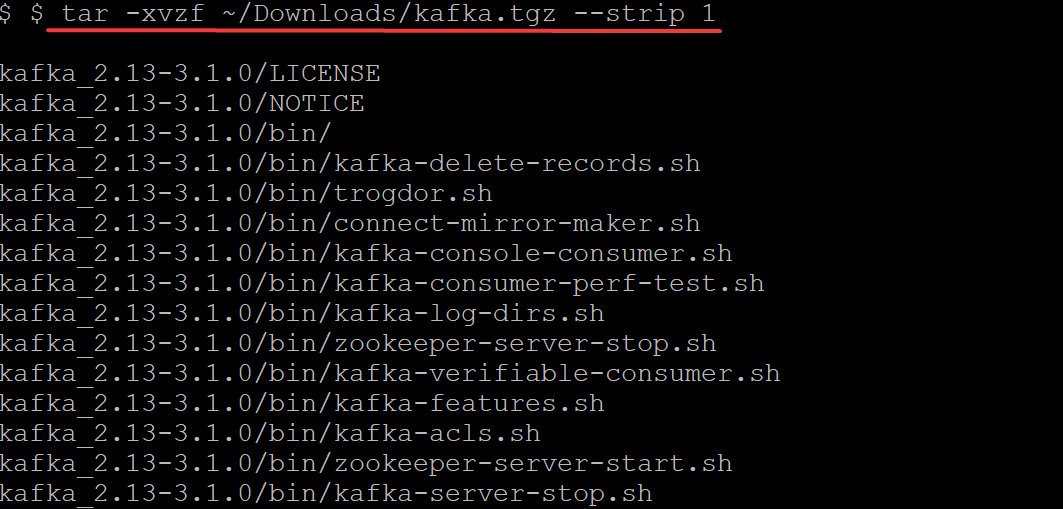
Configuring the Apache Kafka Server
At this point, you have downloaded and installed the Kafka binaries to your ~/Downloads directory. You can’t use the Kafka server just yet since, by default, Kafka does not allow you to delete or modify any topics, a category necessary to organize log messages.
To configure your Kafka server, you will have to edit the Kafka configuration file (/etc/kafka/server.properties).
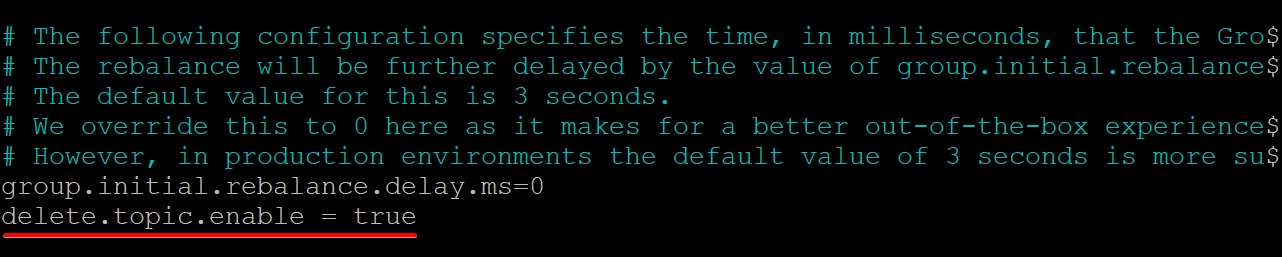
1. Open the Kafka configuration file (/etc/kafka/server.properties) in your preferred text editor.
2. Next, add the delete.topic.enable = true line at the bottom of the /kafka/config/server.properties file content, save the changes and close the editor.
This configuration property gives you permission to delete or modify topics, so ensure you know what you are doing before deleting topics. Deleting a topic deletes partitions for that topic as well. Any data stored in those partitions are no longer accessible once they are gone.
Be sure there are no spaces at the beginning of each line, or else the file will not be recognized, and your Kafka server will not work.
3. Run the git command below to clone the ata-kafka project to your local machine so that you can modify it for use as a unit file for your Kafka service.
sudo git clone https://github.com/Adam-the-Automator/apache-kafka.git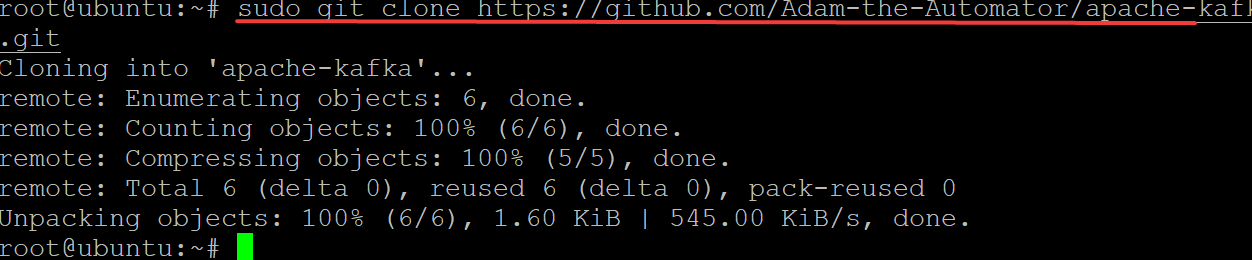
Now, run the below commands to move into the apache-kafka directory and list the files inside.
cd apache-kafka
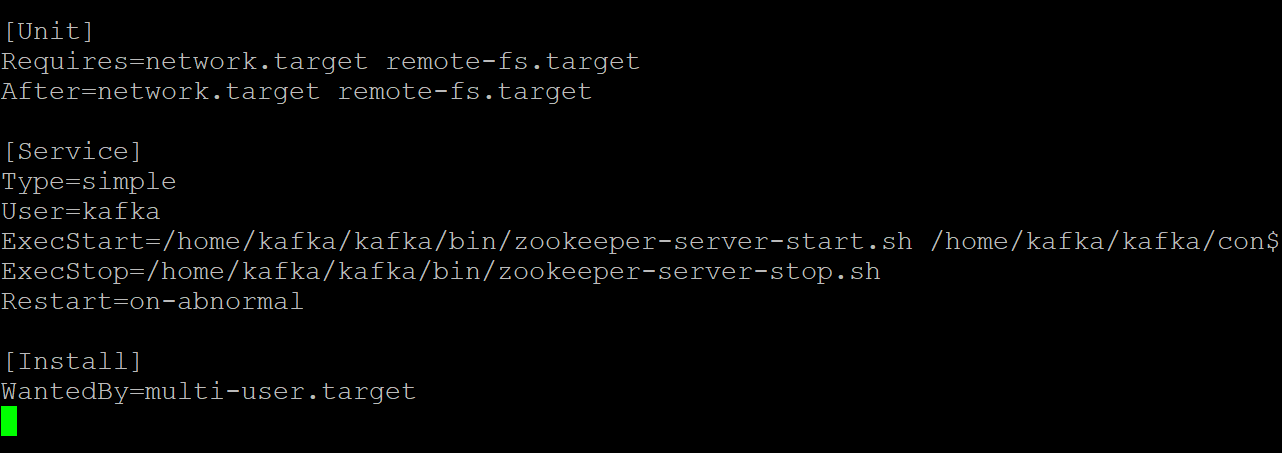
lsNow that you are in the ata-kafka directory, you can see that you have two files inside: kafka.service and zookeeper.service, as shown below.

5. Open the zookeeper.service file in your preferred text editor. You’ll use this file as a reference to create the kafka.service file.
Customize each section below in the zookeeper.service file, as needed. But this demo uses this file as is, without modifications.
- The
[Unit]section configures the startup properties for this unit. This section tells the systemd what to use when starting the zookeeper service.
- The [Service] section defines how, when, and where to start the Kafka service using the kafka-server-start.sh script. This section also defines basic information such as name, description, and command-line arguments (what follows ExecStart=).
- The
[Install]section sets the runlevel to start the service when entering multi-user mode.
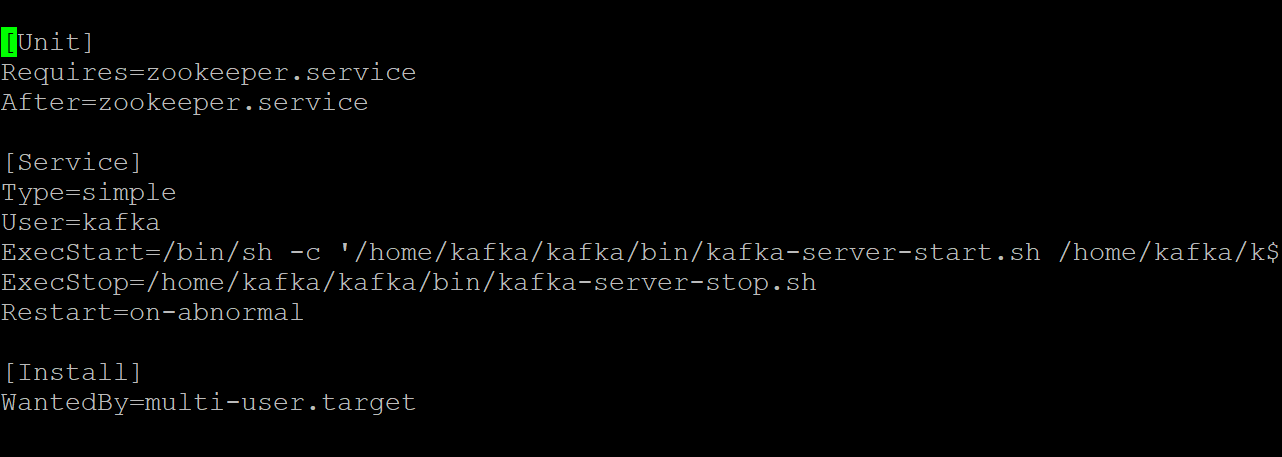
6. Open the kafka.service file in your preferred text editor, and configure how your Kafka server looks when running as a systemd service.
This demo uses the default values that are in the kafka.service file, but you can customize the file as needed. Note that this file is referring to the zookeeper.service file, which you might modify at some point.
7. Run the below command to start the kafka service.
sudo systemctl start kafkaRemember to stop and start your Kafka server as a service. If you don’t, the process will remain in memory, and you can only stop the process by killing it. This behavior can lead to data loss if you have topics that are being written or updated as the process shuts down.
Since you’ve created kafka.service and zookeeper.service files, you can also run either of the commands below to stop or restart your systemd-based Kafka server.
sudo systemctl stop kafka
sudo systemctl restart kafka8. Now, run the journalctl command below to verify that the service has started up successfully.
This command lists all of the logs for the kafka service.
sudo journalctl -u kafkaIf you’ve configured everything correctly, you’ll see a message that says Started kafka.service, as shown below. Congratulations! You now have a fully-functional Kafka server that will run as systemd services.

Restricting the Kafka User
At this point, the Kafka Service runs as the kafka user. The kafka user is a system-level user and should not be exposed to users who connect to Kafka.
Any client who connects to Kafka through this broker will effectively have root-level access on the broker machine, which is not recommended. To mitigate the risk, you’ll remove the kafka user from the sudoers file and disable the password for the kafka user.
1. Run the exit command below to switch back to your normal user account.
exit
2. Next, run the sudo deluser kafka sudo and press Enter to confirm that you want to remove the kafka user from sudoers.
sudo deluser kafka sudo
3. Run the below command to disable the password for the kafka user. Doing so further improves the security of your Kafka installation.
sudo passwd kafka -l
4. Now, rerun the following command to remove the kafka user from the sudoers list.
sudo deluser kafka sudo
5. Run the below su command to set only authorized users like root users can run commands as the kafka user.
sudo su - kafka
6. Next, run the below command to create a new Kafka topic named ATA to verify that your Kafka server is running correctly.
Kafka topics are feeds of messages to/from the server, which helps eliminate the complications of having messy and unorganized data in the Kafka Servers
cd /usr/local/kafka-server && bin/kafka-topics.sh --create --bootstrap-server localhost:9092 --replication-factor 1 --partitions 1 --topic ATA
7. Run the below command to create a Kafka producer using the kafka-console-producer.sh script. Kafka producers write data to topics.
echo "Hello World, this sample provided by ATA" | bin/kafka-console-producer.sh --broker-list localhost:9092 --topic ATA > /dev/null
8. Finally, run the below command to create a kafka consumer using the kafka-console-consumer.sh script. This command consumes all of the messages in the kafka topic (--topic ATA) and then prints out the message value.
bin/kafka-console-consumer.sh --bootstrap-server localhost:9092 --topic ATA --from-beginningYou’ll see the message in the output below because your messages are printed by the Kafka console consumer from the ATA Kafka topic, as shown below. The consumer script continues to run at this point, waiting for more messages.
You can open another terminal to add more messages to your topic and press Ctrl+C to stop the consumer script once you are done testing.

Conclusion
Throughout this tutorial, you’ve learned to set up and configure Apache Kafka on your machine. You’ve also touched on consuming messages from a Kafka topic produced by the Kafka producer, resulting in effective event log management.
Now, why not build on this newfound knowledge by installing Kafka with Flume to better distribute and manage your messages? You can also explore Kafka’s Streams API and build applications that read and write data to Kafka. Doing so transforms data as needed before writing it out to another system like HDFS, HBase, or Elasticsearch.


