

The ever-growing demand for content storage and instant data retrieval has increased the complexities of hardware management and capacity planning. Highly regulated industries, such as Financial Services, Healthcare, and Public Sectors, require a regulatory backup of core intellectual property.
Not a reader? Watch this related video tutorial!As an alternative to storing years’ worth of data archives on on-premises storage systems, the Amazon S3 Glacier storage classes offer low-cost storage options. Read on and learn how to get started with Amazon S3 Glacier classes for data backup and archive.
Prerequisites
This tutorial will consist of hands-on demonstrations. To follow along, you’ll need an AWS account. You can register a free-tier account first if you don’t have one.
Creating an Amazon S3 Bucket
Before you can begin using the Amazon S3 Glacier classes for data archiving, you’ll first need to create the bucket to store your objects in Amazon S3. Follow the below steps to create and configure a new Amazon S3 bucket that you’ll later use with the Amazon S3 Glacier classes.
1. Open the AWS Console in your preferred browser and log in with your account.
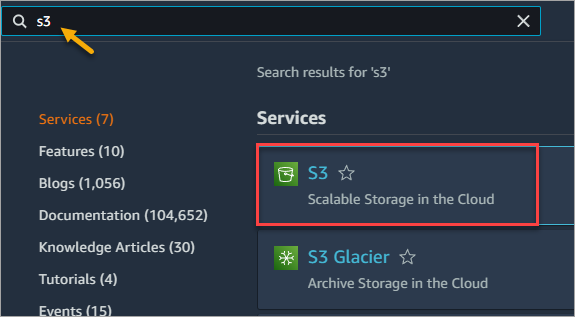
2. Type S3 into the search bar at the top of the page. Under the search results, click S3.
The S3 Glacier result below refers to the Glacier service before integration with Amazon S3. Do not click this option because doing so will instruct you to access the S3 service console instead.
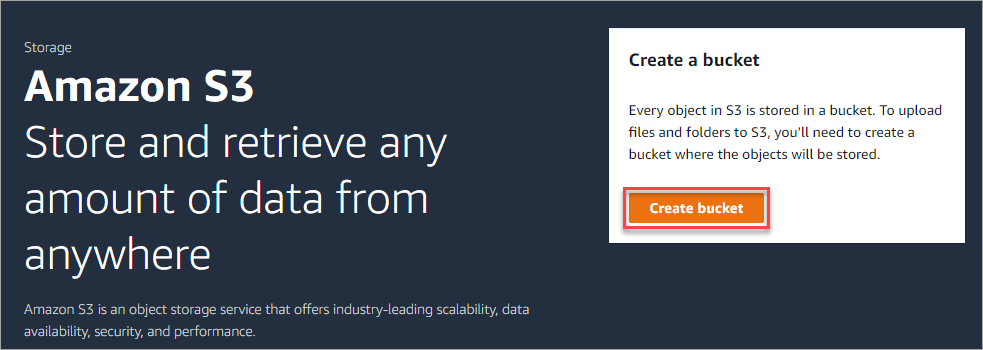
3. Next, click the Create bucket button on the Amazon S3 console page.
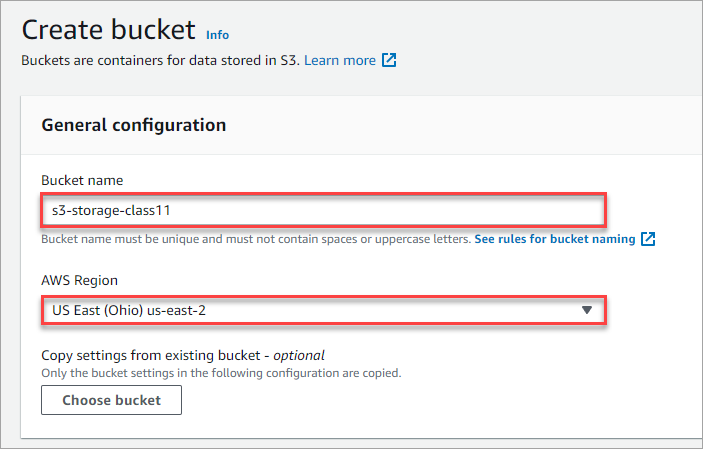
4. Under the General configuration section, type in the Bucket name for your new bucket, such as s3-storage-class11.
The bucket name must be unique across the entire AWS environment. S3 will not allow you to continue if you entered an already existing name. Also, refer to the bucket naming rules to ensure that your bucket name will be valid.
Next, select the AWS Region where you want to create the bucket. This example chooses the US East (Ohio) east-us-2 region.
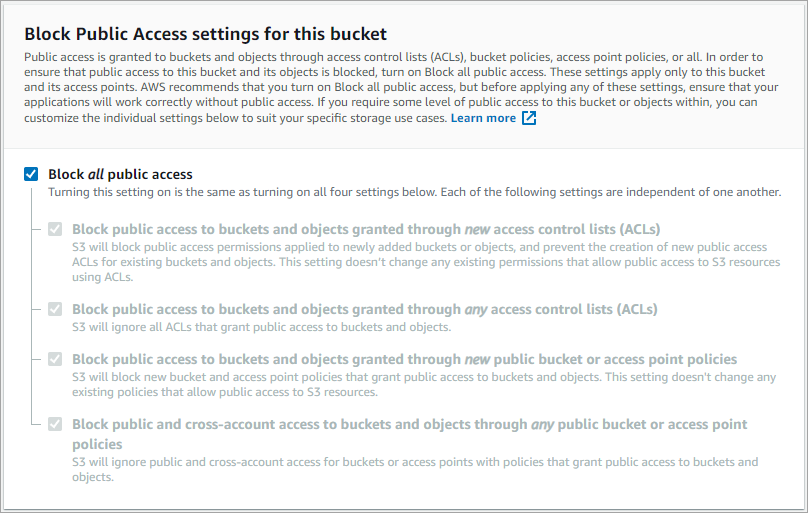
5. Leave the Block all public access checked to ensure your bucket is not publicly accessible.
If needed, you may change the public access settings even after the bucket creation.
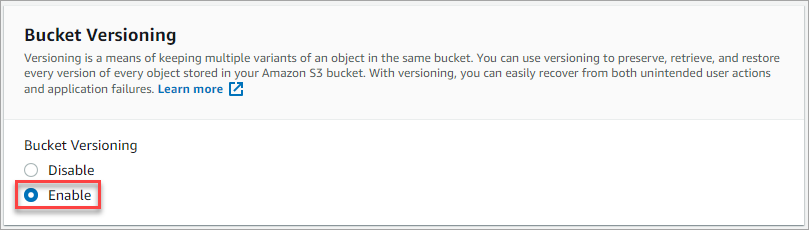
6. Next, enable Bucket Versioning to allow S3 to preserve, retrieve, and restore every version of all the objects in your bucket.
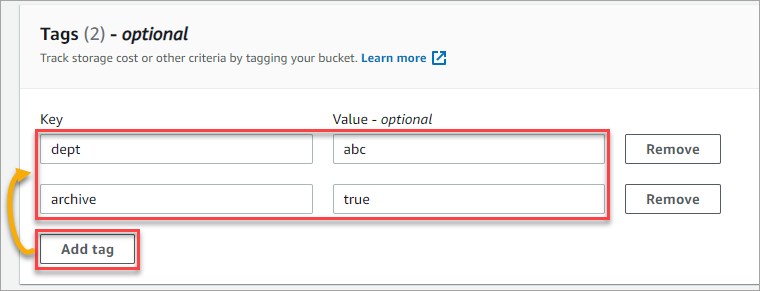
7. Now, click on Add tag to create one or more tags for your bucket. Tags are optional but helpful when tracking costs or for creating reports. This example creates two tags; dept=abc, archive=true. Add any tags you may need.
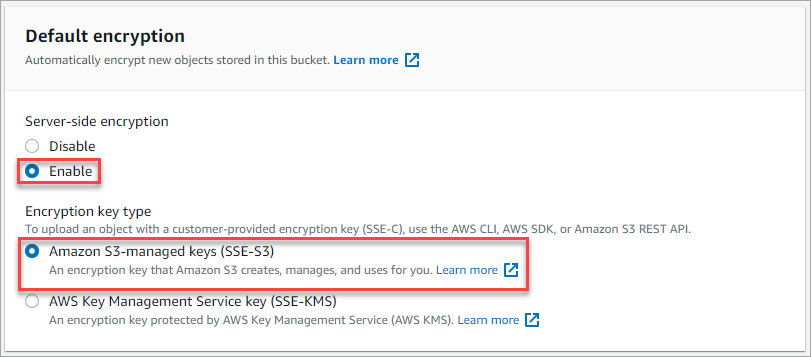
8. For the Default encryption selection, enable the Server-side encryption and choose Amazon S3-managed keys as the Encryption key type.
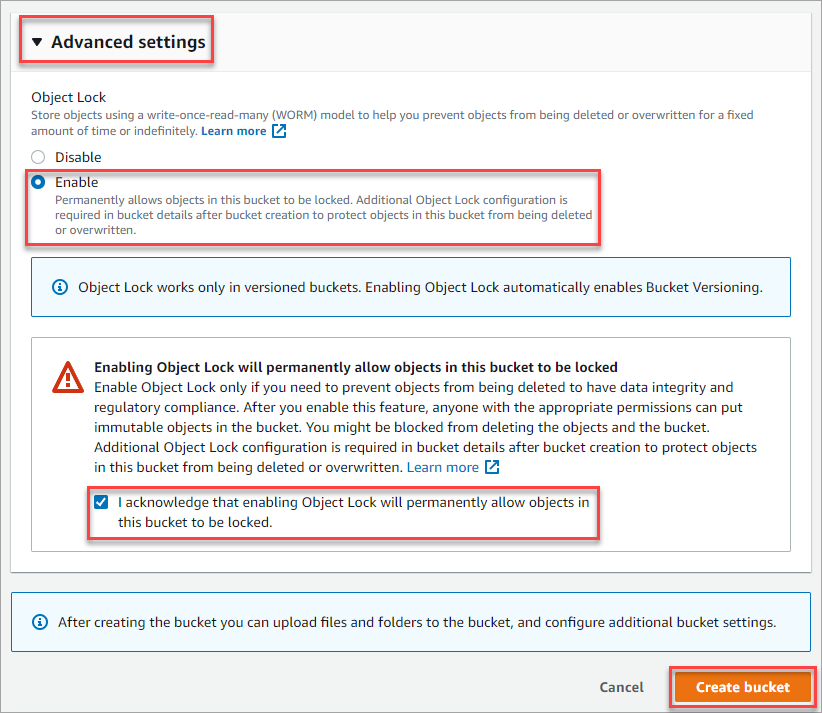
9. Expand the Advanced settings section and click Enable under the Object Lock option. Enabling Object Lock prevents accidental deletion or overwriting objects in the S3 bucket.
Check the “I acknowledge…” box to acknowledge the possible ramifications of enabling the object lock option.
Lastly, click the Create bucket button to begin bucket creation.
Configuring the Amazon S3 Bucket Object Lock
After the bucket creation, you’ll see a green banner confirming the successful bucket creation. At the same time, a blue information banner indicates that although you have enabled the Object Lock during the bucket creation, the automatic protection for new objects is not enabled yet.
To enable the default retention, proceed as follows.
1. Click the bucket details link to open the bucket information page.

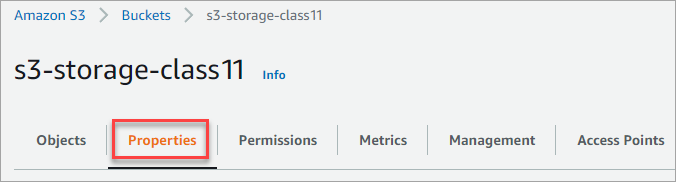
2. Click on the Properties tab.
3. Scroll down until you see the Edit Object Lock section.
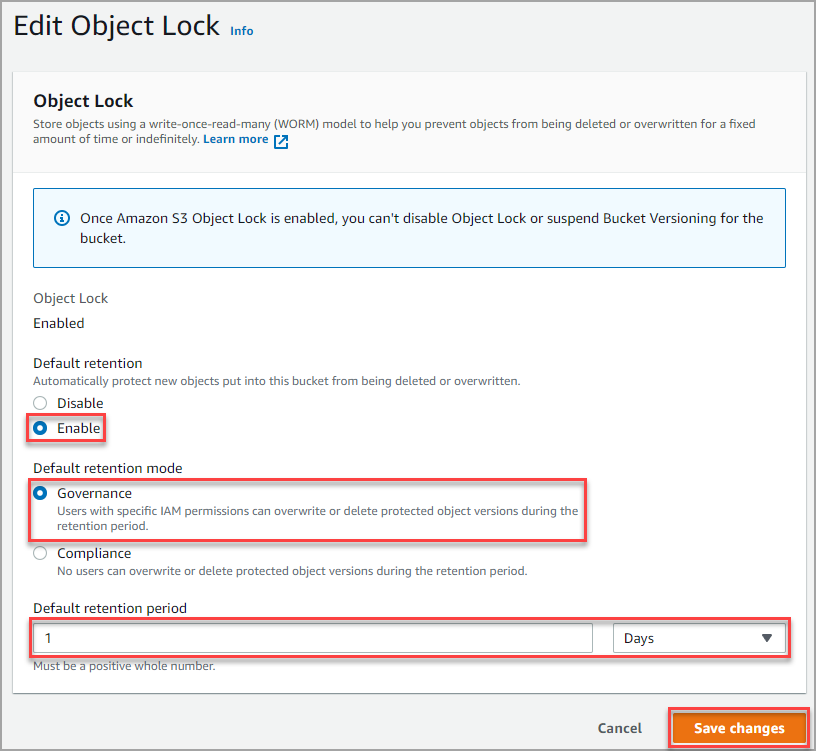
Next, click Enable under the Default Retention.
Select the Governance option as the Default retention mode. This option automatically protects objects in the bucket during the retention period but allows users with IAM permissions to delete or overwrite objects.
Enter the Default retention period that you require. This value determines how long the object protection will be in effect. In this example, the default retention period will be one day.
Finally, click Save changes to save the default retention configuration.
Uploading Data to Amazon S3 Glacier
Suppose you have files that you no longer access frequently, such as old software releases and compliance documents. Uploading those data to Amazon S3 Glacier storage would be ideal for archiving purposes.
And depending on your retrieval requirements, you can choose one of three Amazon S3 Glacier classes.
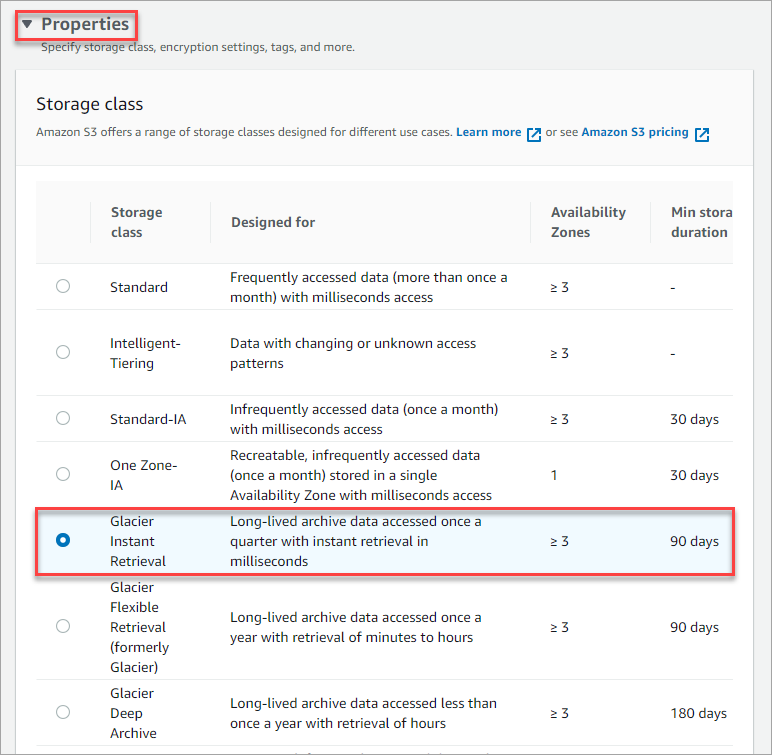
- Glacier Instant Retrieval – The applicable Amazon S3 Glacier if the expected data access frequency is at least once per quarter. As the name implies, data retrieval in this class takes milliseconds, which is quite fast.
- Glacier Flexible Retrieval – Intended for data retrieval that may happen at least once a year. The data retrieval time in this class ranges from a few minutes to hours.
- Glacier Deep Archive – If you expect that there will be no data retrieval for a year, this Amazon S3 Glacier class will be the most appropriate. But, when you need to retrieve the data, this class has the longest retrieval time (hours) compared with the two previous classes.
Now that you have the gist of the Amazon S3 Glacier Storage classes follow these steps to put your bucket in action.
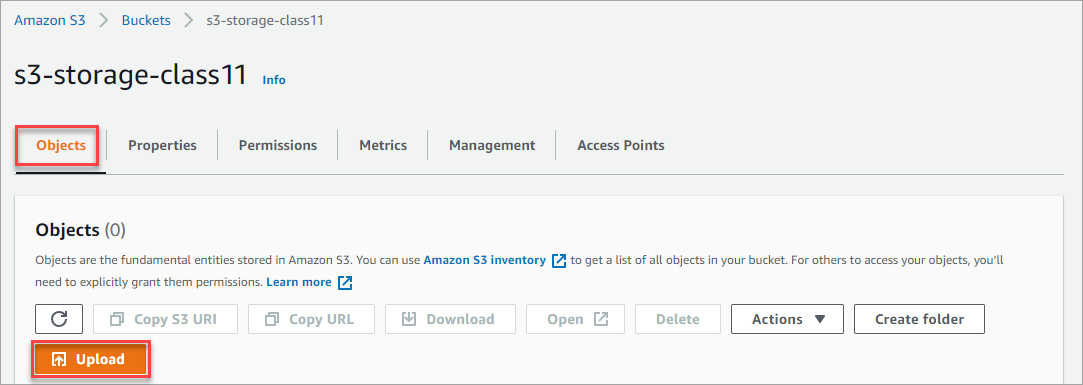
1. Click the Objects tab on the bucket’s page and click Upload.
2. There are two ways to upload files or folders; the Drag and drop method or the file dialog (browse and select) method. Choose the upload method you prefer, or try both.
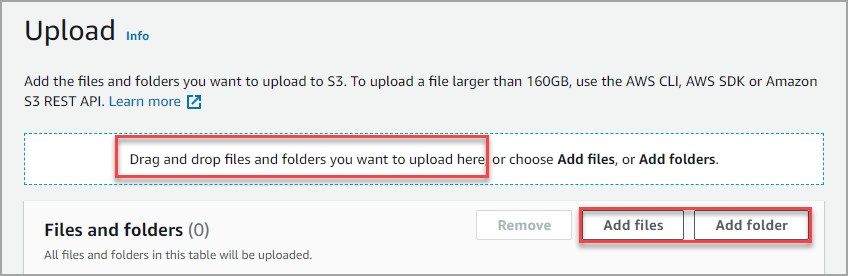
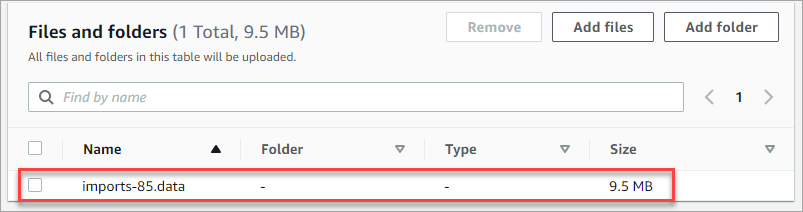
Once you’ve added the data to upload, you see the list under the Files and folders section. As you can see below, this example will be uploading one file. Add more files as you want at this point.
3. Scroll down and expand the Properties section. Under the Storage class list of options, select one of three Amazon Glacier S3 classes. For this example, choose the Glacier Flexible Retrieval class. This class replicates data across three or more geographically-dispersed Availability Zones.
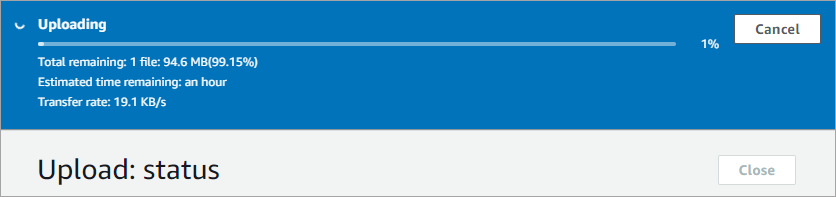
4. Now, scroll down to the bottom of the page and click Upload. You’ll see a progress indicator at the top of the page during the upload, as shown below.
5. After the upload, you’ll see the confirmation message, as the image below shows. Click Close to close the upload status.

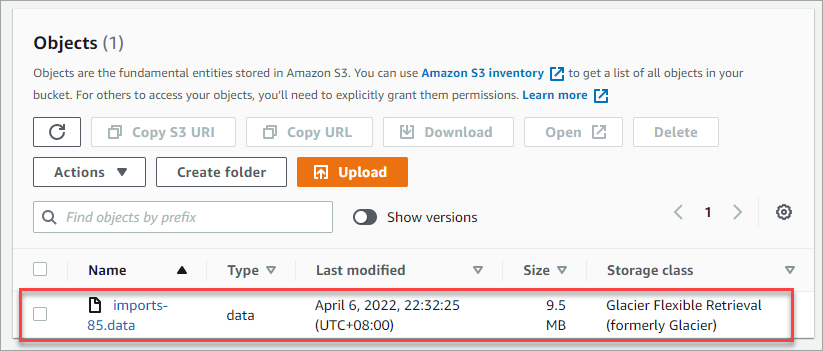
You should now see the data you uploaded on the list of Objects showing its properties, including the Storage class.
Restoring Data from Amazon S3 Glacier
Part archiving is that the data should be accessible. But, unlike non-Glacier objects, you cannot directly download or access objects from Amazon S3 Glacier. Instead, you must first initiate a data restore of the object. To do so, follow the below steps.
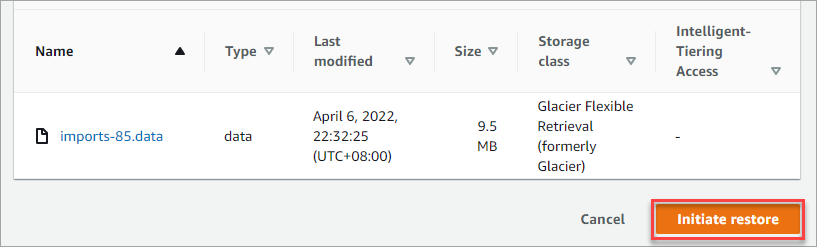
1. Select one or more objects to restore from the Objects list. In this example, select the file you previously uploaded called imports-85.data. After selecting the file, click Actions → Initiate restore.

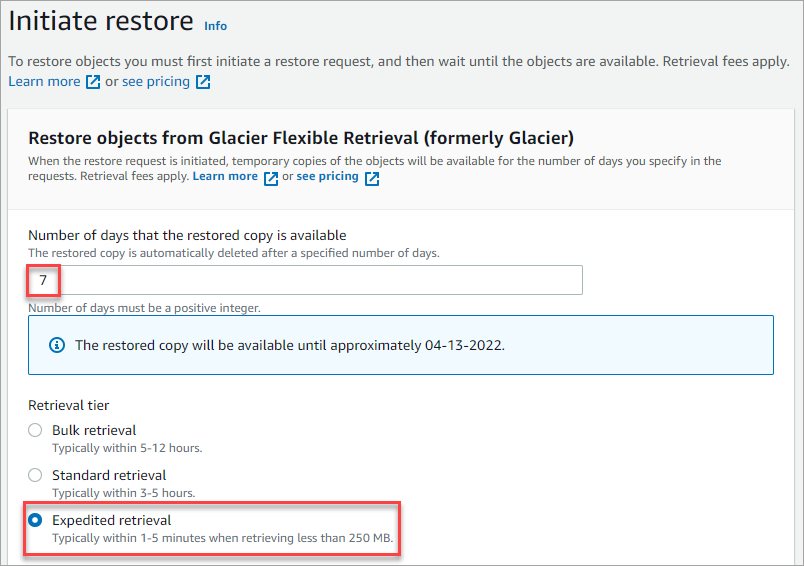
2. On the Initiate restore page, enter the number of days for how long the restored object will be available. The below example will keep the restored data for seven days.
Next, choose the Retrieval tier. The tier you choose affects the retrieval time. In this example, choose the Expedited retrieval tier, which should complete the restoration within 5 minutes if the data is less than 250 MB.
Faster retrieval times mean higher fees. Refer to the Amazon S3 Pricing page to understand the data retrieval costs.
3. Scroll to the bottom of the page and click Initiate restore.
You should see a confirmation message at the top of the page, as shown below. Review the summary and click Close.
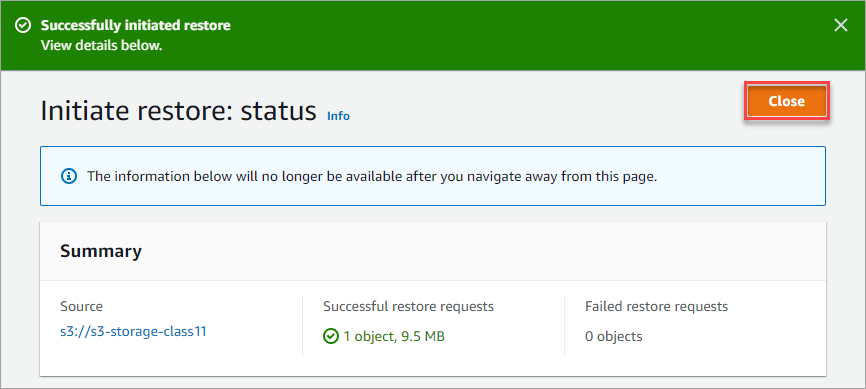
At this point, you can only wait for the restoration process to finish.
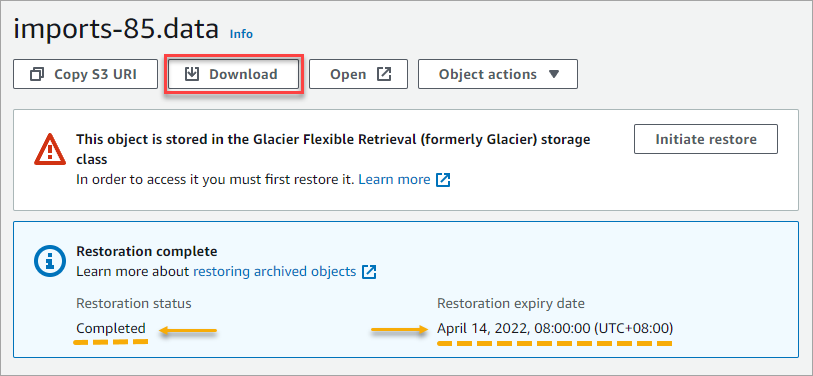
5. After the restoration, you should see that the object is available to download. Click the Download button to download the file.
Deleting Objects from Amazon S3 Glacier
When the archived data has reached the point where it’s no longer relevant, deleting them from your Amazon S3 Glacier storage is the next logical step. Doing so also helps reduce the cost of keeping your S3 bucket, so you should also have a strategy for housekeeping.
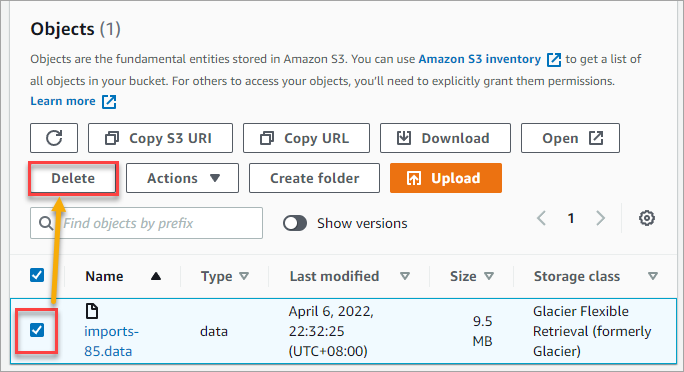
1. To delete objects from the Amazon S3 Glacier, select the object(s) to delete from your bucket and click the Delete button. The below example selects the imports-85.data object to delete.
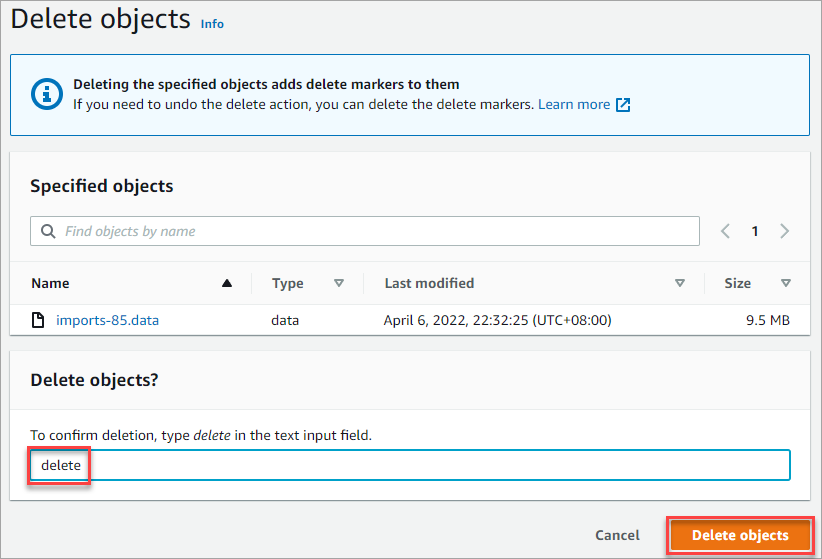
2. On the Delete Objects page, confirm your intention to delete the object by typing delete into the box and clicking Delete objects.
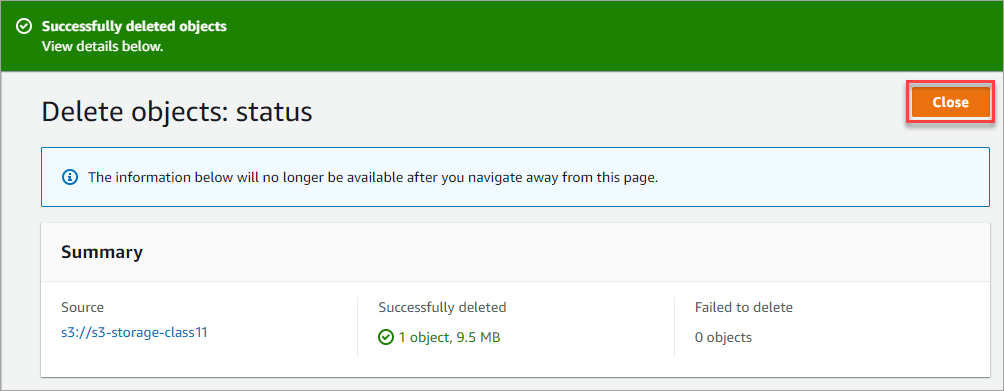
3. Wait for the delete to complete, review the summary, and click Close. You have now deleted the object from Amazon S3 Glacier.
Conclusion
In this tutorial, you have learned to upload, retrieve, and delete objects from the Amazon S3 Glacier storage classes. AWS offers digital data preservation at low costs with comprehensive security and retrieval capabilities.
You can even use S3 API to automate enterprise data, media archives, and data lake archives. The API allows you to access all the features and functionality that the Amazon S3 service provides.


