


Managing users and permissions can be dreadful, especially if you’re only starting as an admin. But the good news is the Active Directory Administrative Center (ADAC) is just around the corner.
Whether creating a user, resetting a password, or changing user permissions, ADAC is up to the task. And in this tutorial, you’ll learn how to deploy and utilize ADAC to a professional level.
Feel excited yet? Read on and start your journey as an admin with ADAC!
A FREE read only tool that scans your AD and generates multiple interactive reports for you to measure the effectiveness of your password policies against a brute-force attack. Download Specops Password Auditor now!
Prerequisites
If you plan to follow the examples in this tutorial, ensure you have a Windows Server. This tutorial uses Windows Server 2019, but later versions will also work.
Installing Active Directory on Windows Server 2019+
Active Directory (AD) is a directory service that enables administrators like yourself to manage permissions and control access to network resources. But since AD doesn’t come installed with your Windows Server by default, you’ll first have to install AD via the Server Manager.
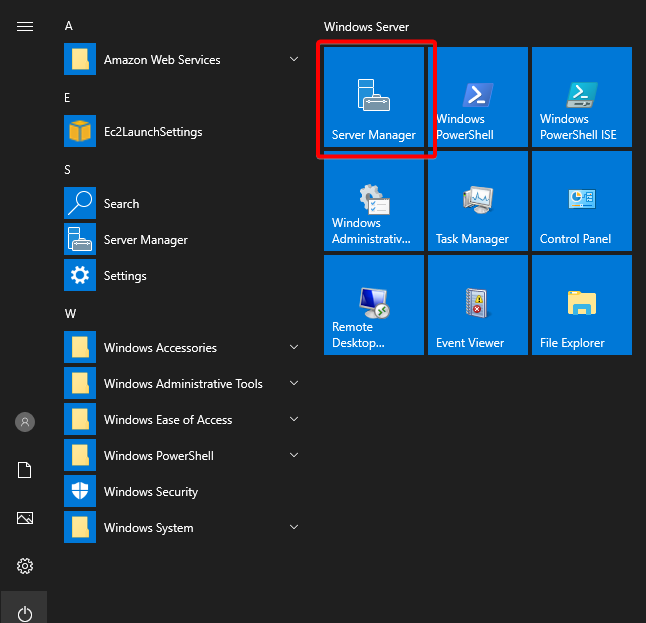
1. Open Server Manager from the Start menu.
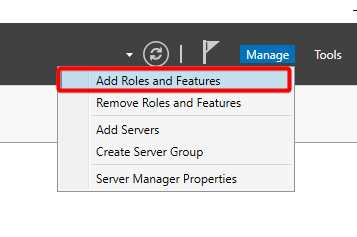
2. On the Server Manager, click Manage (top-right), and select the Add Roles and Features option. An installation wizard pops up where you can install AD.
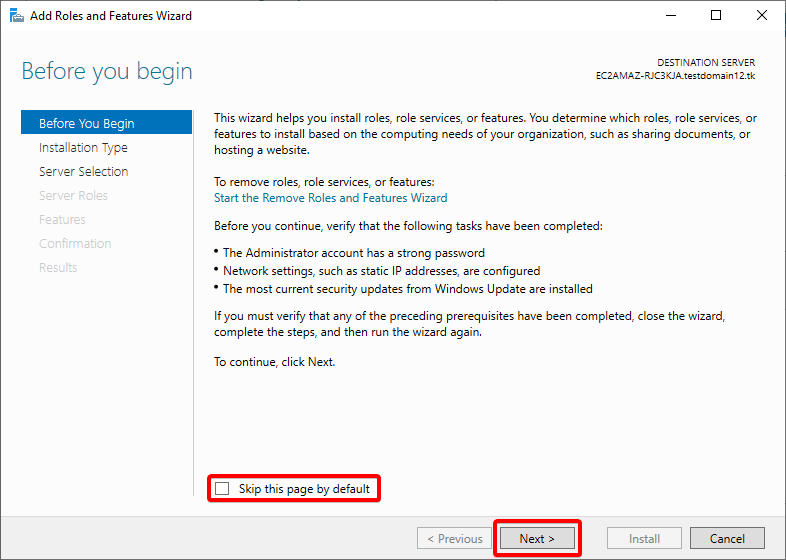
3. Tick the Skip this page by default option, and click Next as this page is purely introductory.
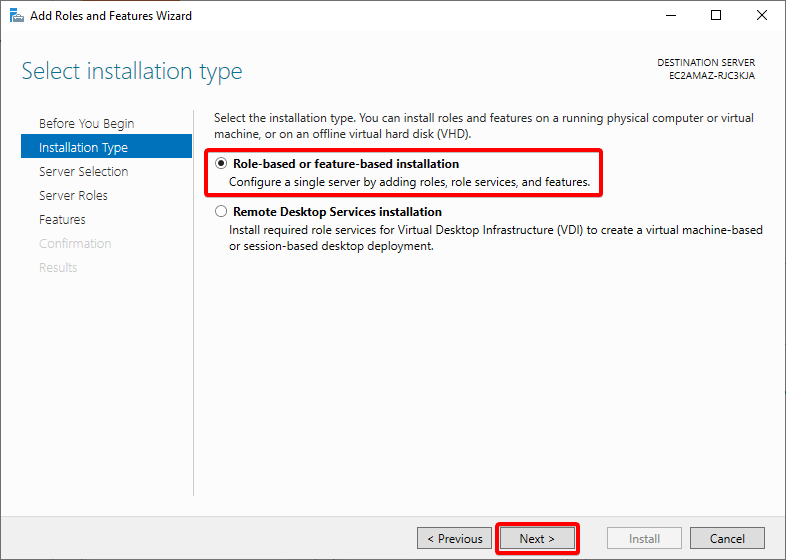
4. Under the Installation Type section, choose Role-based or feature-based installation since you’re working on a single server, not part of a VDI, and click Next.
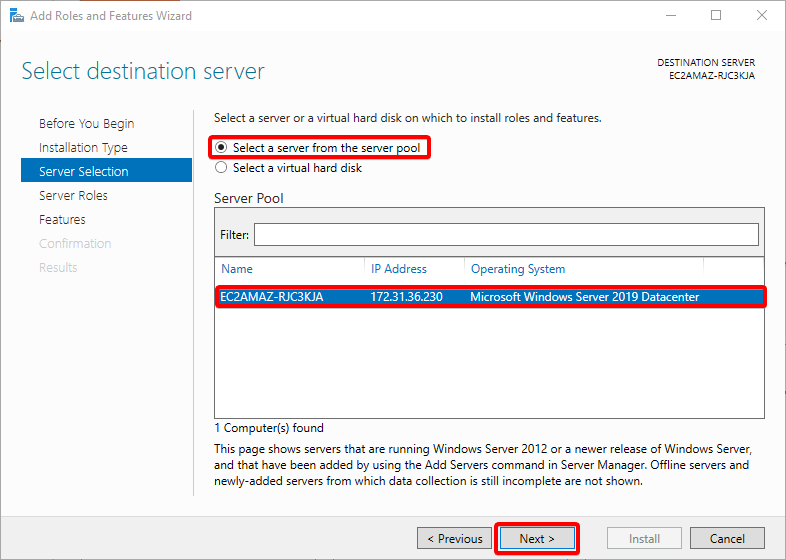
5. Now, select the Select a server from the pool option, select the relevant server as the destination for the installation, and click Next.
Selecting the server that you wish to be your DC is crucial in this process. If you’re working on the first host in your environment, there will be just one server in the pool. But if you’re on a live environment with existing services, you’ll see the other servers from the environment.
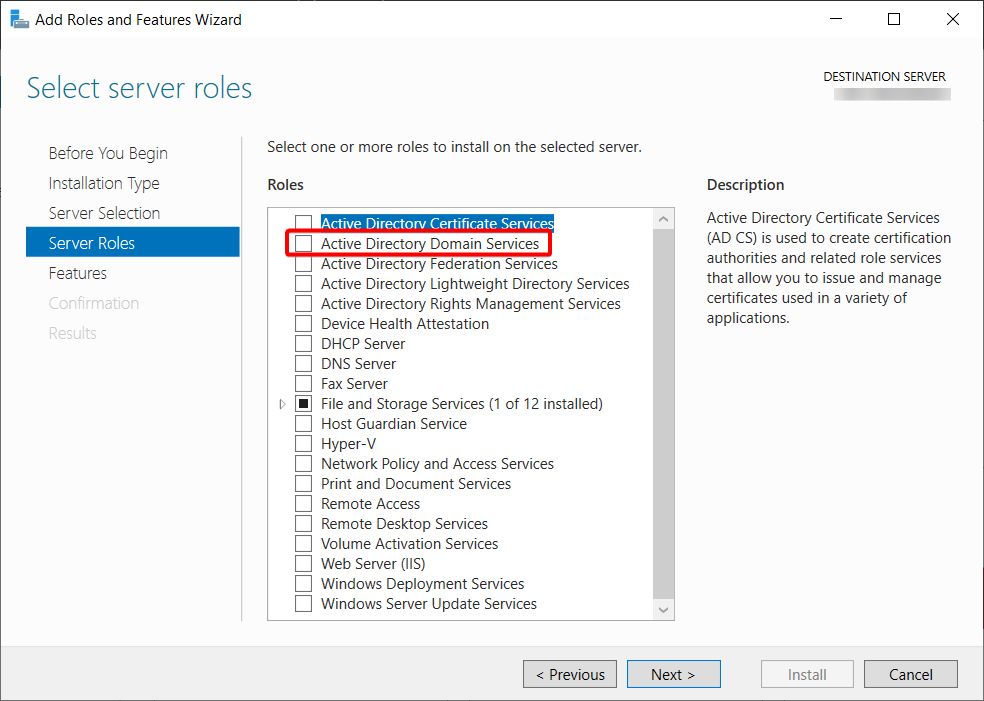
6. Tick the Active Directory Domain Services option, which may bring up an additional window if dependent features are missing.
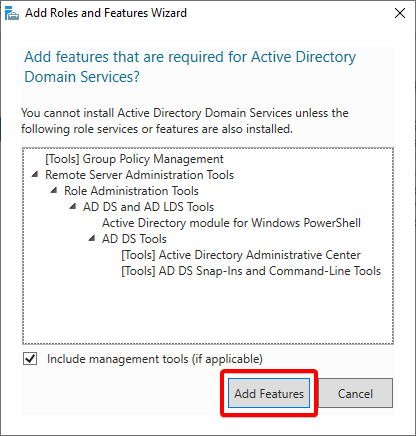
7. Confirm the dependencies, and click Add Features.
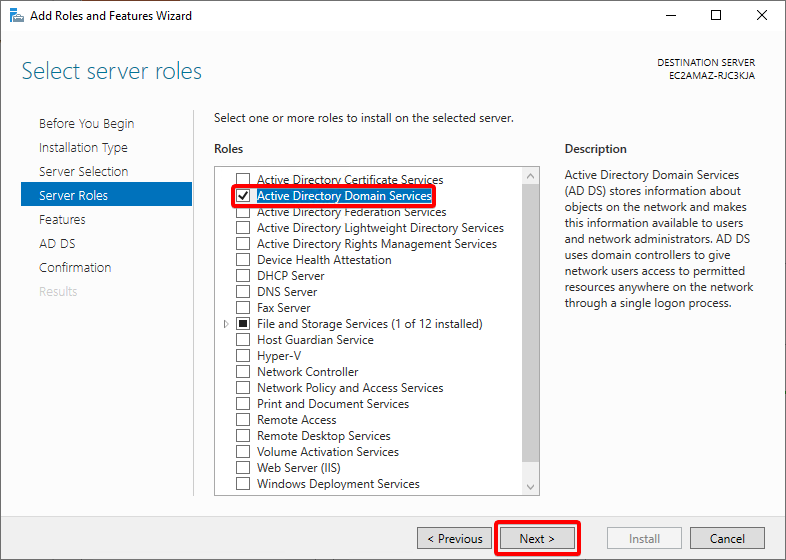
8. Confirm the Active Directory Domain Services option is selected, and click Next.
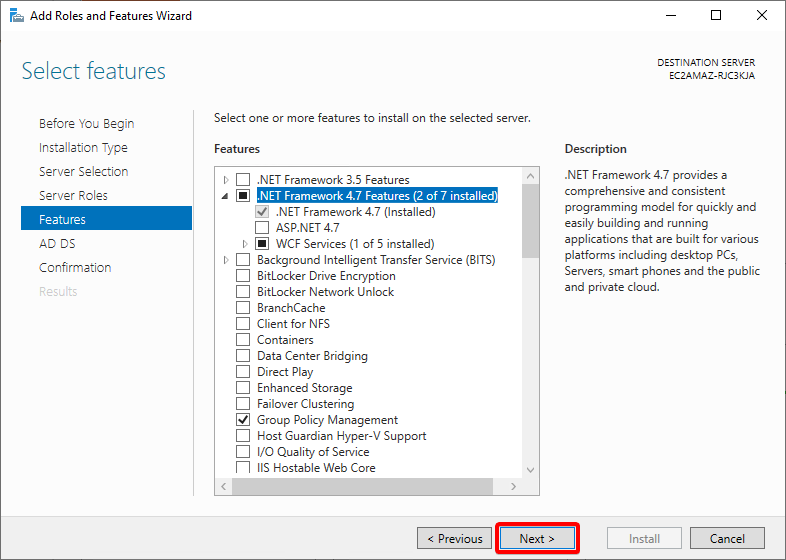
9. Leave everything as default in the Features section, and click Next.
10. Feel free to review the AD DS introduction and click Next.

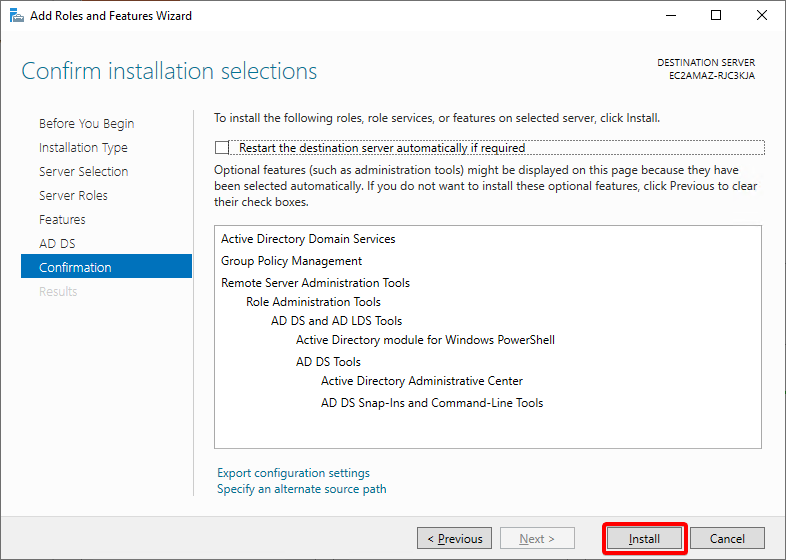
11. Confirm your installation selections, and click Install. Doing so initiates the installation of AD onto your server.
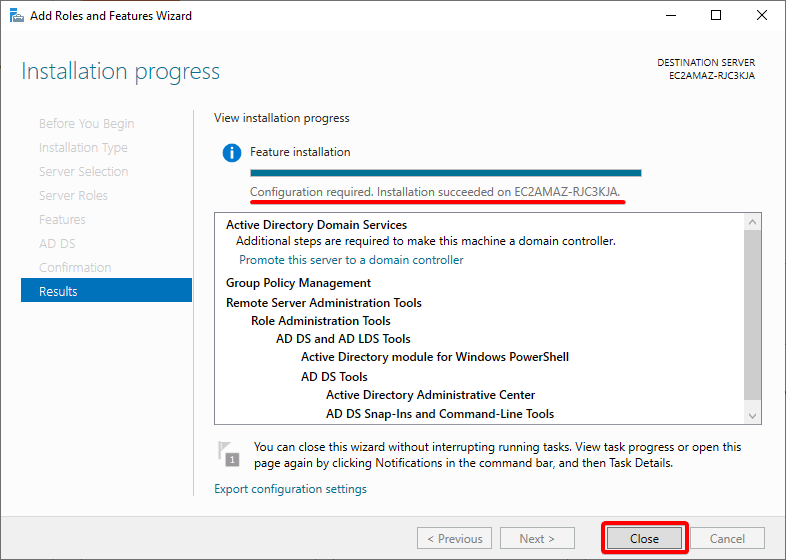
12. Finally, click on Close once the installation completes. You’ve successfully installed ADAC, and from here on out, you’ll get to experience flexible AD management.
Configuring the AD Installation
Even after installation, AD still requires configuration for the server to be promoted to a domain controller. Doing so lets your server become authoritative for an AD domain, which is essential for hosts to recognize which server is the domain controller.
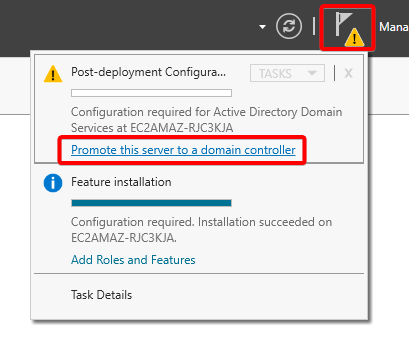
1. On your Server Manager, select the yellow exclamation next to the flag (top-right), and click on the Promote this server to a domain controller link.
The Active Directory Domain Services Configuration Wizard opens, where you’ll configure your new domain controller.
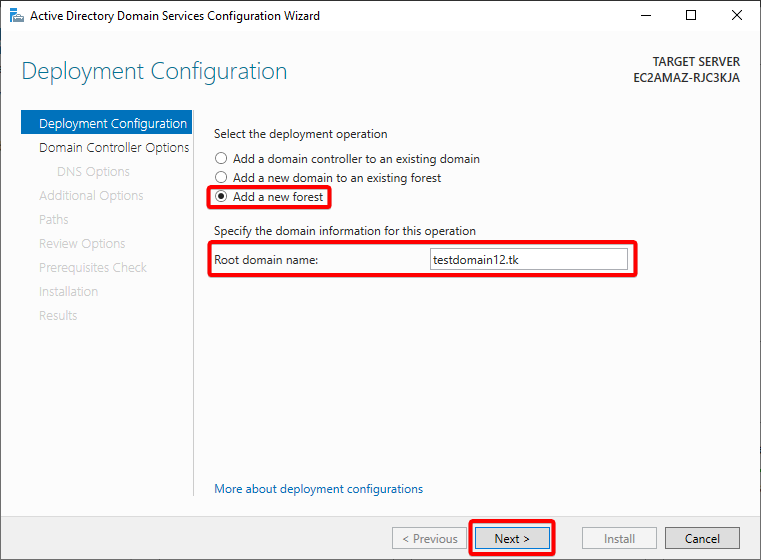
2. Under Deployment Configuration, select the Add a new forest option. A forest is a construct used by AD to define and group domains together.
Specify the Root domain name, and click Next. This tutorial’s choice for the root domain name is testdomain12.tk.
In this tutorial, you’ll create a new forest, but it’s possible to join an existing domain to expand your estate.
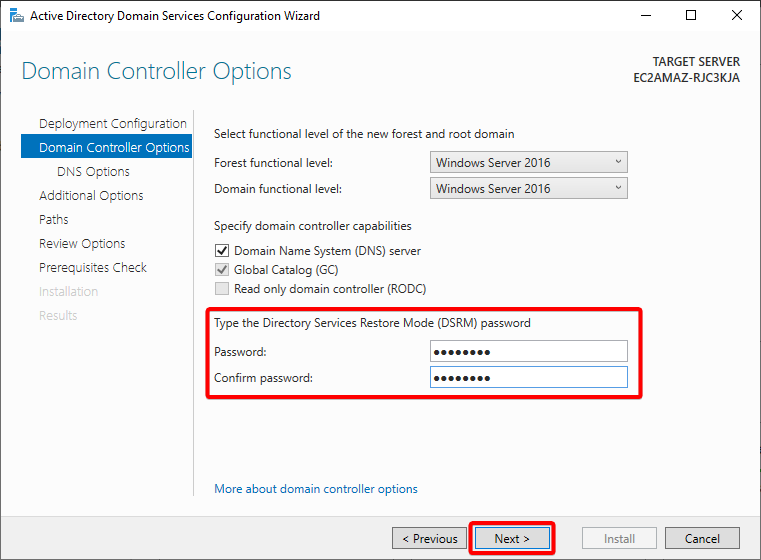
3. Leave the defaults in the Domain Controller Options, and only define your desired password.
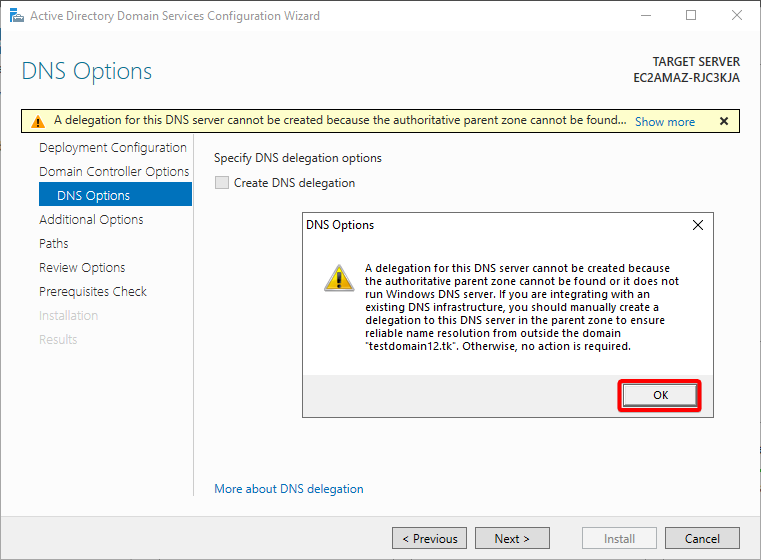
If your server can’t find an authoritative parent for the DNS, you’ll encounter the following warning message.
This message simply reminds you to set your existing DNS records to correctly resolve your domain’s name. This action only applies when you want to integrate your domain into the existing infrastructure.
If not, and you’re building new infrastructure with this server being your new DNS parent host, ignore this message.
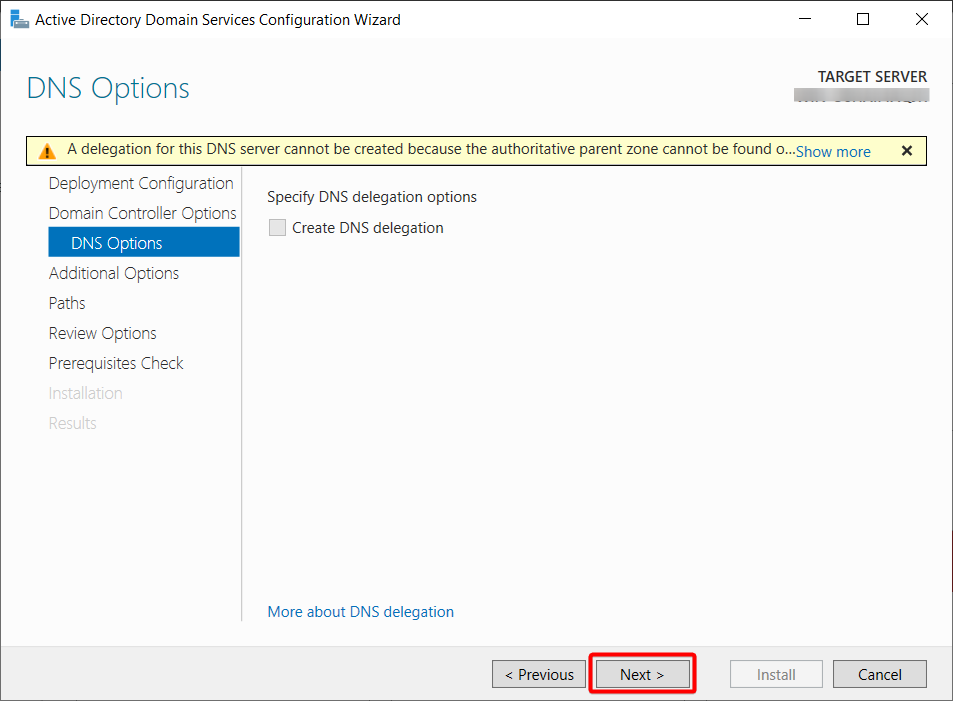
4. Leave the Create DNS delegation option unchecked and click Next.
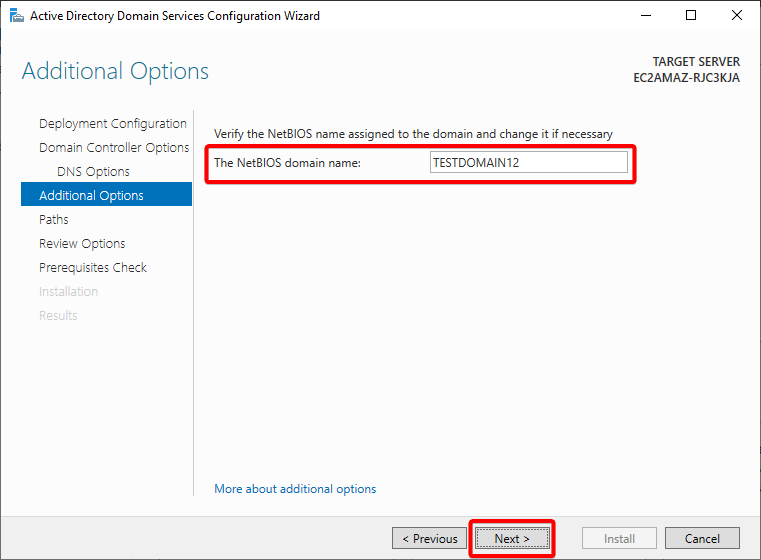
5. Now, leave the default NetBIOS domain name, and click Next.
By default, the wizard sets the NetBIOS domain name as a shortened version of the domain name you provided in the root domain name in step two.
Even though you can change the NetBIOS domain name, it’s best practice to leave this as default because it’s related to your domain.
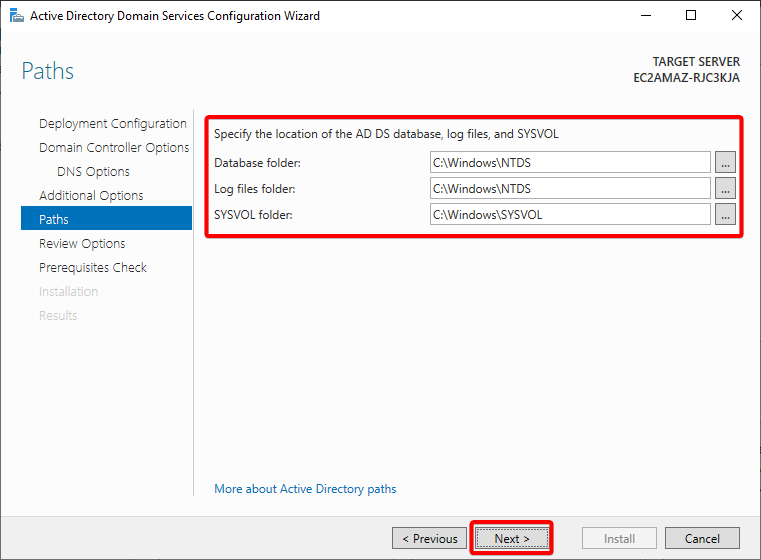
6. Like in the previous steps, leave the default paths to define the installation’s local directories.
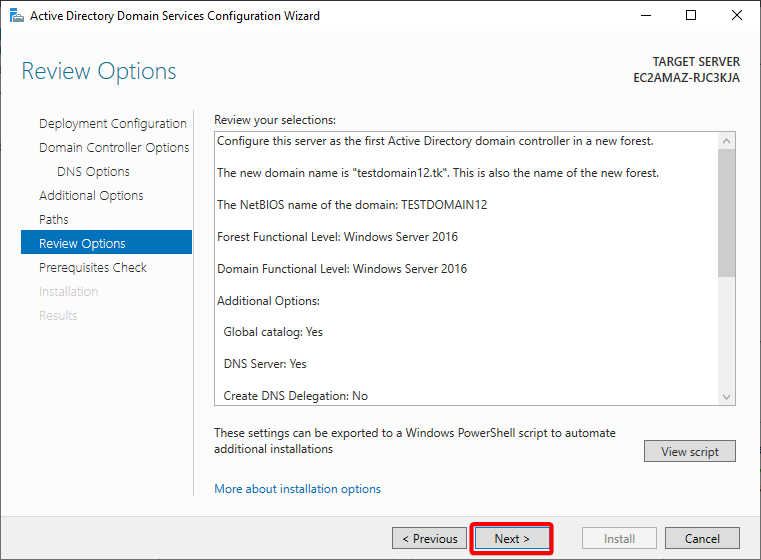
7. Review the options for your installation, and click Next when you’re happy with everything.
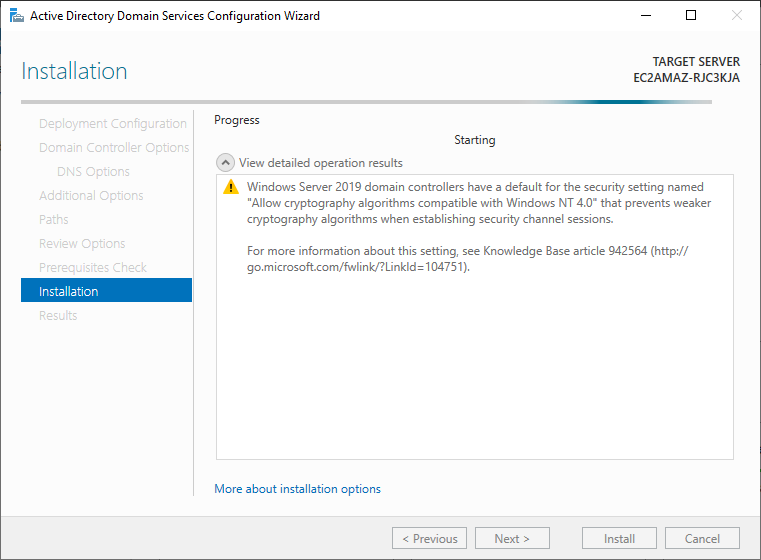
8. Click Install once the wizard has validated your configuration and ensured everything’s ready for deployment.
If you see the All prerequisite checks passed successfully message, as shown below, you’re good to proceed with the installation. If not, click Show more and investigate further.
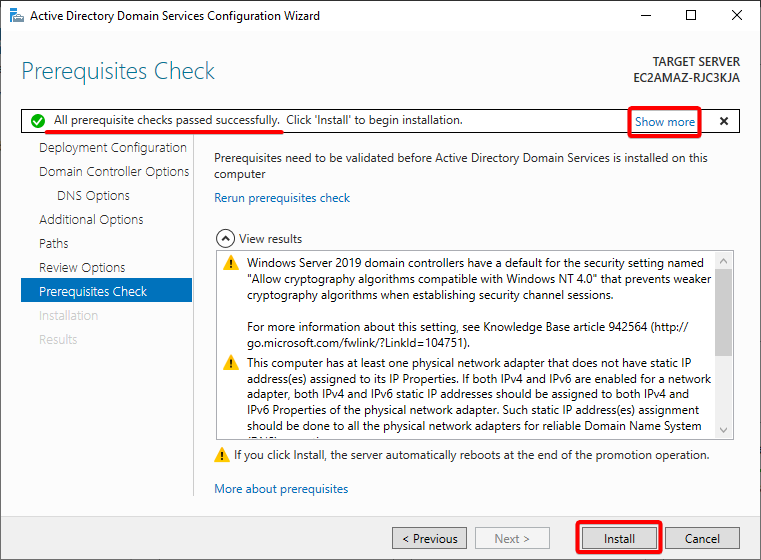
After the installation completes, your server will reboot.
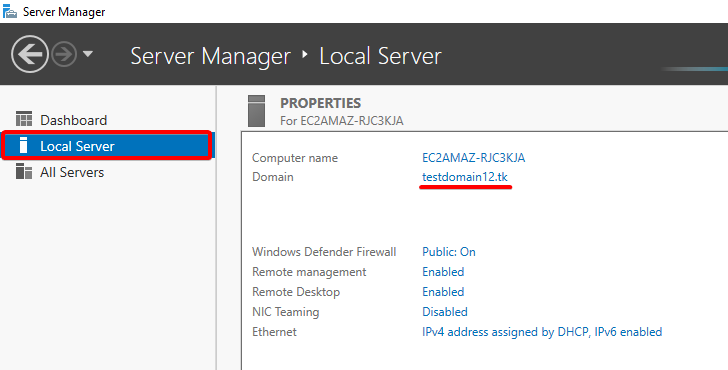
9. Lastly, open your Server Manager after the reboot and navigate to the Local Server tab (left pane). You’ll see the workgroup has changed to your root domain name (testdomain12.tk), which confirms your server is now on the domain.
Creating an Organizational Unit
An Organizational Unit (or OU) is a container designed to organize your environment, keeping things neat and secure. OUs are especially helpful when setting specific permissions for OU members.
To create an OU in the main forest directory of your domain:
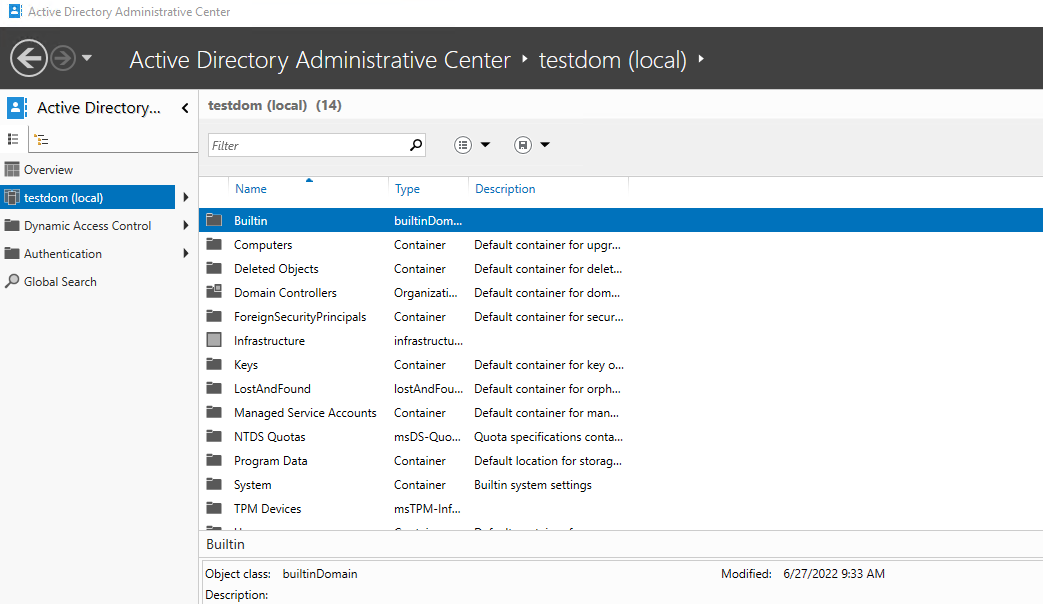
1. Open Active Directory Administrative Center (ADAC) from the Start Menu.
2. Once ADAC opens, select your managed domain from the left pane, as shown below.
3. In the Tasks panel (right-most), select New —> Organizational Unit under your selected domain. Doing so opens a dialog box where you can configure a new OU (step four).
If the Tasks panel is not shown by default, click on Manage (top-right) —> Tasks Pane.
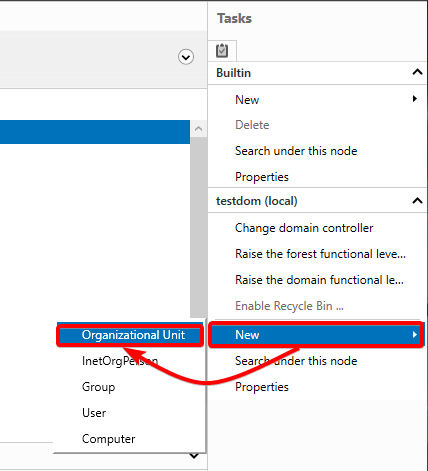
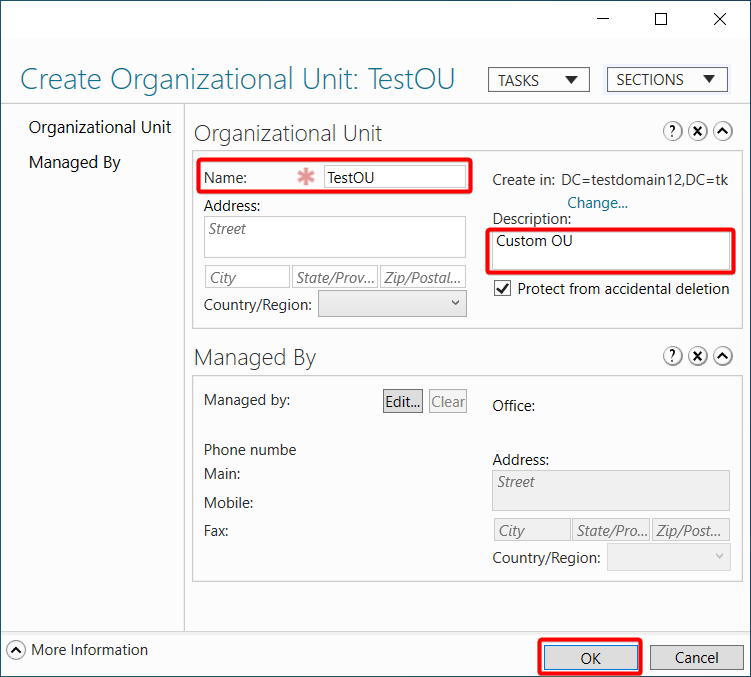
4. Now, specify a Name and short Description for the new OU, and click OK to create the OU. This tutorial uses TestOU for the OU’s name.
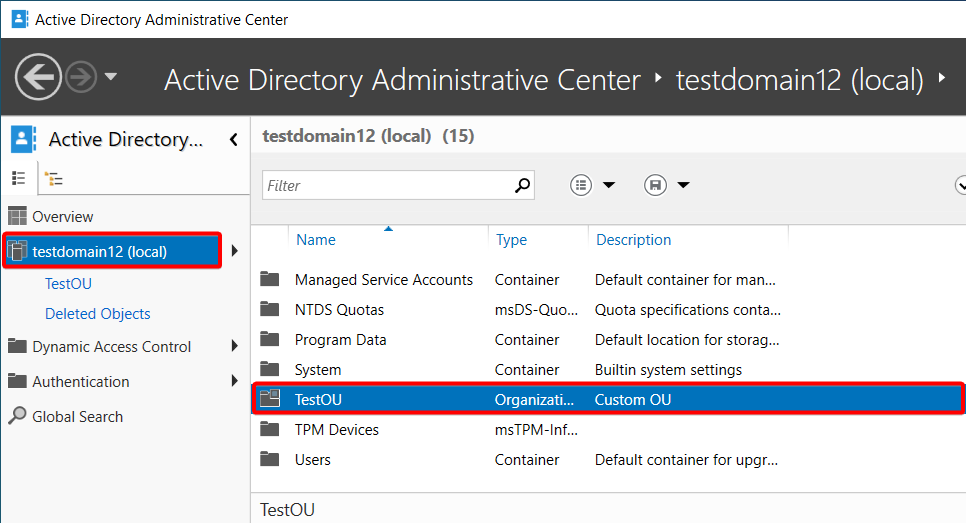
5. Finally, select your domain, and confirm the existence of the new OU, as shown below.

Adding Users to an Organizational Unit
Employees need access to the organization’s resources when onboarding to the company. Typically, your first task is adding a user account in AD and providing necessary permissions later.
To add users to your OU:
1. Double click on your desired directory or OU. Accessing the newly-created OU
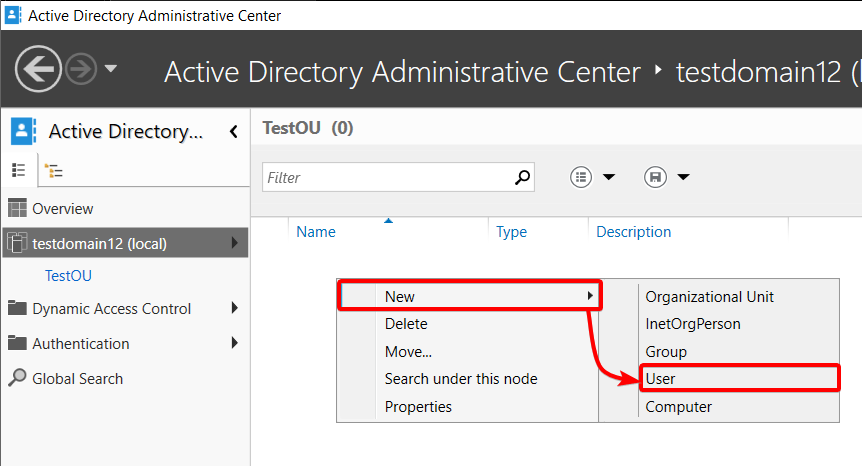
2. Next, right-click in the blank table list —> New —> User to initiate creating a new user.
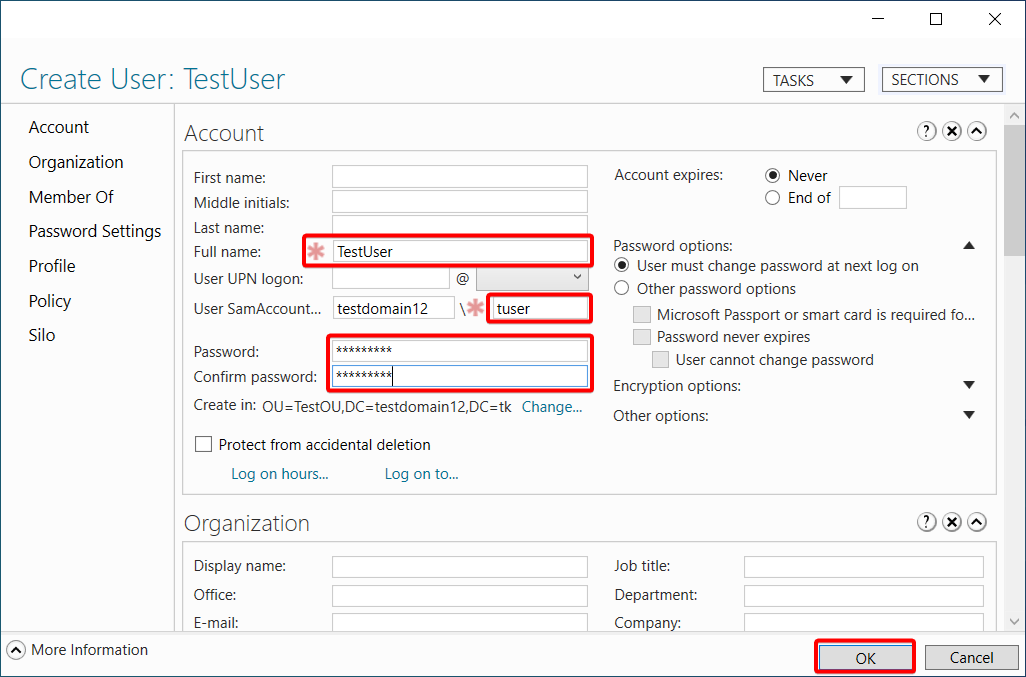
3. Finally, fill in the required fields (marked with red asterisks) along with the user password, and click OK to create the new user.
The Full name and User SamAccountName logon are the only mandatory fields. But, as you can see by the number of optional fields, many customizable fields are available. For example, the full name, Middle initials, and Last name will translate to the user’s account and any application using SSO (AD User sign-on integration).
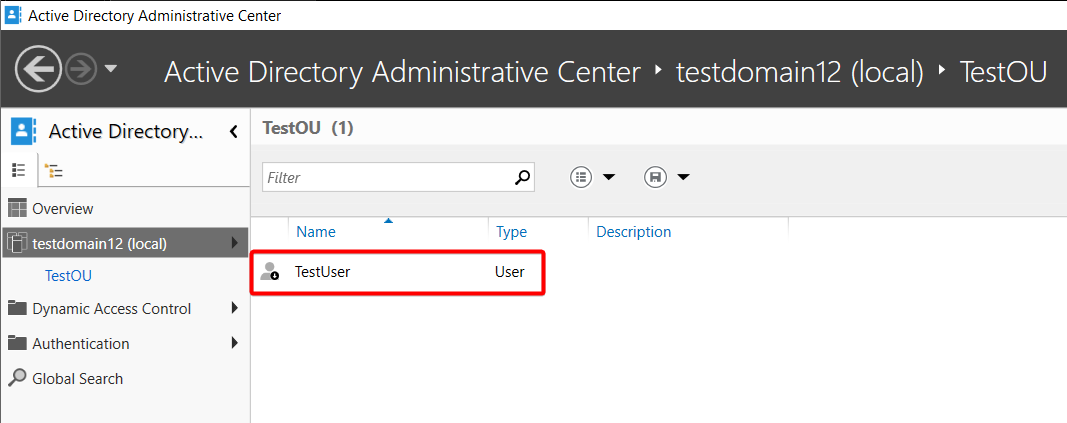
Back to ADAC’s main window, you’ll see the newly-created user in your OU.
Resetting User Passwords
Perhaps one of the users has forgotten their password (which happens all the time). If so, you’ll need to find the user in question and reset their password. Luckily, ADAC is up to the task.
To reset a user’s password:
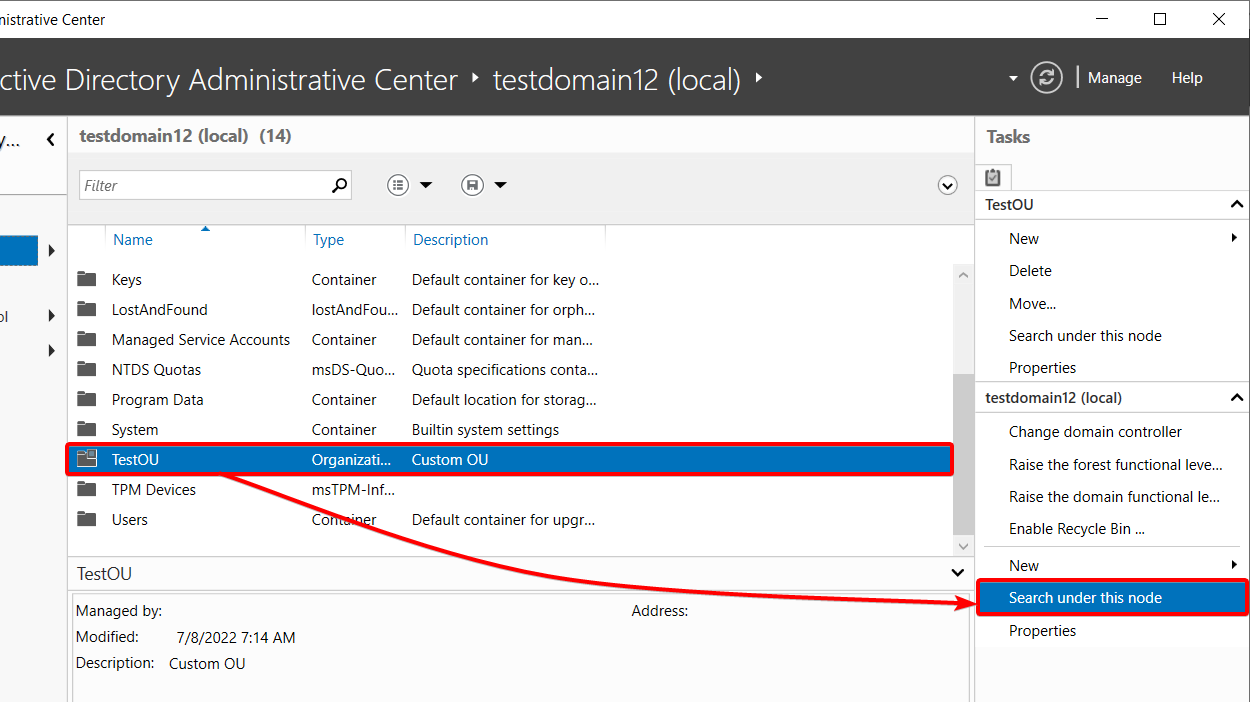
1. Open ADAC, highlight the domain where the user exists, and click on Search under this node option in the Tasks pane, as shown below.
A Global Search option appears on the left pane (step three).
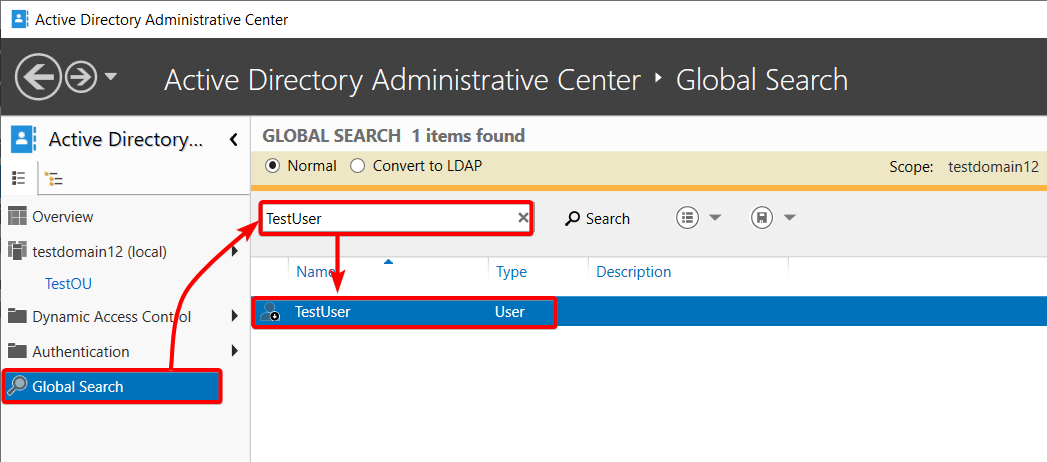
2. Next, click the Global Search option (left-pane), input the username (or any of the users identifying attributes, like First or Last name), and press Enter to search for the user.
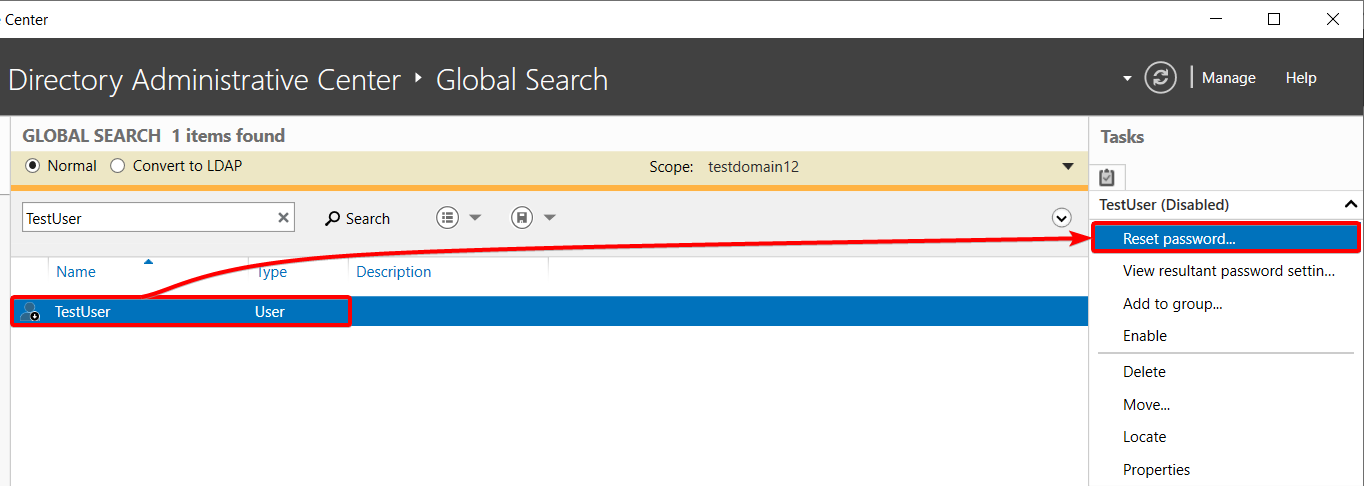
3. Select the user, and click on Reset password in the Tasks panel. A dialog box opens where you can reset the user’s password (step four).
If you’re deleting a user or any AD objects, choose the Delete option instead. When employees leave the company, deleting the user accounts in AD is essential for closing access, so they can’t log back in to wreak havoc.
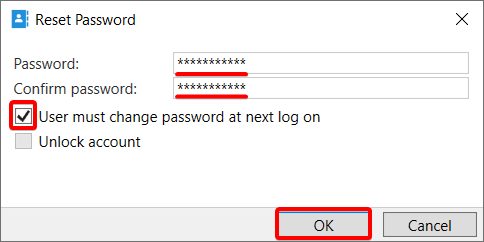
4. Lastly, reset the user’s password with the following:
- Put a random password and confirm the password. Make the password match your organizational requirements.
- Tick the User must change password at next log on option to require the user to change the password before logging in to the account.
- Click OK to finalize resetting the user’s password.
Restoring a User or Any AD Object
When you accidentally delete an object, such as a user or a group, you’ll need to recover that object. But how? You can recover any object so long as the Recycle Bin is enabled.
So before making any drastic changes to your domain, be sure to enable the Recycle Bin first:
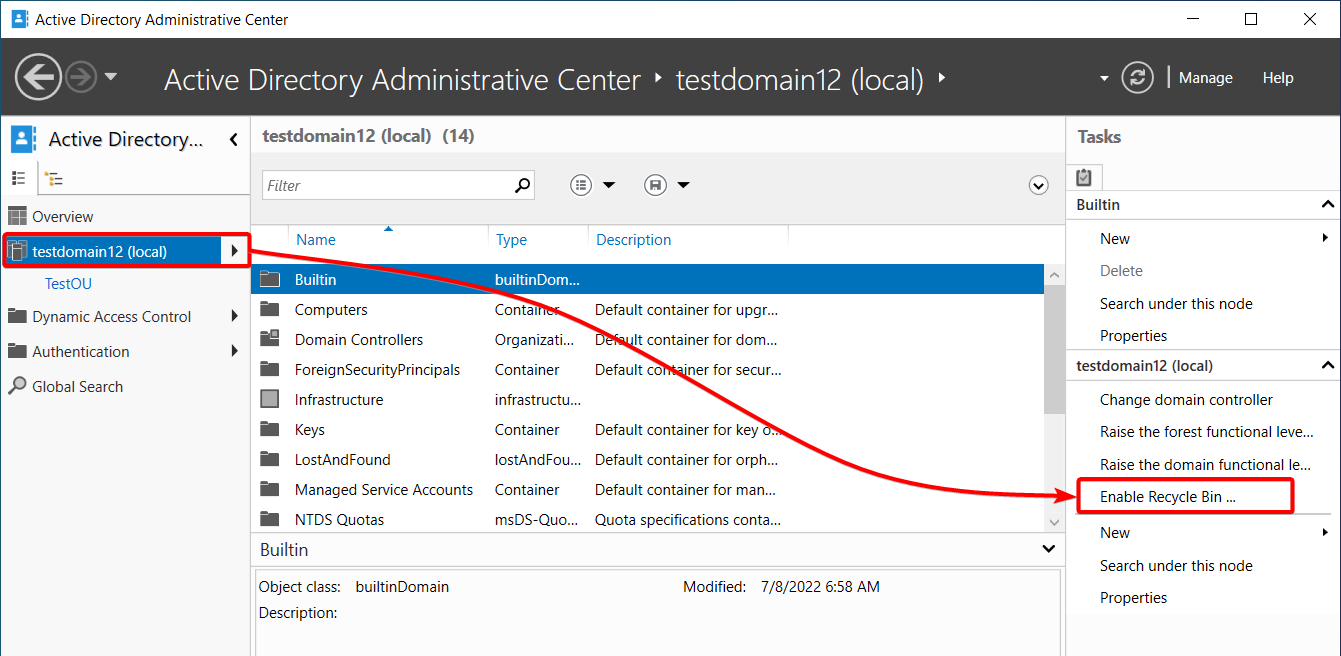
1. Select the relevant domain (left pane), and click on the Enable Recycle Bin option under the Tasks pane, as shown below, to enable the Recycle Bin.
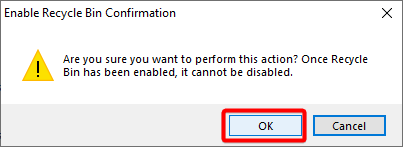
2. Next, click OK when prompted with the message below to confirm enabling the Recycle Bin.
3. Click OK again to confirm the changes.

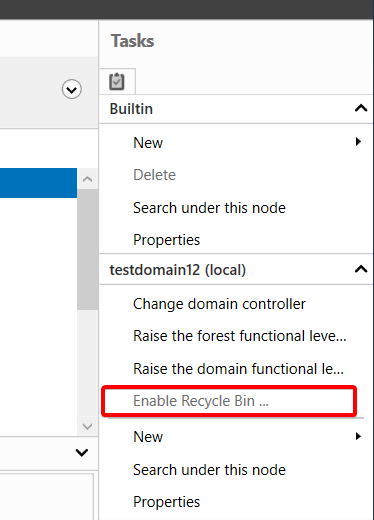
4. Press the F5 key to refresh ADAC, and the Enable Recycle Bin option is now grayed out, indicating the Recycle Bin is enabled.
You can now safely delete objects and recover them when necessary.
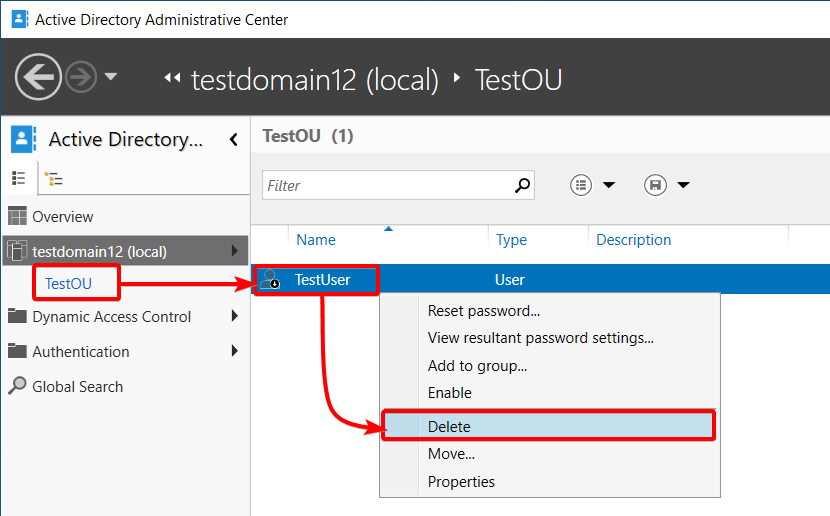
5. Now, delete a user with the following:
- Navigate to your domain.
- Select the OU where the user resides.
- Right click on the user and select the Delete option to delete the user.
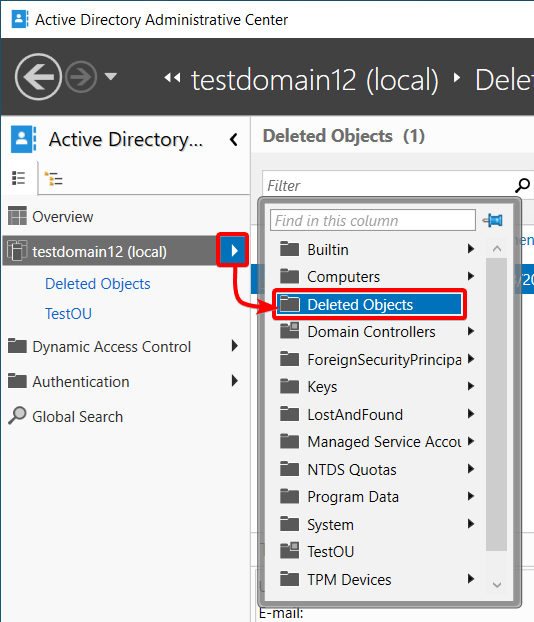
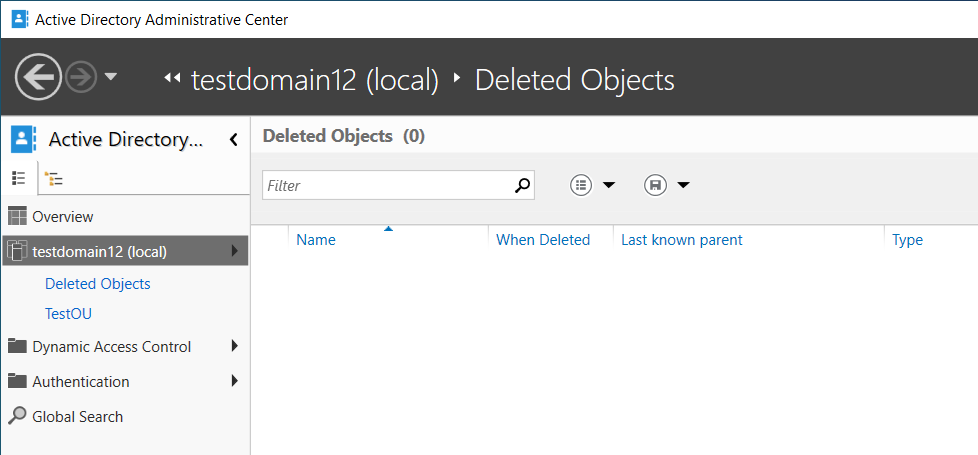
6. Click on the right arrow icon beside your domain (left pane), and select the Deleted Objects container to see the list of all deleted objects.
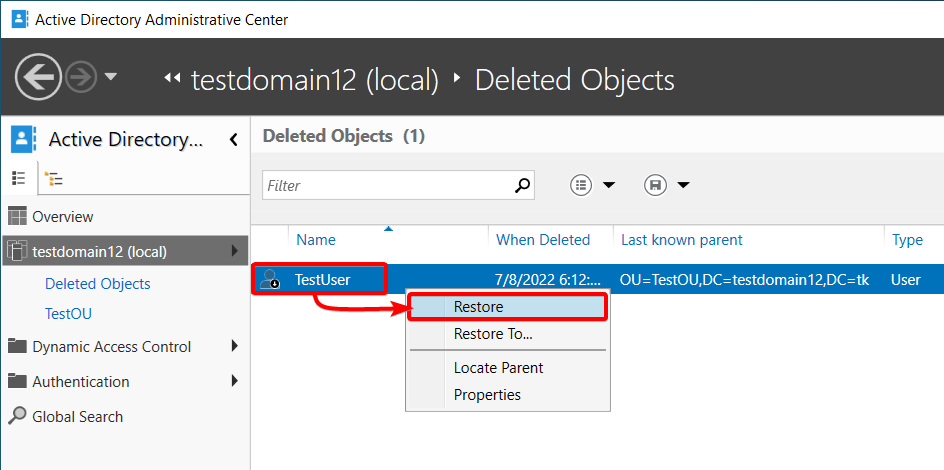
7. Right click on the user from the list of deleted objects and select the Restore option to restore the user to its original OU. But if you prefer to restore the user to a different container/OU, choose the Restore To option instead.
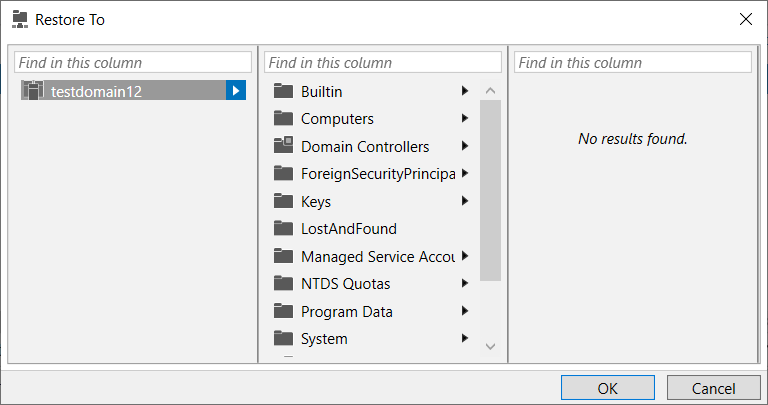
If you choose to restore the user to a different location, the pop-up window below appears where you can select the restore location.
Once restored, the user disappears from the Deleted Objects container.
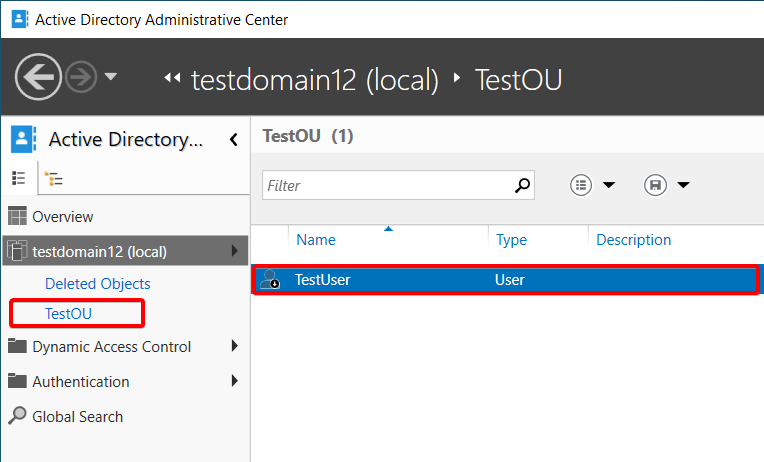
8. Ultimately, click on the OU where you created the user, and you’ll see the user is back in the OU.
Viewing PowerShell History in ADAC
Suppose one of your colleagues has made unauthorized changes to your domain controller. Naturally, you’ll need to view the history and see what changes were made ASAP, and ADAC can help.
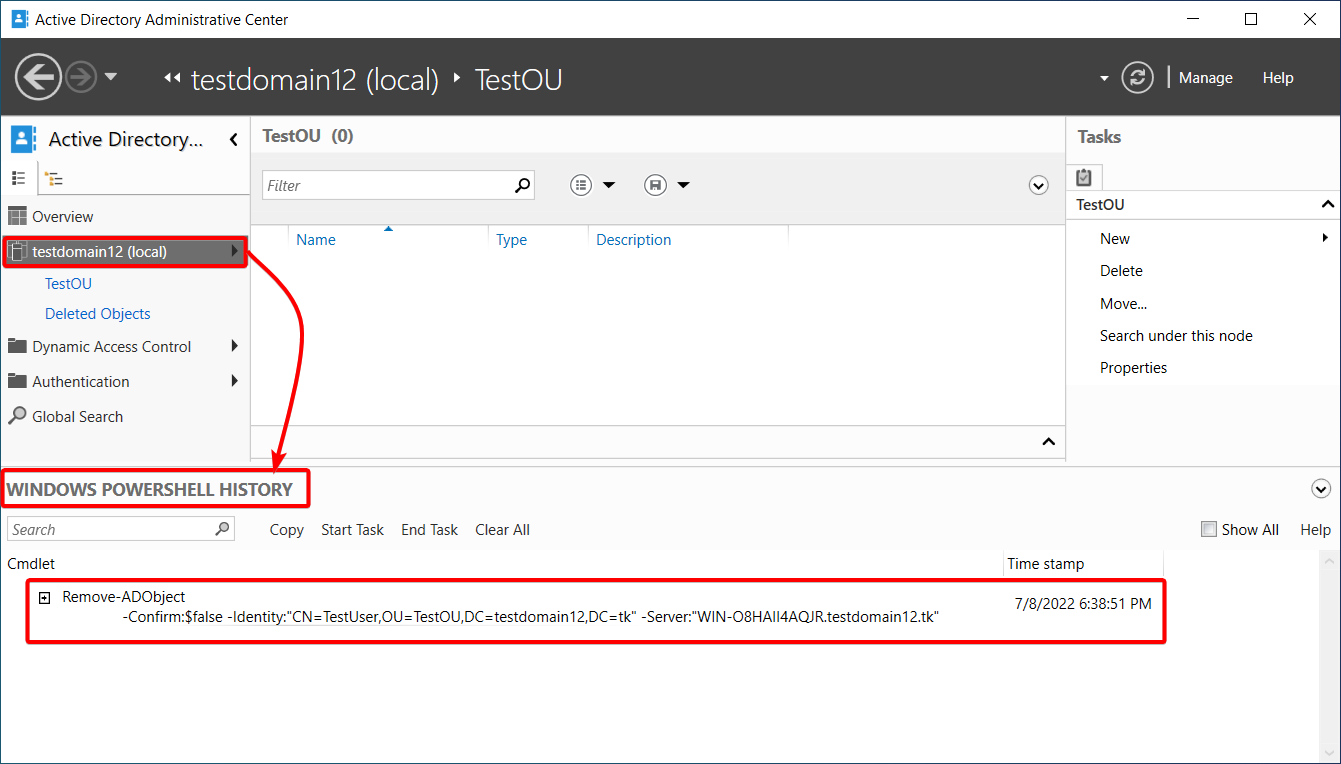
Navigate to your domain, and click on the WINDOWS POWERSHELL HISTORY section at the bottom to expand the section since it’s minimized by default.
Once expanded, you can see the PowerShell history since PowerShell runs commands for all changes you make in ADAC. Reviewing the history allows you to identify which unauthorized changes were made to your domain and eventually reverse them.
Below, you can see an object (a user) was removed with the Remove-ADObject cmdlet. Now you can restore that deleted user to its OU.
Extend the functionality of Group Policy and simplify the management of fine-grained password policies. Target any GPO level, group, user, or computer with dictionary and passphrase settings with Specops Password Policy. Try it Free!
Conclusion
This tutorial aimed to up your ability to manage an AD instance from scratch. Did it do well? You’ve gone over installing and configuring the instance, administering users, objects, and organizational units, allowing you to manage a humble environment.
You’re now confident to manage objects in your domain without worrying if they get deleted since you can always restore them from the Recycle Bin in a few clicks.
If you ever get to a point where your large organization becomes a mess, consider cleaning up your AD.


