


Considering the risks of data loss while working on Amazon Web Service (AWS), backing up and recovering your cloud workloads can be quite a struggle. But don’t put up with the struggle; let Veeam AWS Backup be the solution.
In this tutorial, you’ll learn to deploy and configure Veeam Backup for AWS to eliminate the risk of losing your important AWS cloud data.
Prerequisites
There will be hands-on demonstrations in this tutorial. Be sure to have the following in place to follow along:
- Network ports 11005, 443, 22, and 25 outbound open on the computer you intend to install Veeam on.
- At least one AWS Virtual Private Cloud(VPC) and S3 bucket.
Deploying Veeam Backup for AWS
Before you configure Veeam Backup for AWS, you’ll first need to deploy your Veeam solution. To do so, let’s first deploy the Veeam solution to AWS with the AWS marketplace.
1. Open your web browser and navigate to the AWS marketplace.
2. Search Veeam on the search bar at the top of the page, and click on any version you want to deploy from the pop-up screen. This tutorial uses the Free Edition, but the deployment process is the same with all available editions.
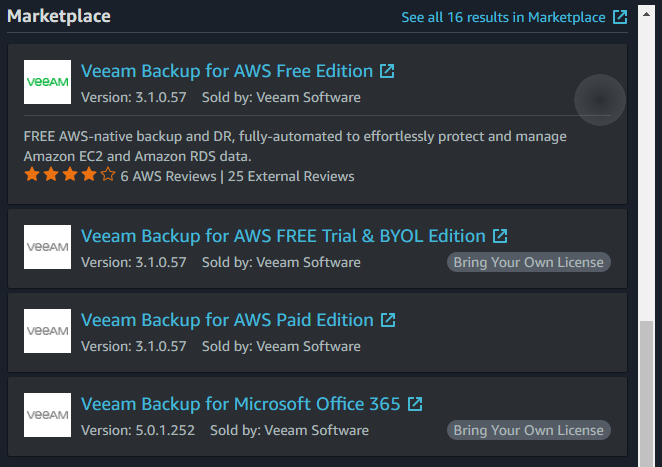
3. Click on the Continue to subscribe button at the top-right corner of the page to subscribe to Veeam Backup for AWS Free Edition.

4. Next, read the terms and conditions, click on the Continue to configuration button.

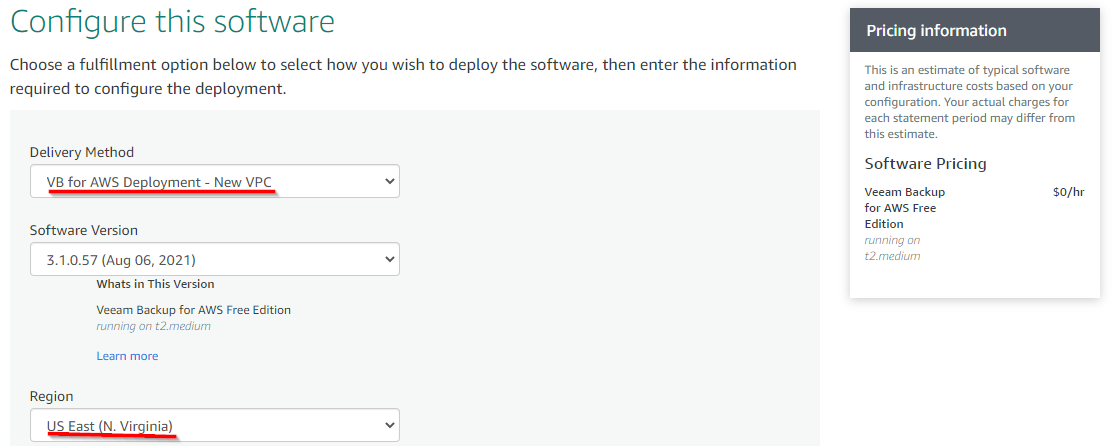
5. Select the default VB for AWS Deployment-New VPC as the delivery method from the drop-down box on the configuration page. This tutorial assumes you don’t already have a VPC you’d like to deploy Veeam Backup onto.
Pick a region to deploy Veeam Backup into and click on Continue to launch when complete.
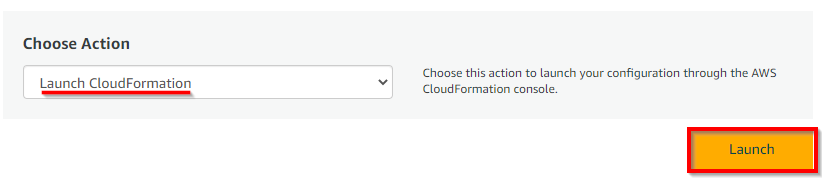
6. Next, select Launch cloud formation from the Choose action drop-down box as the launch action, then click the launch button below. AWS will deploy Veeam Backup via a CloudFormation template.
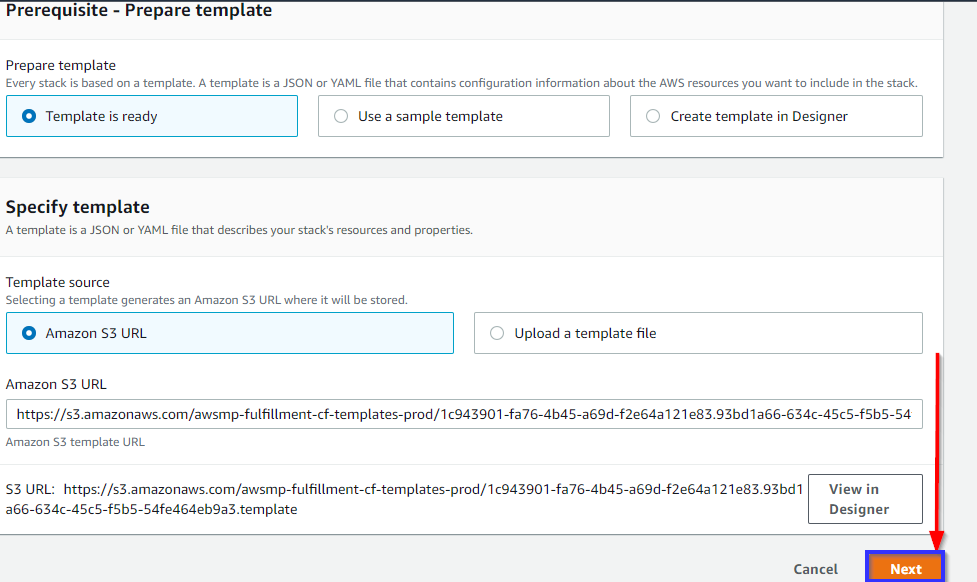
7. Leave the default template settings. You’ll be using the template that comes with the marketplace item, so ensure you select Template is ready, leave Amazon S3 URL selected as the URL should already be populated for you, and click Next.
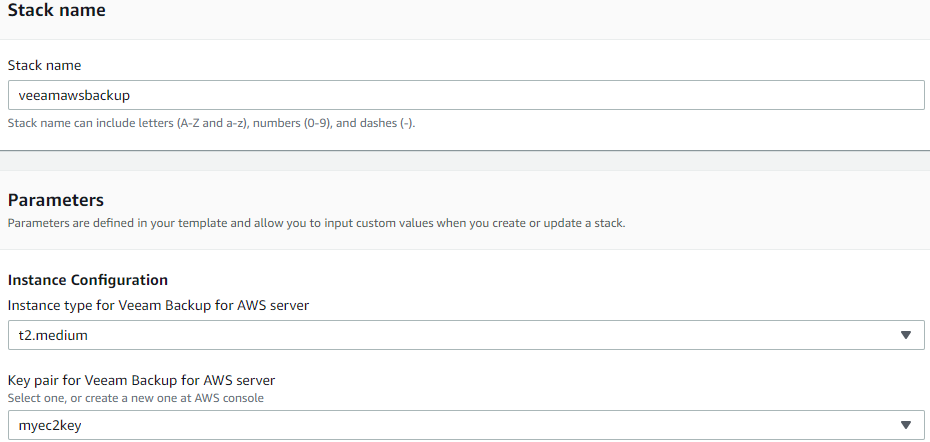
8. Enter a stack name (veeambackup) in the Stack name field. The stack is how CloudFormation describes the entire set of components that you will be deploying. If you already have a key pair, you can use those to authenticate to the instance when created or create your own.
And finally, select an instance type. You can safely select the default instance of t2.medium as it should have the required resources to run Veeam Backup.
9. Next, select true when asked to create an elastic IP. This step isn’t required, but it’ll be much easier to connect to Veeam Backup if the IP address isn’t constantly changing on you when you reboot it.

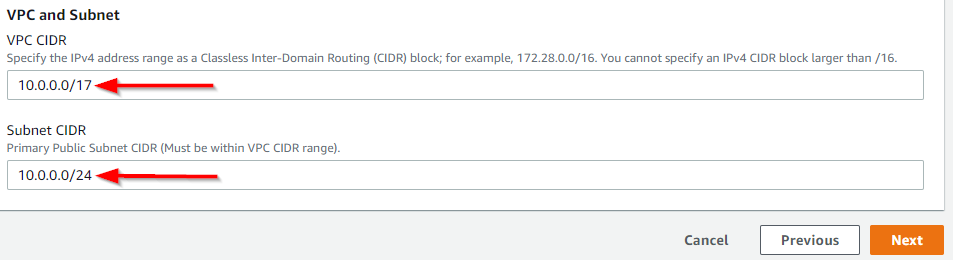
10. Now, accept the default VPC and Subnet CIDR networks. The subnet contains all of the IPs in use for all instances in the VPC (in this case, just the Veeam Backup instance). Click Next.
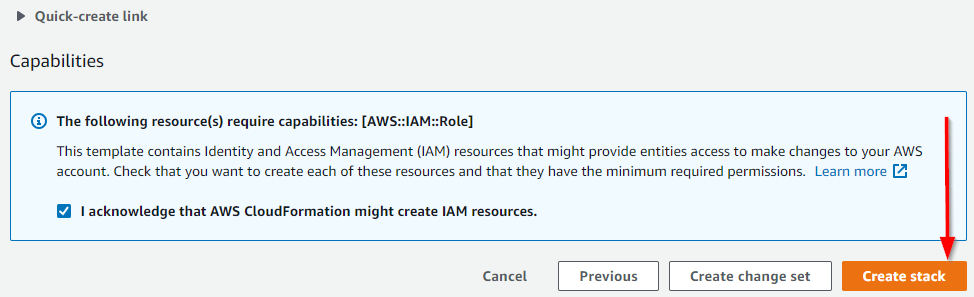
11. Check the I acknowledge that AWS CloudFormation might create IAM resources box, and click on Create stack. The CloudFormation template for Veeam Backup needs an IAM user and role to authenticate to various AWS services.
Once you click Create stack, AWS will begin provisioning the Veaam Backup VPC.
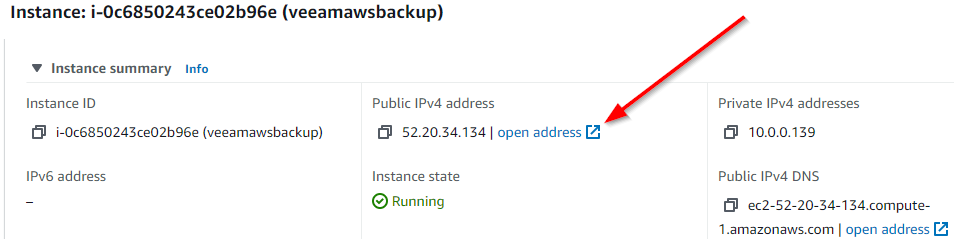
12. Navigate to your AWS EC2 instances, and you should see a Veeam Backup for AWS EC2 instance.
13. Click on the Veeam EC2 instance and note the Public IPv4 address, as shown below, and the Instance ID. You will need these two attributes to configure Veeam Backup for AWS later.
Deploying a Worker Instance
Now that you have successfully deployed Veeam Backup for AWS let’s start adding a worker instance. A worker instance is the component of Veeam AWS Backup that performs image-level backup and restores.
To add a worker instance:
1. Open your favorite browser and navigate to the IP address you took note of in the final step of the “Deploying Veeam Backup for AWS” section and accept the license agreement.
2. Paste in the instance ID you copied from the last step of the “Deploying Veeam Backup for AWS” section to the Check Instance ID field, and click Next.

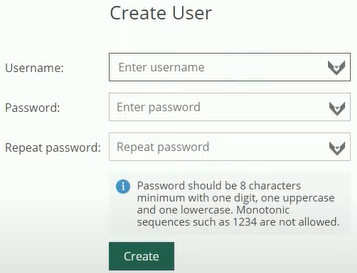
3. Provide a username and password you’ll use to authenticate to Veeam Backup for AWS in the future and click Create.
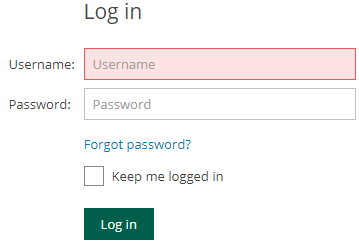
4. Now, log in to the machine with your credentials created in step three.
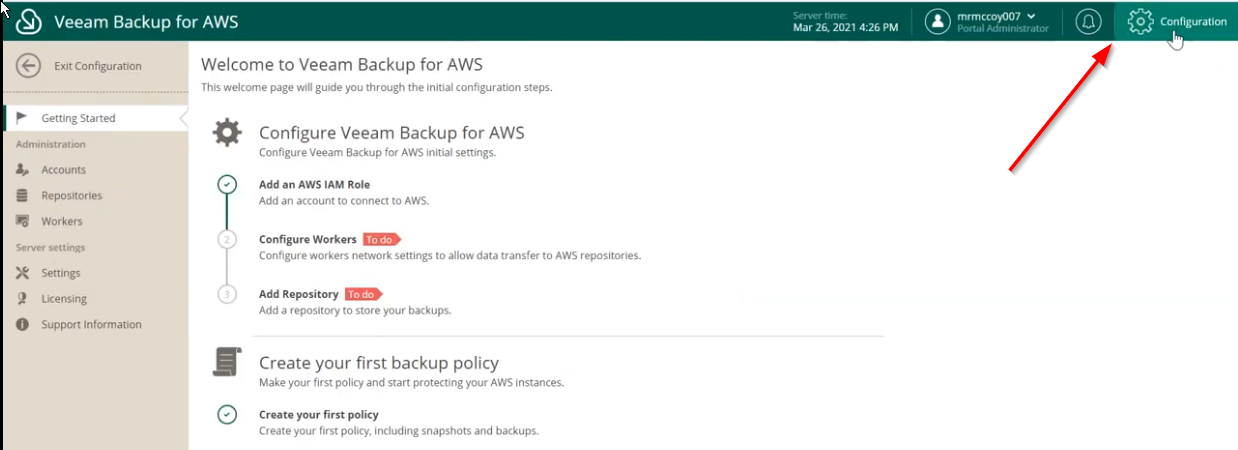
5. Once logged in, click on Configuration at the top-right corner of the page to open the main configuration pages where you can define many Veeam Backup for AWS settings.
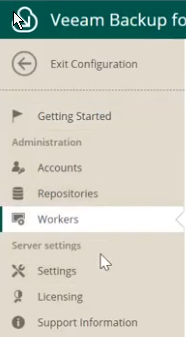
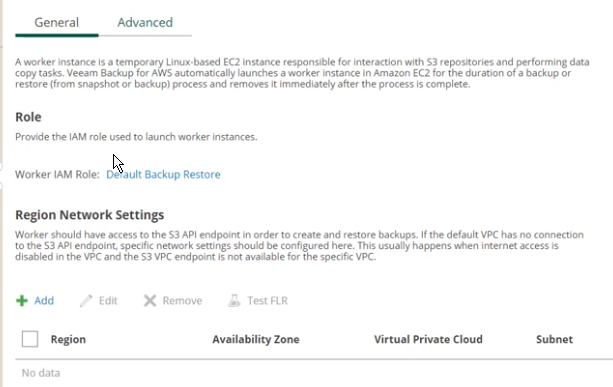
6. Click on Workers on the side menu to begin creating a new worker instance.
7. Next, click the Add button with the green cross sign under the Region Network Settings section below to add a worker instance. Once you do, a window will pop up where you’ll configure the region network settings.
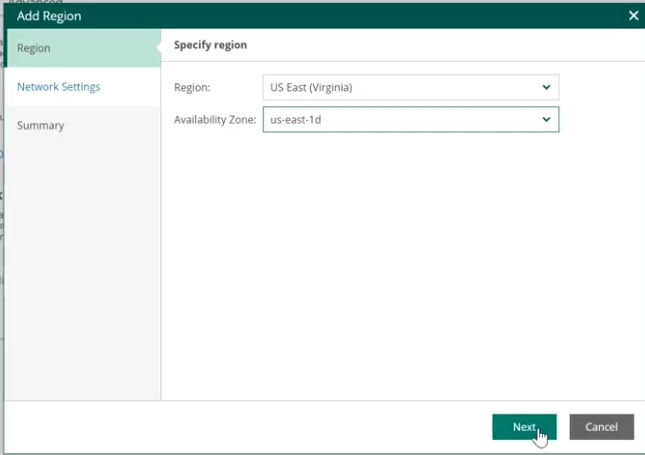
8. Set the region and availability zone for the worker instance you’re deploying in the Add Region window. For this example, choose US East (Virginia) and us-east-1d, as shown below.
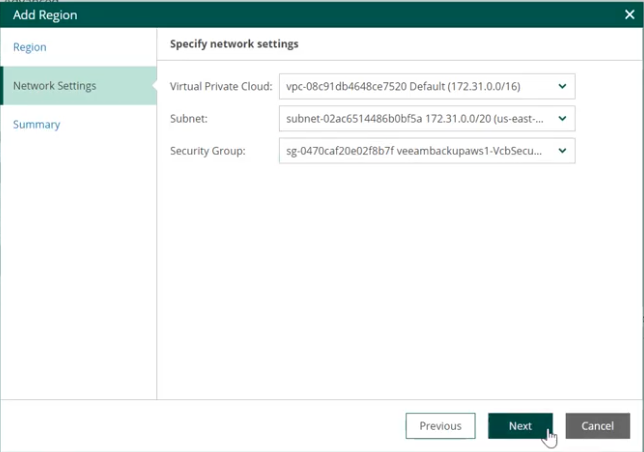
9. Under Network Settings, select the Virtual Private Cloud, Subnet, and Security Group; you’d like Veeam to create the worker instance when needed temporarily. This VPC will most likely be the same VPC the Veeam Backup EC2 itself is in.
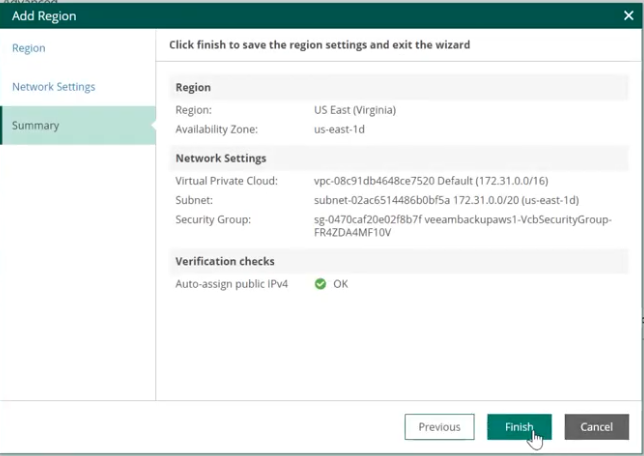
10. Briefly view the summary of the region settings and click Finish.
Adding a Repository
After deploying a worker instance, you must create a repository that will store the instructions to restore a backed-up AWS instance. Veeam Backup for AWS uses Amazon S3 buckets as target locations for EC2 instance image-level backups.
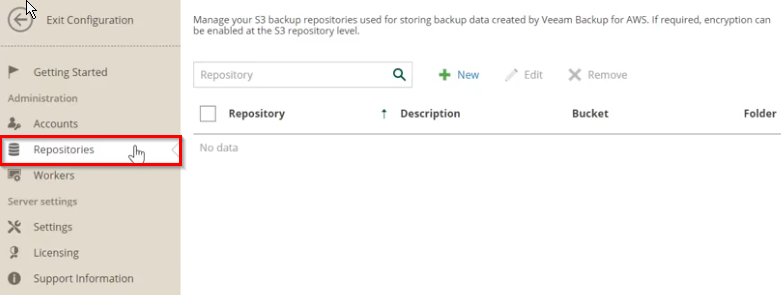
1. Click on Repositories in the left menu to add a repository, then click New (with green cross icon). A pop-up window will appear where you’ll configure the repository settings.
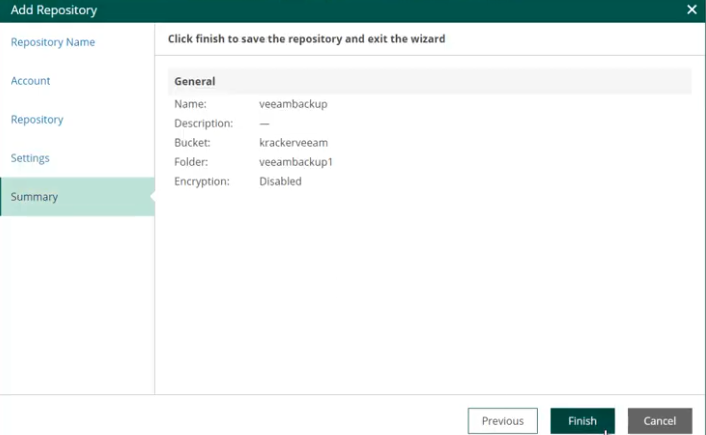
2. In the Add Repository window, enter a name for the repository (veeambackup) and a description (optional), then click Next.

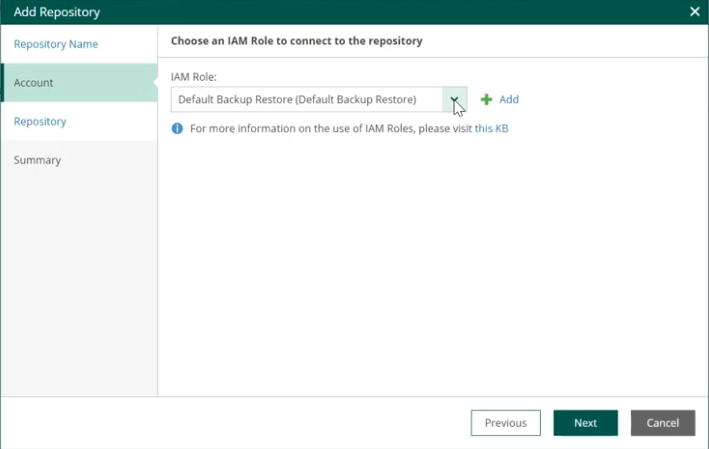
3. Under the Account tab, select the default IAM role created during deployment of Veeam Backup for AWS, and click Next.
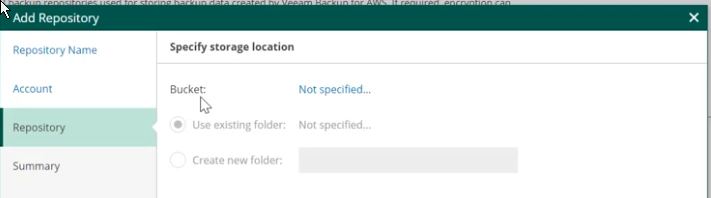
4. Now click on the Not specified option in the Repository tab to specify any of your existing Amazon S3 buckets. Once specified, the two grayed-out options below become available.
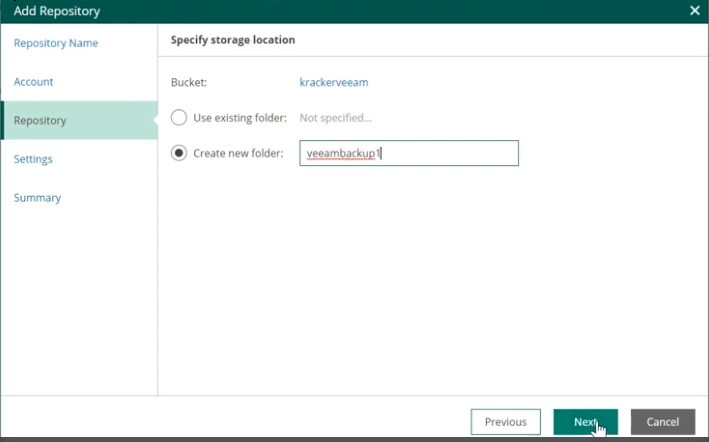
5. Next, select the Create new folder option and provide a folder name that will contain all of the information Veeam Backup for AWS will use to restore data. The name of the folder does not matter but should be descriptive of the task.
6. Finally, review the summary and click Finish. You’ve now created the setting to which your EC2 instance files will be backed up into or restored from!
Creating a Backup Policy
You must now create a set of instructions to tell Veeam Backup how to back up your AWS instances. To do that, you’ll use a backup policy. A backup policy defines configuration items like what to back up and when.
Even though AWS Veeam Backup can back up various AWS resources, for this tutorial, let’s back up an EC2 instance and all of the files on that instance. To do that:
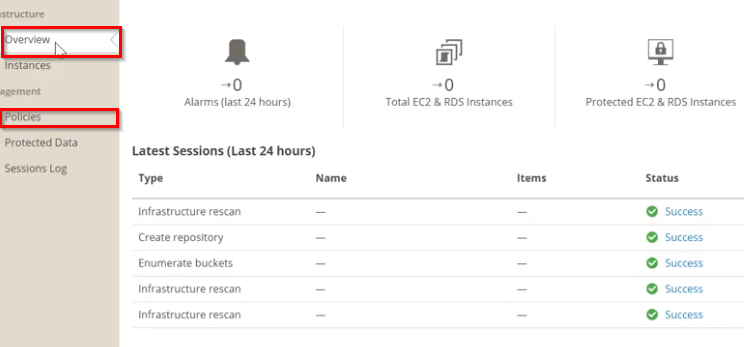
1. Click on Overview and select Policies.
2. Click Add to begin creating a backup policy. Type in a unique name for the policy, and a description, then click Next.
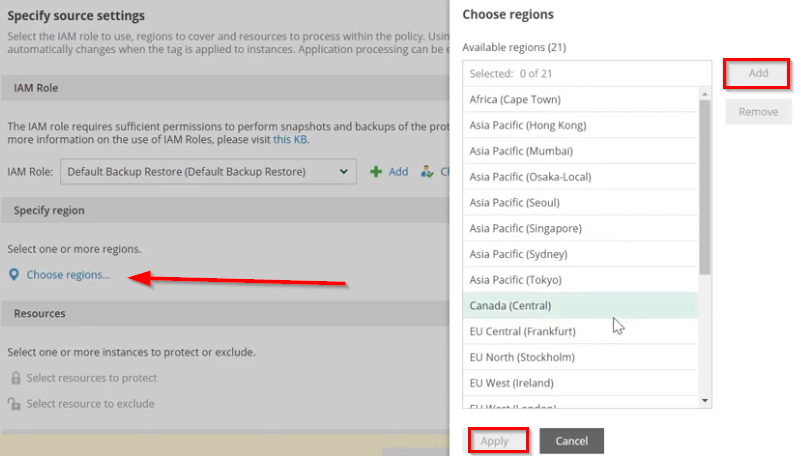
3. Select the default IAM role created during deployment, and click Choose regions shown below to select a region. Choose the region where the EC2 instance is located you’d like to back up. In this tutorial, the region is US East (N. Virginia).
Once you’ve selected the region, click Add and Apply.
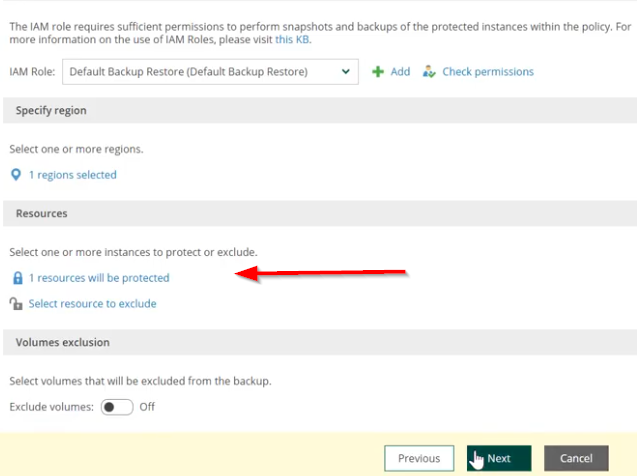
4. Click on the 1 resources will be protected link under the Resources section and select the EC2 instance you’d like to back up.
5. Click next to leave the page as default; you won’t make changes since you will not use any aware application-aware processing for this tutorial.
6. Set the backup switch to On to enable backups and choose the repository you created earlier. Click on Apply and Next.
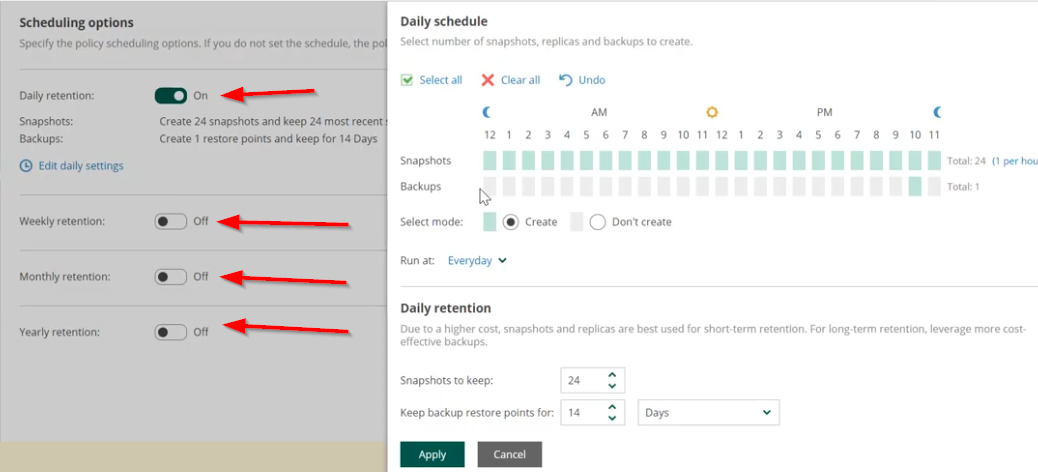
7. Set your preferred scheduled time to carry out the backups automatically. Click on the link “edit daily setting” to make changes to enable the backups daily, weekly, monthly, or even yearly. Click apply and click on next.
8. Click Next; once you’ve reviewed the estimated monthly cost, the backups will set you back.

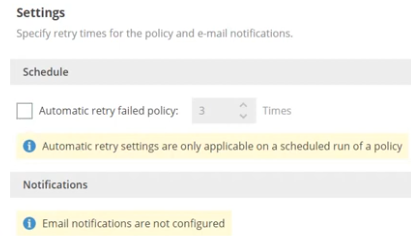
9. Check the box to automatically retry if the policy fails, and specify the number of times to retry. This setting comes into play if the backup fails for whatever reason. You’re telling Veeam Backup to retry the backup if it fails a certain number of times.
When complete, click Next to view the summary details.
10. Click Finish after you’ve reviewed the backup policy summary.

Restoring Files with Veeam AWS Backup
Now that you have successfully backed up your AWS EC2 instance let’s see how to restore information from it.
1. Click on Protected Data, select an EC2 instance to restore, and click on Restore —> Instance Restore.

2. Click on the link labeled file-level recovery and select the instance to backup and click Next.
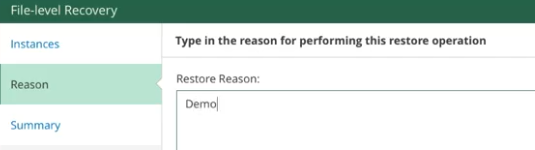
3. Type in a reason for restoring the file for identification sake, click Next and Finish.
4. When the instance has been loaded completely, click on the link FLR standing for file-level recovery. FLR allows you to extract one or more files from the backup.
Now click on the link on the popup screen to select the file you want to recover. You’ll then see all of the files available for restoration.

5. Select the file you want to recover, click on the Add to recovery list link, and click on Pending Review at the top corner of the screen.
6. Reselect the files you want to restore, click on download, and the file will be downloaded as a regular file.
You’re done! You should now have a copy of the restored file.
Conclusion
You’ve learned how to get started with Veeam Backup for AWS in this tutorial. You set it up from scratch, kicked off a backup, and finally restored a file from the backup. You covered the entire lifecycle.
Veeam Backup for AWS can do a lot more than what was covered here. Explore and see how it can help in your cloud backup strategy!


