

Do you have a new Ubiquiti switch, router, or access point you’re itching to get set up? If so, you’re in luck. In this article, you’re going to learn how to set up a Ubiquiti Unifi controller and use the Ubiquiti discovery tool to get your Ubiquiti networking equipment install in no time.
Let’s get started installing and configuring the UniFi controller. While we’re at it, you’re also going to learn how to upgrade a controller!
Installing the Ubiquiti Controller
To manage Ubiquiti networking devices, you must set up the Ubiquiti discovery tool and controller. This controller connects to and manages all of the devices on your network. Let’s set one up.
Since the controller supports Windows, Mac OS X, and some distros of Linux, we’re going to cover two different options for installing the controller; installing on Windows and Linux.
Installing the Unifi Controller on Windows Server
Using Windows Server or even a Windows desktop is a common host for a Unifi Controller. To use get it the controller set up is as easy as installing the software and launching it. The installer will install a basic web server that you can log in and start managing devices.
By default, the webserver that the controller software installs will run as an application. By default, a user has to be logged in for the controller to run. To fix this, you will learn how to set it up to run as a service thus removing the logged-in requirement.
Prerequisites
Before you start, be sure you have the following prerequisites:
- Windows Server 2019 – All of these steps will also work on most other Windows versions.
- Unifi Controller Software for Windows – This article will use version 5.13.29.
- Amazon Corretto 8 – Java 8 is also acceptable assuming you meet the licensing requirements or other OpenJDK package.
- An account for unifi.ui.com.
Installing the Controller
To run the Ubiquiti discovery tool, you must first install the controller software, you’ll first need to install Java if you don’t have it already. The controller software requires Java. In this article, you’re going to install Amazon Corretto rather than the typical Java download from Oracle. If you need to remove Java for some reason, check out this article.
Amazon Corretto is a pre-packaged OpenJDK installer. Since Oracle changed their licensing requirements for Java in a non-home use many organizations will opt to use OpenJDK instead of Oracle’s Java SE.
Assuming you’ve already downloaded Corretto, run the MSI to install OpenJDK and follow the prompts ensuring you leave everything as default to finish the installation of OpenJDK.
Once you’ve installed Coretto, now run the Unifi Controller software you should already have downloaded. Accept all of the defaults and finish the install. The Unifi Controller software will launch and after a minute or so it will show that it is started.
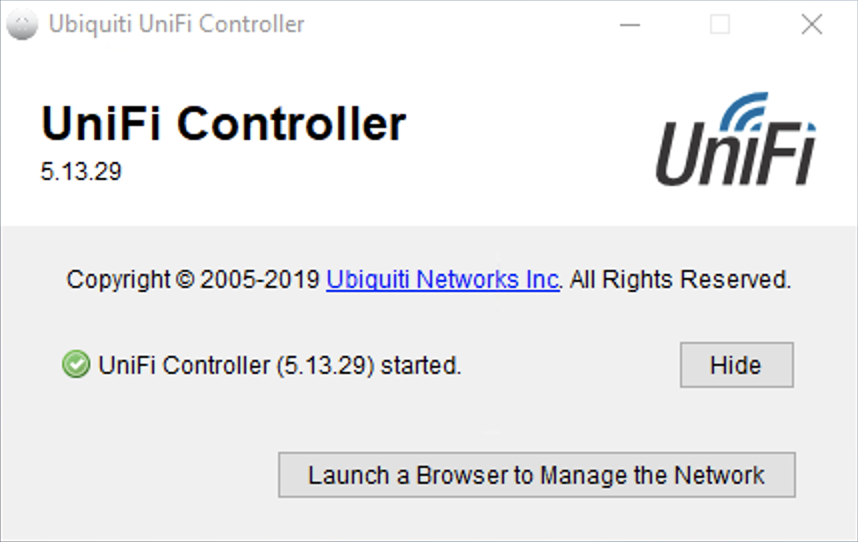
Once the controller shows as started (see above), close the window and click Yes on the confirmation to close the controller. This stops the controller so you can install the service.
Creating the Windows Service
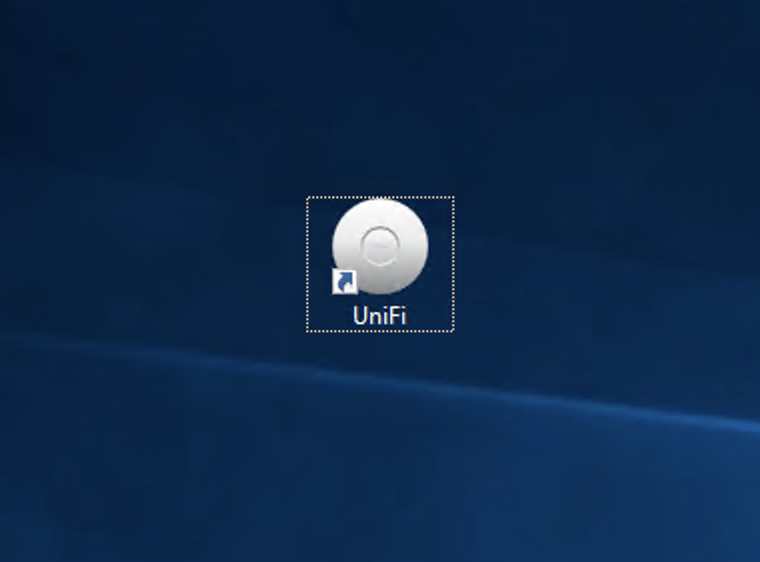
Once the controller software is installed, it will only work if someone is logged in. To force it to run all of the time, you need to set it up to run as a Windows service. But first, be sure to remove the Unifi shortcut on the desktop.
If you run the default shortcut on your desktop, you can unknowingly stop the service by closing the application launched with the shortcut.
To create the service, open an administrative command prompt and run the below commands. You can see what each command does in the comments.
Changes to the default Unifi Controller directory
 cd "%UserProfile%\Ubiquiti UniFi\"
 Configures Java to run the controller as a service and to start on boot
 java -jar lib\ace.jar installsvc
 Starts the Unifi service
 net start unifi
Now that you have configured the service, validate that it is running using the command sc query unifi. You should not receive an error and see that the service is running.
Installing on Linux
While you can use a Windows Server for the Unifi controller, Ubiquiti also offers an option to run the controller on Linux. Let’s dig in and discover how to do that.
Prerequisites
If you’re installing on Linux, be sure you have the following ahead of time:
- A current Debian or Ubuntu OS with root access – The steps will use Debian 10
- An account for unifi.ui.com
And that’s it. Everything else will be handled during the install process.
Installing the Ubiquiti Discovery Tool and Controller
To get the controller installed on Linux you have many options. Ubiquiti has some instructions on how to install the controller on their website but it only covers the install for a couple of specific versions of Linux. To use Debian, use the script that has been posted on the Unifi forums by member AmazedMender16.
To start the install, first ssh into the Debian server or access the server from the console. Log in either as root or as another user that has root access and then run su.
Update the apt repos.
> apt-get updateNext, install the ca-certificates and wget packages.
> apt-get update && apt-get install ca-certificates wget -yDownload and run the Unifi Controller installer script. This script will handle the install of the dependencies and controller software for many different distros of Linux including the Debian 10 server we are using.
## Downloads the Shell script
> wget https://get.glennr.nl/unifi/install/install_latest/unifi-latest.sh
## Executes the script
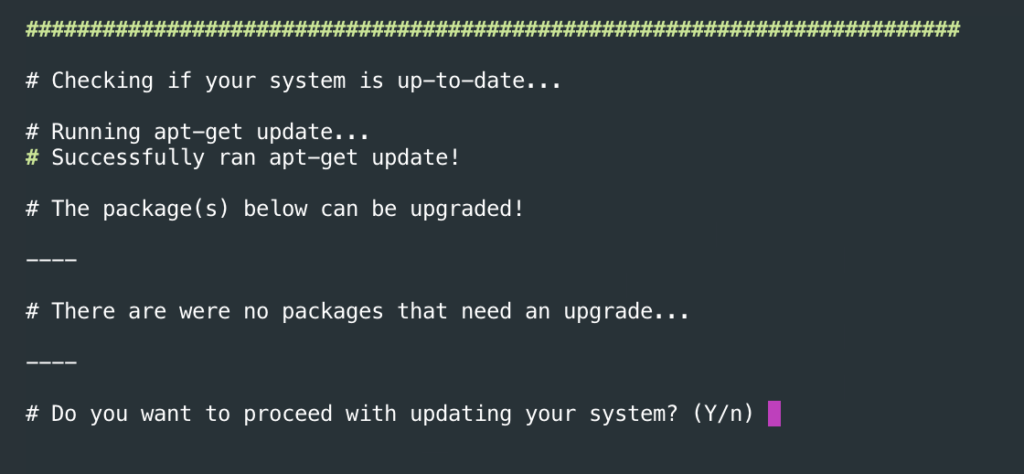
> bash unifi-latest.shYou will be prompted for a few things while the script runs. First, it will ask if you want to keep the script downloaded after the install. In most cases this is not required, so you should enter n and then press enter.

You may receive a prompt to update packages during the install. Enter y and then press enter.
Finally, you will be prompted to add the apt repo for Unifi to update the controller from apt. Enter y and press enter as this will make upgrades serviceable through apt.

Once the install completes, the script will output the version of the controller installed and the URL to use to start configuring the controller.
Configuring the Ubiquiti Discovery Tool and Controller
Once you have the controller software installed on whatever server you are using the setting will be the same.
Go to the website https://<ServerIP>:8443/ and you will be presented with a window like below.
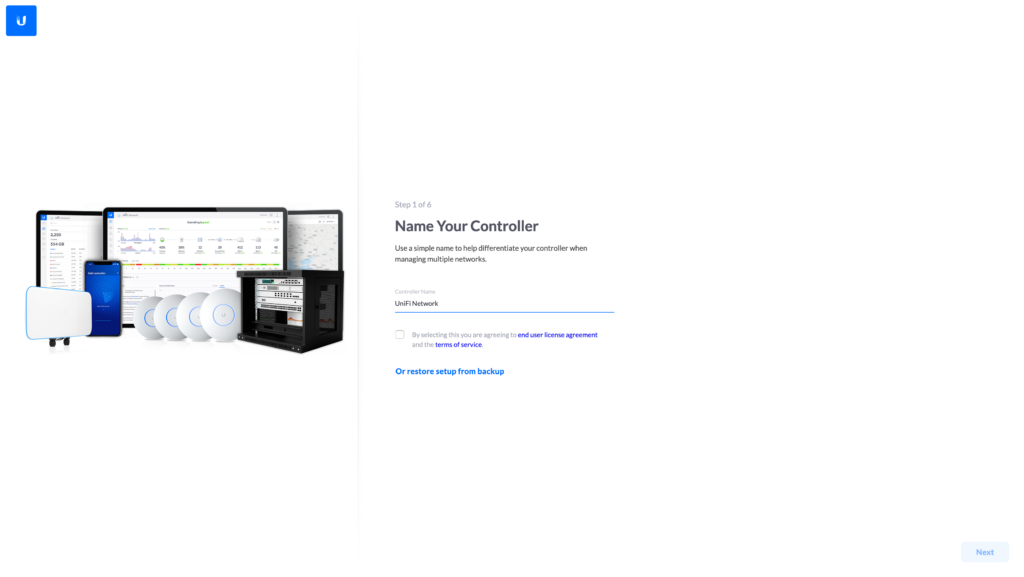
Enter the name of the controller or leave it as the default Unifi Network, accept the EULA and license then click the Next button.
Next, you will be presented with a login prompt where you will enter your username and password for unifi.ui.com. Authenticating with a Ubiquiti acccount is the default.
If you would like to use a local account click on Switch to Advanced Setup and uncheck the option for Use your Ubiquiti account for local access. Note that you will still need a Ubiquiti account, you would just be using a different account to log in locally.
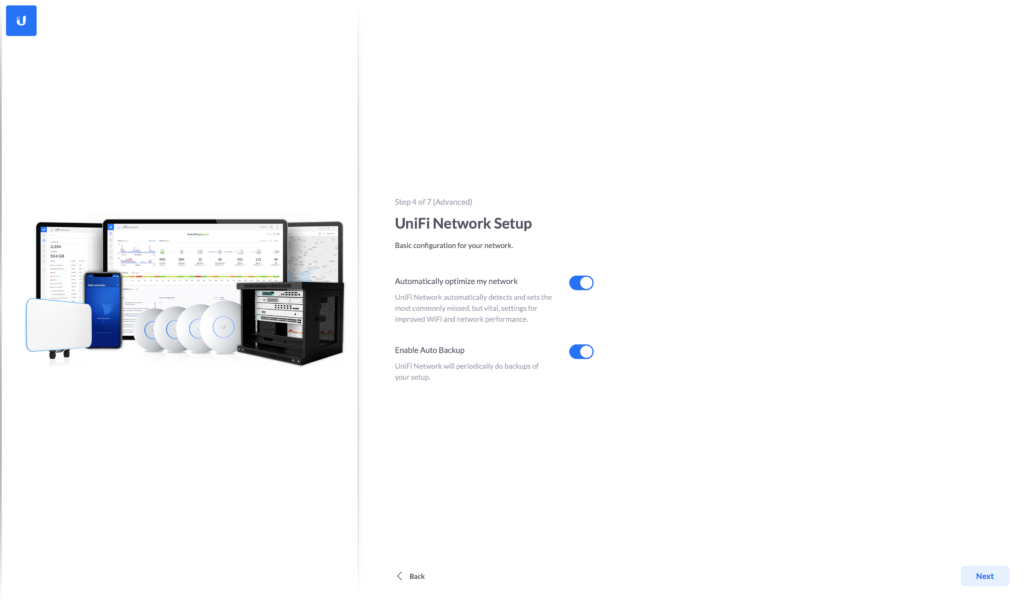
You’ll then be presented with two options. If you’re setting up a Wifi access point, by default, the Unifi Controller will attempt to boost wifi performance in a heavily loaded network with your Unifi products. This includes shutting down broadcast and multicast when the access point(s) are overloaded. You can control this setting by toggling the Automatically optimize my network option.
At this screen, you can also choose to automatically backup your controller. If you choose this option, you can configure a server to backup to and restore from the settings menu in the controller. If you would like to disable either of these you can uncheck them.
Once you’ve defined the settings above, you will be prompted to adopt any Unifi devices that are pending adoption on your network. If you are setting up the controller with a new Unifi device they should appear in the list.
If they have already been adopted by another controller or the Unifi mobile app, they need to be forgotten before you can adopt them with this new Unifi Controller. For troubleshooting adoption, you can reference Ubiquiti’s documentation here.
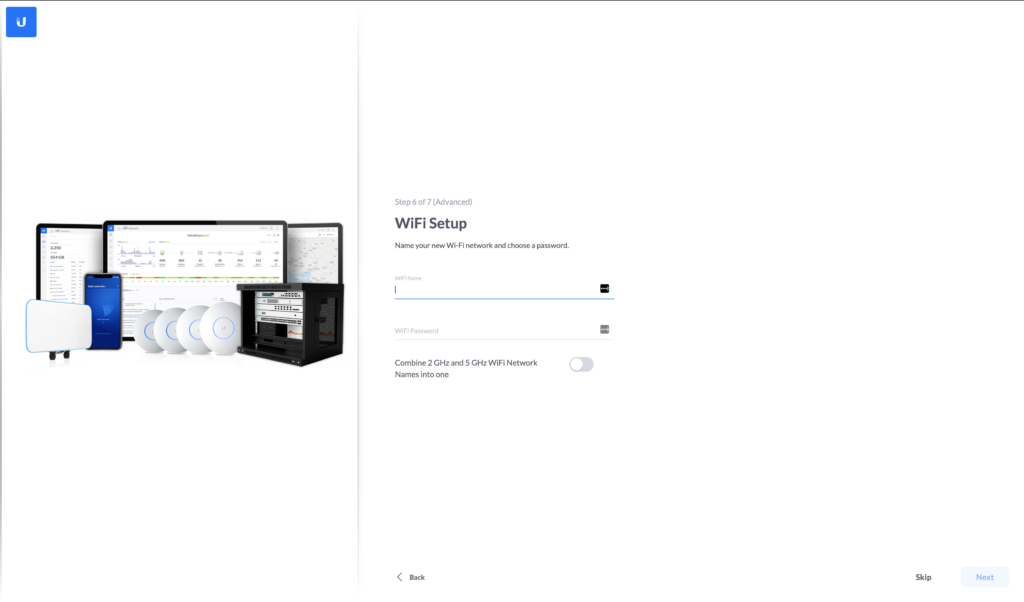
After device adoption, set up your Wifi network by providing the SSID and password. You can skip this set to be completed later by clicking the Skip button too. You also have the option to use the same SSID and password for both 2.4GHz and 5GHz wifi networks. All of these settings can also be changed within the controller after the setup.
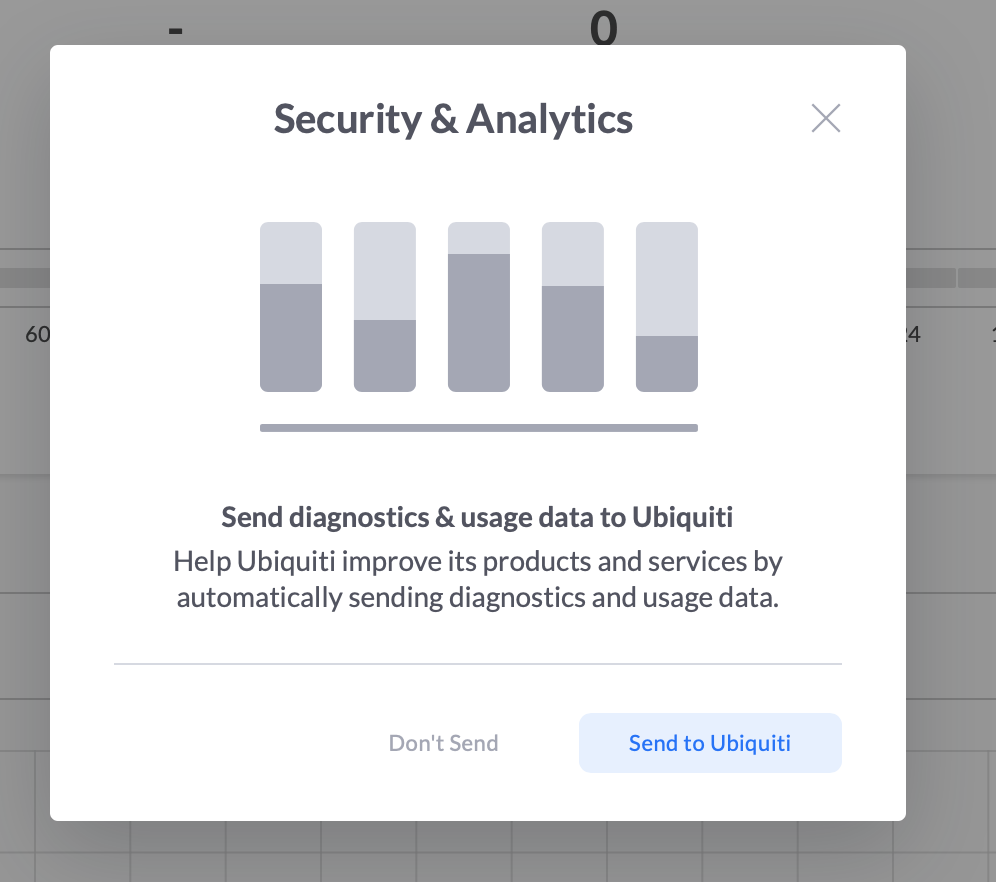
Next, validate the setup settings and click Finish. This will log you into the controller and ask if you would like to provide usage data to Ubiquiti. If you do not mind providing anonymized data, select Send to Ubiquiti or to opt-out of the data select Don’t Send. This can also be changed in the settings pages later.
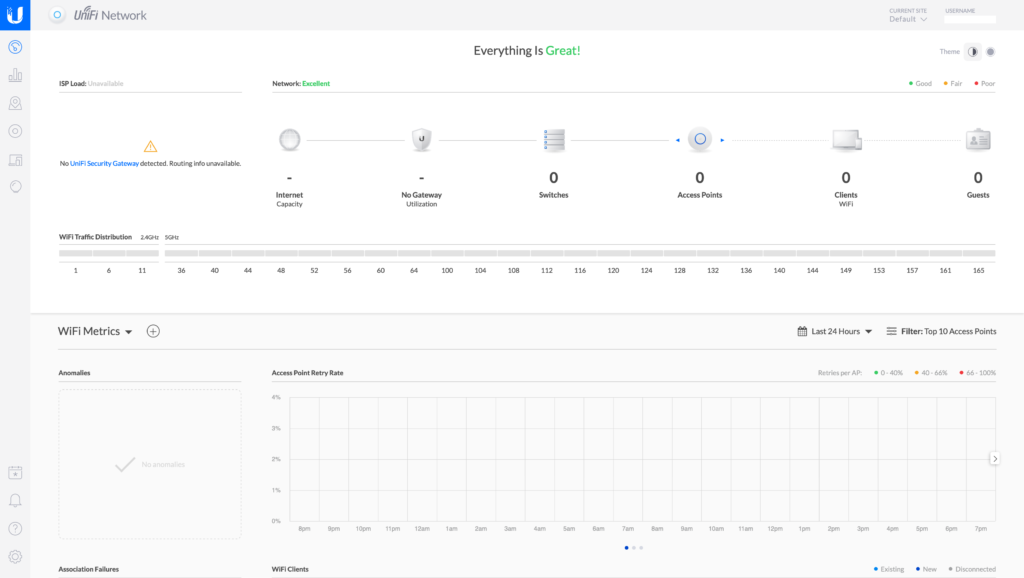
Once you’re logged into the Unifi Controller, go to the Unifi Cloud Site to access your controller from the internet using your Unifi account. You can use the Unifi Cloud site to access your controller even if you are on the same network. Here you can Ubiquiti discovery tool to discover devices and manage all aspects of your Ubiquiti devices!
That’s it! You’ve got a brand new, Unifi Controller all set up and ready to go!
Upgrading the Controller
Let’s assume you already have a controller installed. It’s been a while since you’ve installed it and some updates have come out. You need to know how to upgrade it.
Updating a controller differs a little between operating systems. Regardless, updates are something that needs to be planned for to stay on current and supported versions of the controller.
Updating Unifi Controller on Windows Server
To update the Unifi Controller on Windows, first head over to Unifi’s download page and download the Unifi Network Controller for Windows. This will download the newest version of the controller software. If you need to move to an older version you can select See Past Software to download an older version of the controller also.
Once you have the installer downloaded, uninstall the service that was installed during the setup by opening an administrative command prompt and running the following.
## Changes to the default directory of the controller
> cd "%UserProfile%\Ubiquiti UniFi\"
## Removes the Windows service
> java -jar lib\ace.jar uninstallsvc
This will ensure all of the processes are functioning as expected and that all of the files get updated.
Once the uninstall is finished, run the installer downloaded in the previous step. After it is complete, launch the controller via the desktop shortcut that was automatically created during the upgrade and close it.
Now go to your command prompt and run the below commands.
## Runs the new version of the controller as a service
> java -jar lib\ace.jar installsvc
## Starts the service
> net start unifi
After the service is installed again, log back into the controller through the web page at https://<ServerIP>:8443/.
Updating Unifi Controller on Linux
To update the Unifi Controller in Linux is much less hassle than Windows.
Log into the server that is running the controller as root or as a user that has root access.
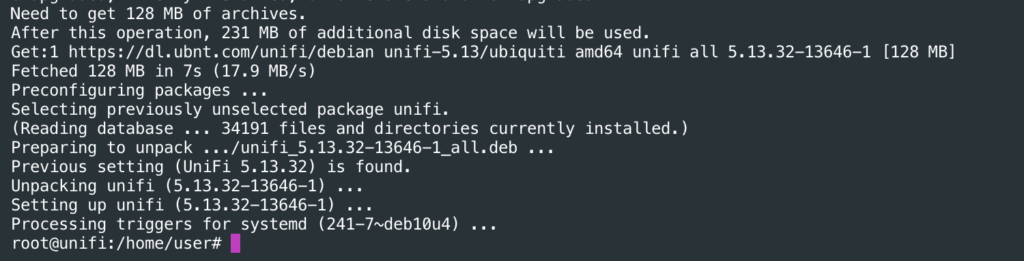
Run sudo apt upgrade unifi -y and wait for it to complete. This command will use apt to upgrade the Unifi package to the newest version. After it outputs that the update has been completed you can log back into the controller through the web page.
Conclusion
While there are many differences between Windows and Linux Unifi Controllers during the install and upgrade process of a Unifi Controller, the final result has no noticeable differences. Deciding whether you want to use a Windows Server or Linux Server comes down to personal preference and the licensing model for the operating system.
For home or lab use, Linux provides a small footprint that is free to use. For an business that requires OS level support and already has an existing support contract with Microsoft, Windows Server may be the better option.


