
Maybe you’ve put together some great functions but struggle to make them cohesive, intuitive, or shareable. Without a way to define your module’s identity and functionality, managing or scaling as your scripts evolve into robust tools can be a headache. Not unless you have a module manifest in place.
Think of a module manifest as the backbone of your PowerShell module. In this guide, you’ll learn what a manifest is and how to create one that simplifies management and enhances usability.
Prerequisites
To follow along with this tutorial, ensure you have:
- PowerShell 5.1 or PowerShell 7+ installed
- Administrative access to create files in the PowerShell modules directory
- A basic PowerShell module (.psm1 file) ready to enhance with a manifest
What is a PowerShell Module Manifest?
A module manifest is a PowerShell data file (.psd1) that contains metadata about your module. It’s essentially a hashtable that tells PowerShell:
- Which functions to expose
- What PowerShell versions are compatible
- Who created the module and when
- What dependencies the module requires
- How the module should behave when imported
Without a manifest, PowerShell modules still work but lack professional polish and control. The manifest transforms a collection of scripts into a manageable, versioned package.
Creating and Naming a Manifest
A manifest file must follow specific naming conventions. Name the manifest file after your module with a .psd1 extension. For example, if your module is named ComputerInventory, the manifest file should be ComputerInventory.psd1.
Using New-ModuleManifest
While you can create a manifest manually, the New-ModuleManifest cmdlet simplifies the process. Here’s a complete example:
New-ModuleManifest -Path 'C:\Program Files\PowerShell\Modules\ComputerInventory\ComputerInventory.psd1' `
    -RootModule 'ComputerInventory.psm1' `
    -ModuleVersion '1.0.0' `
    -Guid (New-Guid).Guid `
    -Author 'Your Name' `
    -CompanyName 'Your Organization' `
    -Description 'A module for collecting computer hardware inventory information' `
    -PowerShellVersion '5.1' `
    -FunctionsToExport 'Get-MemoryInfo','Get-ProcessorInfo','Get-StorageInfo' `
    -CompatiblePSEditions 'Core','Desktop'
Understanding the Parameters
Path – Where to create the manifest file. The path shown uses PowerShell’s default module location, but you can create a manifest anywhere. Common locations include:
C:\Program Files\PowerShell\Modules\– System-wide modules (requires admin rights)$HOME\Documents\PowerShell\Modules\– User-specific modules- Any project folder during development
To see all module paths PowerShell searches:
$env:PSModulePath -split ';'RootModule – The main .psm1 file containing your module’s code. This parameter tells PowerShell which file to load when someone imports your module. The path is relative to the manifest location.
Required vs Optional Parameters
Only the -Path parameter is mandatory. New-ModuleManifest creates a template manifest with default values if you omit other parameters. However, these parameters are highly recommended:
| Parameter | Required | Purpose | Default if Omitted |
|---|---|---|---|
| Path | Yes | Where to save the manifest | N/A |
| RootModule | No | Main module file to load | Module won’t load any code |
| ModuleVersion | No | Version tracking | ‘0.0.1’ |
| Guid | No | Unique module identifier | Auto-generated |
| Author | No | Module creator | Current user name |
| FunctionsToExport | No | Which functions to expose | ‘*’ (all functions) |
Key Parameter Explanations:
- Guid: A unique identifier that distinguishes your module from others.
(New-Guid).Guidgenerates a fresh GUID each time. Keep the same GUID across versions of your module. - FunctionsToExport: Controls which functions are available to users. Specify exact function names to hide helper functions and only expose your public API.
- CompatiblePSEditions: Declares which PowerShell editions your module supports:
- ‘Desktop’ = Windows PowerShell 5.1
- ‘Core’ = PowerShell 7+
- Both = Works on either edition
- PowerShellVersion: The minimum PowerShell version required. Set this based on the cmdlets and features your module uses.
Exploring Key Attributes in the Manifest
Manifests include various attributes that control module behavior. Here are the most important ones:
Essential Attributes
| Attribute | Definition | Example |
|---|---|---|
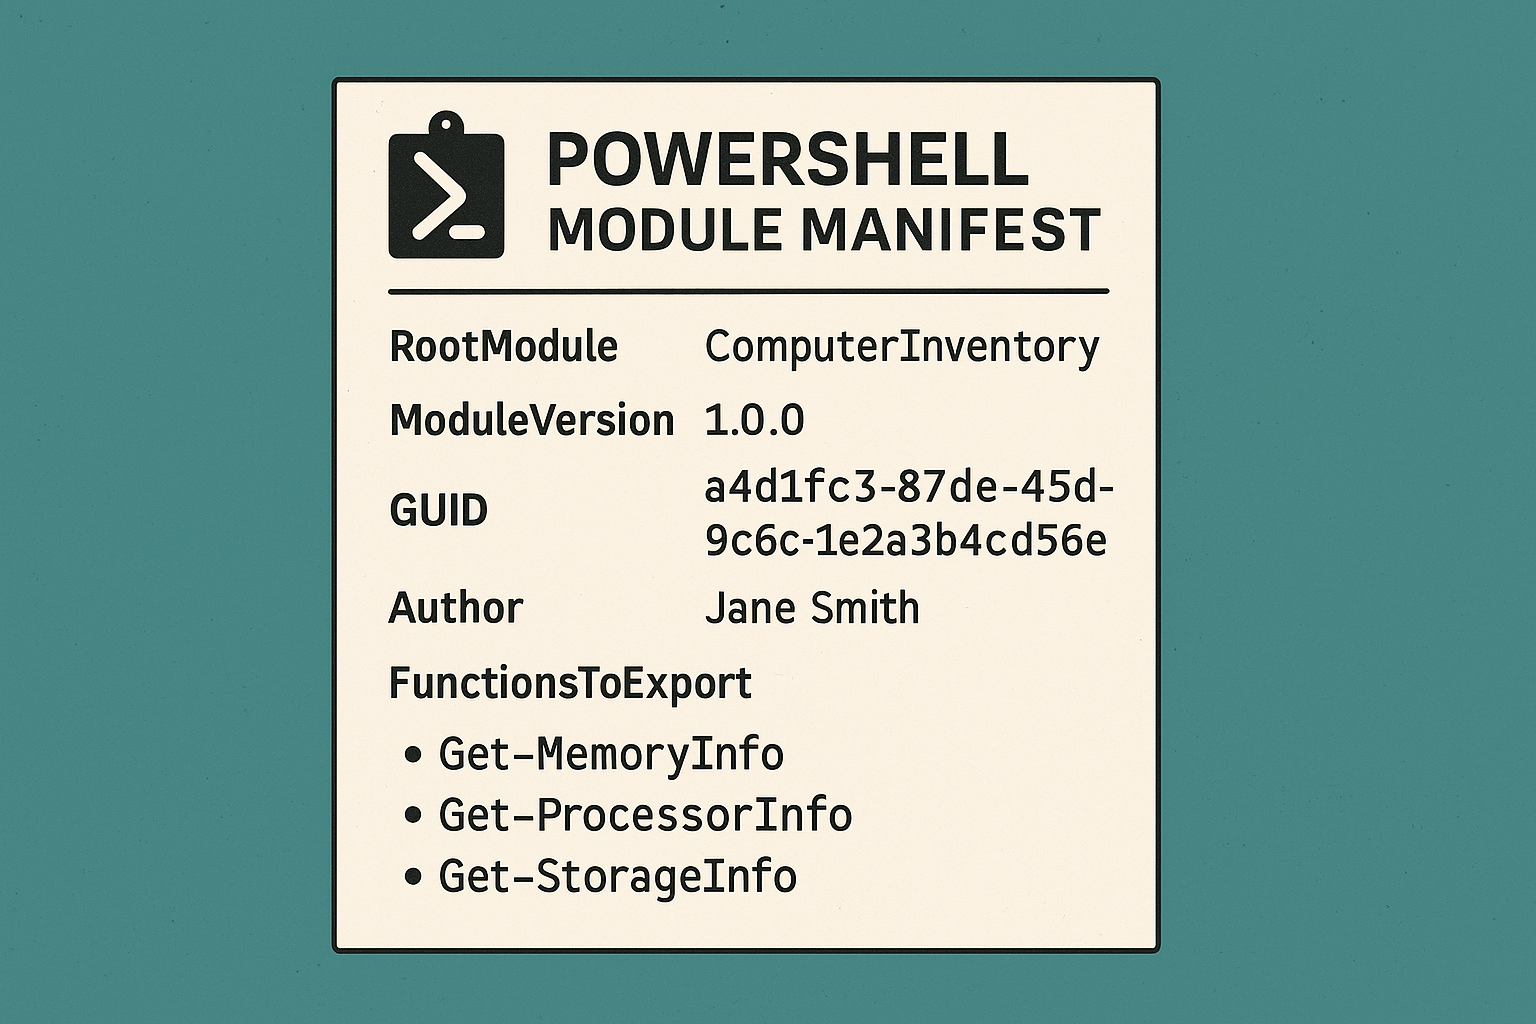
RootModule | Specifies the primary module file (.psm1) | 'ComputerInventory.psm1' |
ModuleVersion | Indicates the module version for tracking changes | '1.0.0' |
GUID | A unique identifier for the module | 'a4d1f2c3-8b7e-4a5d-9c6f-1e2a3b4c5d6e' |
Author | The module creator’s name | 'Jane Smith' |
Description | Brief explanation of the module’s purpose | 'Collects hardware inventory' |
Compatibility Attributes
| Attribute | Definition | When to Use |
|---|---|---|
PowerShellVersion | Minimum PowerShell version required | Set to ‘5.1’ for broad compatibility |
CompatiblePSEditions | Which PowerShell editions are supported | Use ‘Core’ for PS 7+, ‘Desktop’ for Windows PowerShell |
CLRVersion | Required .NET Framework version | Only needed for Windows PowerShell modules |
ProcessorArchitecture | Required processor architecture | Use when module has architecture-specific dependencies |
Export Control Attributes
The FunctionsToExport attribute deserves special attention. By default, PowerShell exports all functions from a module. This can expose helper functions you intended to keep private.
# Export only public functions
FunctionsToExport = @('Get-MemoryInfo', 'Get-ProcessorInfo', 'Get-StorageInfo')

# This keeps ConvertTo-GB as an internal helper function
Why Keep Functions Private?
There are several reasons to hide certain functions from module users:
- Simplified User Experience – Users see only the main functions they need. If your module has 3 main functions but 15 helper functions, exposing everything creates confusion about what to use.
- Implementation Flexibility – Private functions can be changed, renamed, or removed without breaking code that depends on your module. Public functions become part of your module’s contract with users.
- Preventing Misuse – Helper functions might require specific input formats or assume certain conditions. Direct use could cause errors or unexpected behavior.
- Cleaner IntelliSense – When users type your module name followed by a dash, they see only the relevant commands, not internal utilities.
For example, if ConvertTo-GB is a simple calculation helper used by multiple functions, users don’t need direct access to it. They should use the main functions that call it internally.
To see what functions are actually exported:
Get-Command -Module ComputerInventoryDependency Management
Manifests can also manage module dependencies:
# Modules that must be imported before this module
RequiredModules = @('ActiveDirectory', 'Az.Compute')

# Assemblies that must be loaded
RequiredAssemblies = @('System.Web.dll')

# Scripts to run when module imports
ScriptsToProcess = @('Initialize-Module.ps1')
Testing the Manifest
A manifest with syntax errors or missing references will cause module import failures. Always validate your manifest using Test-ModuleManifest:
Test-ModuleManifest -Path 'C:\Program Files\PowerShell\Modules\ComputerInventory\ComputerInventory.psd1'This cmdlet checks for:
- Syntax errors in the manifest file
- Missing files referenced in the manifest
- Inconsistent version information
- Invalid attribute values
If successful, it returns a PSModuleInfo object. If there are errors, it provides detailed error messages.
Common Validation Issues
Here are frequent problems Test-ModuleManifest catches:
- Missing RootModule: The .psm1 file doesn’t exist at the specified path
- Invalid GUID format: The GUID isn’t in the correct format
- Syntax errors: Missing commas, unclosed quotes, or brackets
- Version conflicts: CompatiblePSEditions specified without PowerShellVersion
Verifying the Module
After creating and testing your manifest, verify the module loads correctly:
# Import the module
Import-Module ComputerInventory -Force

# Check module details
Get-Module -Name ComputerInventory | Format-List

# Verify exported functions
Get-Command -Module ComputerInventory
The output should show:
- The correct module version
- Expected exported commands
- Proper module type (Script or Binary)
- The module’s installation path
Advanced Manifest Features
Private Data Section
The PrivateData section stores additional metadata, particularly for PowerShell Gallery publishing:
PrivateData = @{
    PSData = @{
        Tags = @('Inventory', 'Hardware', 'Windows', 'CrossPlatform')
        LicenseUri = 'https://github.com/yourname/ComputerInventory/blob/main/LICENSE'
        ProjectUri = '<https://github.com/yourname/ComputerInventory>'
        IconUri = 'https://raw.githubusercontent.com/yourname/ComputerInventory/main/icon.png'
        ReleaseNotes = 'Initial release with basic hardware inventory functions'
    }
}
Module Initialization
Use ScriptsToProcess to run initialization code before the module loads:
ScriptsToProcess = @('Init-ComputerInventory.ps1')This script might:
- Set module-scoped variables
- Validate prerequisites
- Configure logging
- Load configuration files
Nested Modules
For complex modules, you can organize code into nested modules:
NestedModules = @(
    'Private\HelperFunctions.psm1',
    'Public\CoreFunctions.psm1'
)
Summary
You’ve learned how to create professional PowerShell modules using manifests. A well-crafted manifest transforms a collection of functions into a polished, version-controlled module that’s easy to share and maintain.
Key takeaways:
- Always create a manifest for modules you plan to share
- Use
New-ModuleManifestto ensure proper structure - Test manifests with
Test-ModuleManifestbefore distribution
Start by adding a manifest to your existing modules. As you gain experience, explore advanced features like nested modules and initialization scripts to build increasingly sophisticated PowerShell tools.


