


Welcome back to ATA’s Learn with Me series on 1E’s Tachyon Platform for Unified Experience Management! If you missed the previous posts, be sure to catch up here.
In this installment, we’re going to start putting some rubber to the road and get Tachyon stood up in a lab environment. You’re going to come with me on a journey as I install Tachyon, start getting acclimated to the user experience, perform some initial server setup, deploy clients, perform some simple user management, and finally get exposed to Tachyon instructions.
Without further ado, let’s get started!
First Impressions
When you first get introduced to Tachyon, you’ll probably be overwhelmed like I was. There’s a lot to this product. What do you expect for a product that can support hundreds of thousands of endpoints?
My initial reaction was near the same when I started playing with Microsoft’s System Center Configuration Manager (SCCM) back in the day: “Wow. Where do I even start?”. But, unfortunately, Tachyon isn’t a single, simple installer I could just throw on a server and start playing around.
Tachyon requires a well-thought-out process to deploy each component you need and ensure that the entire system is set up to support your environment correctly.
My first impression? “Oh, my God, where do I start?” But, it gets better.
Documentation and Training
When I first began investigating Tachyon, I jumped immediately to the documentation and training resources and was pleasantly surprised by the depth of resources. 1E provides a lot of content to help you learn Tachyon, but it could use some improvement.
1E provides typical documentation such as some handy quick start guides and provides training resources through their 1E Support Portal. Their quick start guides are handy.
The Support Portal has extensive training resources, but the video-based training could use some work. The quality isn’t quite there, and it’s not engaging at all. After watching some of the videos, I went to the lab-based training and started learning independently.
The lab-based training is thorough and walks you through what I’ve seen so far, setting up just about everything. I struggled a bit actually to learn, though. The instruction tends to tell you what to do step-by-step but does not include much explanation. As a result, I consistently had to click around myself or look at the documentation to understand exactly what actions I was taking.
If you’re more of an in-person kinda learner, 1E also offers instructor-led training but I’ve yet to sign up for in-person training.
Installing Tachyon
Installing Tachyon is fairly straightforward if you have a spare Windows Server handy. Overall, the installation process was fairly typical. Nothing, in particular, stood out to me.
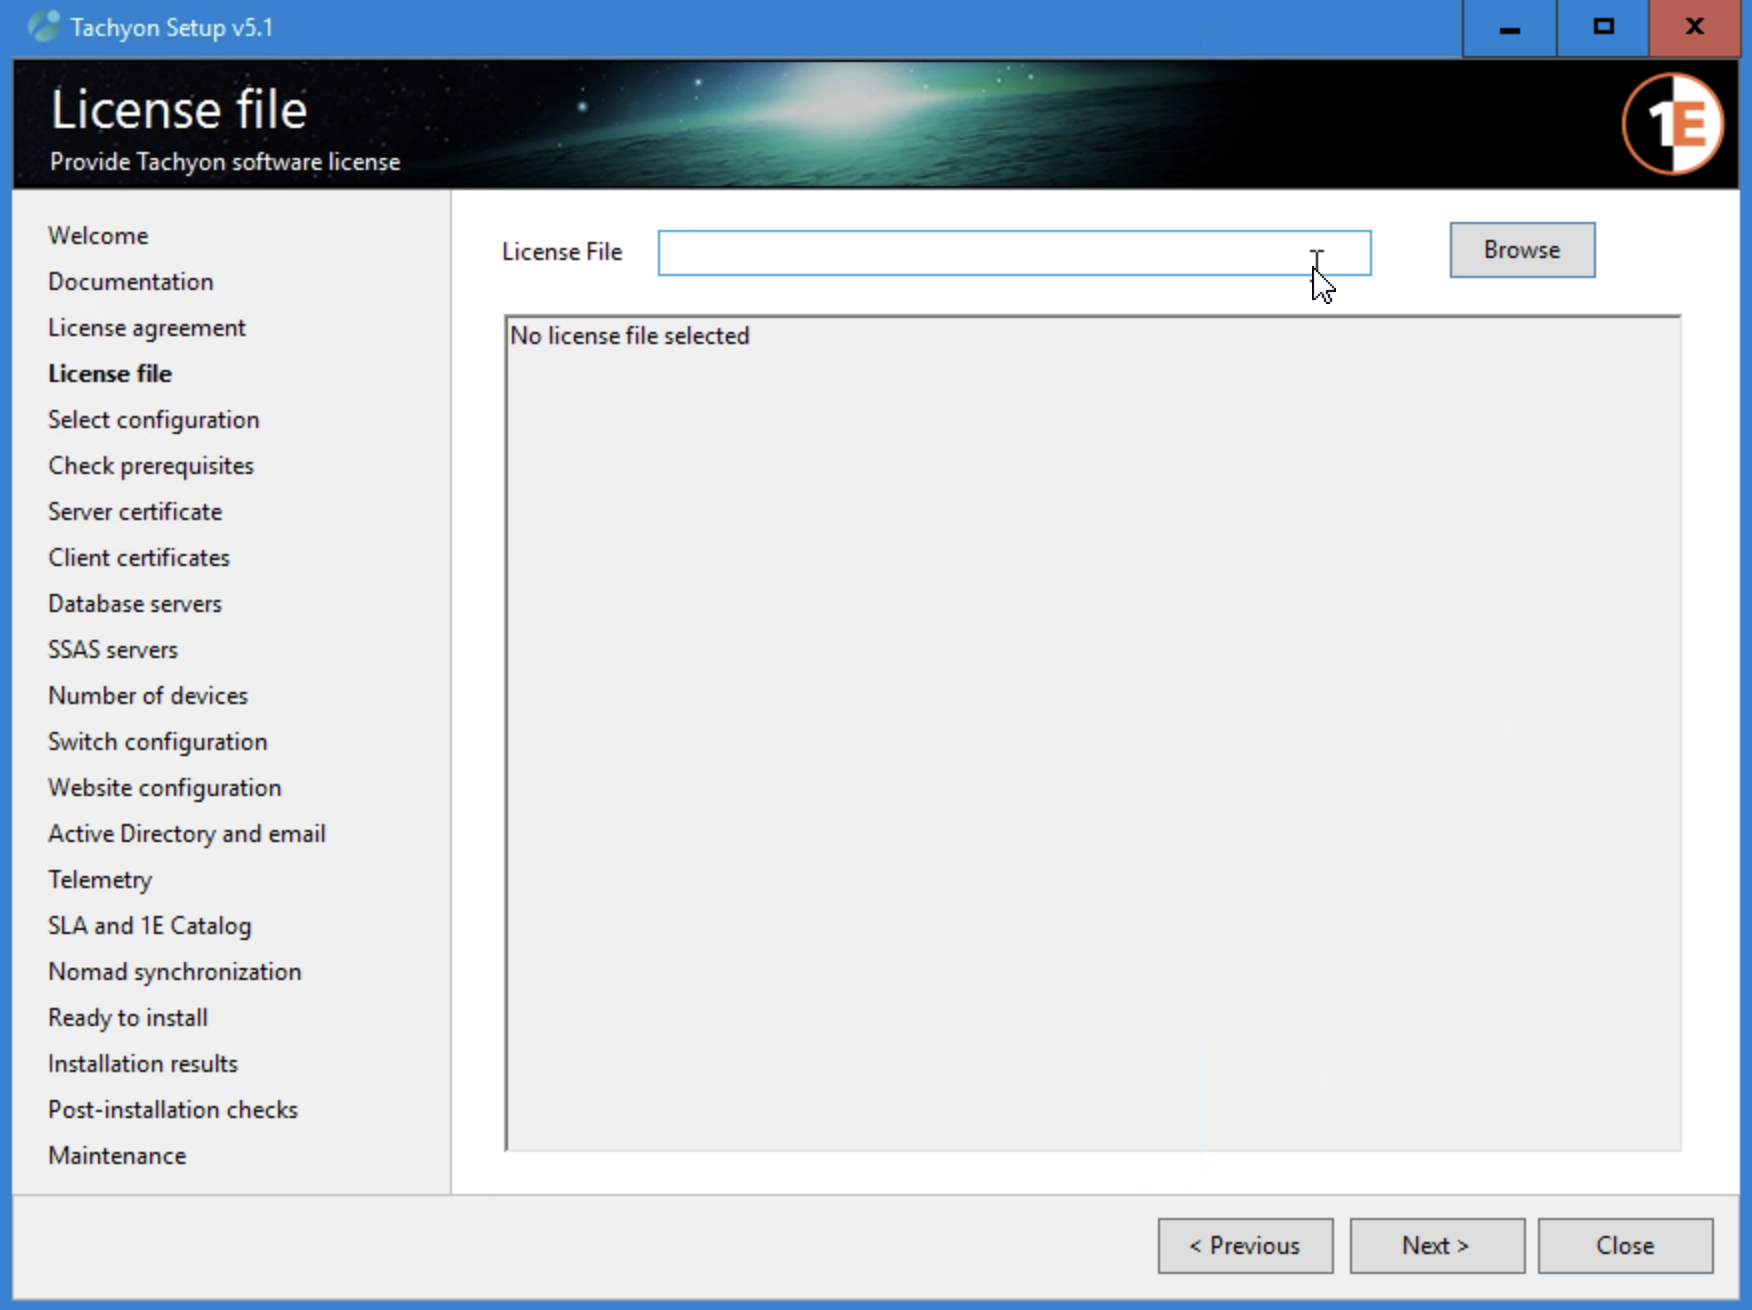
When you run the installer, you’ll soon see why I had that “where do I start?” initial impression, though. All of those sections on the left side, as you can see below, led me to wonder if I’d ever get done. But, in the end, the process was typical and straightforward for an intermedia to a senior engineer like myself.

Tachyon License Setup
Tachyon is licensed via a file, as shown below. In the training lab I was in; the license was provided to me. I’m not sure how the process is handled outside of a lab. It’d be nice if we didn’t have to mess with a file and instead authenticate to an online service.
Tachyon Prerequisites
During the setup, you’ll see a Check prerequisites section, as shown below. If you click on the Start checking button, the installer will invoke many different PowerShell scripts in the background and check dozens of prerequisites for you.
Clicking on the Install missing prereqs button took care of all of the missing prerequisites I had in one fell swoop.
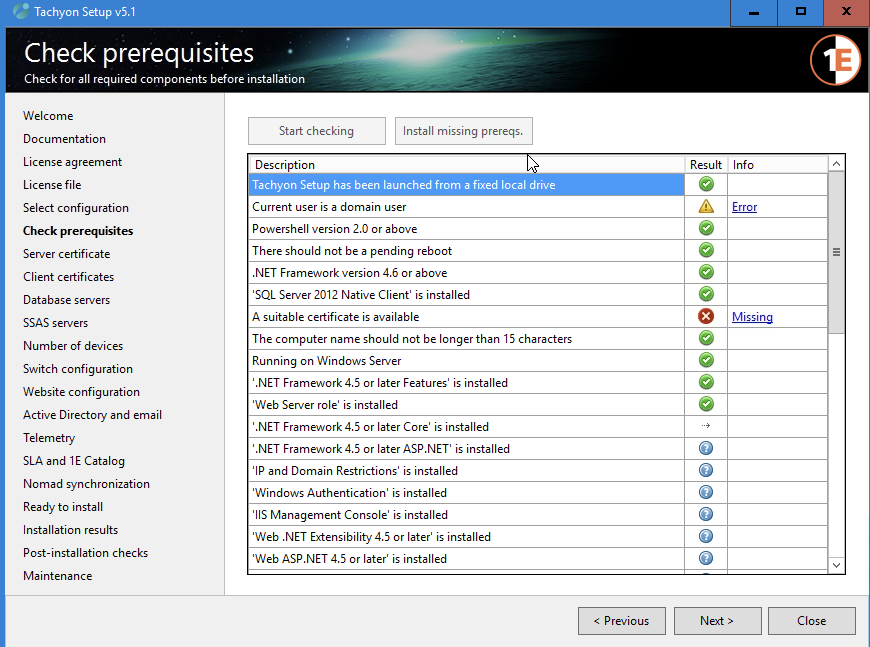
I really liked how they are aware of the complexities of the software and do all they can to automate as many of the prerequisites and setup as possible.
Throughout each section of the installation process, you’ll see a Validate button. Clicking on the button performs a check of your environment to ensure the configuration is correct. Handy!
Once you’re through most of the installation process, the installer also provides you with a huge script consisting of all the switches for each MSI the installer will invoke based on your input. If you click on the View command line(s) button in the Ready to Install, you’ll see everything the installer invokes.
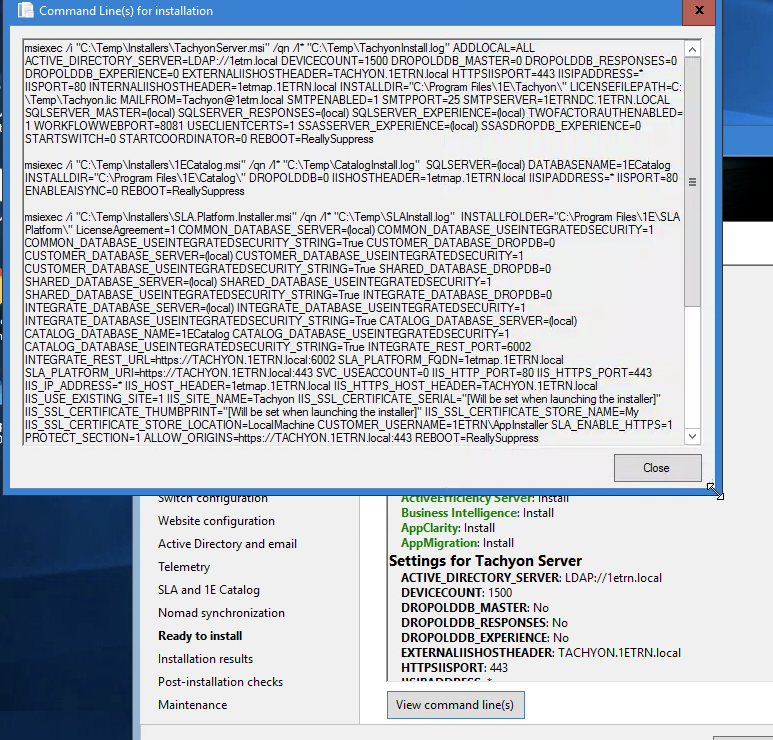
Final impressions on the installation process? The process was typical for a large product like Tachyon. The installer did a great job ensuring your environment is set up correctly by consistently validating configuration items and automating much of the prerequisite work.
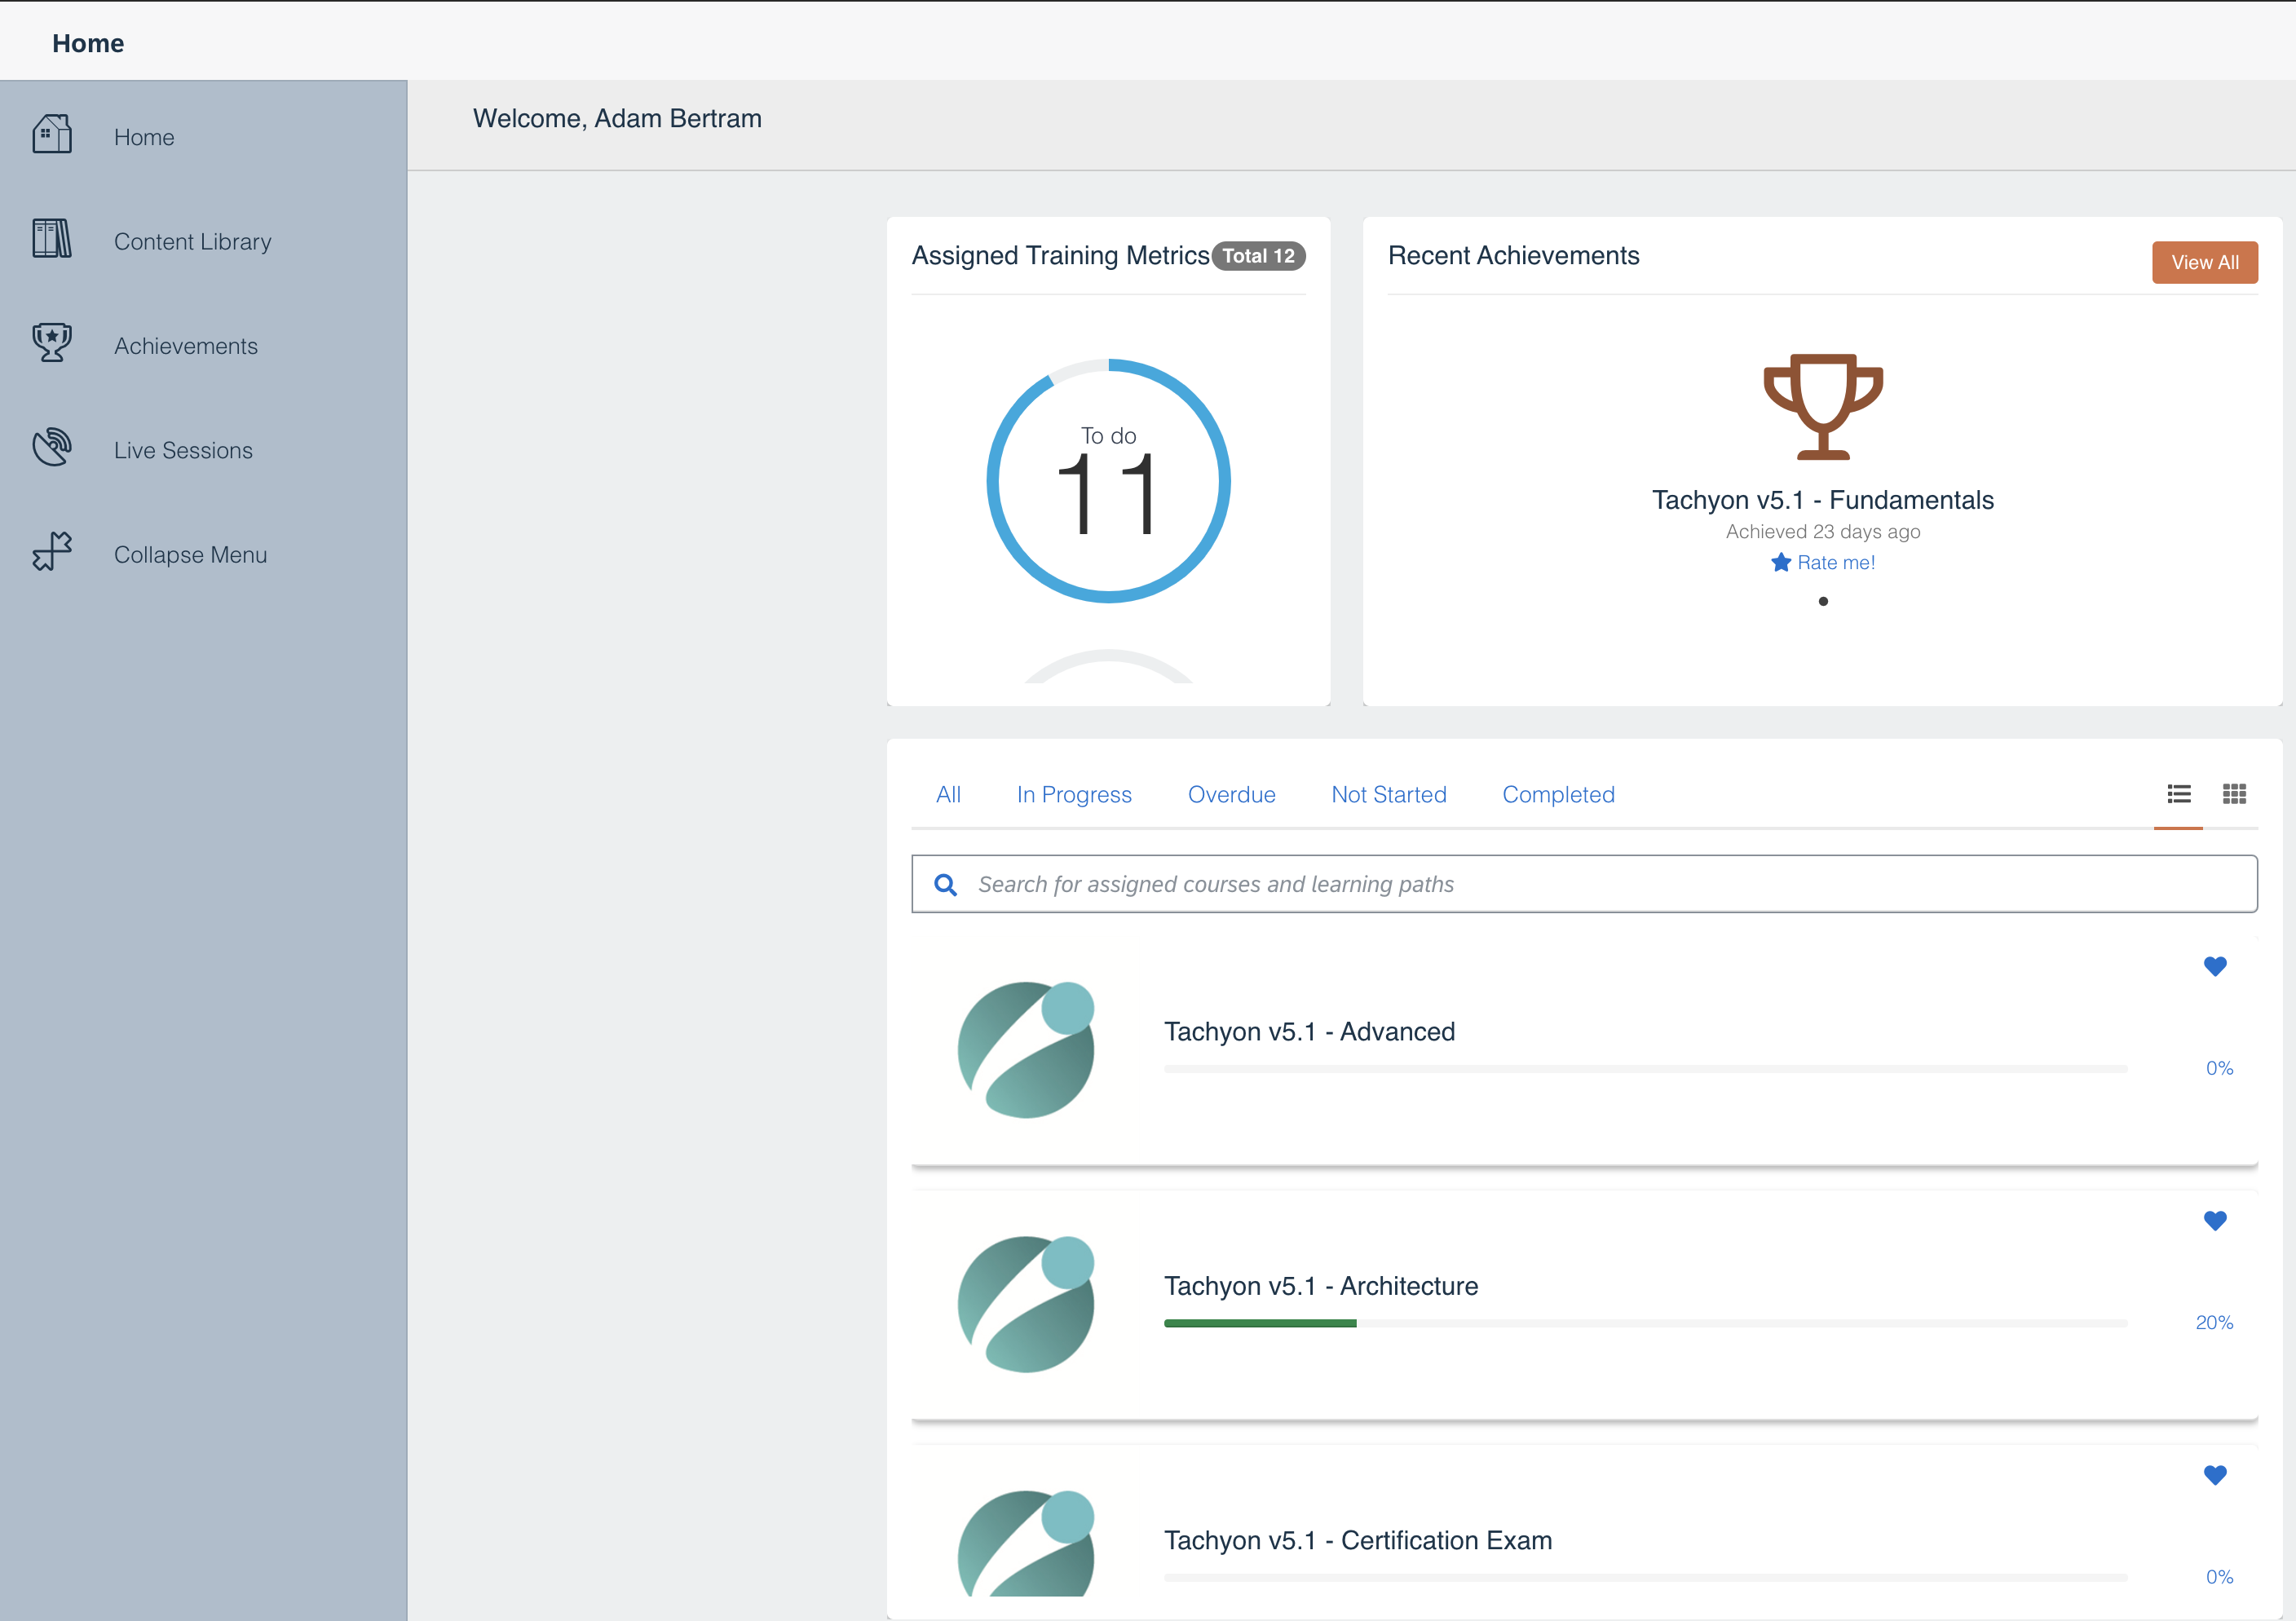
First Impressions of the UX and UI
Tachyon relies heavily on HTTP/HTTPS for nearly all communication. Managing Tachyon is done via the Tachyon Portal. Since Tachyon is actually a suite of services or what 1E calls applications or consumers, you’ll immediately notice this on the main page.
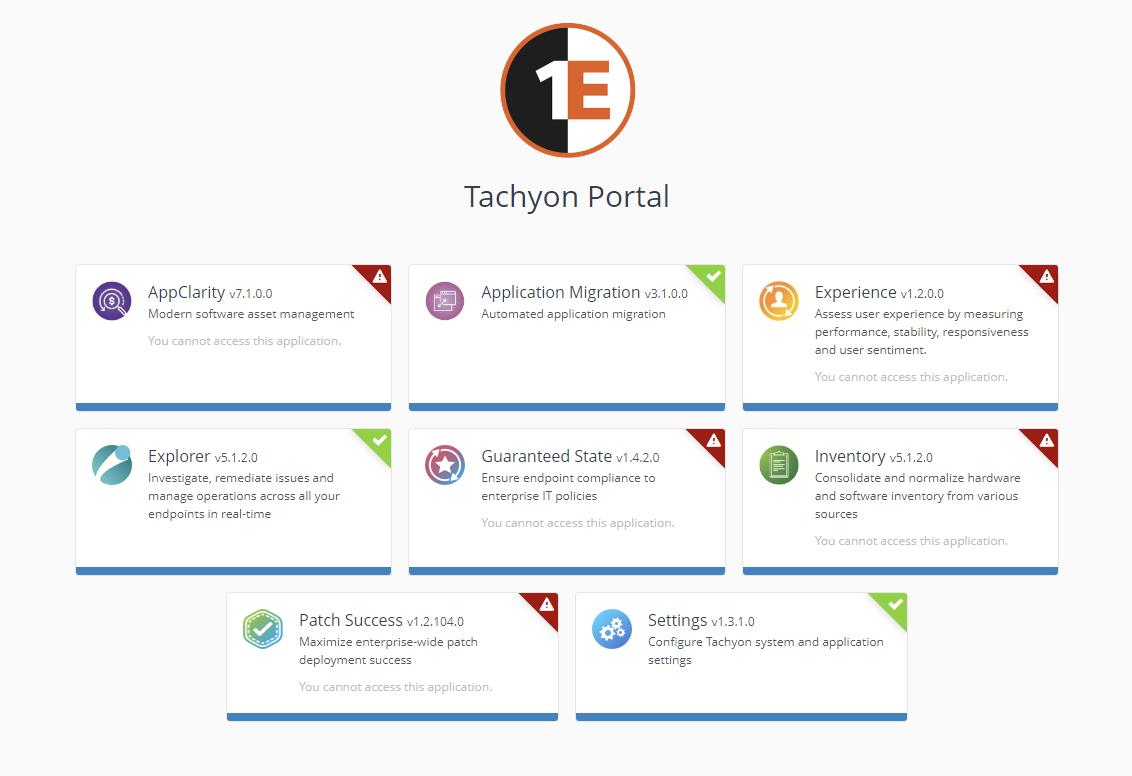
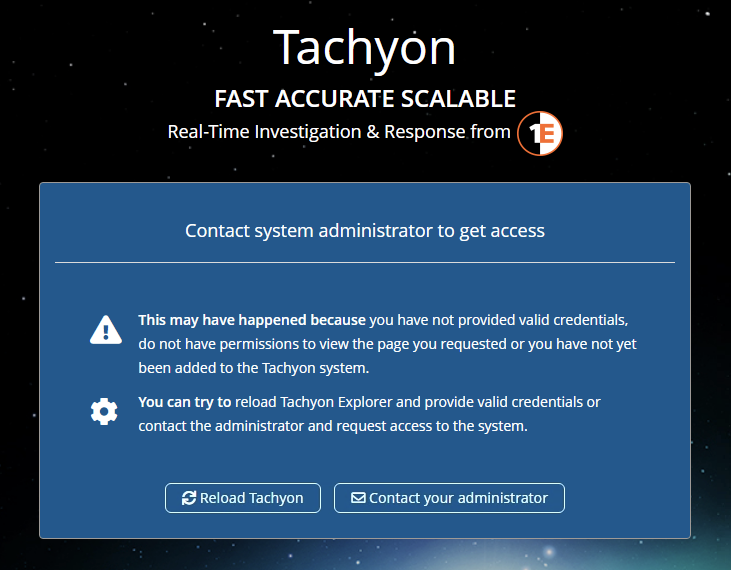
At first glance, the red exclamation points were a bit off-putting. You might think those indicators mean Tachyon found a problem, but that wouldn’t be correct. The warning indicators tell you the user you’re logged in with doesn’t have access to those applications. It would have been nice to simply hide those elements.
Tachyon has an impressive role-based access control (RBAC) system that allows you to get extremely granular with permissions from what I can tell so far.
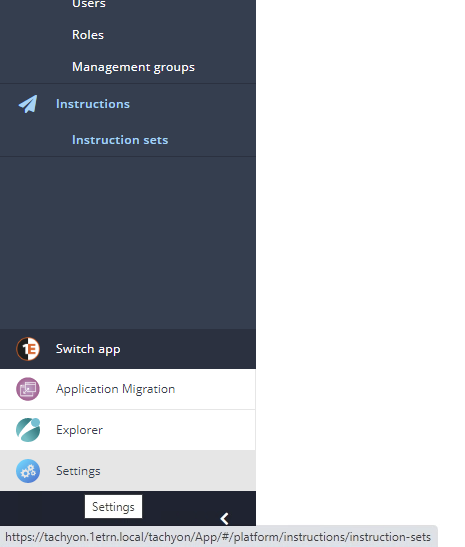
To switch between applications, the Portal provides you with the Switch app button, as shown below. When you click on this button, you’ll see why it’s clear they spent time on the UX, in general. Also, rather than just a simple link to a page, the menu gradually comes up smoothly. Nice touch!
Overall, the Tachyon Portal seemed to be responsive to just about every task I put it through. The colors didn’t blind me, the font choice was nice, and I generally enjoy navigating the Portal.
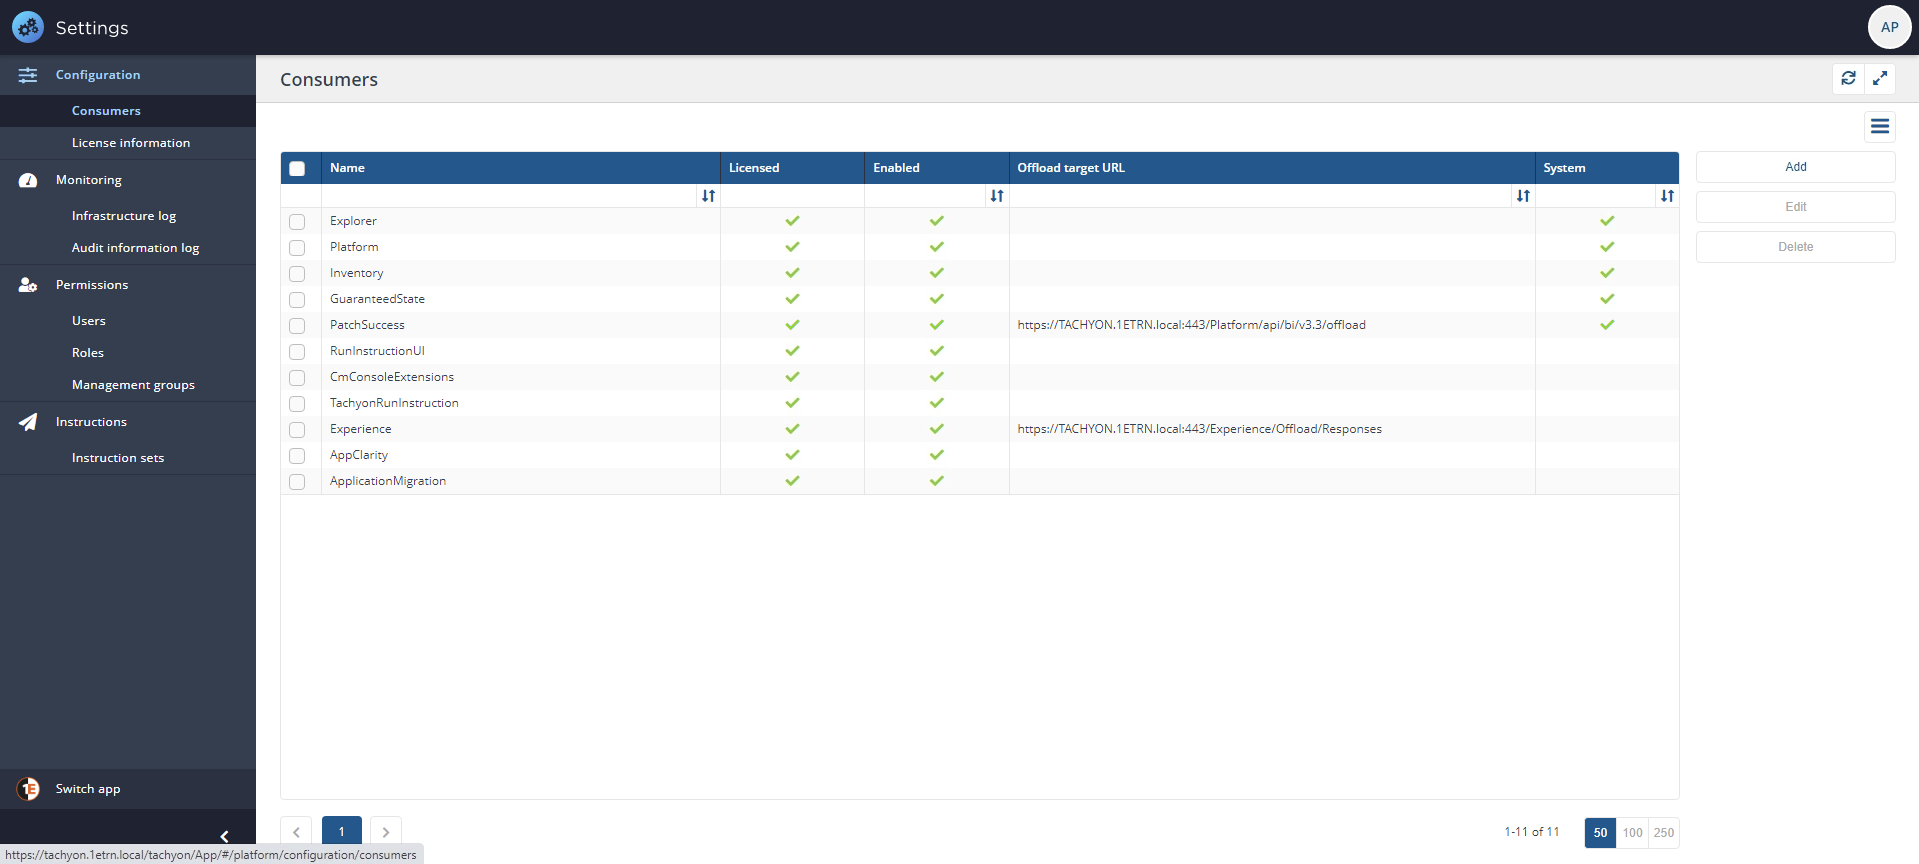
Managing Tachyon Settings and Users and Roles
The Settings application will be the first application you get into. This application allows you to manage just about every facet of the Tachyon platform.
Click on the Roles link under the Permissions section, and you’ll see why I mentioned the extensive RBAC system. You can see from the below screenshot that Tachyon comes with a ton of roles out of the box.
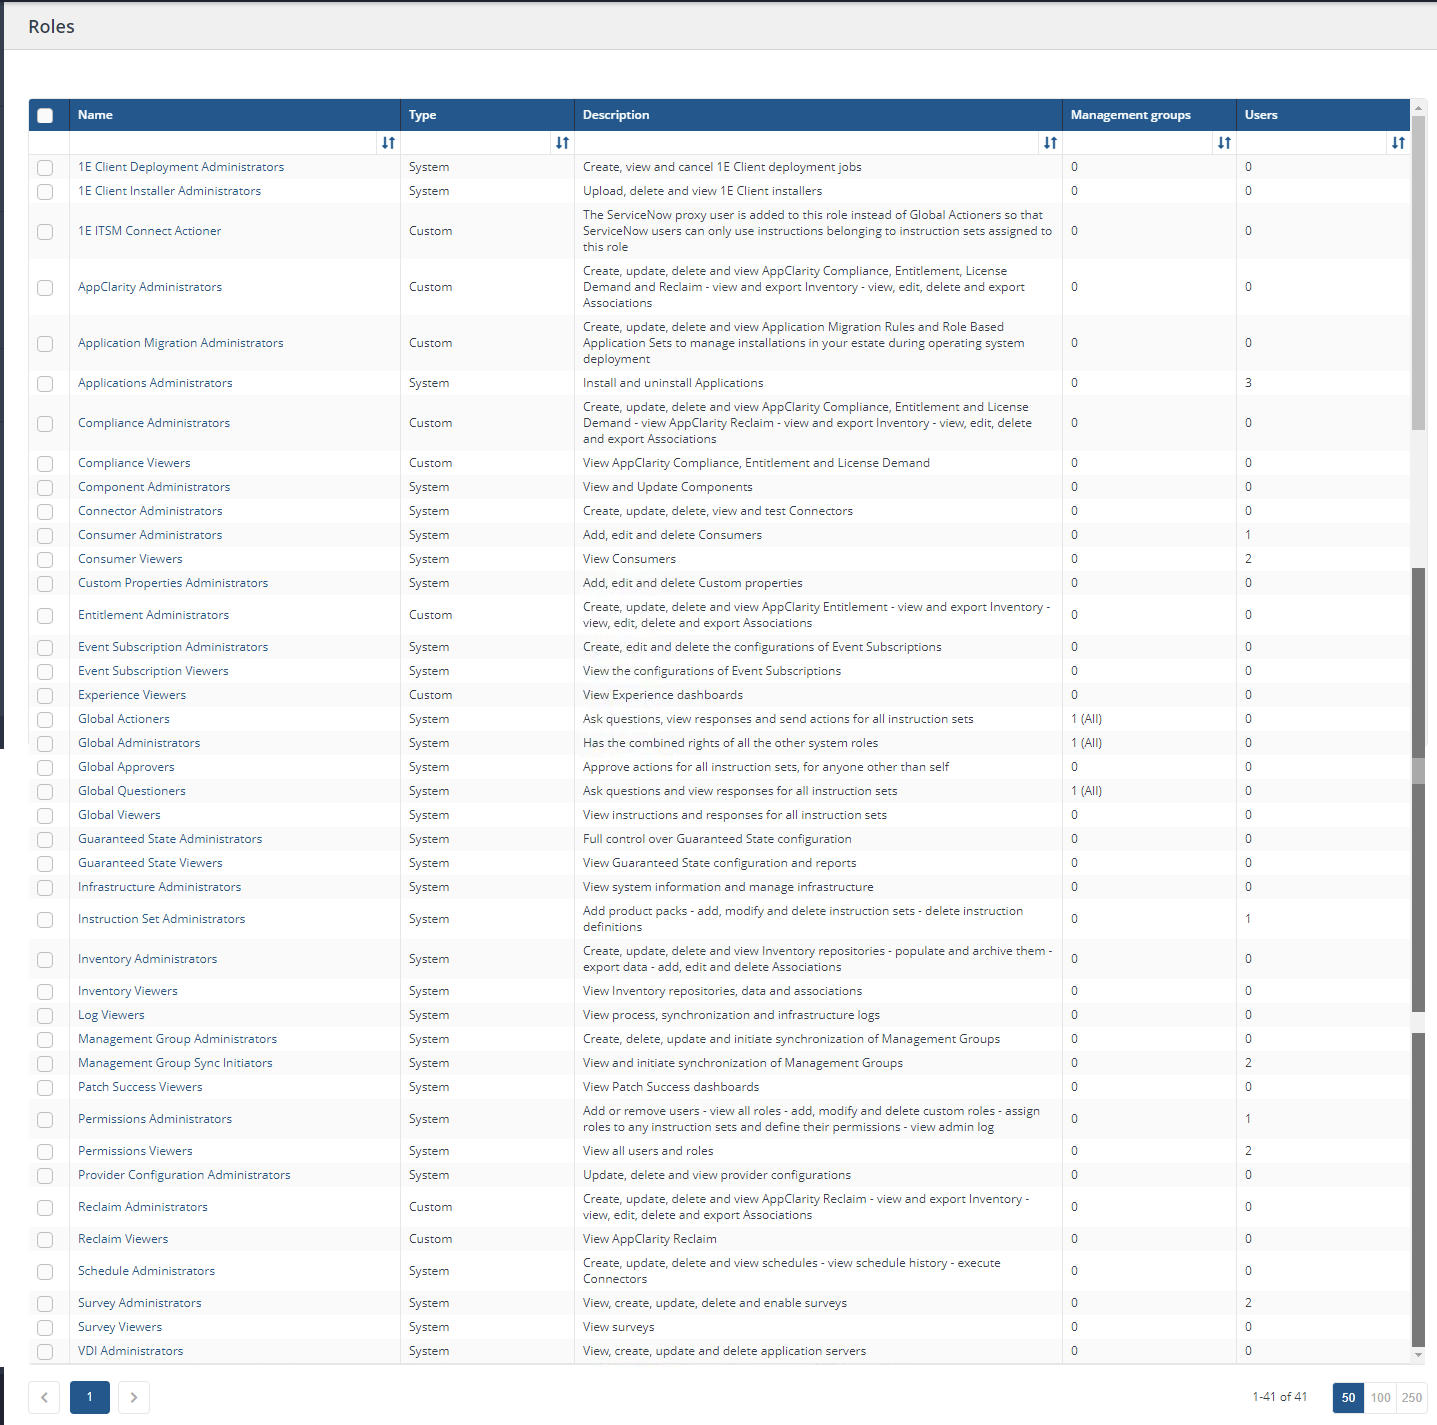
For example, I created a custom role called Tachyon Admins scoped to simulate a group of people who may need access to many administrative tasks. Then, I created a Tachyon group to hold these users, as shown below, and created an Active Directory group called Tachyon_admins and linked the two together.
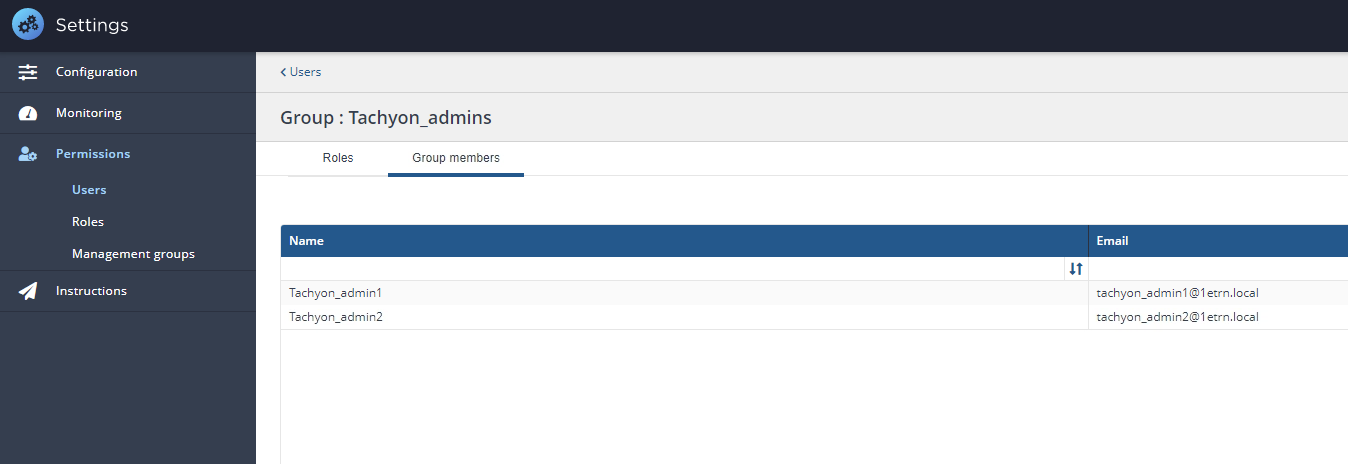
Mapping Active Directory groups to Tachyon groups then allowed me to control access to Tachyon features simply from AD.
Tachyon has tight integration with AD from RBAC, targeting endpoints, and more. So if you have a well-organized AD environment, Tachyon can leverage that.
If you know what kind of permissions you want to provide to your organization, I’m pretty sure you’ll have no problem doing it with Tachyon’s RBAC system.
Deploying Tachyon Clients
Once you have Tachyon installed on the server, it’s time to deploy the agents! Like installing a Microsoft Endpoint Management (MEM) client, the process was straightforward and allowed many different ways to deploy one or thousands of clients.
Be sure to have an internal certificate authority (CA) set up with an Active Directory certificate enrollment policy ahead of time. Tachyon uses certificated-based authentication to securely communicate with Tachyon switches (web services on the server).
Once you have a certificate installed on an endpoint, installing the Tachyon client manually went as expected. Tell the client the Tachyon Switch URL to connect to, the Background Channel URL, and you’re golden.
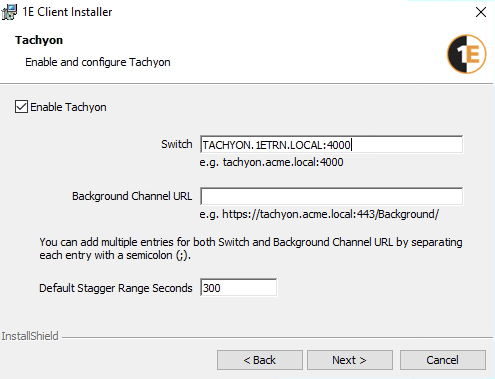
Tachyon uses specific terms for various components like a switch, channel, consumer, coordinator, Core, and more. It will take a little while to understand what each of these components does and how they fit together. Take a look at the Tachyon architecture page for more information.
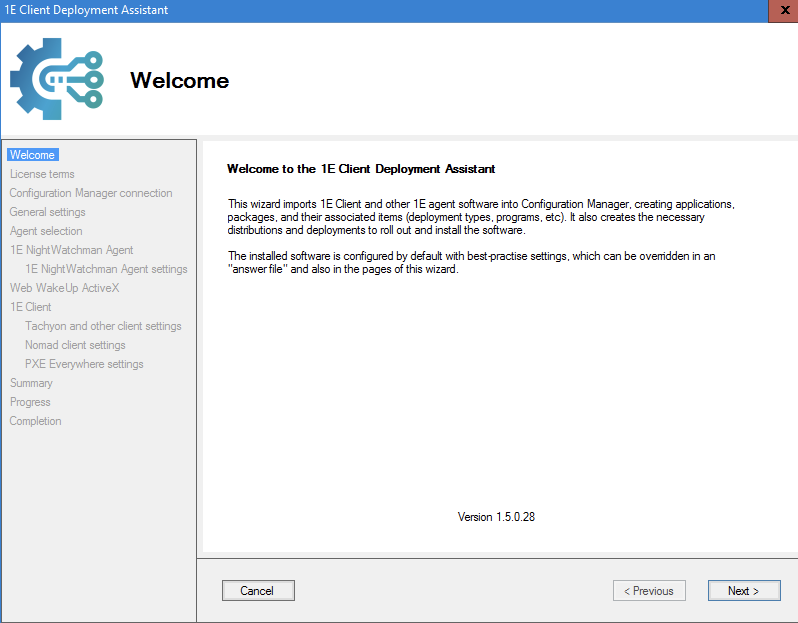
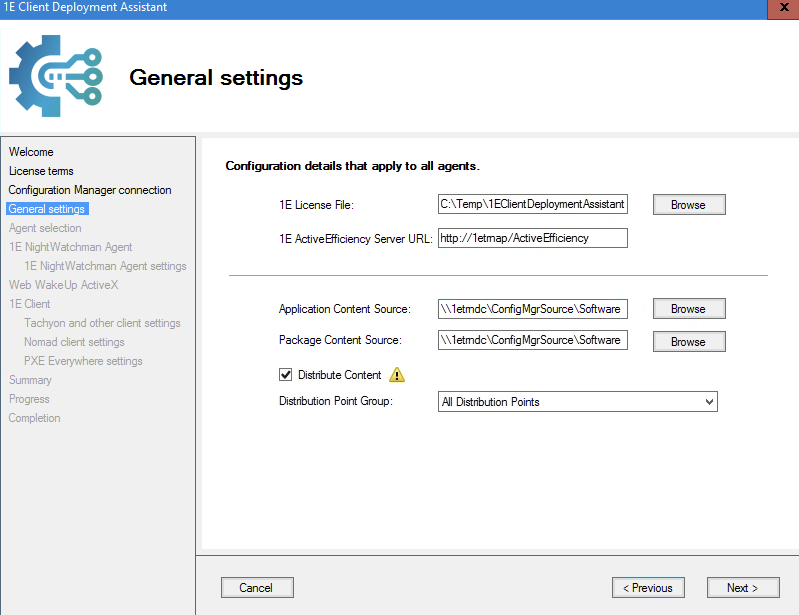
Because you’re probably not going to be installing the agent manually across all of your endpoints, Tachyon’s got you covered there also. I had a MEM set up in my environment, so I decided to use the 1E Client Deployment Assistant.
The 1E Client Deployment Assistant is a little tool that automates just about everything when it comes to deploying the Tachyon agent with MEM. When I was finished walking through the wizard, I had a complete MEM application created and ready to deploy to clients!
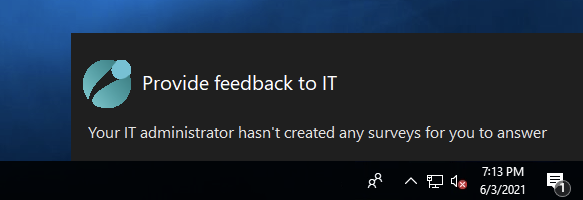
When I installed the agent, I noticed something that my old-school SCCM days never had to get feedback from the user. Living up to its aspiration to offer Unified Experience Management, Tachyon has a feature that allows your users to provide feedback to IT
I know some of you may not want to know what your users think of their experience, but now you can’t hide!
The feature below comes from the Tachyon Experience application and is called Surveys. I’ll cover Experience in a later post.
Discovering Instructions
To wrap up this post on implementing Tachyon, I’d like to end with Tachyon instructions. As 1E states in their documentation, “Instructions are at the core of Tachyon functionality. Instructions define what we can do in Tachyon, from asking questions to executing actions, as well as how the data is presented back.”
Being a scripting guy, instructions piqued my interest. Instructions are essentially little “scripts” or tasks that drive Tachyon actions. Instructions allow you to customize what Tachyon can do by using their pre-built instructions or creating your own.
Instructions are bundled into product packs. These product packs all serve a common purpose like patching, inventory, client health, etc. Out of the box, Tachyon includes a total of eleven product packs with instructions that address many of the most common scenarios administrators are confronted with. But, they must be uploaded post-installation.
When you upload a new product pack, the instructions immediately introduce new functionality to Tachyon, but you must first group instructions in instruction sets. From what I’ve seen so far, an instruction set closely lines up to a product pack complete with versioning support.
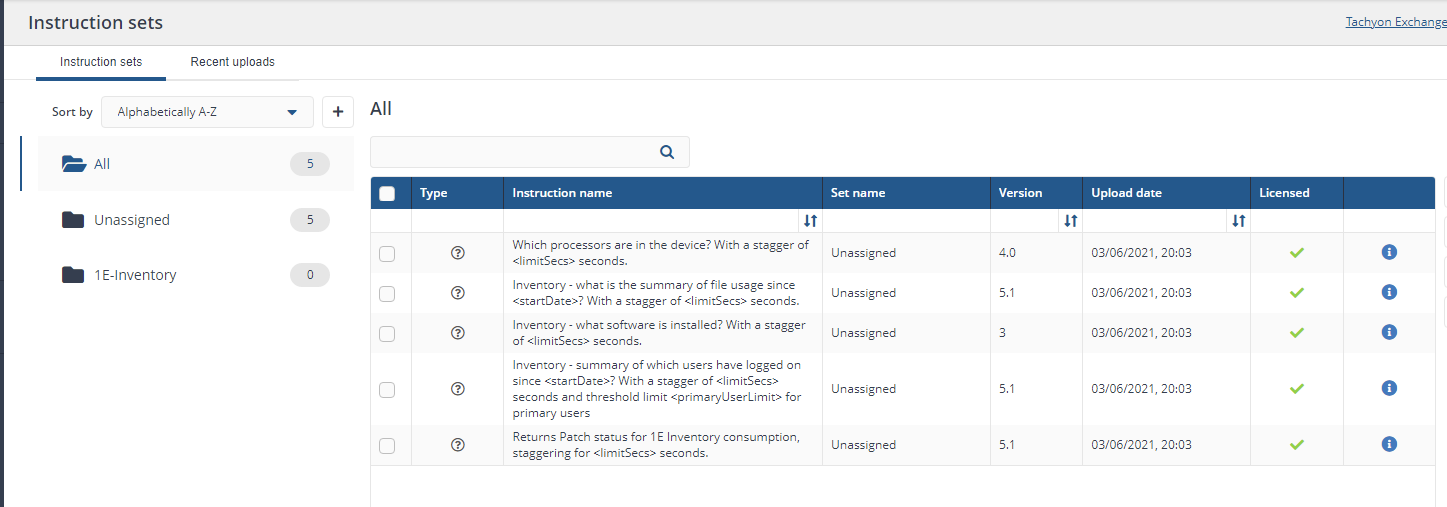
Pay attention to the instruction names. You’ll soon learn about Tachyon Explorer that allows you to ask Tachyon natural questions as to the state of your environment.
Conclusion
After installing Tachyon, getting some users and roles set up, and installing a handful of clients, I’m excited to learn more. I’m still a bit overwhelmed with the seemingly huge array of components that come with Tachyon. But I can overcome that.
At this point, the most important learning aspect for me is the user (me)’s experience. I really like the Tachyon Portal, and setting up Tachyon was actually a little easier than I anticipated. Granted, I have not deployed Tachyon in a huge production environment, but from my experience so far, it seems to have all of the bells and whistles to thrive in a large environment.


