


Do you ever feel like diving into the depths of Arch Linux customization only to find yourself navigating through unfamiliar territory? Well, guess what? You are not alone, but fear not! Install Yay Helper on your system and make your Arch Linux journey smoother.
Throughout this tutorial, you will install and see how Yay Helper works, making you wonder how you ever managed without it.
Read on to streamline your package management experience!
Prerequisites
Before you dive into setting up Yay Helper, ensure you have everything you need to follow along with the hands-on demonstrations in this tutorial:
- A running Arch Linux system.
- A user account with
sudoprivileges
Enhancing Package Management: Install Yay Helper on Arch Linux
Embracing Arch Linux is a voyage into the vast universe of customization, giving you unparalleled control over your digital landscape. Central to this experience is the Arch User Repository (AUR), a community-powered treasure trove with thousands of packages not found in the official Arch repositories.
While the AUR opens doors to an expansive range of software, the process can feel like navigating uncharted waters without a seasoned guide. Meet Yet another yogurt (Yay), a potent AUR helper as your compass to simplify the AUR package installation and management process.
To install Yay on your system, carry out the following:
1. Open a terminal and execute the following pacman command to refresh your package database and upgrade all existing packages.
sudo pacman -Syyu
2. Once updated, run the command below to install the following packages you need for building and installing Yay:
base-devel– A package group in Arch Linux that contains essential development tools and libraries required for compiling and building packages from source code. This package group is necessary for working with AUR packages, as many require compilation.git– Git is a version control system (VCS) that tracks file changes and coordinates work on those files among multiple people. You often Git to retrieve source code from repositories, including the AUR.
sudo pacman -S --needed base-devel git
3. Next, run the git clone command below to retrieve the latest Yay source code by cloning its Git repository.
git clone https://aur.archlinux.org/yay-git.git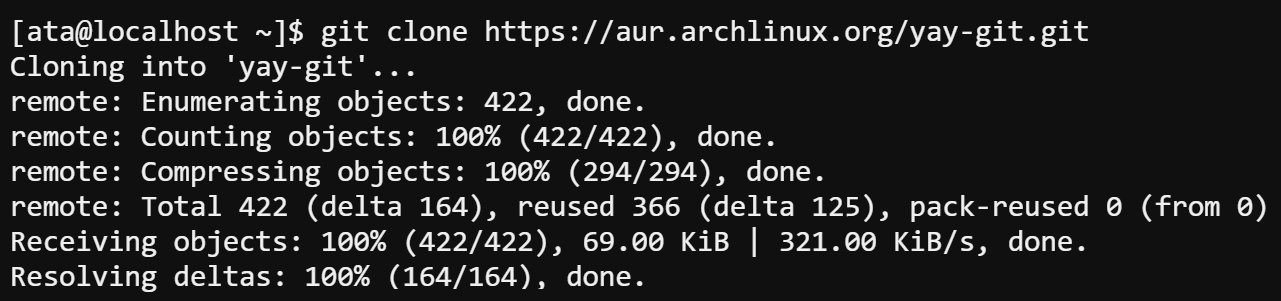
4. Now, switch to the directory (cd) containing the cloned Yay source (i.e., yay-git).
cd yay-git
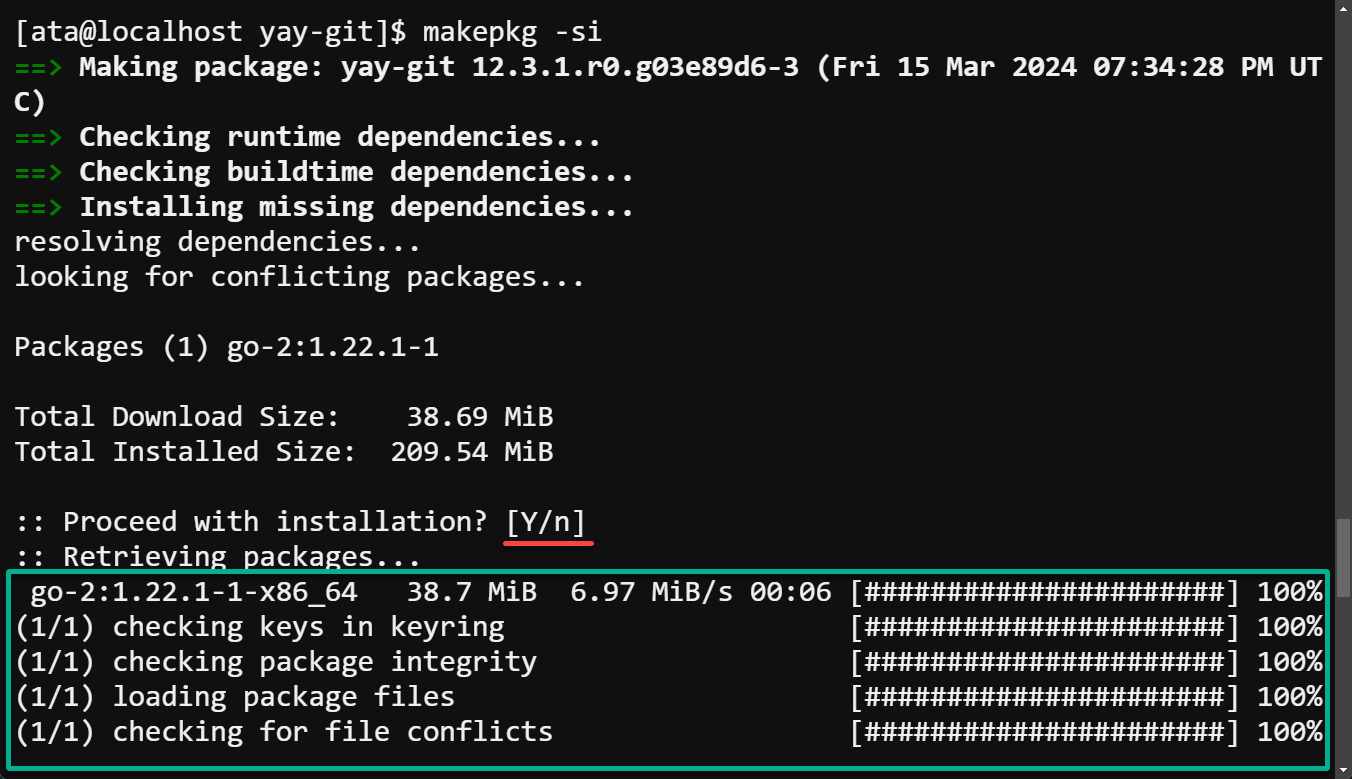
5. Execute the following command to compile (makepkg) and install Yay on your system as follows:
- Automates the process of syncing dependencies.
- Building a package from source code using the instructions provided in the PKGBUILD file.
- Installing the built package onto your system.
makepkg -siPress Y to continue when prompted.
6. Lastly, run the command below to check Yay’s installed-version.
yay --versionThe output below verifies Yay has been successfully installed.

Managing AUR Packages with Yay
Now that Yay is a part of your Arch Linux toolkit, you are all set to explore and manage packages from the AUR. Yay streamlines package searching, installation, and management, making your work with AUR packages a breeze.
To manage AUR packages with Yay, you first need to search for a package, then install it on your system as follows:
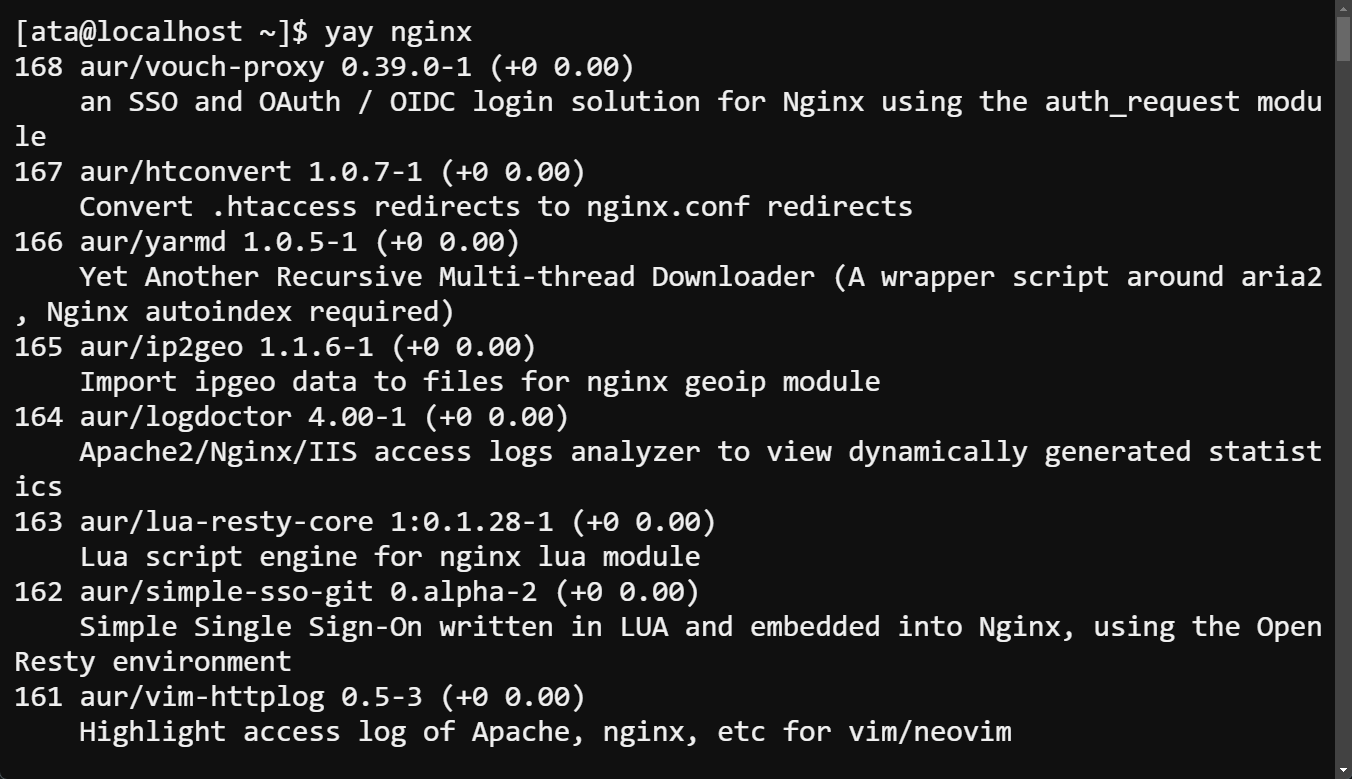
1. Run the yay command below to search for nginx variations in the AUR.
yay nginxPick one from the list of matching packages that includes descriptions and version numbers.
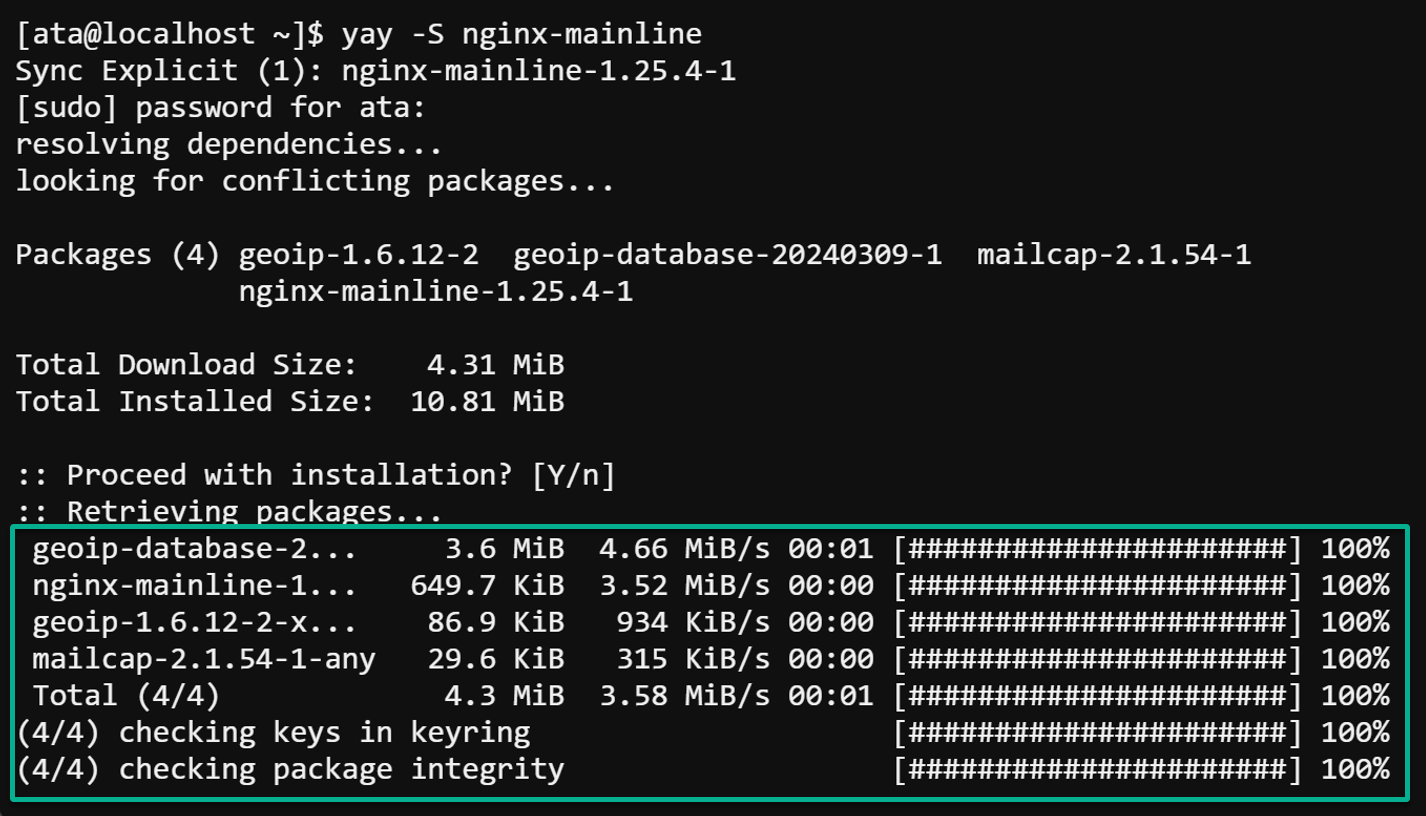
2. Now, execute the following command to synchronize and install (-S) your chosen package (nginx-mainline).
yay -S nginx-mainlineAs shown below, Yay takes care of the download, build, and installation process and handles any dependencies.
3. After installation, run the systemctl command below to start the nginx service.
If successful, this command has no output to the terminal, but you will verify the service in the following step.
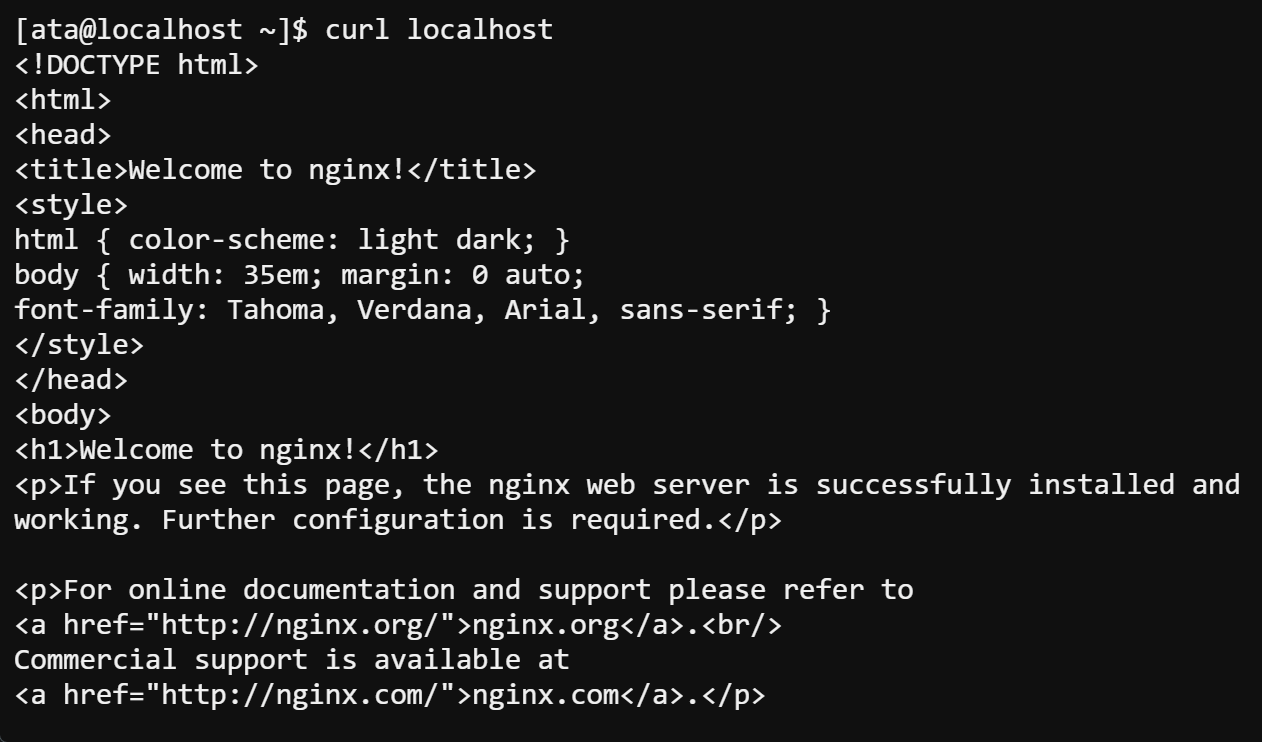
sudo systemctl start nginx4. Now, run this curl command to fetch the NGINX default page
curl localhostA successful response displays the HTML content of the NGINX welcome page, like in the following. This response signifies that NGINX is correctly installed and serving pages.
Upgrading AUR Packages Effortlessly with Yay
Maintaining an up-to-date system is an essential aspect of Linux system management. Regular updates are not just about having the latest features; they are critical to your system’s security.
Updates frequently contain fixes for vulnerabilities identified since the prior release, helping safeguard your system against potential threats.
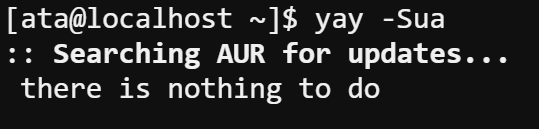
Execute the following command to upgrade packages from the official Arch repositories (-u) and those from the AUR (-a) to their latest available versions
yay -SuaIn addition to security enhancements, upgrading your packages ensures access to the latest functionalities and refinements that developers have incorporated into their software. This continuous improvement can mean a smoother and more efficient user experience.
Yay simplifies this maintenance task by consolidating the update process. With a single command, Yay can check for and apply updates to all your installed packages, including those from the AUR. Upgrading AUR Packages with Yay
Removing Unneeded Dependencies
Over time, unused dependencies from packages you have installed and removed accumulate, which is typical for your system. These orphaned dependencies can take up valuable disk space and clutter your system, leading to unnecessary complexity. But worry not, as Yay offers a convenient way to clean up these remnants.
You can opt to remove individual dependencies manually each time you uninstall a package by using the -Rns flag with pacman. But why go through the trouble? Yay provides a more efficient method to tackle this cleanup in one fell swoop!
💡 Before removing any packages, review what Yay suggests to delete to prevent the accidental removal of anything important.
Execute the following command to remove unneeded dependencies using Yay.
This command prompts Yay to scan for and remove orphaned (-Y) and cached (-c) package files no longer required by any installed package.
yay -Yc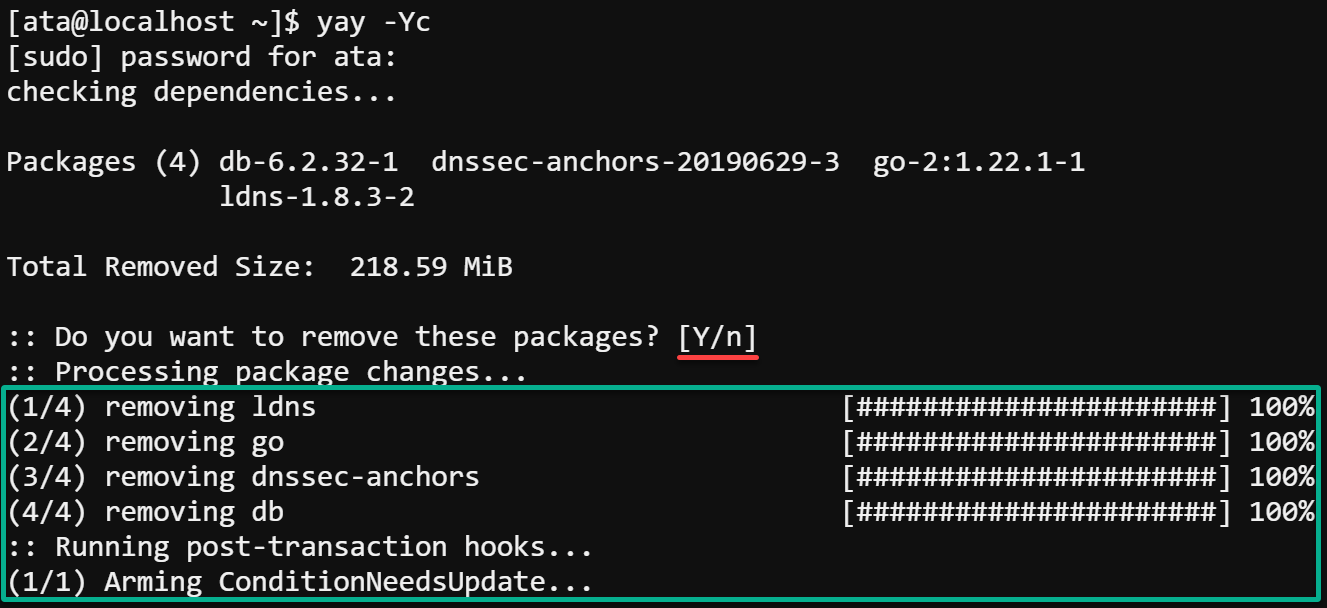
Conclusion
Yay is a powerful ally in managing AUR packages, offering not just installation convenience but also updates and maintenance capabilities. As you have gone through how to install Yay Helper, you are now well-equipped to maximize your Arch Linux experience by tapping into the rich repository of AUR packages.
Now that you have Yay Helper installed on your Arch Linux machine, explore vast options available in the AUR, From productivity tools to custom themes and beyond.
Enjoy the simplicity and efficiency of using Yay on your Arch Linux system!


