

WordPress is the most popular blogging platform out there and there are many ways to set up a WordPress blog. If you have some Azure credits or your organization uses Azure for other services, using Azure for WordPress is a no-brainer.
Not a reader? Watch this related video tutorial!
Not seeing the video? Make sure your ad blocker is disabled.
In this tutorial, you’re going to learn how to set up an Azure WordPress instance from scratch! You’ll learn all of the steps to quickly get a WordPress blog running using Azure Database for MySQL and Azure Web Apps.
Why Host WordPress on Azure?
You can set up a WordPress blog in a lot of ways. Its open-source nature gives you a ton of options.
Many people choose to set up WordPress via a LAMP stack (Linux, Apache, MySQL, and PHP) on a physical or virtual server. But why not use a virtual machine with that pre-installed set of software instead of Web Apps and managed MySQL? That’s what you can do in Azure.
When you run your own LAMP stack, you must maintain the server for performance and security like patching and monitoring. This maintenance keeps you from spending time managing your site, which is much more important!
Setting up WordPress in Azure offloads maintenance tasks to Azure Web Apps and the Azure managed MySQL product. Once that’s done, you essentially remove an entire job role; the server administrator. This allows a website owner to focus on the site instead of all the hosting tasks.
Related: How to Set up a Ghost Blog on Azure
Prerequisites
If you intend to follow along with this tutorial, please be sure you have the following prerequisites:
- An Azure account
- A tool to create a MySQL database. This tutorial will use HeidiSQL.
Note that you might be charged a small Azure usage fee for setting up resources in your Azure subscription. If you don’t intend to keep the resources you will create in this tutorial, remember to remove them!
Setting up the MySQL Instance
Managing and optimizing databases is a difficult task. Oftentimes a website owner will need to spend much of their time making sure that the backend database is functioning and readily available. Not with Azure!
Azure has a managed MySQL service that simplifies these tasks. In this section, you’re going to learn how to provision a managed MySQL instance, create a MySQL database, and configure the instance for use with WordPress.
Provisioning the MySQL Server
The first step is creating the database. To do that:
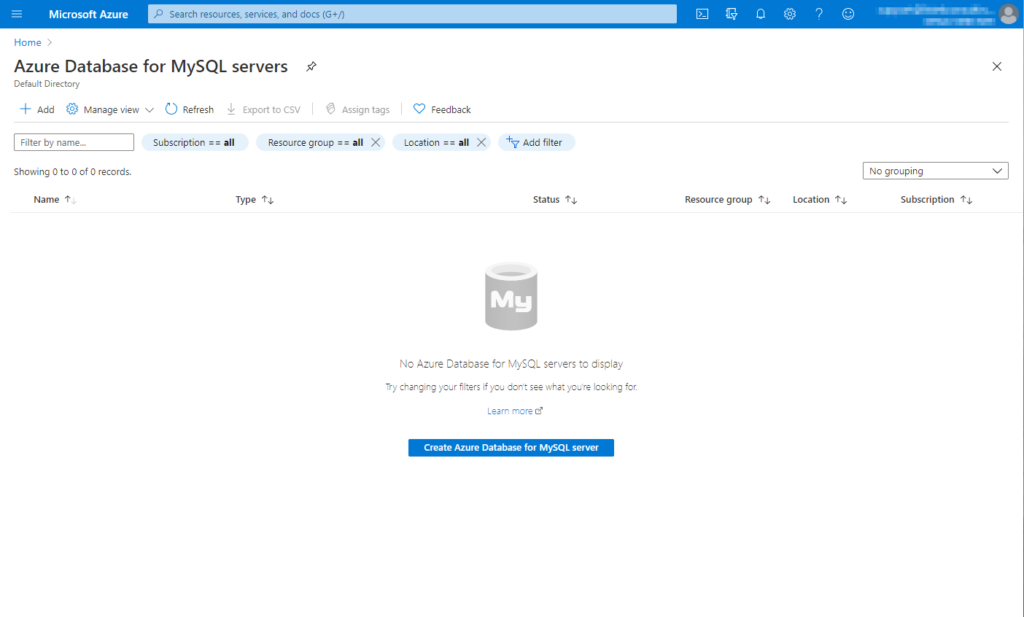
- Navigate to the Azure Database for MySQL servers section within the Azure Portal and click on Create Azure Database for MySQL server.
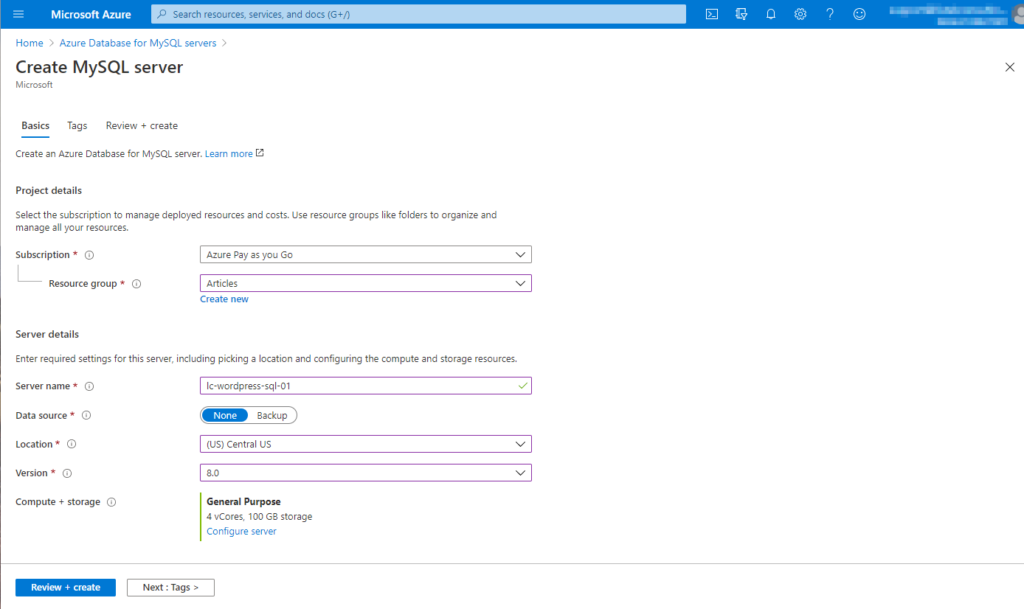
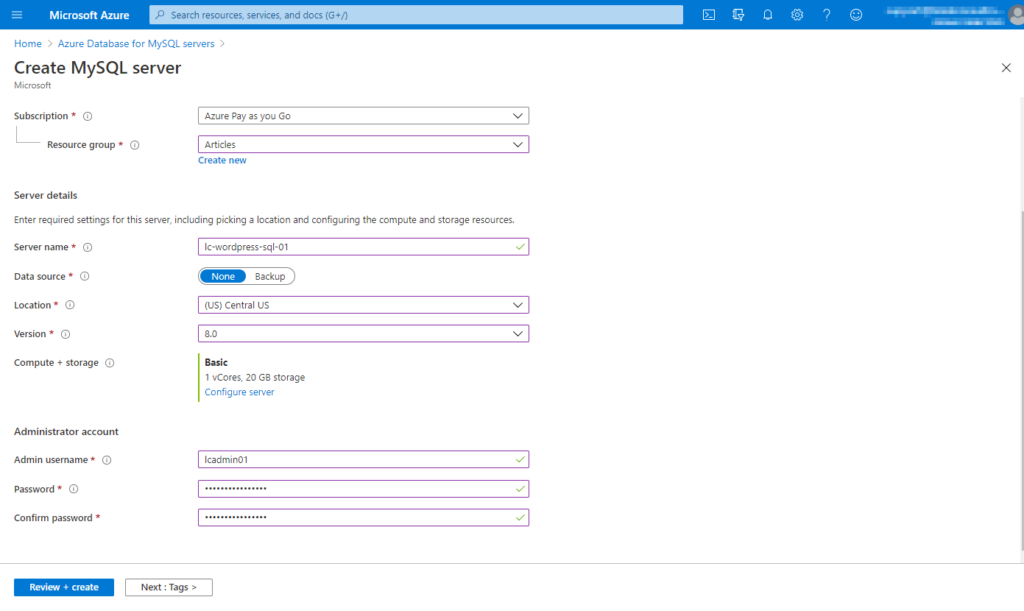
2. A form comes after to input the necessary information to provision the instance. Use the following values.
- Resource Group: The chosen resource group will contain both the MySQL database and the Web App.
- Server Name: Name the MySQL instance an appropriate name, which should reflect the environment and the instances purpose.
- Location: The geographic location will help performance if located near where the majority of your websites traffic is originating from.
- Version: In this article, we choose
8.0, as this is the latest version of MySQL available.
3. Next, choose the Compute + storage size. For this tutorial, choose the Basic tier with a single core. If you’re setting this up in production, be sure to do some performance testing to ensure you provision the right amount of power.
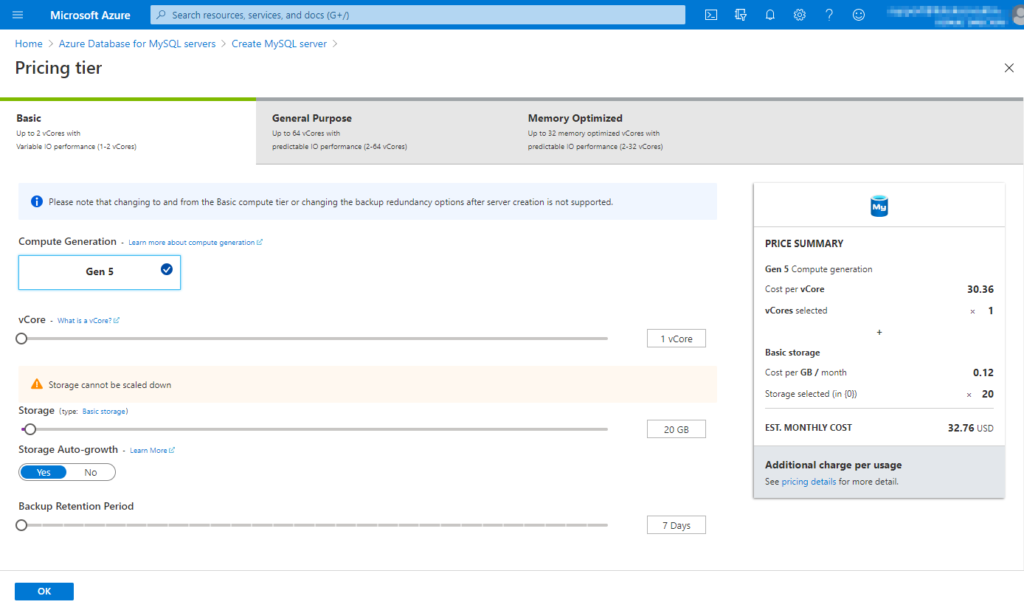
You can create read replica MySql databases. These databases are useful for scaling the reads, and load, across several machines. If you’d like to add a read replica, choose a size from the General Purpose and Memory Optimized options. These databases though are more expensive but offer more options and performance.
4. Next, define an administrative username (which acts as the root user of MySQL) and an appropriately complex password.
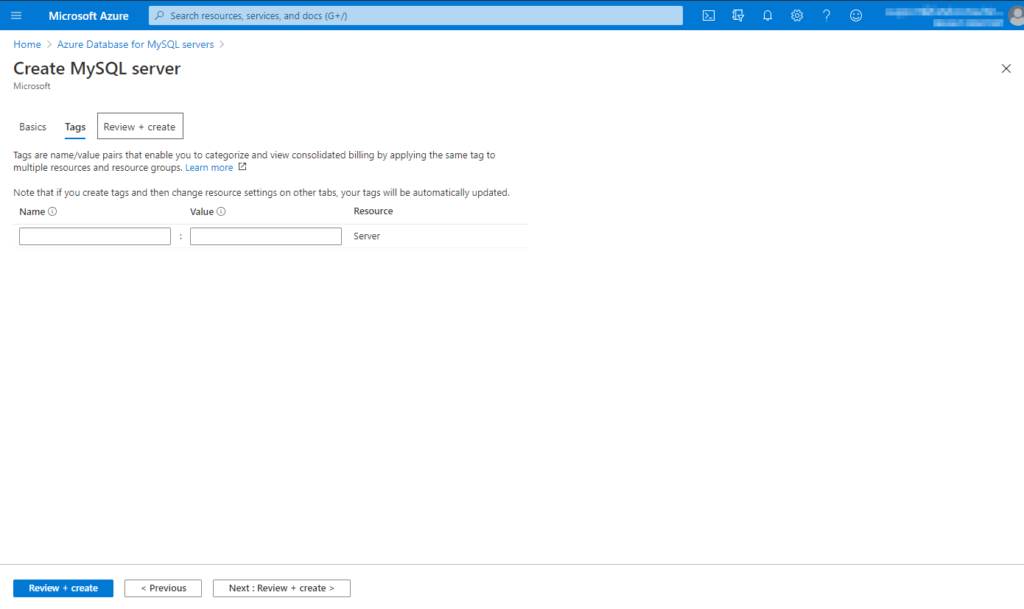
5. While you can tag Azure resources on the Tagging page, this task is not necessary for the tutorial. Tagging is useful for adding additional metadata to an Azure resource.
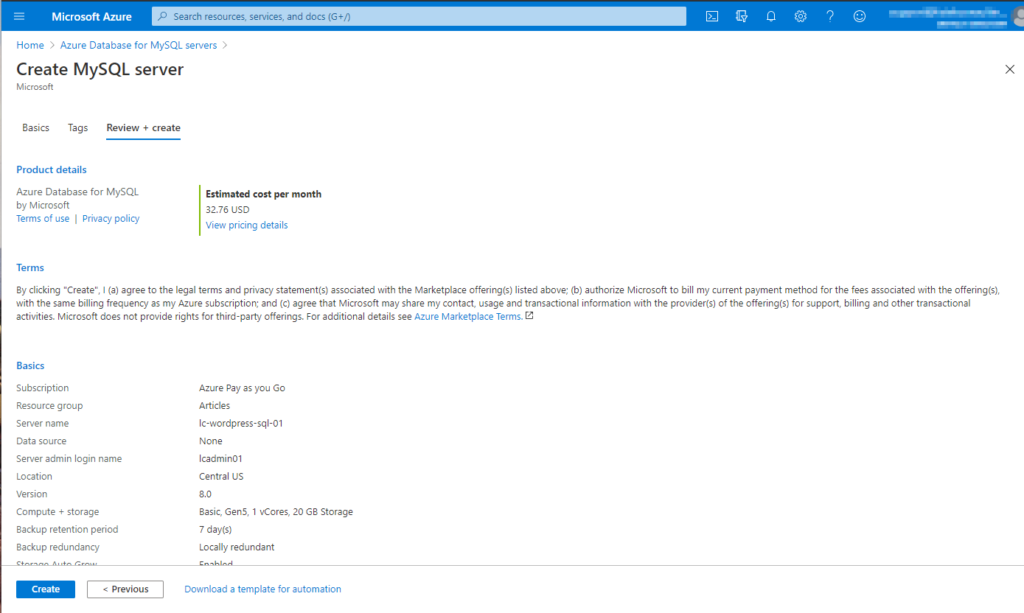
6. Finally click on Create to start creating the managed MySQL instance.
Allowing the Necessary Traffic Through the Firewall
By default, every Azure MySQL server instance has a firewall applied to it. This firewall prevents all client IPs from connecting to it from outside of Azure. To ensure you can manage databases on the server instance, you must allow (at a minimum) your current client IP address to the Allow list.
- While still on the MySql instance page, select the MySQLinstance from the resources list, and navigate to the Connection security section.
- Click on Add current client IP address. This step finds the IP address you’re currently connecting to the Azure Portal from and adds it.
Make sure you add your client IP address to allow a third-party MySQL client to connect and create the necessary database. If you are doing this from a different client location, make sure to add that IP instead.
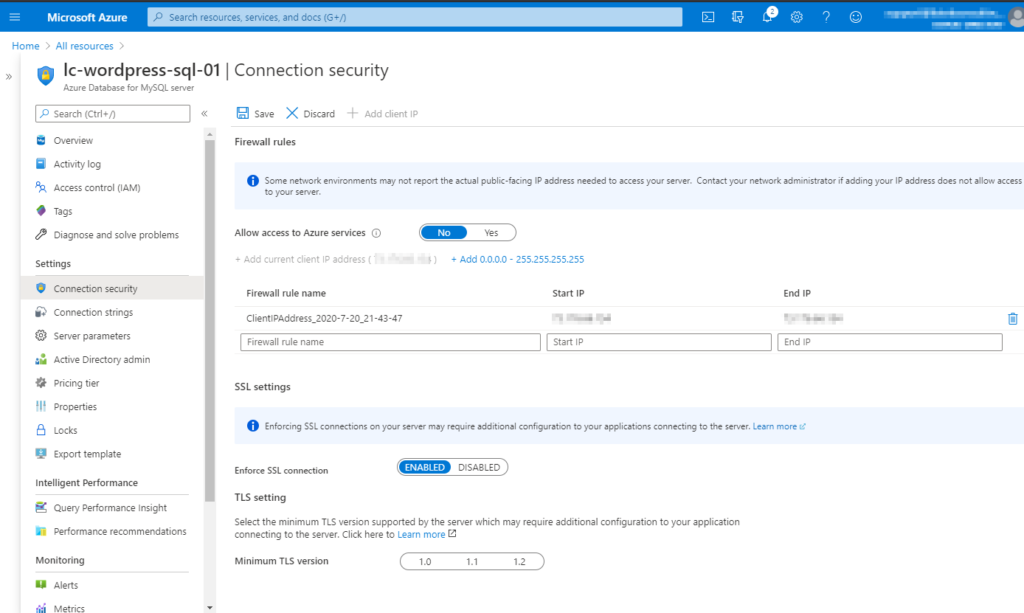
2. Next, ensure that Allow access to Azure Services is set to Yes. This option will allow the web app you’ll create later to communicate with this managed MySQL instance.
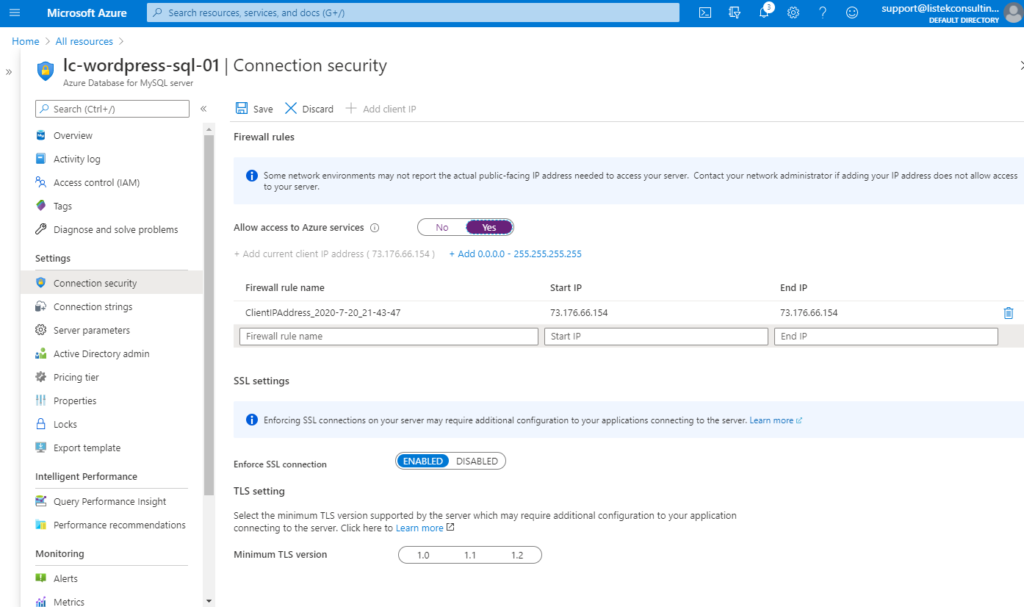
3. Save the settings and you’re done!
Creating the MySQL Database
Now that you’ve created the MySQL server instance, the next step is to connect to the server instance to create the database for WordPress.
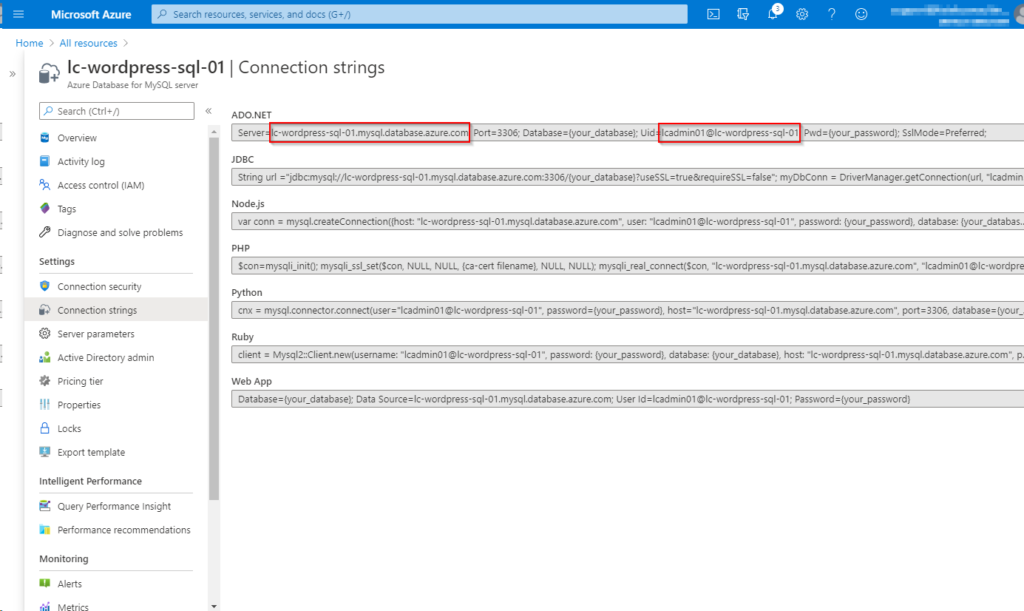
On the MySQL server instance page, you just set up, navigate to the Connection strings section. Notice the ADO.NET connection string as shown below. Now copy the FQDN server name and the Uid you see in the connection string.
Now comes the time to create the database. There are many ways to create a MySQL database but for this tutorial, we’re going to use HeidiSQL, a Windows application for managing MySQL databases.
- Open up HeidiSQL and create a new connection.
- On the connection screen, ensure you use the server FQDN gathered above for the Hostname / IP and the UID from above for the User field. The password will be the same one used when provisioning the instance.
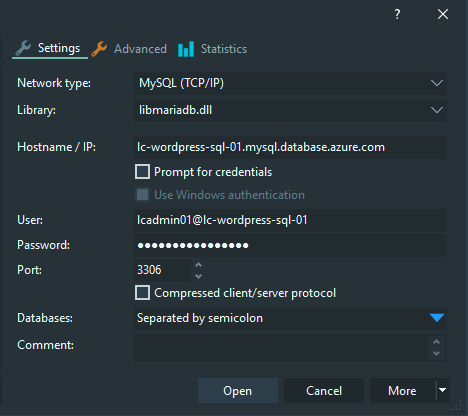
3. Next, navigate to the Advanced section and check Use SSL leaving all other values their default. SSL is set up by default for an Azure managed MySQL instance.

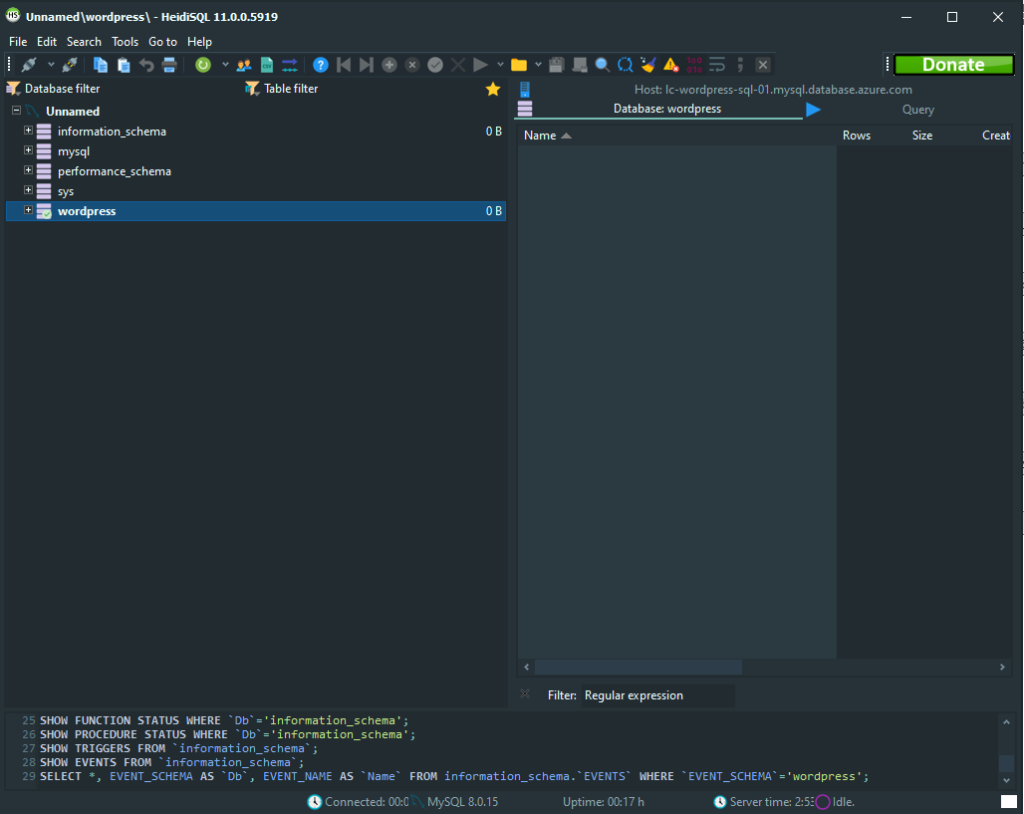
4. Click on the Open button. HeidiSQL should now show all the default databases created with a new MySQL server.
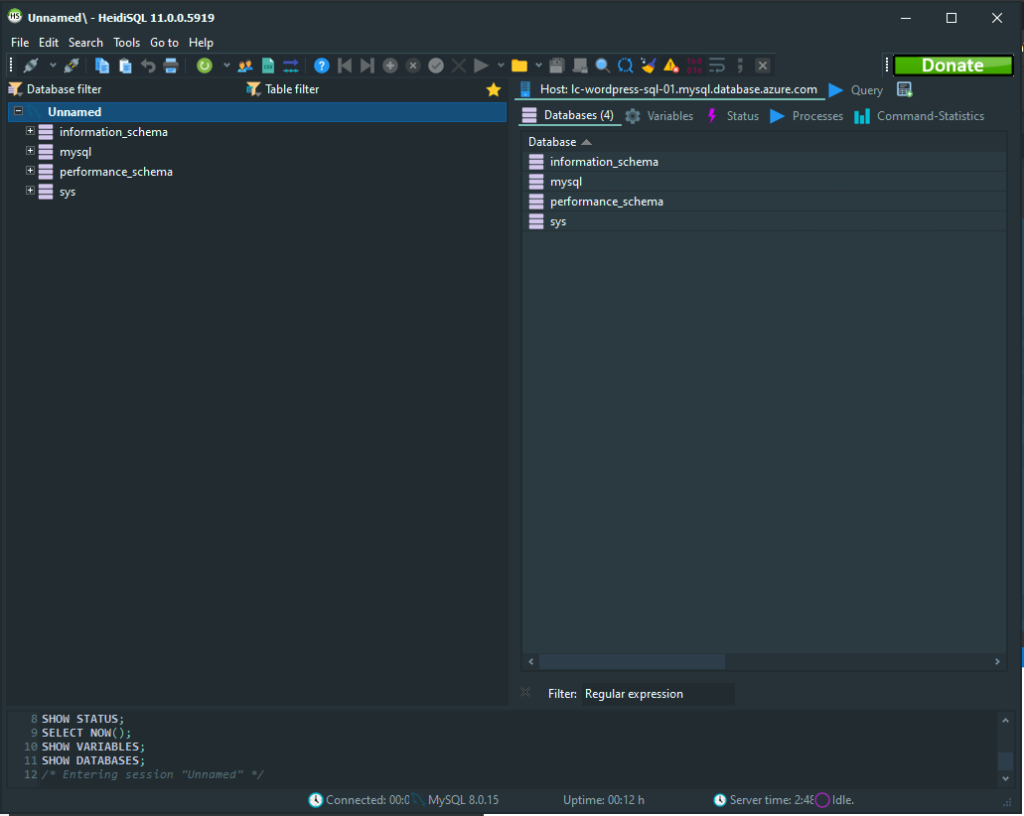
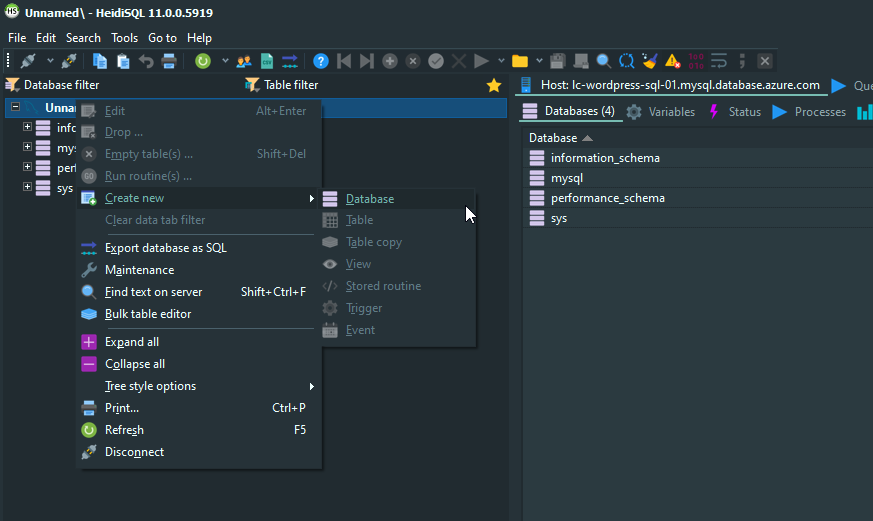
5. Right-click on the server, Unnamed in this example, and choose to Create new → Database.
6. Enter the name wordpress and choose the Collation of utf8mb4_unicode_ci. This collation is the preferred default for WordPress databases.
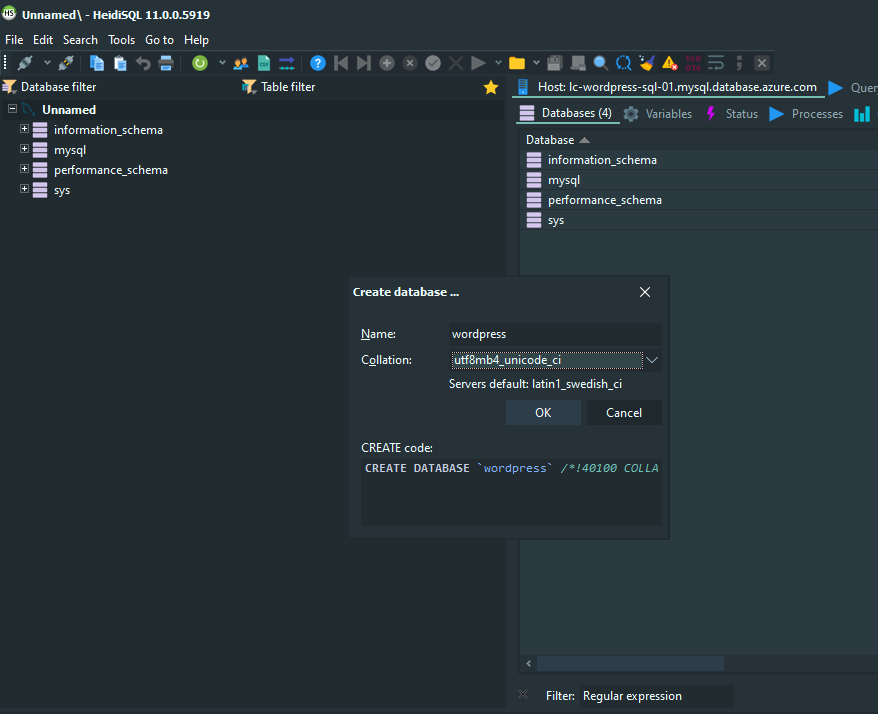
You can also create a blank database using the MySQL client by running
CREATE DATABASE wordpress;.
Creating the Azure Web App
Microsoft Azure web apps offers an application experience that greatly decreases the management required of a traditional hosting environment. For this tutorial, you are going to use the container (Docker) based approach.
In the Azure portal:
- Navigate to the Azure Web Sites section.
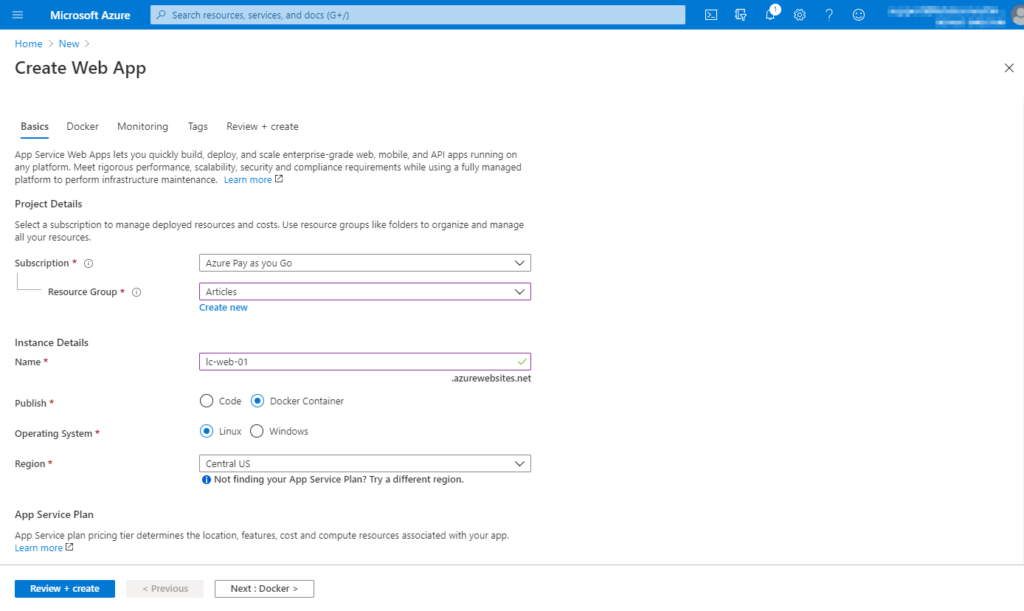
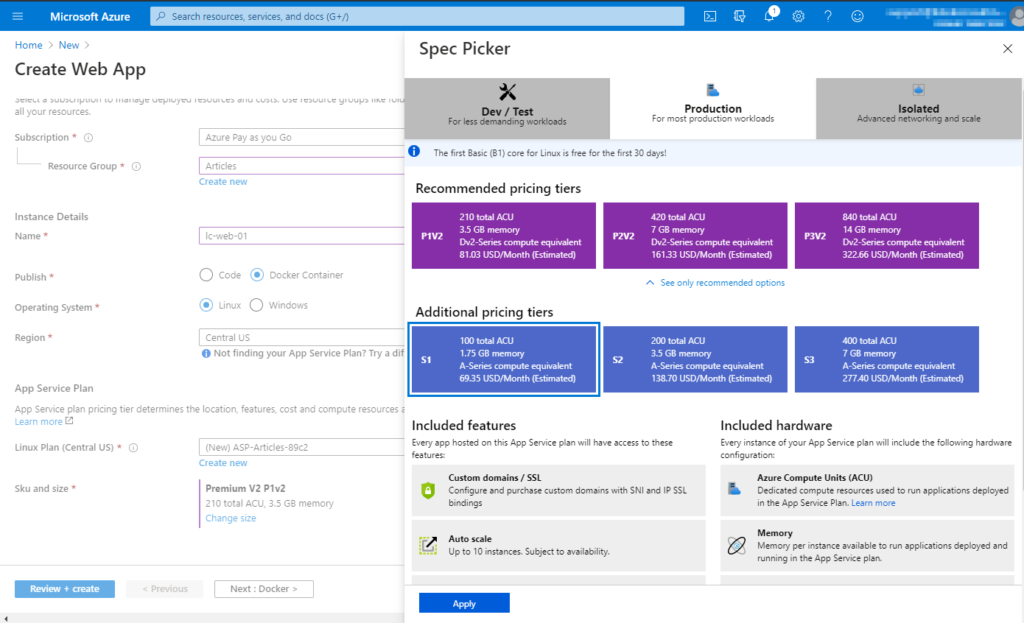
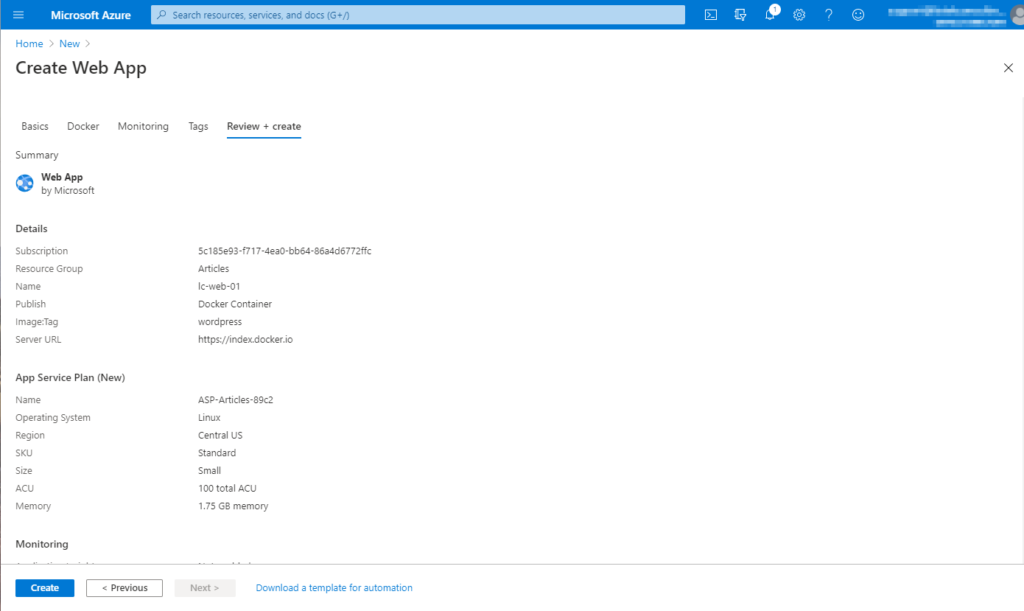
- Click on Create Web App and fill in the necessary details to provision the instance below.
- Resource Group: Use the same resource group that the Managed MySQL instance was previously stored in.
- Name: Use a descriptive name that easily identifies your web application.
- Publish: Docker Container
- Region: Choose the same region that the Managed MySQL instance was provisioned in to make sure that geographical distance does not hinder performance.
2. Next, choose the appropriate App Service Plan SKU. In this article, we are going to use the S1 Production instance.
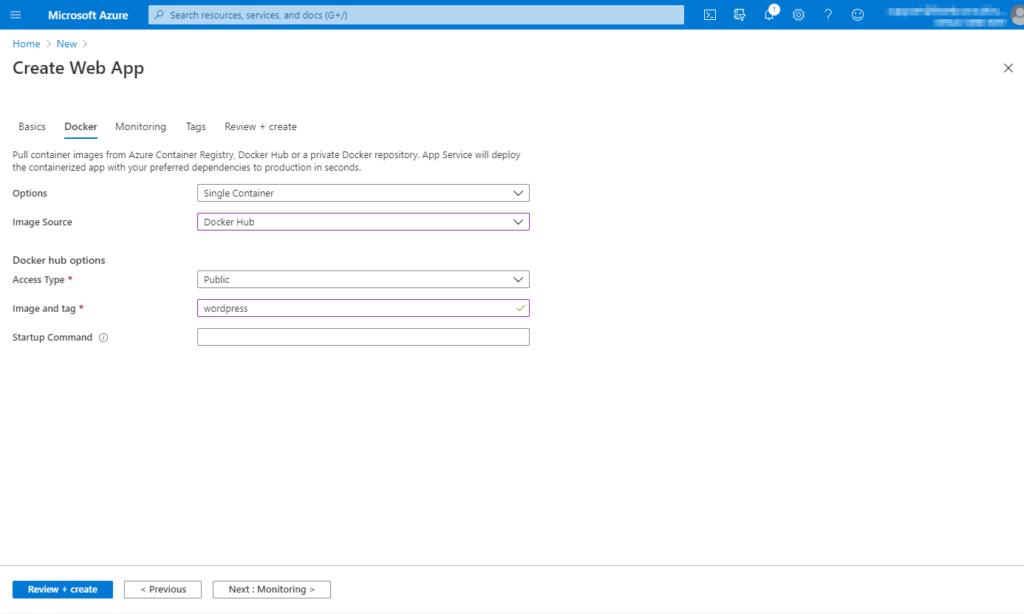
3. After clicking Next: Docker, choose the following WordPress docker container to use as the basis for our web app.
- Image Source: Docker Hub
- Access Type: Public
- Image and tag:
wordpress
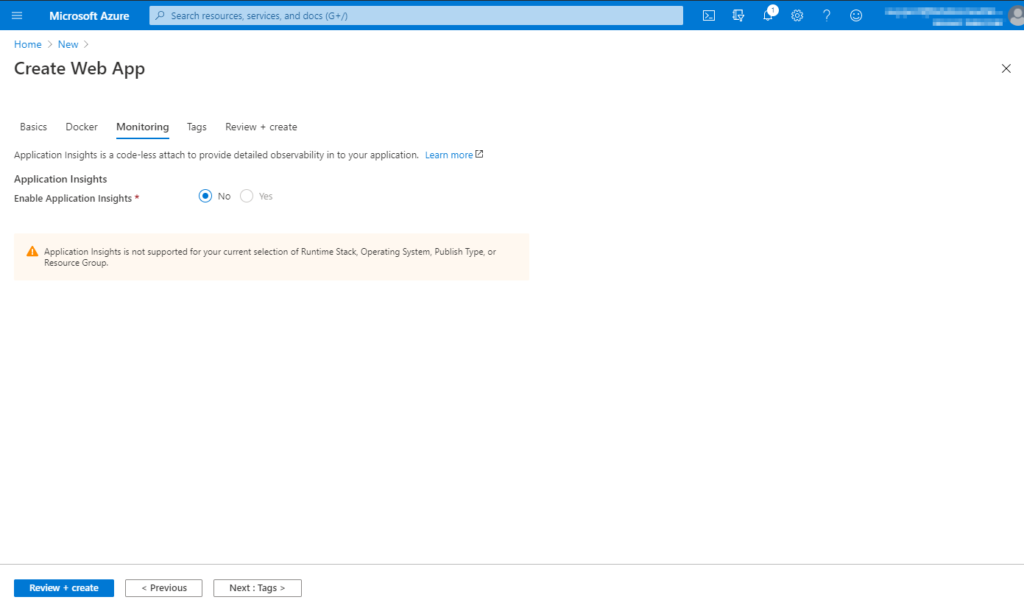
4. Due to the specific combination of choices made, Application Insights are not available for use in this Web App, therefore we can move on to Tags.
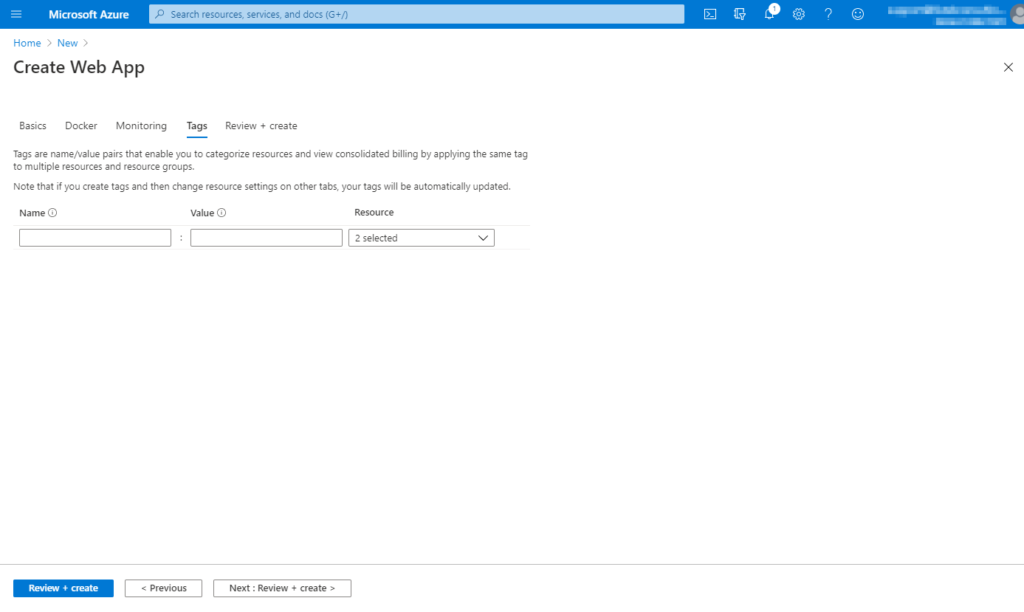
5. As before, with the Managed MySQL instance, this tutorial opts to not use tags for these resources.
6. Finally, click on Create to provision the Web App to tell Azure to begin creating the web app.
You should now have a web app up and running. This web app will be your home base for your Azure WordPress blog!
Configuring the Azure WordPress Web App
Now that the MySQL database and web app are set up, it’s time to configure the two resources to talk to each other and finally install WordPress.
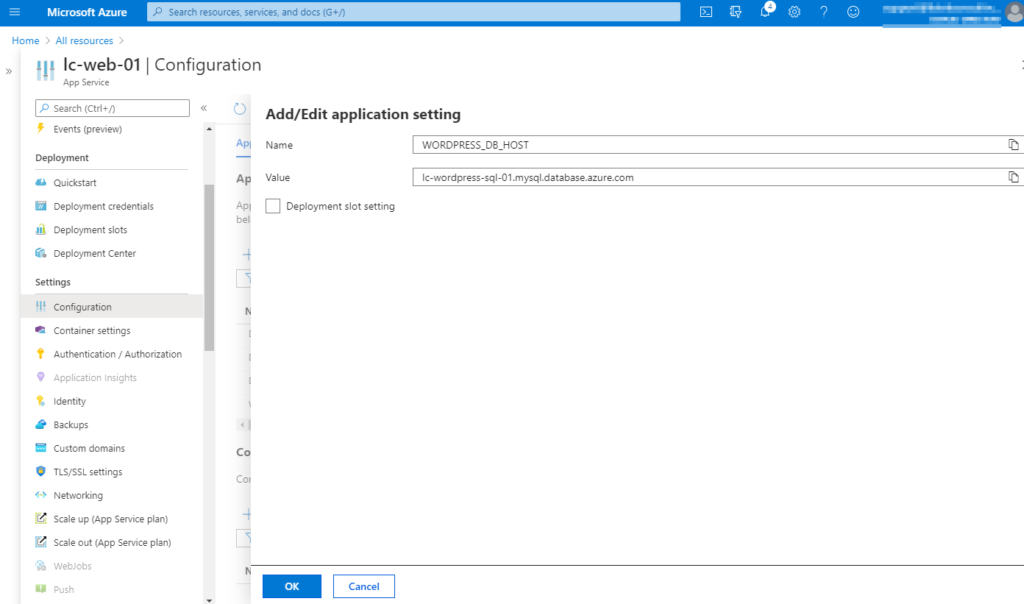
First, you’ll have to create an app configuration containing some key/value pairs that will allow the web app to connect to the database. The keys below work together with the WordPress container image to allow you to define what is necessary to connect the container to the MySQL database.
WORDPRESS_DB_HOSTWORDPRESS_DB_USERWORDPRESS_DB_PASSWORDWORDPRESS_CONFIG_EXTRA–define( 'MYSQL_CLIENT_FLAGS', MYSQLI_CLIENT_SSL );
By default, you don’t have to set up additional app service configuration values. This tutorial is setting up an app service configure to configure WordPress to use an SSL connection to connect to the database.
In the Azure portal with your newly-created app service blade up:
- Click on the Settings → Configuration section.
- Now add each of the keys shown above as application settings
Once you’ve added all of the key/value pairs as the app service configuration, you should now see the following application settings.
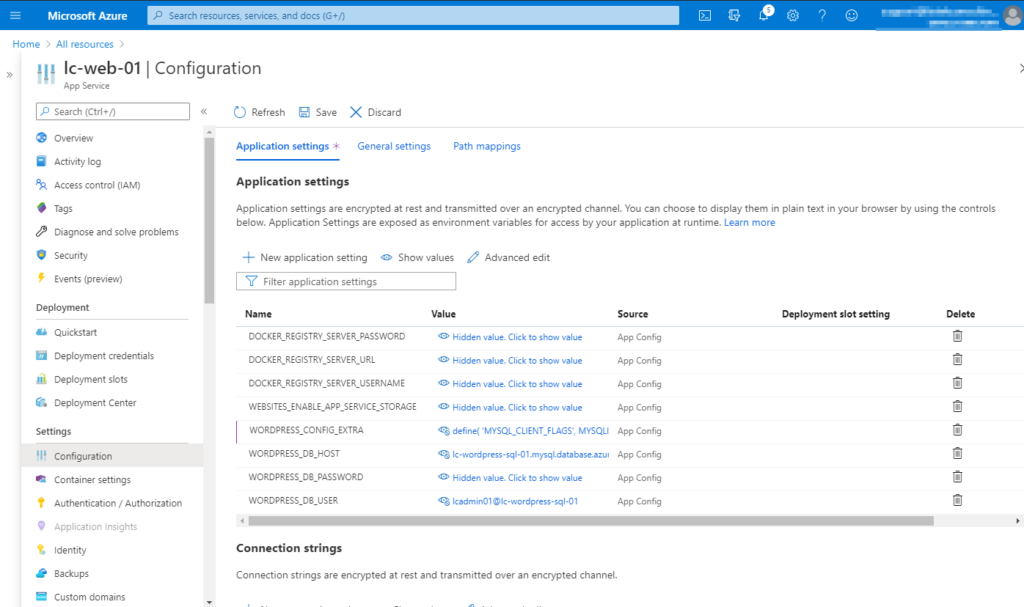
4. Now click on Save. The web app will now restart and use those settings when re-deploying the WordPress container image.
Now onto actually installing WordPress in Azure!
Installing WordPress in Azure
Now you can finally get down to installing WordPress! Since WordPress comes pre-installed on the Docker web app container provisioned above though, you actually just need to configure it to work with your database.
- Find the public URL of the Azure web app created earlier. You can find the URL on your web app’s Overview page.
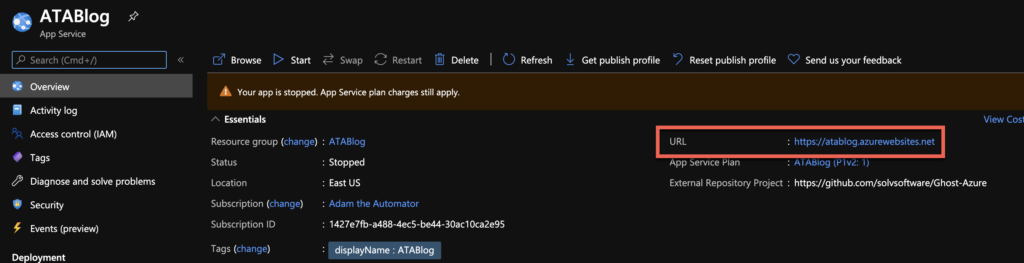
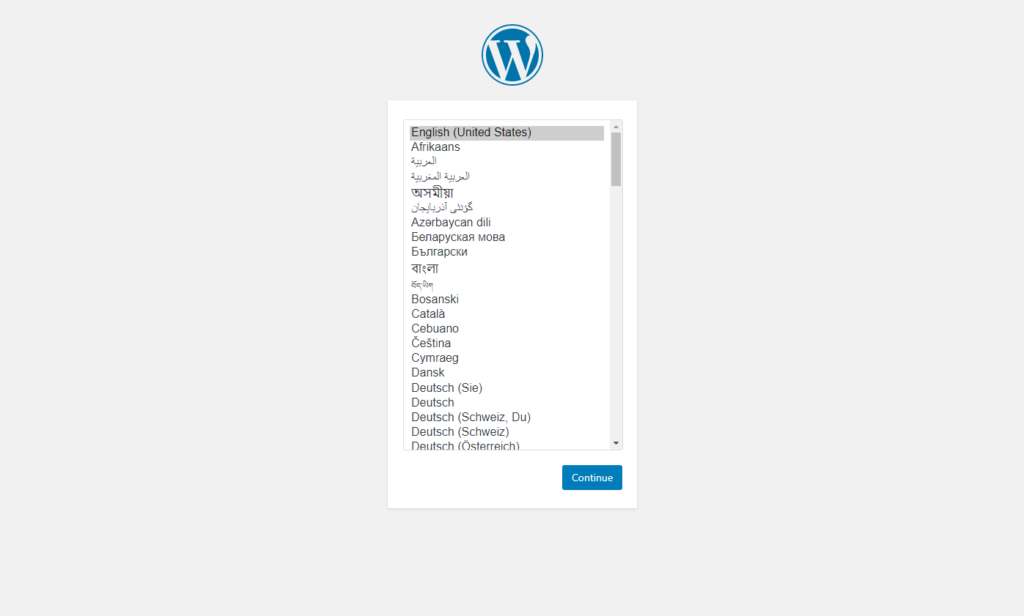
2. Now navigate to the public URL of your web app. If everything is functioning, you should be presented with the standard WordPress installation screen.
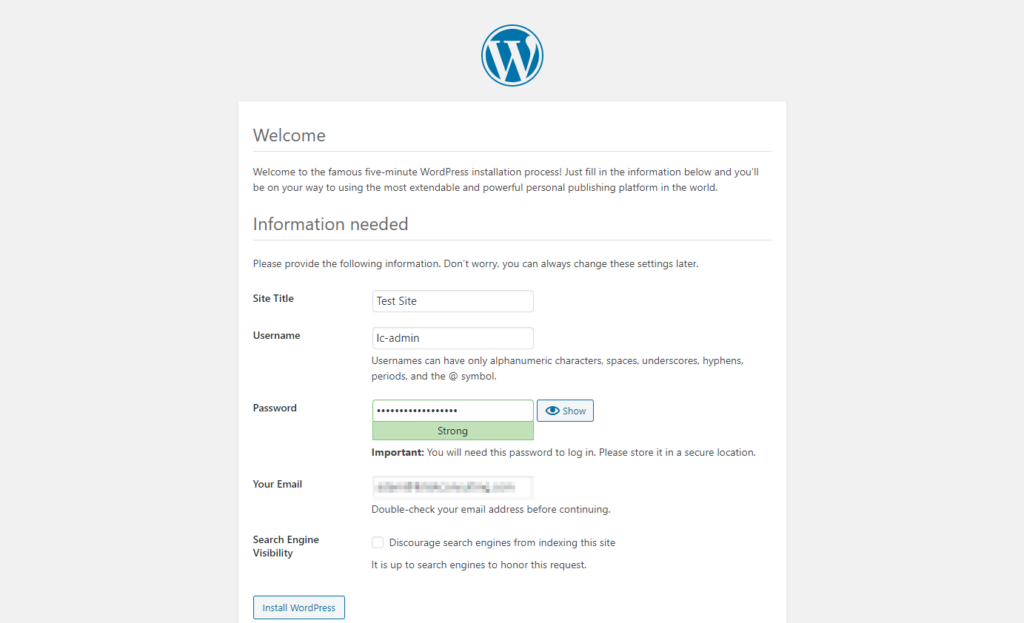
3. Enter the typical installation information and click on Install.
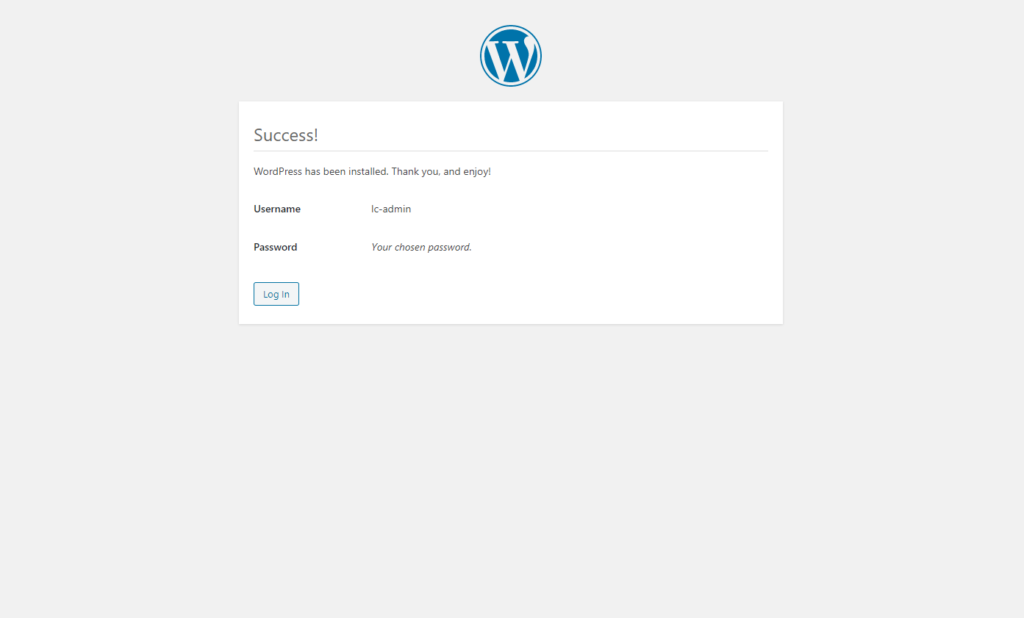
4. If the installation succeeded, you will see a Success page.
5. Finally, navigate to the public URL again and you should now see the default theme and hello world placeholder text.
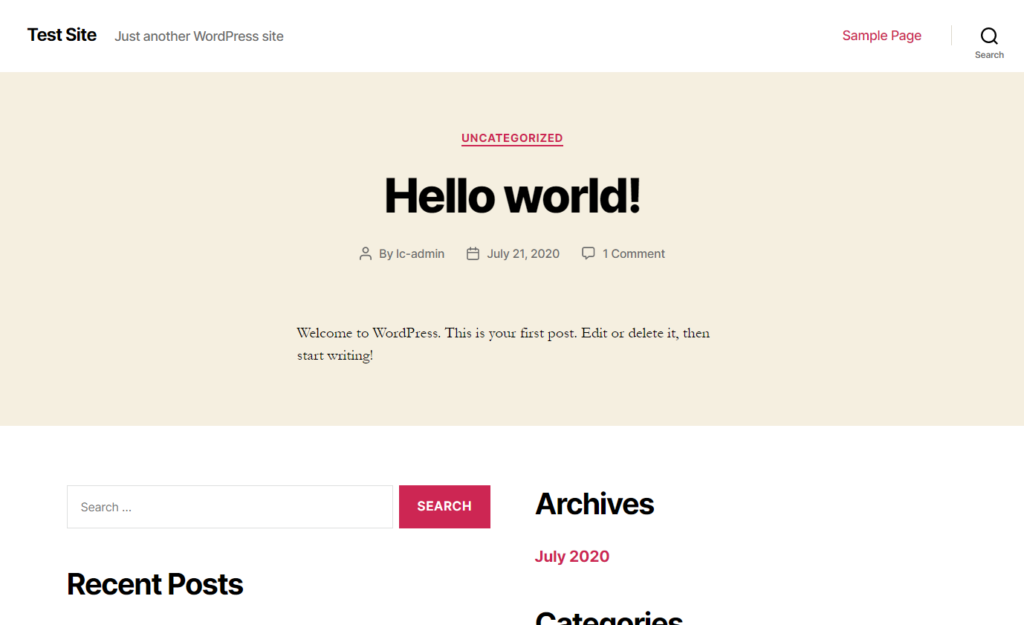
Congrats! You’ve successfully set up an Azure WordPress blog!


