

You can install and run Docker on all major operating systems; If you have a Mac and aren’t quite sure how to get started, no worries, this Docker for Mac tutorial has you covered. You’ll learn how to install Docker for Mac and get set up.
This tutorial will guide you, step-by-step, through all installation steps and get you on the path to running Docker containers on your Mac in no time.
Prerequisites
This tutorial will be a hands-on demonstration. If you’d like to follow along, be sure you have the following:
- macOS version 10.14 or newer. This tutorial will use macOS Big Sur, version 11.5.1.
Installing Docker for Mac Using Engine with Homebrew
Even though you can install Docker many different ways, if you’re on macOS, the Homebrew package manager is probably the easiest. Before starting, be sure you’ve installed Homebrew.
The Homebrew package manager for macOS offers two ways to install Docker. You can either install just the Docker engine or install Docker Desktop. Let’s first cover how to install the Docker Engine.
To install the Docker Engine:
1. Open the macOS terminal and run the following command. This command tells Homebrew to download and install the package called docker. Homebrew will automatically find the latest version.
#Install Docker Engine
brew install docker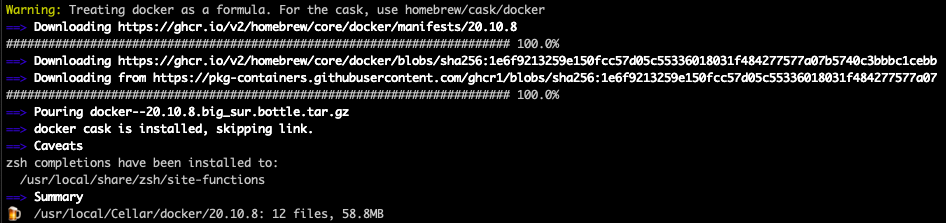
2. Download and install both the docker-machine and virtualbox packages. Docker requires both of these to run correctly on macOS.
#Install Docker Machine
brew install docker-machine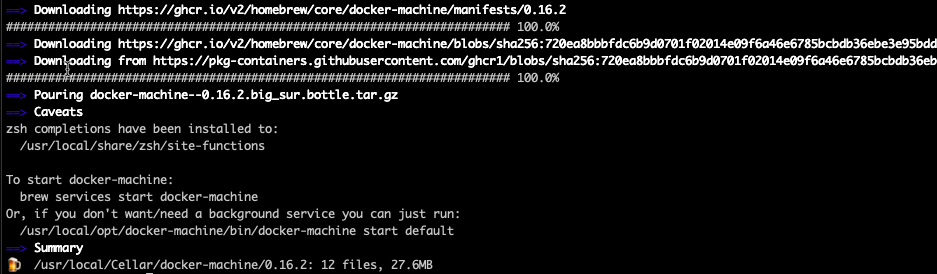
#Install VirualBox
brew install --cask virtualbox
Note the
--caskswitch on the install command for VirtualBox. The--caskoption is how Homebrew can install graphical interface applications. Since VirtualBox is a graphical interface application, the--caskswitch must be included in the command.
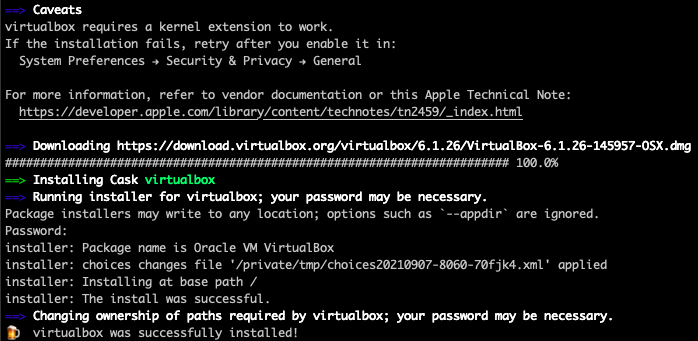
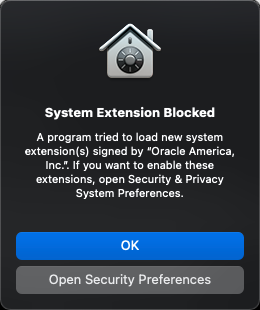
3. After installing VirtualBox, you will likely receive a warning that macOS blocked the install. To allow the install, click Open Security Preferences.
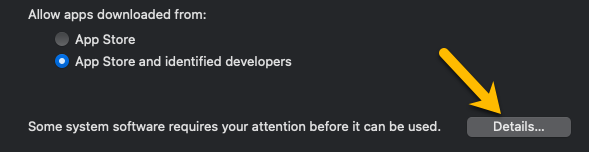
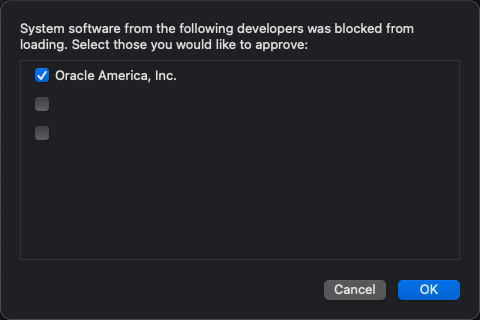
4. Click on the Details button, check the box labeled Oracle America, Inc, and click OK. Oracle owns VirtualBox.
Installing Docker Desktop with Homebrew
If you’d prefer a graphical interface to Docker, Docker Desktop is your friend. If you haven’t installed Docker Engine yet, you can install Docker Desktop.
Do not try to install Docker Engine with Docker Desktop. Docker engine requires VirtualBox, as shown earlier, which can conflict with Docker Desktop. Docker Desktop is not compatible with VirtualBox versions prior to 4.3.30.
To install Docker Desktop, in the terminal:
- Run the command below. Note that the
--caskswitch is required for installing graphical interface applications with Homebrew.
#Install Docker Desktop
brew install --cask docker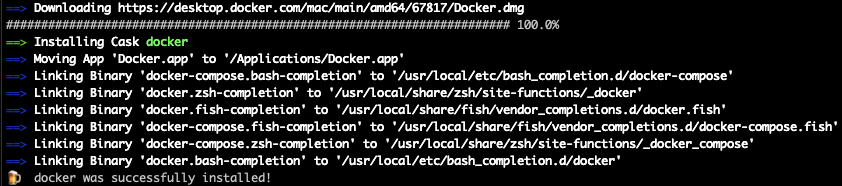
2. After Homebrew completes the install, open Docker in your terminal with the following command.
#Run Docker Desktop
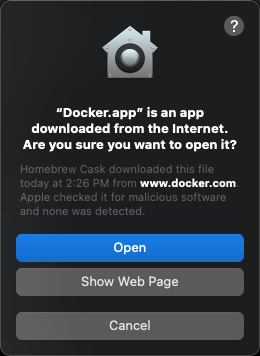
open /Applications/Docker.app3. Click the Open button to open Docker Desktop. You’ll see this prompt when you run Docker Desktop for the first time.
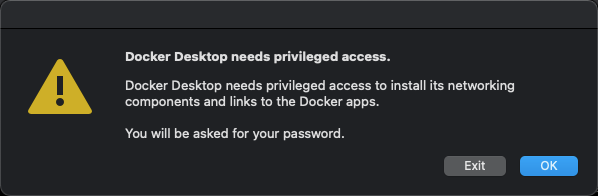
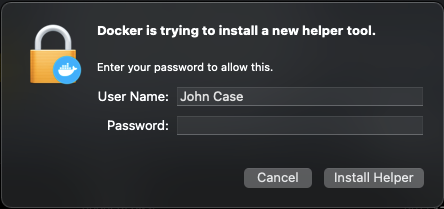
4. When prompted, click the OK button to allow privileged access (sudo access) to give Docker Desktop permission to set up internal networking for the containers to talk to each other. Clicking OK will install the Docker helper tool that coordinates various Docker activities for the Docker Engine.
Installing Docker Desktop on macOS with a Disk Image
If you prefer to install Docker on macOS with a disk image (DMG file), this section is for you. Installing Docker via a disk image is a little different depending on the type of processor you have (Intel or Apple). Where applicable, the tutorial will provide a callout where necessary to differentiate.
You can find the processor by running the About This Mac application.
To install Docker Desktop with a disk image, open a terminal and let’s get started.
1. Apple processors only: Install Rosetta. Rosetta is an application that emulates various Intel processor behaviors to allow applications built for Intel processors (like Docker) to run on Macs with Apple processors.
#Install Rosetta 2
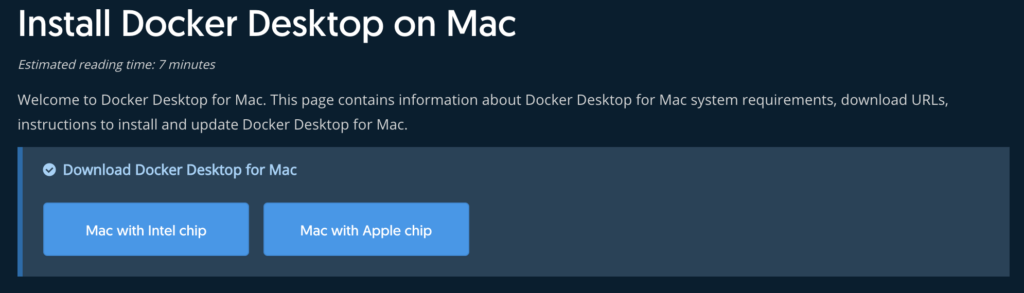
softwareupdate --install-rosetta2. Open a web browser and navigate the Docker Desktop for Mac install page. Click the button corresponding to the type of processor your Mac has.
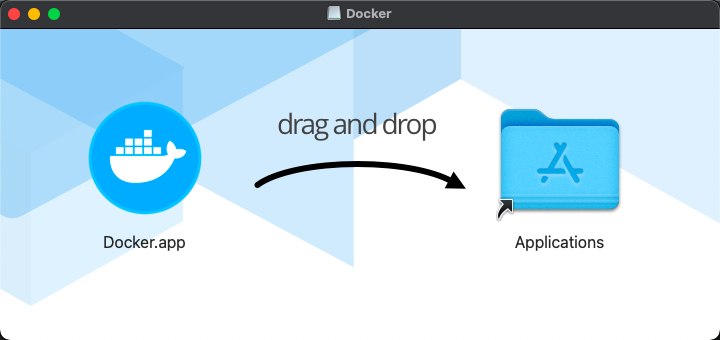
3. When downloaded, click the disk image file to run the Docker Desktop installer. A menu screen will open with the Docker Desktop app and the Applications folder on your Mac. Click and drag the Docker Desktop icon into the Applications folder to complete the install.
4. Run the Docker application. You’ll see the same security prompts as steps three and four from the previous section. Click through those screens and you’re done!
Configuring Docker for Mac
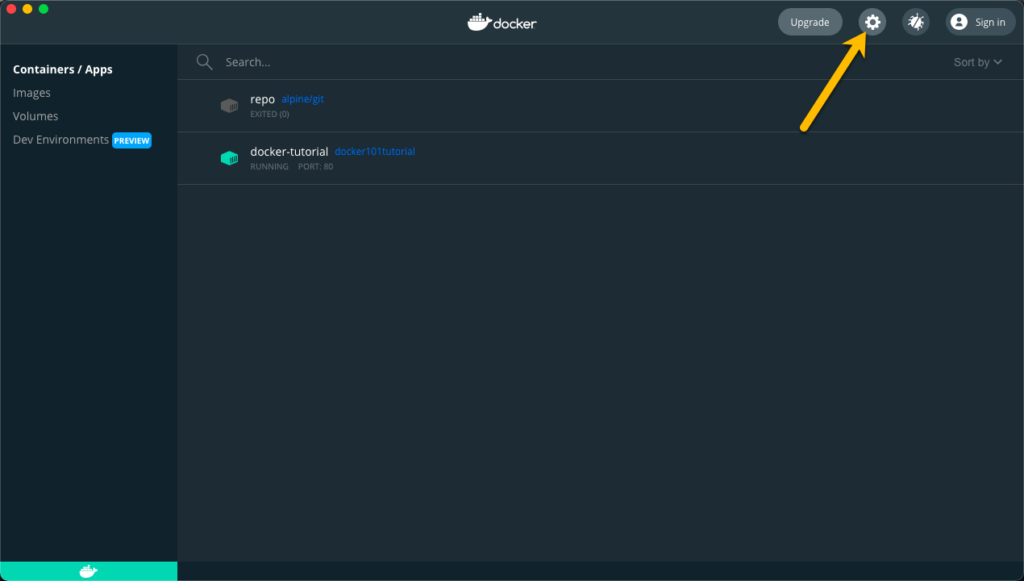
Now that Docker is successfully installed on your Mac, it is time to configure some basic options for Docker Desktop. The Docker Desktop Dashboard is the central location for all Docker containers and applications running in your Docker instance.
Open Docker Desktop and click the gear icon in the top right of the Dashboard to get to the Preferences screen.
In the Preferences screen, you’ll have various sections containing items to customize the behavior of Docker. Some notable settings follow.
System Resources
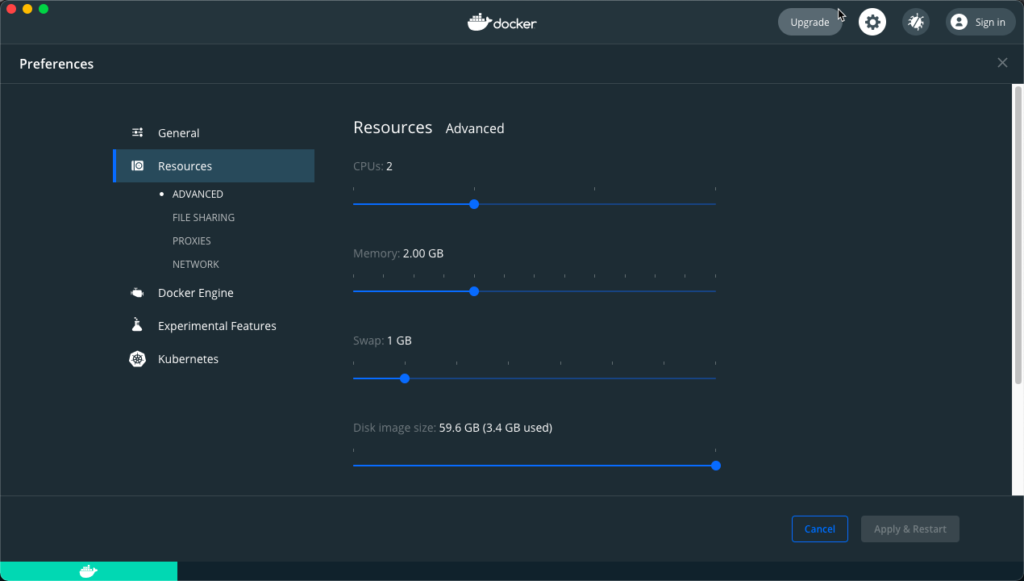
Select the Resources menu heading and click on ADVANCED. The Advanced section contains the configuration for the hardware resources used by Docker Desktop.
Using the sliders, you can adjust the hardware resources available to Docker Desktop.
- CPUs – The number of processors available to Docker Desktop. The default setting is half of the maximum number on your Mac. Raising this number will increase container and application performance.
- Memory – The amount of memory available to Docker Desktop. By default, this value is set to 2 GB.
- Swap – The swap file size for Docker Desktop. The default is 1 GB and can be increased or decreased based on container and application requirements.
- Disk Image Size – The local disk space available to Docker Desktop.
- Disk Image Location – The file system location for the Docker Desktop disk image.
File Sharing
Select FILE SHARING under the Resources —> ADVANCED menu heading. The locations listed are the folders shared between the local file system on your Mac and any running Docker containers and applications.
To add a location:
1. Click the plus icon in the bottom right of the FILE SHARING screen.
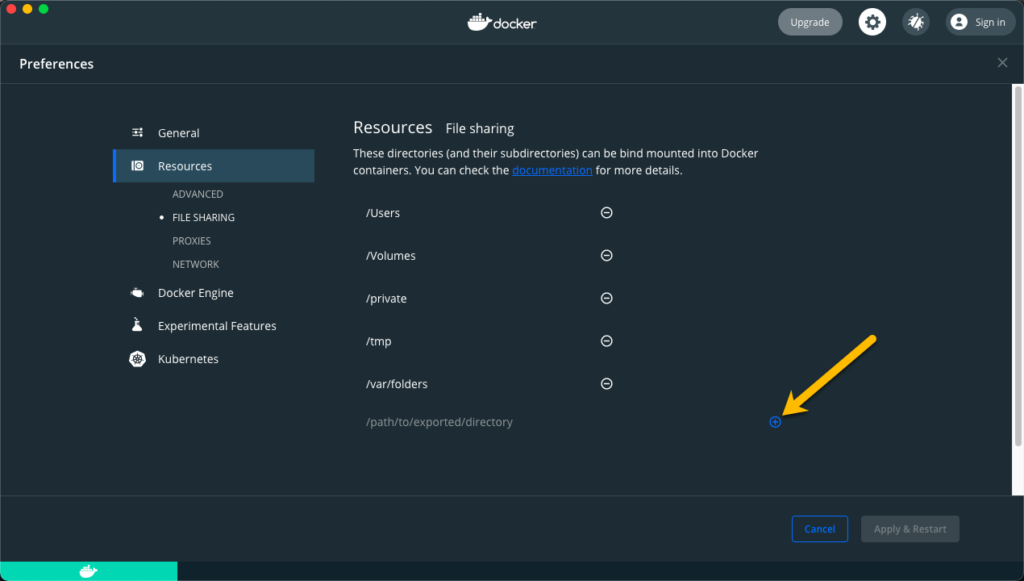
2. Choose the folder you’d like to share with Docker Desktop and click Open.

3. Click the Apply & Restart button to apply the changes.
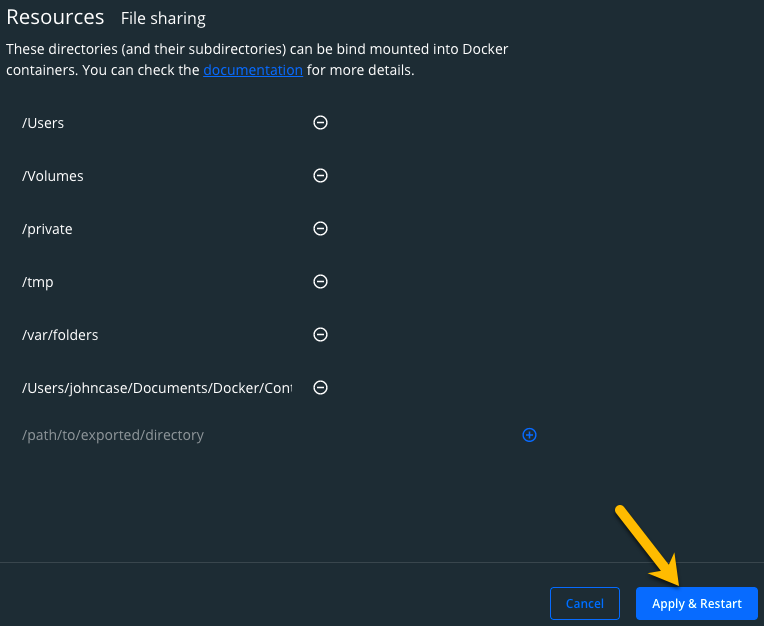
Note that sharing too many folders with Docker can lead to decreased system performance.
Conclusion
Setting up Docker on your Mac is the first step on your journey towards learning a container infrastructure model. Docker on your Mac will give you a place to explore and test running containers and applications in Docker.
What containers will you set up in your new Docker Mac environment?


