


Software must be written, tested and deployed into a production environment. To do so, in an automated fashion, developers and DevOps build CI/CD pipelines or build/release pipelines that automate much of this activity.
A pipeline allows developers, DevOps teams and others to produce and deploy reliable code. In the Microsoft realm, the way to build a pipeline is with Azure DevOps with a feature called Azure Pipelines.
Azure Pipelines allow you to automatically run builds, perform tests and deploy code (release) to various development and production environments. But what if you’ve never heard of Azure DevOps or a pipeline before or have never built one with Azure DevOps? If so, this Azure Pipelines tutorial is for you.
Big thanks to Peter De Tender, Microsoft Azure Technical Trainer, for his help with this article.
Project Overview
This is a Project article where we cover how to build a project or implement a solution. Each section will be cumulative steps that build upon the previous.
In this Project, you’re going to learn, from the ground up, how to create your first Azure DevOps pipeline. You’ll learn concepts like invoking builds from a Git version control commit, automatically executing tests and finally releasing packages to environments. By the end of this Project, you will have a sample e-commerce application deployed as a Azure WebApp.
This Project should take you 30 minutes to complete.
Note that if you follow this Project and immediately remove the resources created, you will not be charged in your Azure account. Don’t forget to remove them!
Target Audience
This project will cover the very basics of setting up your first Azure Pipeline in the Azure DevOps web UI. You’ll learn a lot from this project if you’re brand new to Azure Pipelines but not so much if you’ve already built your own pipelines before or are an Azure Pipelines guru.
Environment Requirements
If you’re planning on walking through this Project, step by step, be sure, at a minimum, you have the following:
- An Azure account
- Already logged into the Azure Portal with global administrator or similar rights.
- A GitHub account
- An empty Github repository created
- An empty Azure WebApp deployed using dotnetcore 2.2 and Linux for the platform
Creating an Azure DevOps Organization
Because we’re starting from absolute scratch, you’ll first create the “base” object that all Azure DevOps features and services are contained within called the organization. The organization is where all projects are stored which you’ll learn how to build in the next section.
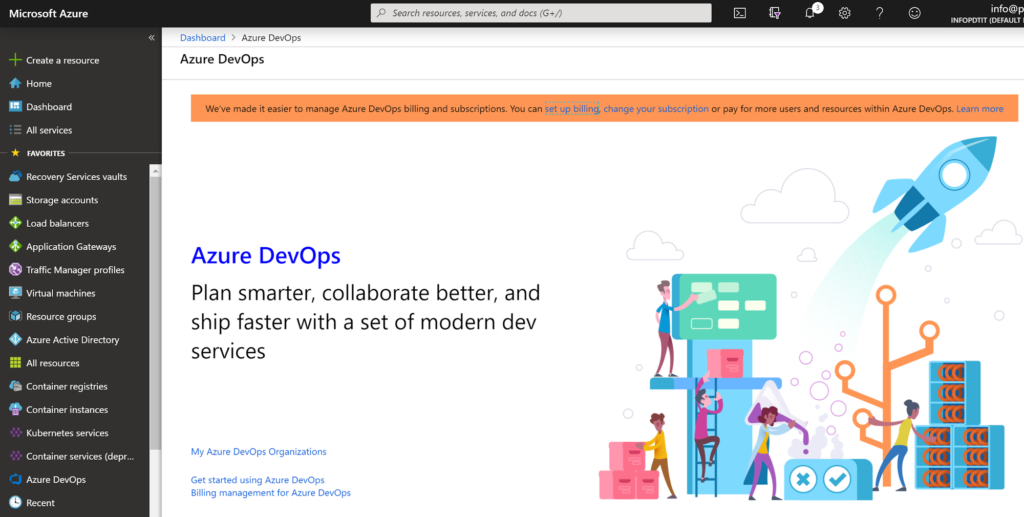
- From the Azure Portal, browse to All services, search for DevOps and select Azure DevOps. You can see what to expect below. This will open the Azure DevOps blade as you can see below.
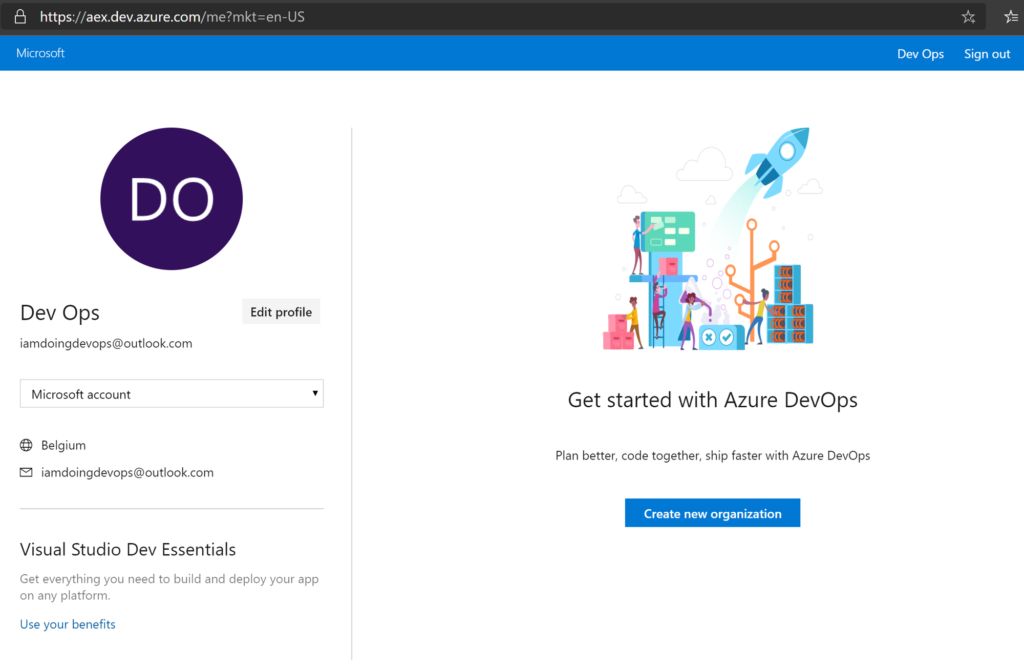
2. Next, click My Azure DevOps Organizations and provide your Azure credentials. You will be brought to a page where you can create a new organization as shown below. Once here, click on the blue Create new organization button.
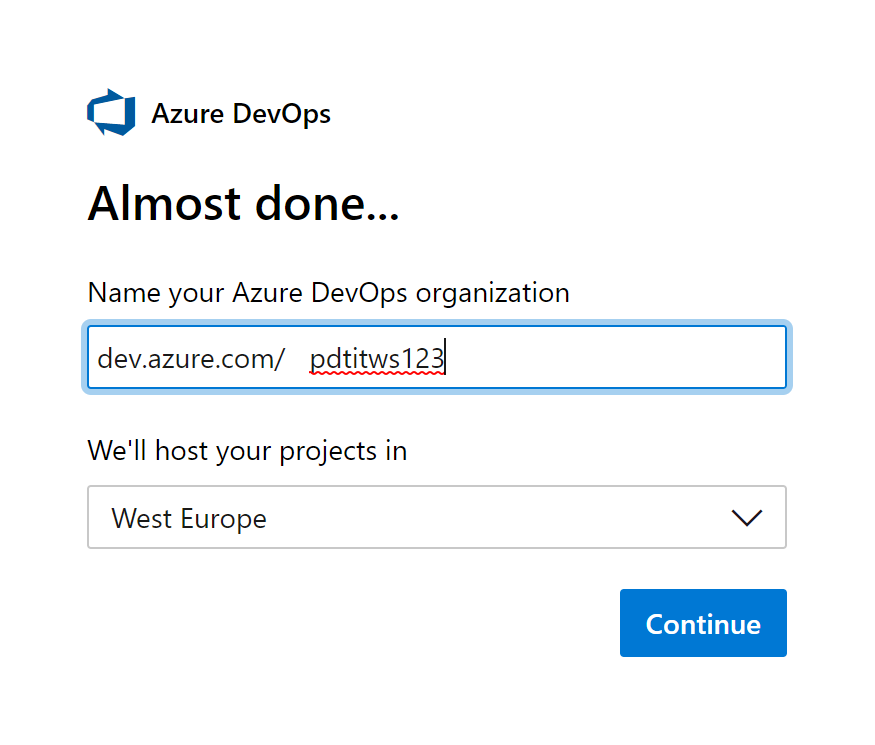
3. On the next page, provide a name for the organization. If you run into problems with using a specific name, be sure to check the Azure DevOps organization naming conventions. On this screen, also specify an Azure region closest to you. Once done, click Continue.
At this point, your Azure DevOps organization is created!
Creating an Azure DevOps Project
The next step is creating a project. A project is a container for the pipeline you’ll be created, various artifacts and any other information pertaining to a particular service or piece of software.
Azure DevOps gives you the ability to create a project during the same workflow as creating an organization as performed above. If you followed along, you should now be presented with a project creation page as shown below.
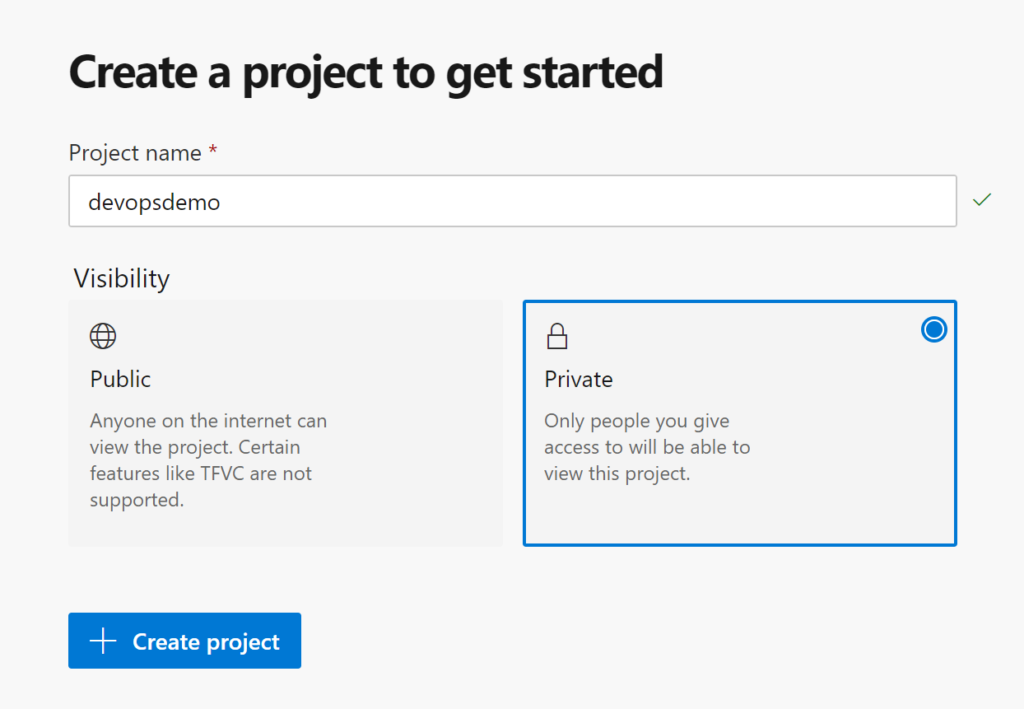
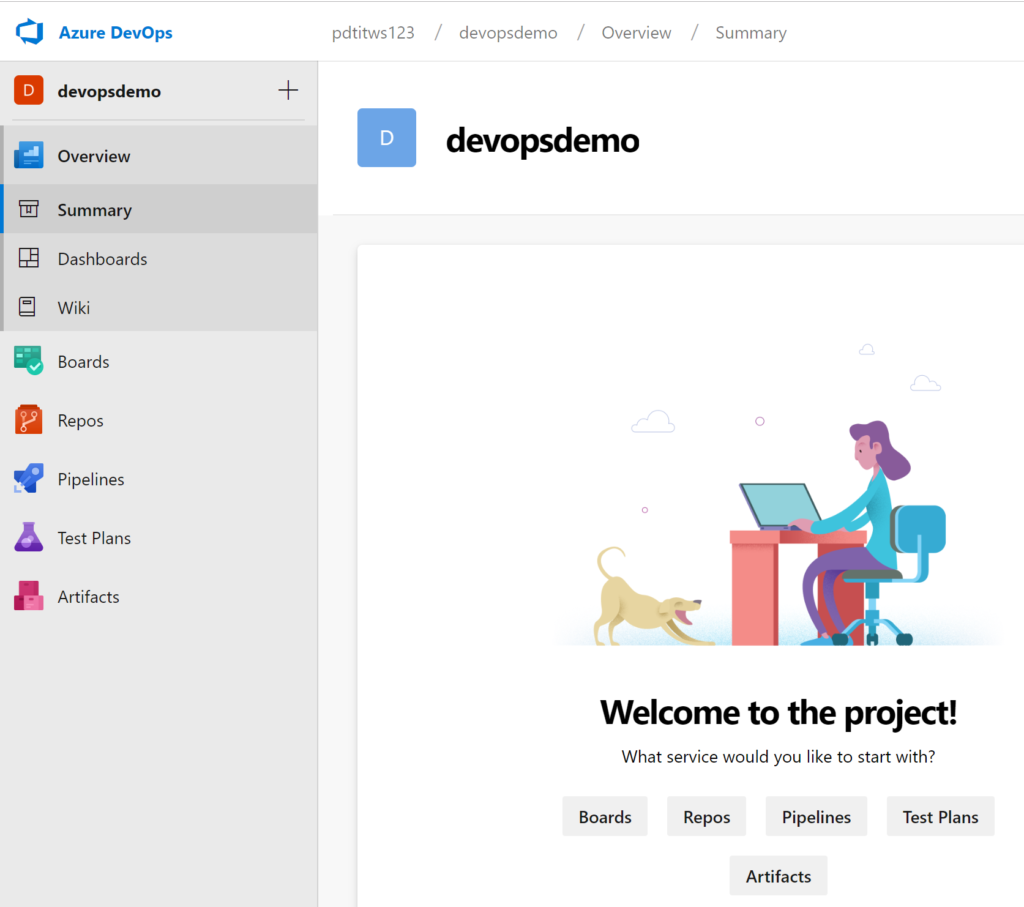
- On the project creation page, provide a name for your project in the Project name field. For this project, you’ll be using an Azure DevOps project called devopsdemo.
- Confirm the creation of the project by clicking the + Create Project button.
- For now, leave the Visibility set to Private. This ensures your project isn’t exposed to the Internet. A public project allows non-members of a project and non-signed-in users read-only access to the project’s artifacts.
At this point, your Azure DevOps workspace (project + organization) has been created. If you’ve been following along, you will now have an Azure DevOps organization created called pdtitws123 and a project inside of that organization called devopsdemo.
Building an Azure DevOps Build Pipeline
Now that you have an Azure DevOps organization and project set up, you can now create a build pipeline inside. The pipeline is where all the magic happens. It’s where you will create builds to perform various tasks like compiling code, bringing in dependencies and more.
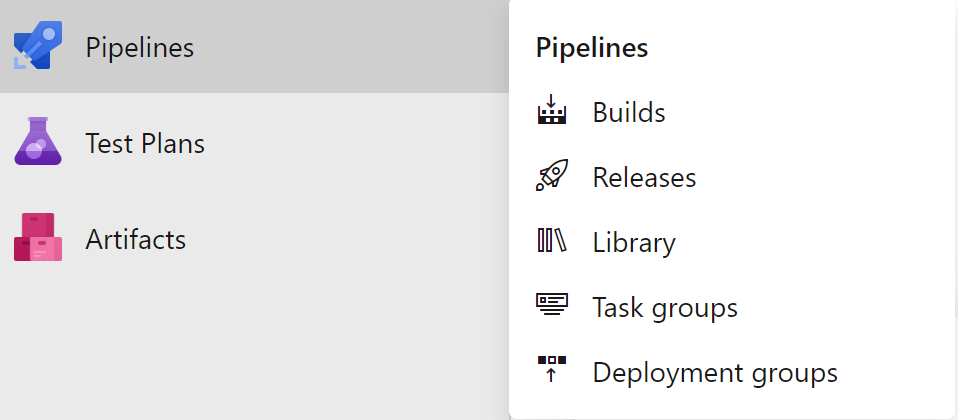
- From the dashboard, select Pipelines then on Builds.
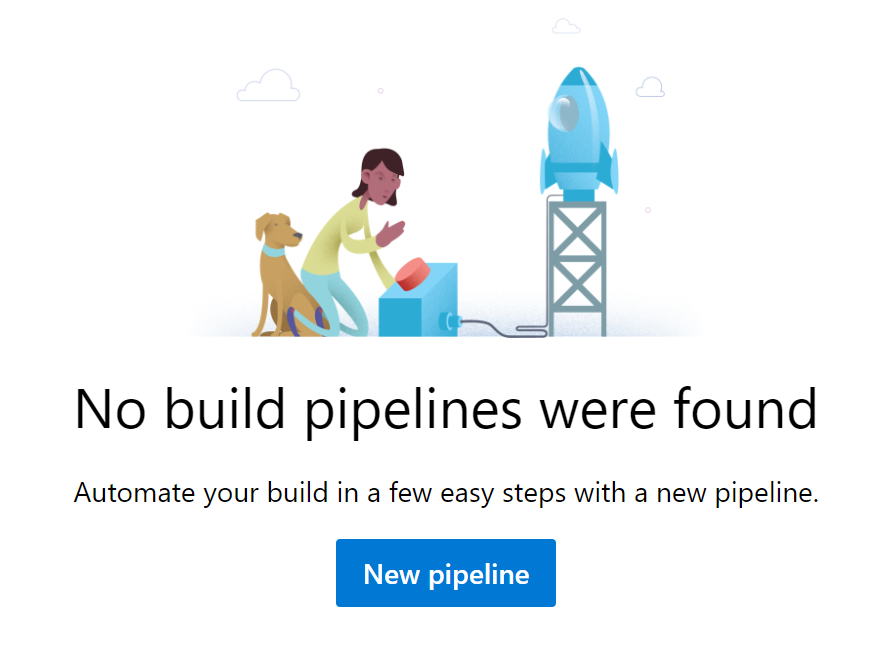
2. You will see a message telling you there are no build pipelines found yet. Click on New pipeline to begin creating the build pipeline.
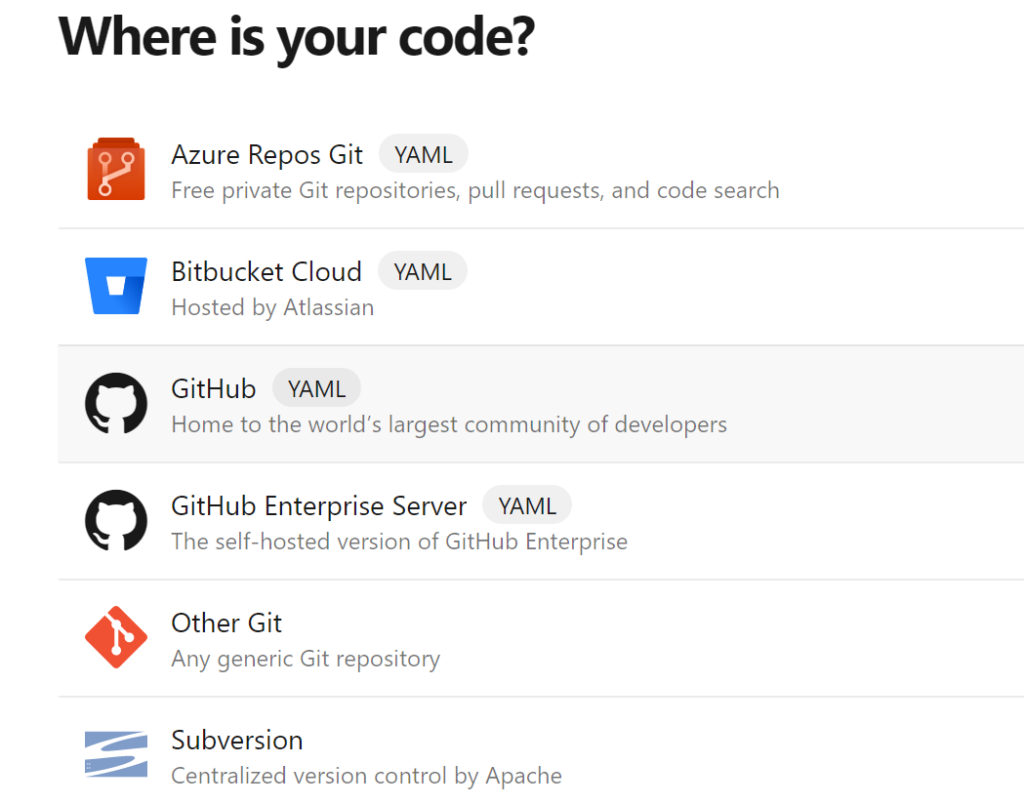
3. You will then be prompted for where your code is stored. In this Project, the code is stored in a GitHub repository. Select GitHub. This is the place where code is stored and the triggers for invoking the build will come from.
4. Once you click on GitHub, you’ll be prompted to provide your GitHub account credentials as shown below. Before you begin this step, remember to have an empty GitHub repo created as defined in the Prerequisites section of this article!
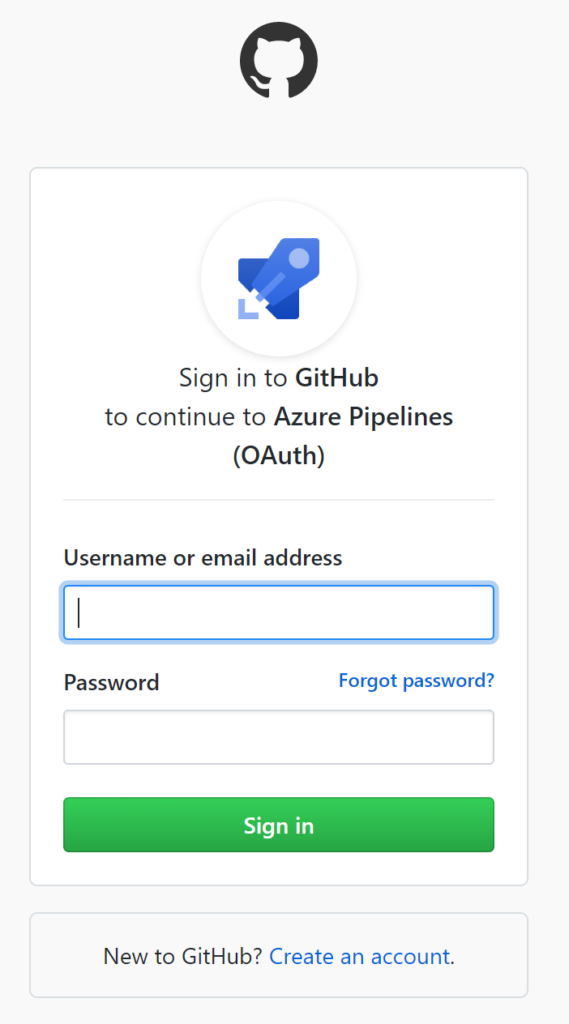
5. Next, confirm the step where you are asked to authorize Azure Pipelines. This ensures Azure DevOps has permission to access your GitHub repos.

Linking a GitHub Repo to the Build Pipeline
Once you’ve provided Azure DevOps permission to your GitHub account, now link a GitHub repo to the build pipeline.
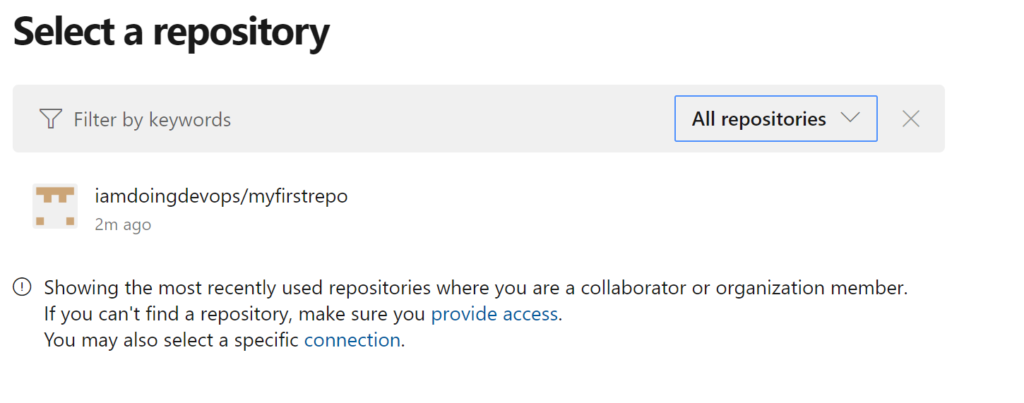
- Select the empty GitHub repo you have created for this Project.
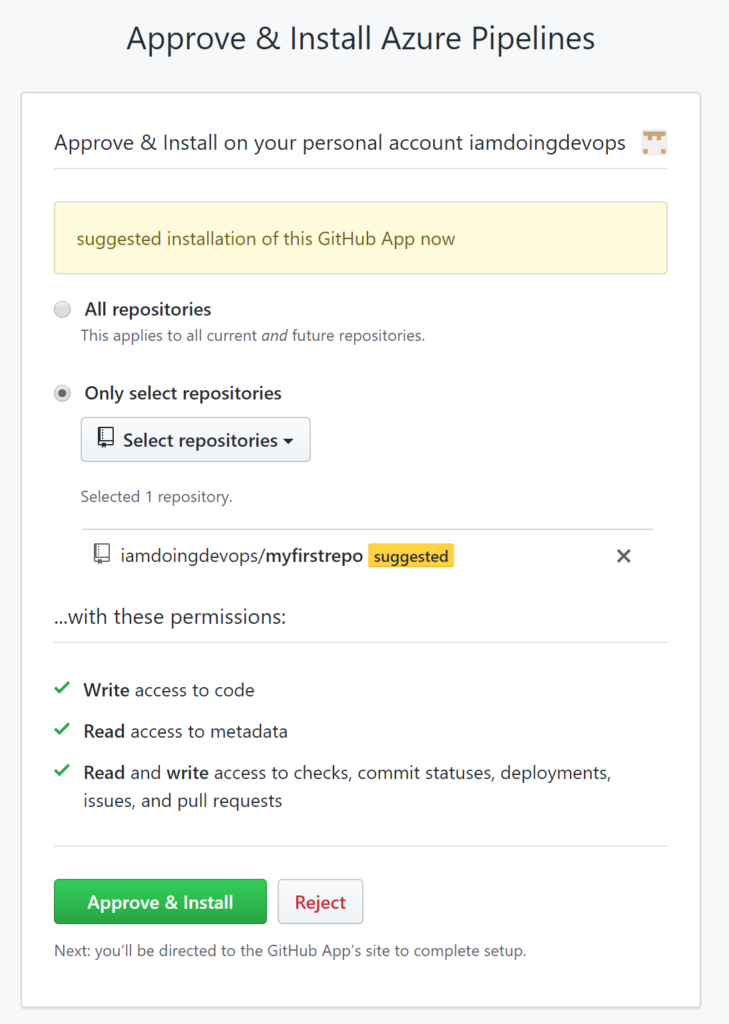
2. Allow the project to read, write and check source code from the repository you selected earlier. Then confirm this process by clicking Approve & Install.
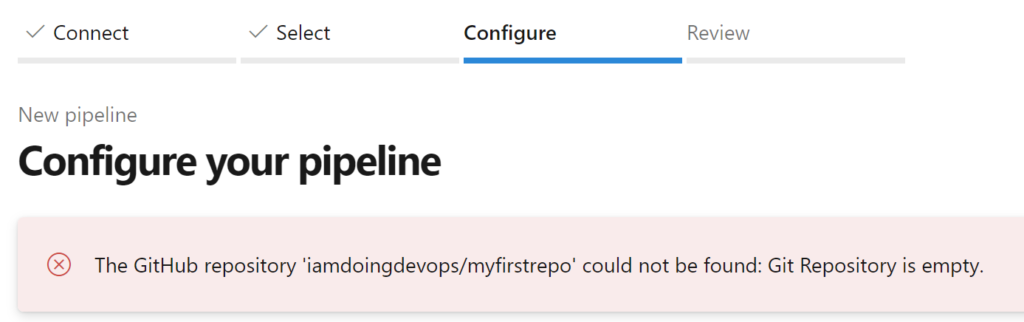
3. By clicking confirm, you will see an error generated as shown below. This error will happen because the GitHub Repo selected is empty.
At this point, your GitHub repo will be linked to your Azure DevOps build pipeline.
You don’t have to create an entirely new pipeline every time you want to link a GitHub repo to an Azure DevOps build pipeline.
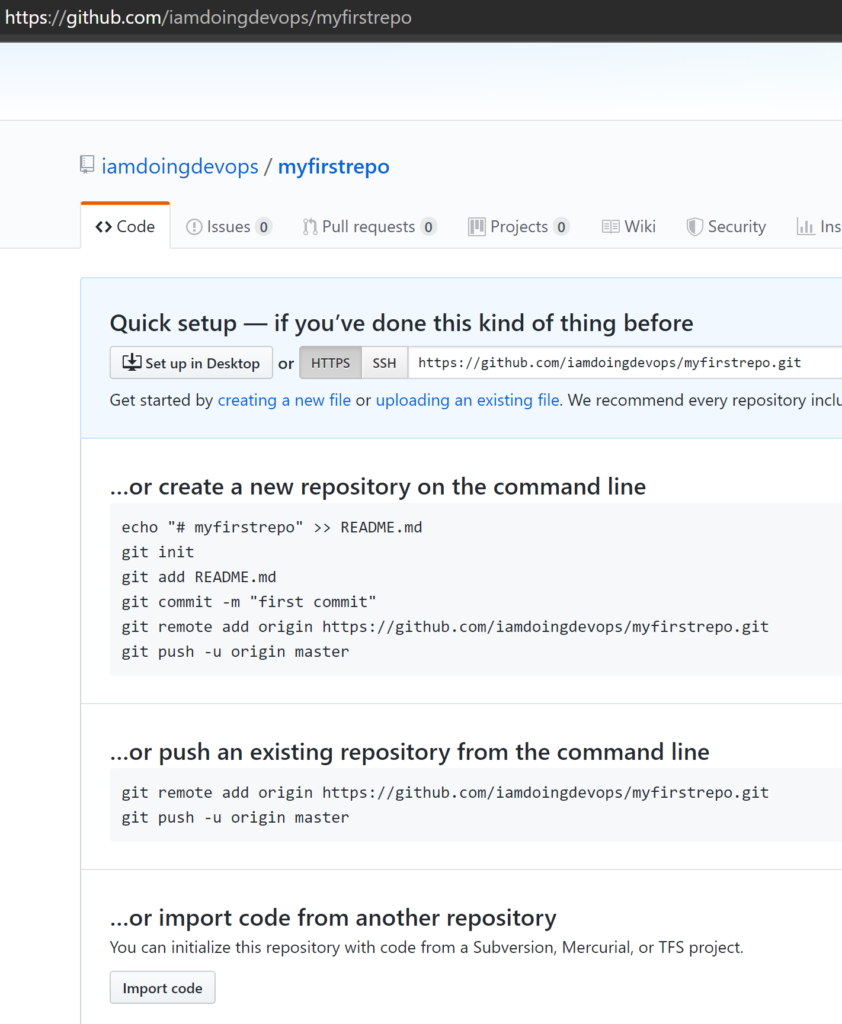
Populating Sample GitHub Repository Code
The Azure DevOps build pipeline won’t run without some code in the GitHub repo. The code doesn’t necessarily matter at this point. To get some code in the repo, we’ll use an existing repo to clone some code from. In this repo, I have all the source code available to publish an e-commerce sample application in Azure WebApps.
The sample code for this repo will contain a sample e-commerce application called SimplCommerce. This application is an open-source dotnetcore application that’s more realistic than the typical “hello world” project.
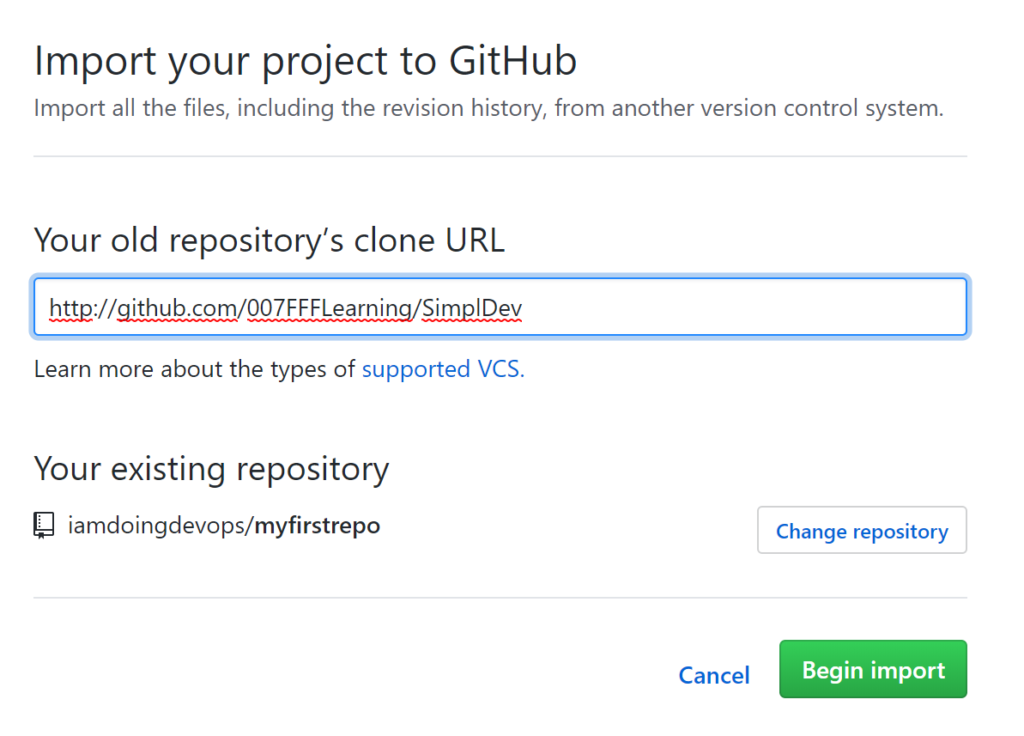
- Navigate to this sample GitHub repo and click on Import code as shown below.
2. For the old repository’s clone URL use http://github.com/007FFFLearning/SimplDev and click on Begin import.
When the repo import step is completed successfully, refresh the Azure DevOps Pipeline window, which should allow you to continue now.
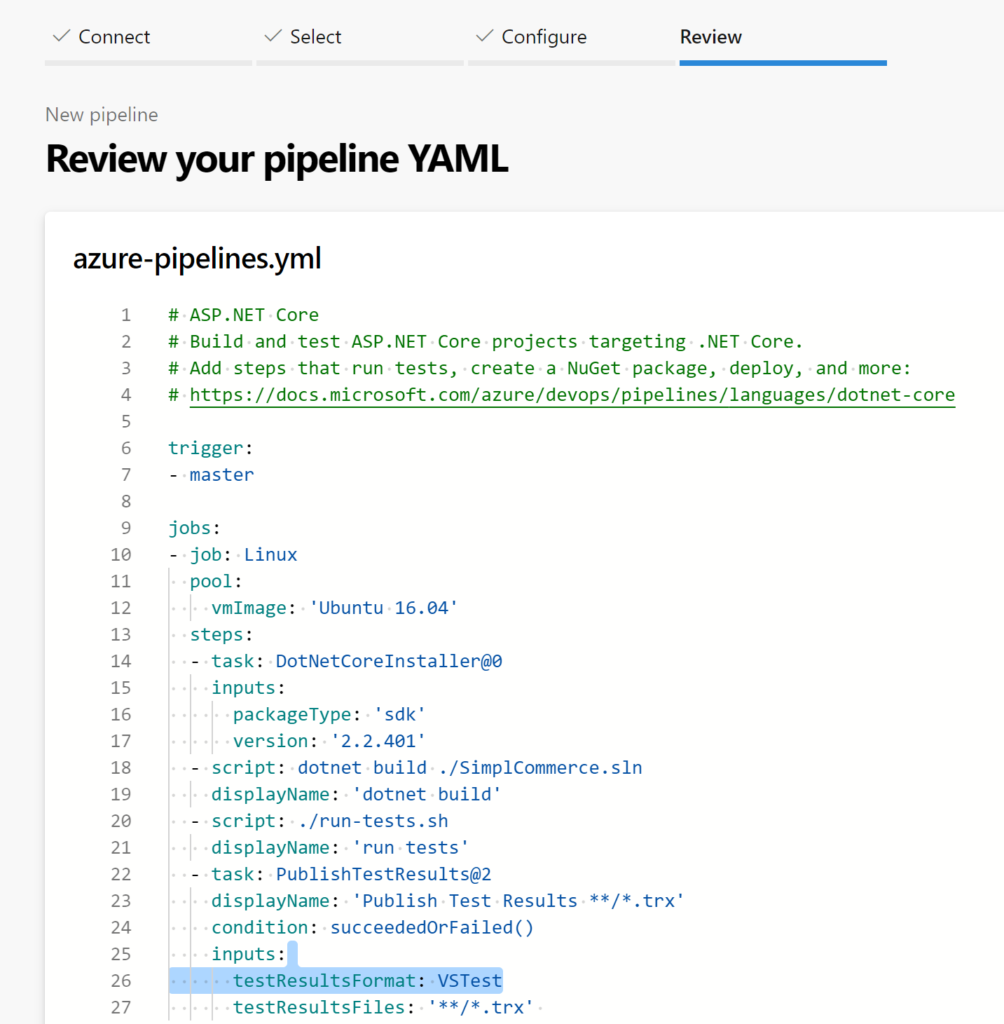
Inspecting and Viewing the Build Pipeline in YAML
At this point, you will be at the Review phase of the pipeline creation process. You will now be presented with a representation of the build pipeline in YAML. This YAML file is automatically built based on the detection of the source code language which is dotnetcore in this Project.
One of the real benefits of Azure DevOps is the pipeline YAML. With many other DevOps tools, you have to build a pipeline file manually.
Manually Running the Azure Build Pipeline
In a continuous integration (CI) pipeline, the build is typically triggered by a commit to source control. But, you can also manually trigger the build pipeline to run. Let’s kick off a build pipeline manually to see what happens.
If you’ve been following along, at this point, you should be to the point where you can click on Run to kick off the build pipeline. This will start the pipeline build process as you can see from the below screenshot.
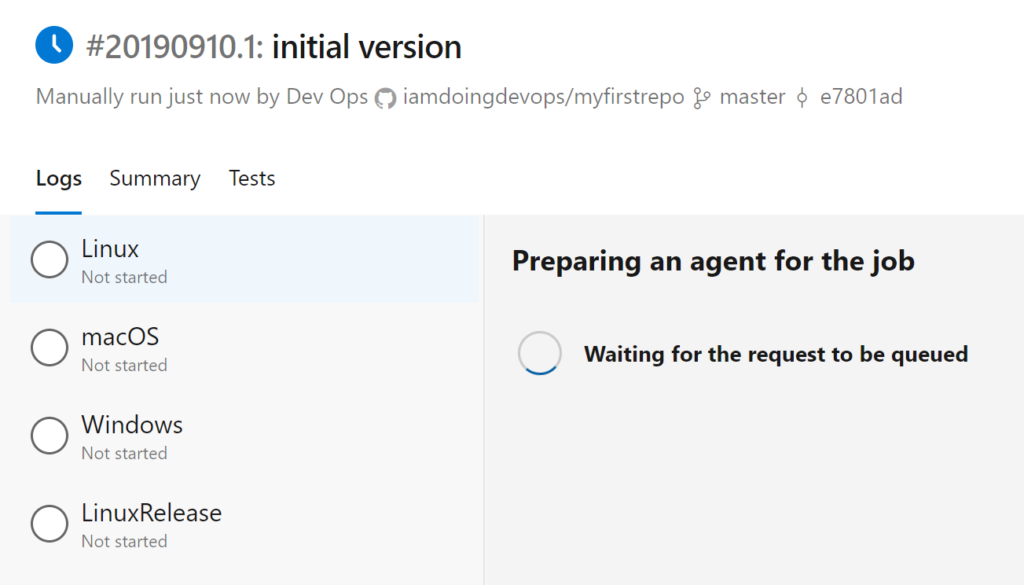
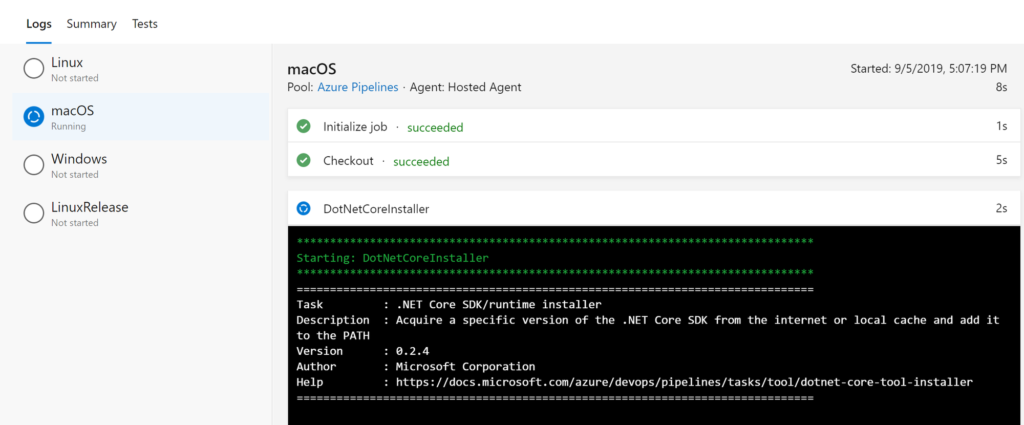
After a few seconds, you can see that the process will be running for macOS as shown below. The build pipeline will return information in real-time as each job and task in the pipeline runs.
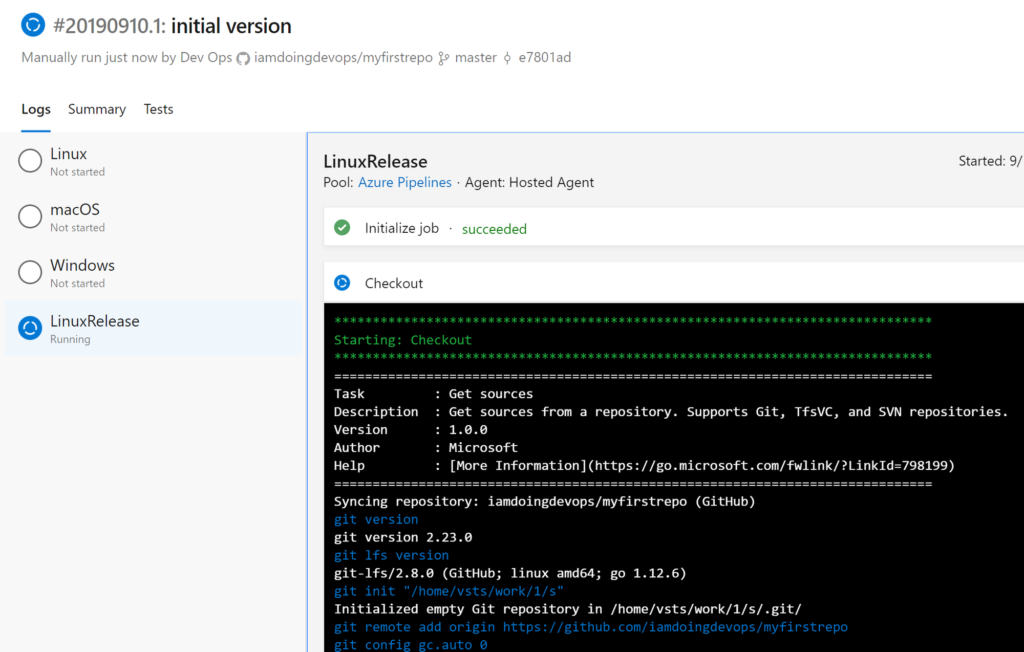
The build pipeline will then repeat the same process for the other operating systems (in this example) as shown below. The steps taken will vary greatly depending on how the YAML file was built.
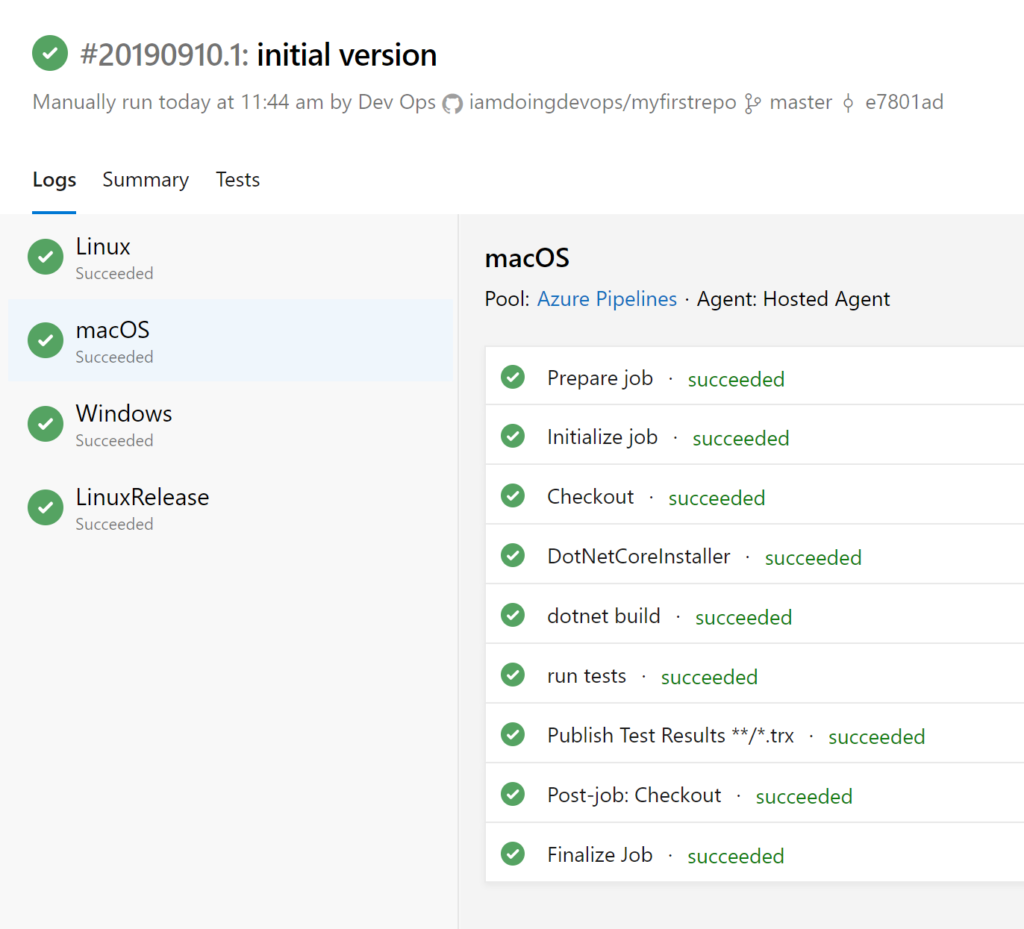
Once the build has completed, you are greeted with green checkmarks as you can see below. This screenshot indicates each platform build passed successfully.
You’ve now created an Azure DevOps build pipeline!
Building an Azure DevOps Release Pipeline
The build pipeline is created which is some great progress. If you were to stop at this point, you’d be well on your way for a complete, automated pipeline. But we’re not done! The ultimate goal of software needs to be deployed so customers can use it. It’s time to automate a release too with a release pipeline!
A release pipeline takes a build artifact, a result of the build process and deploys that to one or more environments. In this Project, you’re going to use a release pipeline to publish code in the GitHub repo to an Azure Web App.
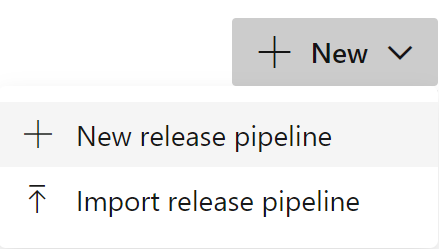
- From Azure DevOps, click Pipelines and then Releases.
2. Next, select New and then New Release Pipeline. This launches the New release pipeline wizard.
3. From the template list on the right, select Azure App Service Deployment. You’ll see many different kinds of templates available to save time creating future release pipelines.
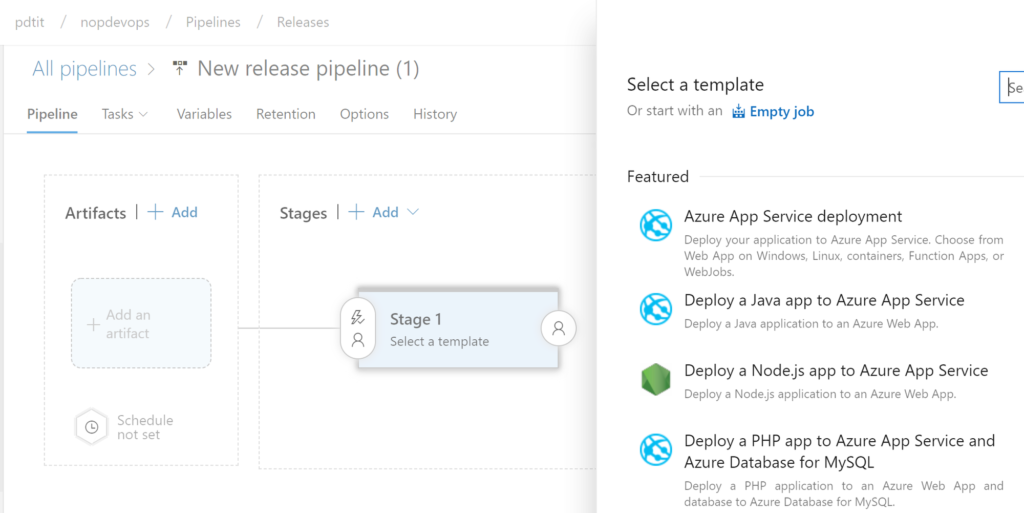
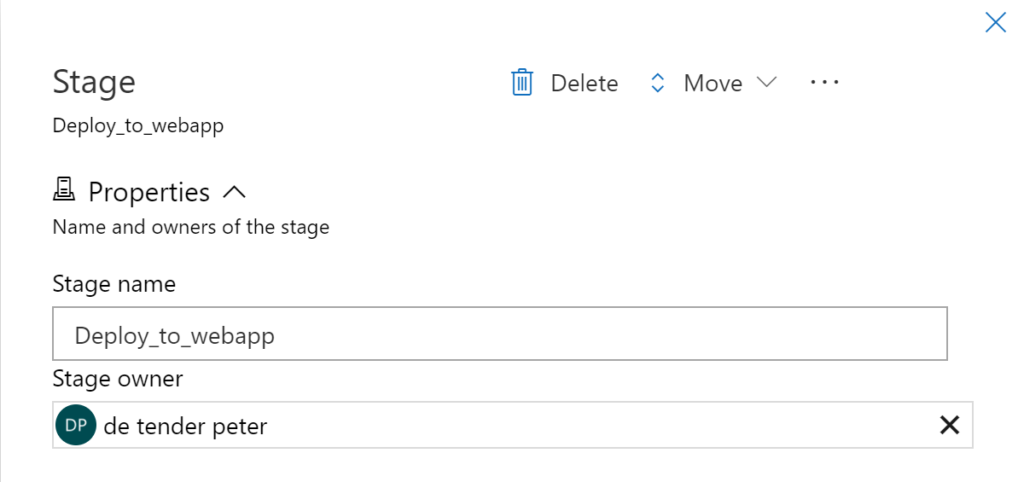
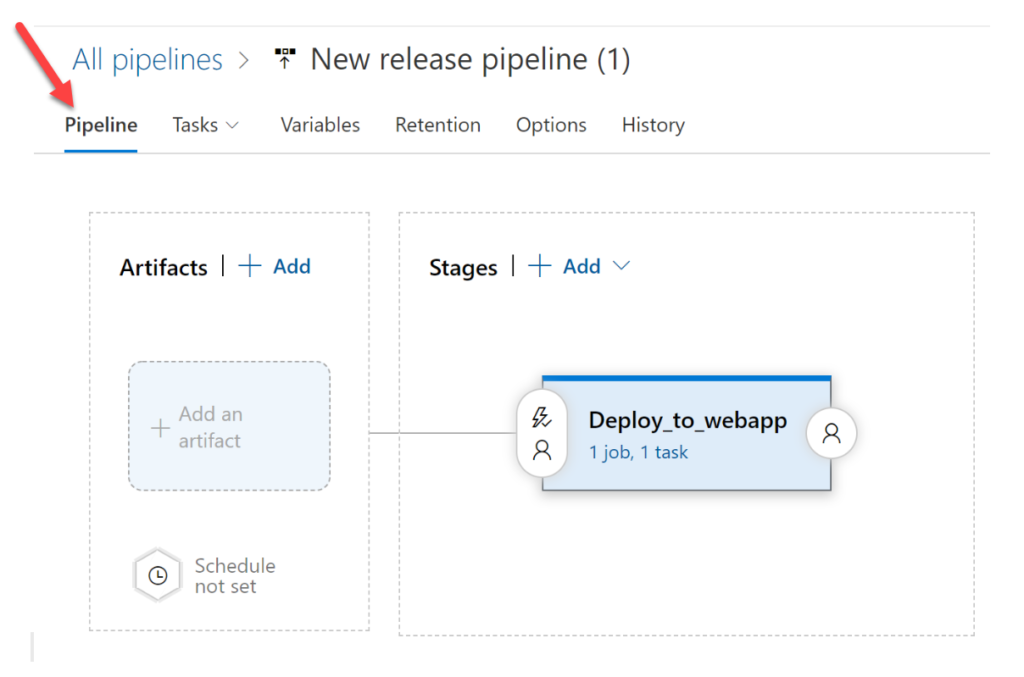
4. Provide a description for the Stage Name. The stage will contain release tasks. For this project, use the name Deploy_to_webapp.
The release pipeline should now look like the below screenshot.
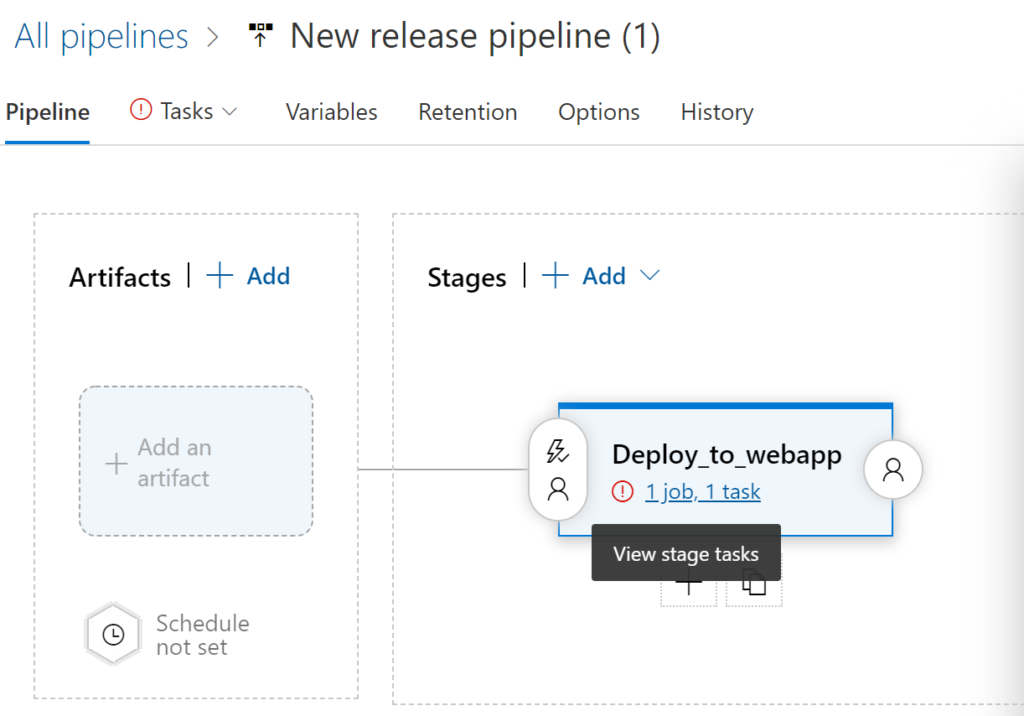
5. In the Stages field, select 1 job, 1 task. This field is where you will eventually provide the settings of the Azure Web App environment you will use for the actual deployment.
6. Part of the Azure App Service deployment template comes a few parameters you’ll need to define in this screen.
- Stage Name – Deploy-to-webapps2 in this example.
- Azure Subscription – select your subscription and confirm with Authorize (needs credentials)
- App type – Web App on Linux
- App Service Name – the web app you created earlier

7. When done, click Pipeline in the top menu of your Azure Pipeline project as shown below. This will return you to the main screen and allow you to complete the next step which is specifying the artifacts.
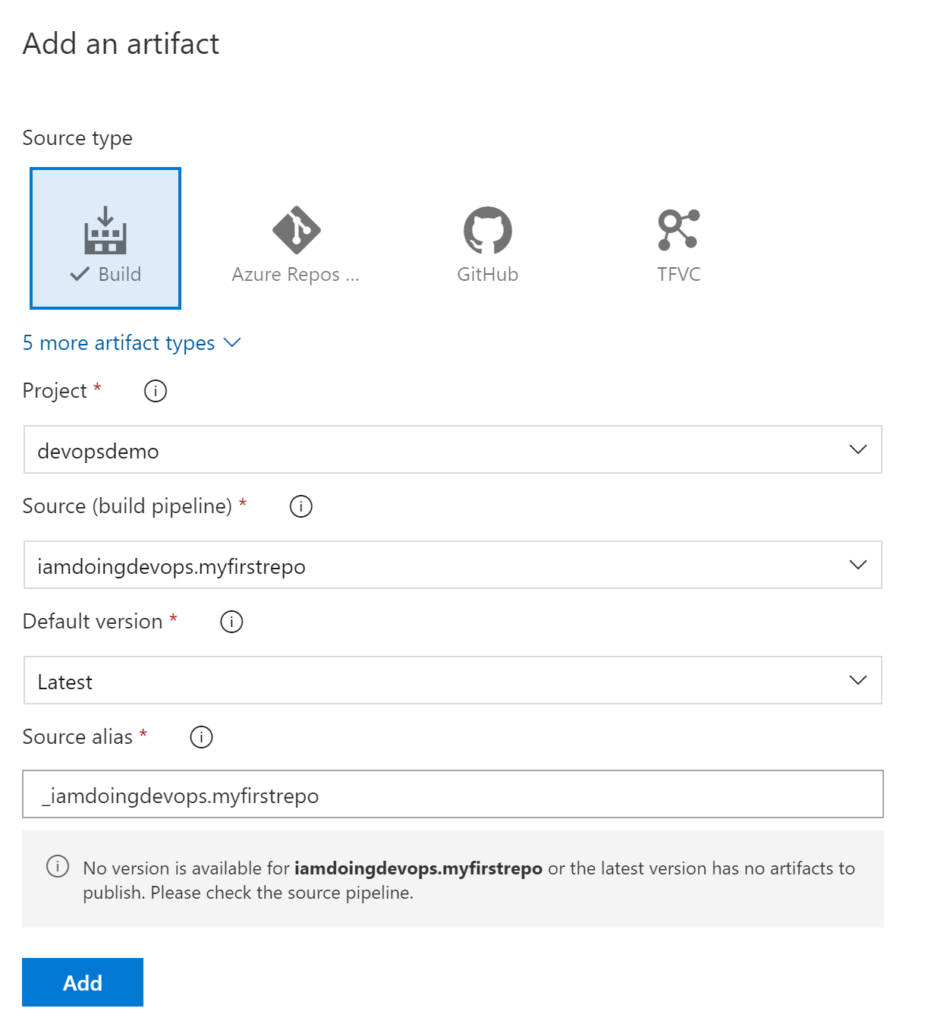
Adding Artifacts to the Azure DevOps Release Pipeline
Within a release pipeline, there are many different items that need to be deployed. These items are called artifacts. Artifacts put simply, are deployable components of your application. Azure Pipelines can deploy artifacts that are produced by a wide range of artifact sources.
In this section, let’s cover how to add artifacts to the release pipeline.
- While on the Pipeline screen, click on Add an Artifact.
- The Source Type is already set to Build which is what you want since you’ll be deploying the output of the build pipeline created earlier. Choose the build pipeline created earlier in the Source (build pipeline) dropdown.
- When finished, click on Add to save the configuration.
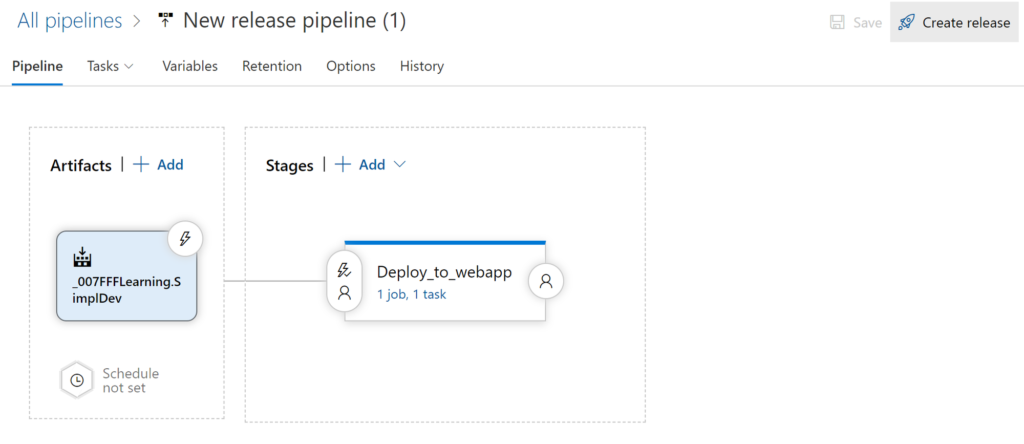
4. Finally, click on the Save button in the upper right corner of the screen to save the release pipeline.
Creating the Azure DevOps Release
Once the release pipeline is created, you’ll then begin creating releases. A release is a particular run of the pipeline. Think of the release pipeline as the template and specific instances of that release pipeline as releases. Once you have a release, that release can then be deployed.
To create a release:
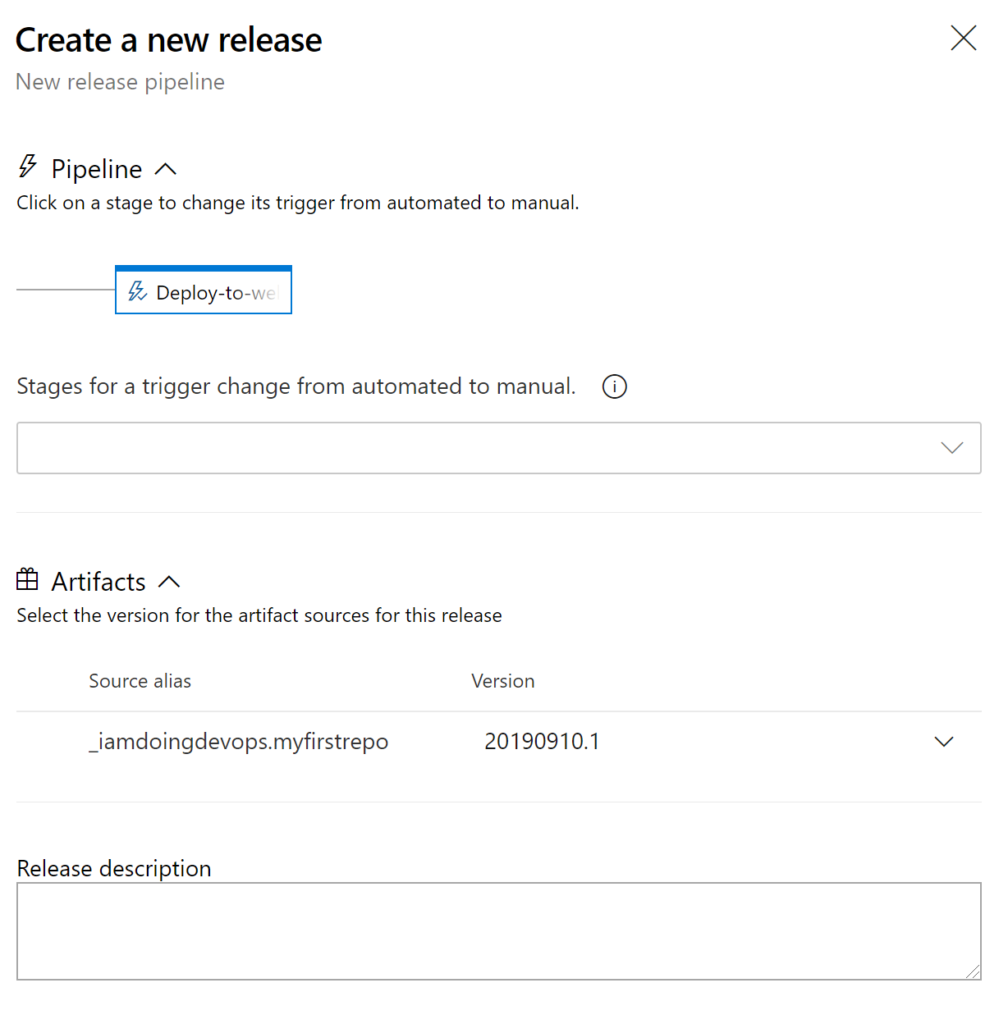
- Click the Create Release button in the upper right corner of the window as shown below.
2. You’re not going to do anything fancy so at the Create a new release screen, accept the defaults and click on Create. You only have a single stage at this time and have a single version of the build artifact to deploy now.
3. After a few seconds, you will receive a notification (the green bar) that the release has been created as shown below. Now click on Release-1 which will redirect you to the details of the release process.
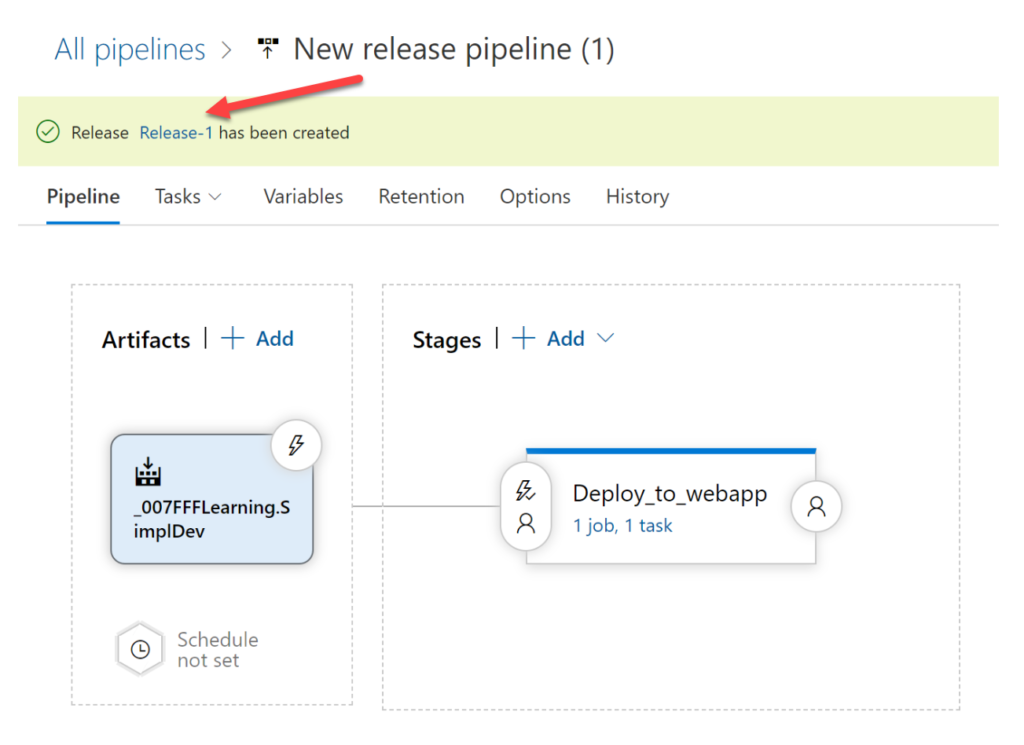
You have now created a release and it’s ready to be deployed!
Manually Deploying a Release
A release is a set of instructions to perform on how to deploy a build. You’ve done all of that. Now it’s time to actually run those instructions and deploy code to an environment.
While on the Release-1 release you created earlier:
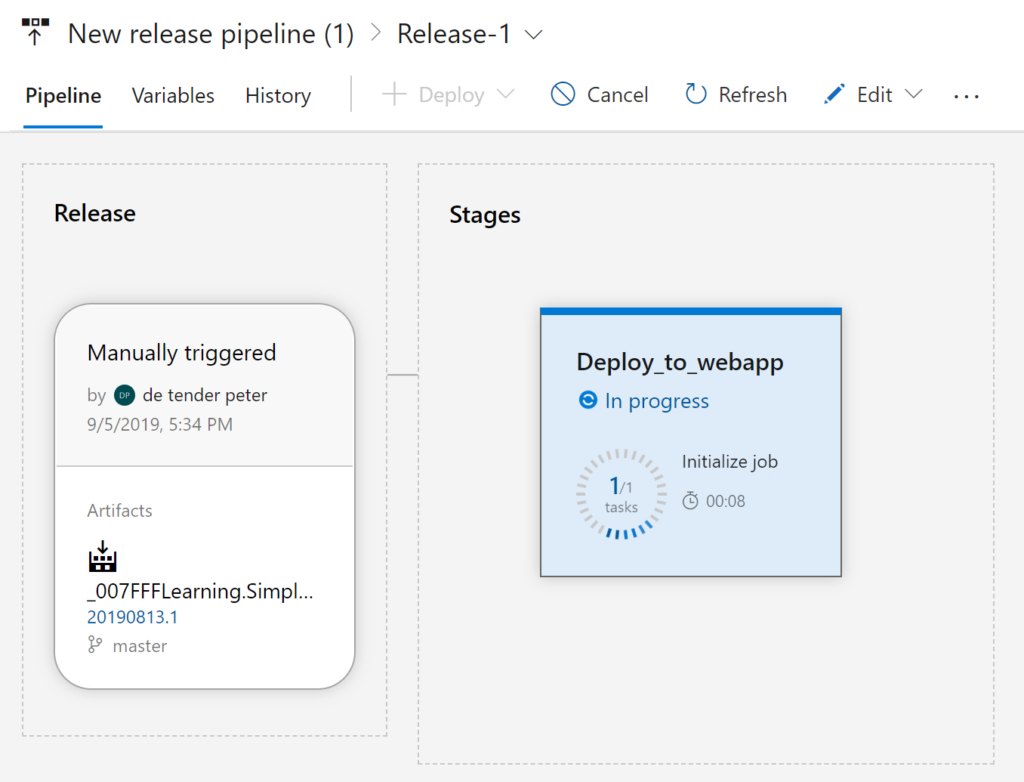
- Select the Deploy_to_webapp stage and confirm Deploy. When you do so, the status will change to In progress as shown below. At this point, the release is grabbing the source code from the build pipeline executed earlier and pushing it to the Azure WebApp instance.
This step will initiate a job running in the back-end on an agent copying source code and performing the actual release cycle.
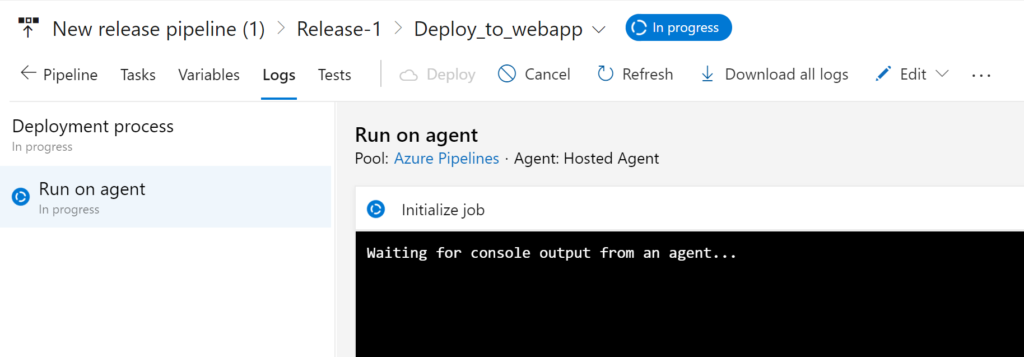
2. Click on the stage while it’s in progress. You will see any logging information shown in the console output area.
When complete, the stage should show Succeeded as seen below.
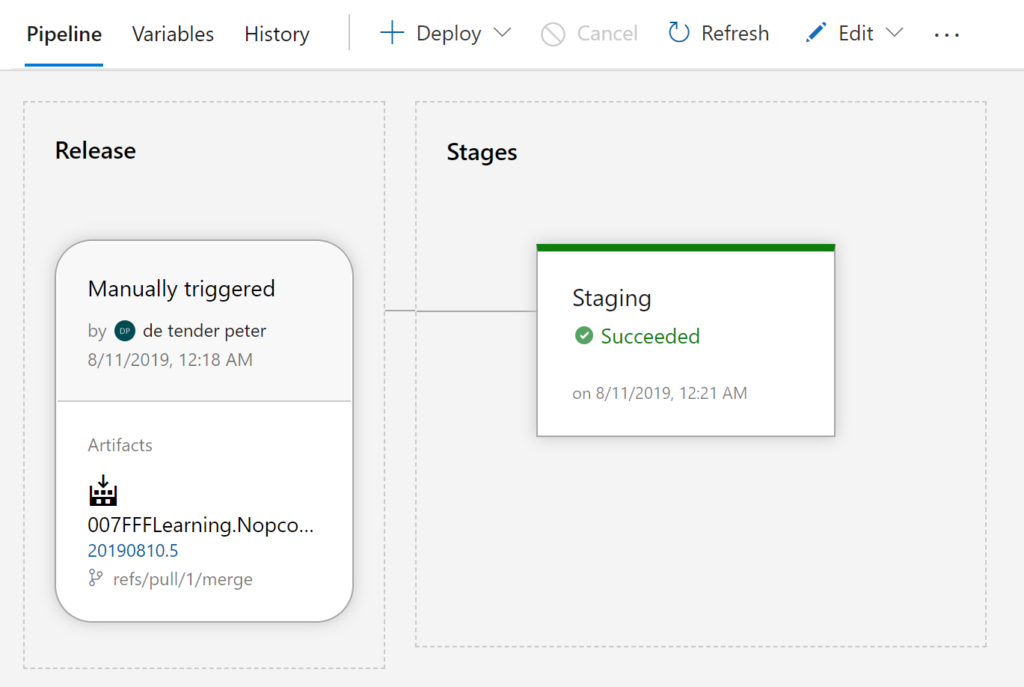
If all went well, the release should have finished and you should now have a web app published to an Azure Web App!
Inspecting the Deployed Azure WebApp
Now that the entire process is complete, be sure to check out the fruits of your labor.
- Log into the Azure Portal, navigate to the Azure WebApp you selected in the release pipeline as target and copy the URL as shown below.

2. Now paste that URL into a browser by providing the URL of the Azure Web App. Your browser should now load the e-commerce sample application, similar to below home page
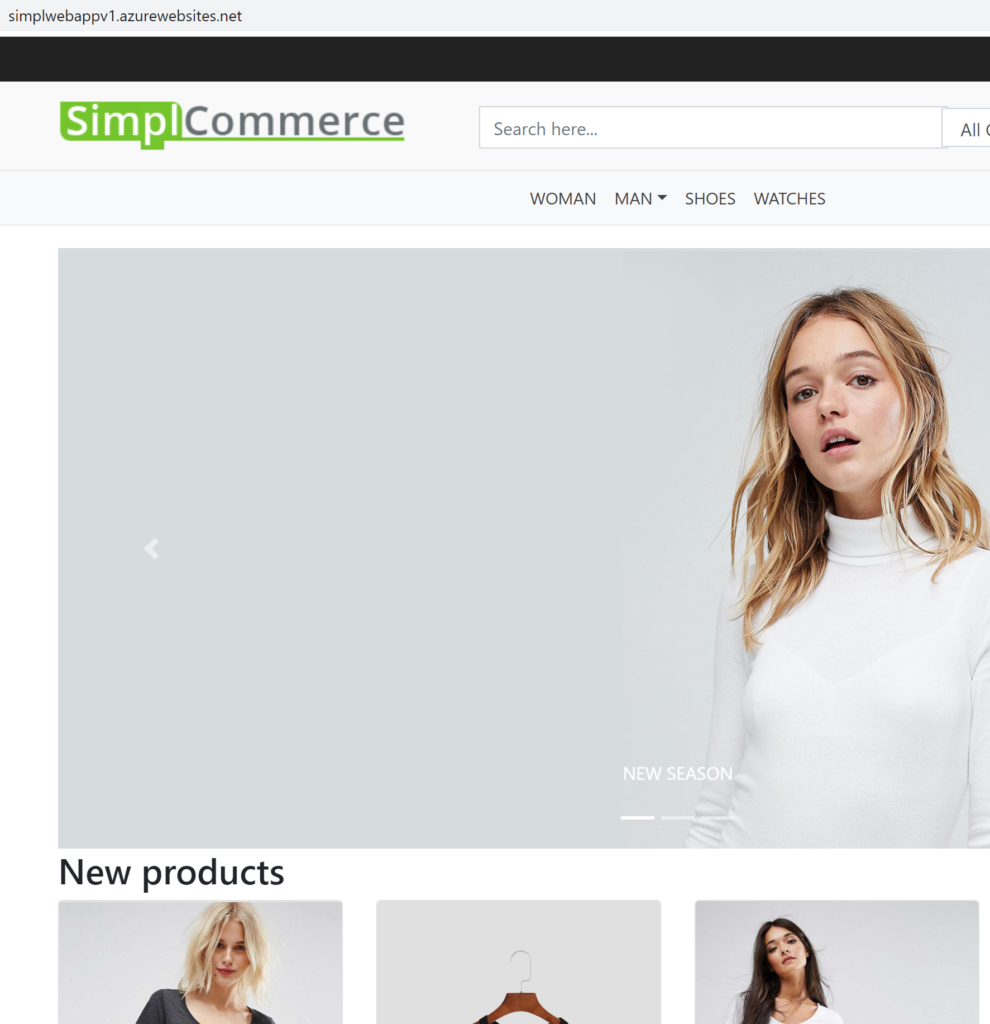
You’ve now done it all! You now have an Azure web app deployed from a GitHub repo able to be automated to the fullest!
Cleaning Up
If you followed along throughout this Project, you now have a new Azure DevOps organization, project, build pipeline, release pipeline and release. If you’re done testing things out, be sure to remove the original organization created so you don’t risk being charged for any Azure resources.
To do so:
- Go back to your main Azure DevOps workspace.
- Click on Organization settings in the lower left corner.
- On the Overview screen, click on the Delete button at the bottom of the page under Delete organization.
- Type the organization name and then click on Delete. This should remove all of the work you just performed.
Your Takeaways
If you followed the instructions in this Project, you’ve created an entire CI/CD pipeline from scratch in Azure DevOps. You should now have a good idea of what this process entails.
Azure Pipelines can go much deeper than what you did in this Project but you should now have some foundational knowledge of the entire process.


